
Budget Furniture Flipping Painting Furniture Guide
📖 Table of Contents
- Choosing the Right Furniture for Painting
- Gathering the Essential Tools and Materials
- Preparing the Furniture for Painting
- Applying the Paint for a Professional Finish
- Finishing Touches and Sealing the Paint
- Adding Personal Style with Decorative Elements
- Finishing the Project and Setting It in Place
- Make It Your Way
- Frequently Asked Questions
I still remember the first time I transformed a chipped, outdated chair from my parent's basement into a sleek, modern accent piece for my apartment. It cost me just $25 and took a few hours on a weekend. That chair, now a staple in my living room, was the beginning of my journey into budget furniture flipping. Painting furniture is one of the most rewarding DIY projects you can take on, especially if you're looking to refresh your space without breaking the bank. With the right approach, even the most unimpressive thrift store find can become a statement piece in your home.[1]
As someone who's spent years turning discarded furniture into functional, stylish items, I've learned that the key to successful furniture painting lies in preparation, patience, and a few strategic tools. Whether you're a first-time DIYer or an experienced hand, there's a method to the madness that makes this project both affordable and satisfying. I've painted everything from dressers to bookshelves, and each project has taught me something new about the power of paint and the impact it can have on a room's overall look.[3]
The best part about budget furniture flipping is that it's not just about saving money—it's about creativity and transformation. You don't need a lot of expensive tools or professional-grade paint to make a difference. In fact, I've found that the most successful projects often come from using what you already have, with a little bit of ingenuity. If you're looking for a way to refresh your home without the cost of new furniture, this guide is for you. Let's explore how to turn your next thrift store treasure into a painted masterpiece.[4]
Why You'll Love This Budget Furniture Flipping Painting Furniture Guide
- Transform thrift store finds into stylish, custom pieces with minimal cost.
- Learn practical, step-by-step techniques that even beginners can follow.
- Discover how paint can completely change the look and feel of your home.
- Get tips on choosing the right tools and materials for long-lasting results.
Choosing the Right Furniture for Painting
As of September 2026, when starting your furniture painting project, the first step is selecting the right piece to work with. Look for items that are in good condition, with no major structural issues or rot. I've found that dressers, chairs, and tables from thrift stores are often excellent candidates, as long as the framework is intact. A piece that is already broken or has major warping will require more work than you might be prepared for.
Avoid items with heavy stains, unless you're planning to use a stain-removing primer. I once tried painting a sofa that had a deep pet stain, and even after multiple coats of primer, the smell and discoloration were still noticeable. It's better to find a piece that's already clean and dry, so you don't have to deal with extra layers of prep work.
Don't be afraid to test the piece before buying. If it's a chair, sit on it. If it's a table, check for wobbles or uneven legs. A little extra effort in selecting the right furniture will save you time and frustration later on.
Inspect the piece thoroughly before buying. Look for signs of damage, and test the functionality of moving parts if applicable.
Part of our Budget furniture flipping painting furniture guide.
Gathering the Essential Tools and Materials
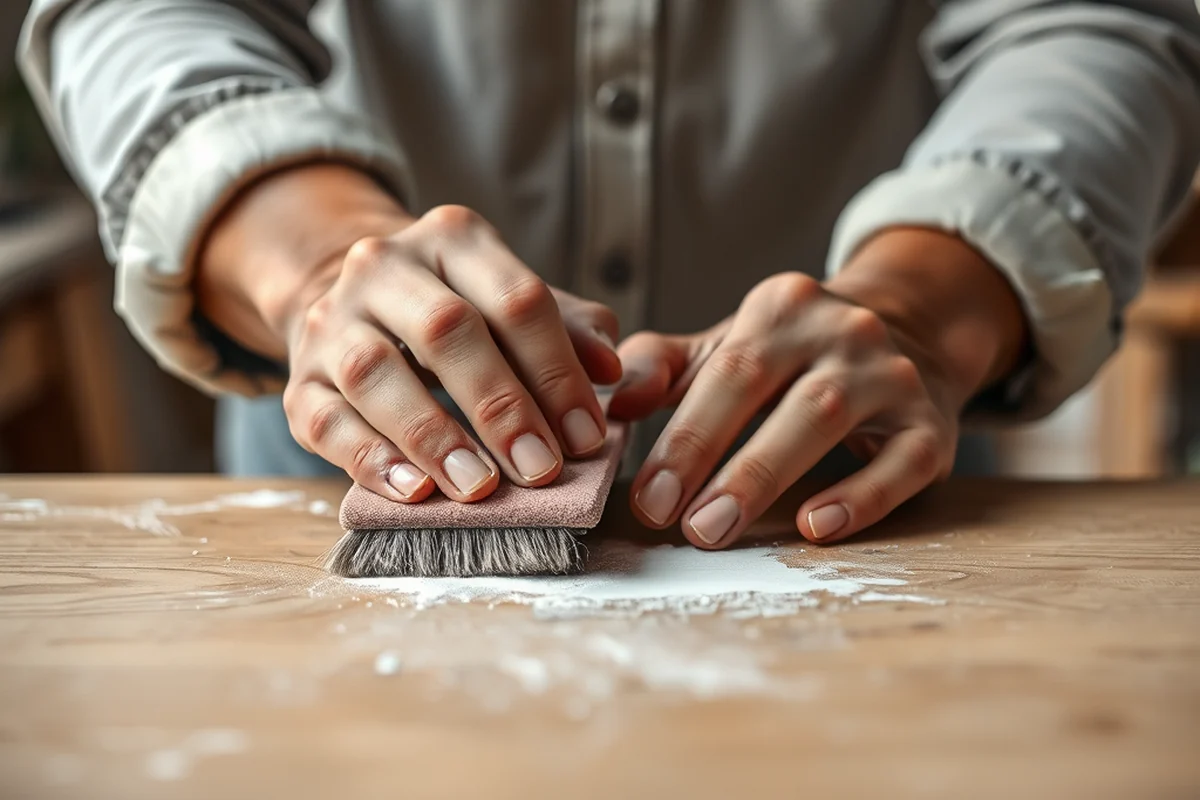
To paint furniture, you'll need a few key items: sandpaper, primer, paint, brushes, and a drop cloth. A basic set of tools can be purchased for under $40, which is a small investment for the results you can achieve. I've used a simple 4-inch brush for most of my furniture projects, and it's been more than sufficient for even large surfaces.[2]
Choosing the right paint is crucial. I've had the best results using latex-based paints, as they're easier to work with and dry faster than oil-based alternatives. A primer is also essential for ensuring the paint adheres properly and lasts longer, especially if you're painting over dark or stained wood.
Don't forget to cover your workspace. I always lay down a drop cloth or use a large piece of cardboard to protect the floor and surrounding areas. It's easy to accidentally get paint on other surfaces, and a little preparation can save you a lot of cleanup later.
A little preparation goes a long way in furniture painting.
Related: Easy budget furniture flipping painting furniture
Preparing the Furniture for Painting
Before you start painting, you need to properly prepare the furniture. This involves cleaning the surface thoroughly, sanding any rough areas, and applying a primer. I've found that cleaning the furniture with a mild soap and water solution helps remove any dirt or grime that might interfere with the paint adhesion.
Sanding is one of the most important steps in the process. I use a medium-grit sandpaper to smooth out any bumps or imperfections. This creates a better surface for the paint to stick to and ensures a smoother finish. After sanding, I always wipe the furniture down with a damp cloth to remove any dust or debris.
Applying a primer is the next step. I prefer using a water-based primer, as it dries quickly and is easy to work with. Primer helps the paint adhere better and can also hide any stains or dark areas on the wood. I've found that using a primer can make a huge difference in the final look of the painted furniture.
Always sand and clean before painting. This ensures better adhesion and a more professional finish.
“I still remember the first time I transformed a chipped, outdated chair from my parent's basement into a sleek, modern accent piece for my apartment.”— Flipper Lane editors
Related: Simple budget furniture flipping painting furniture
Applying the Paint for a Professional Finish
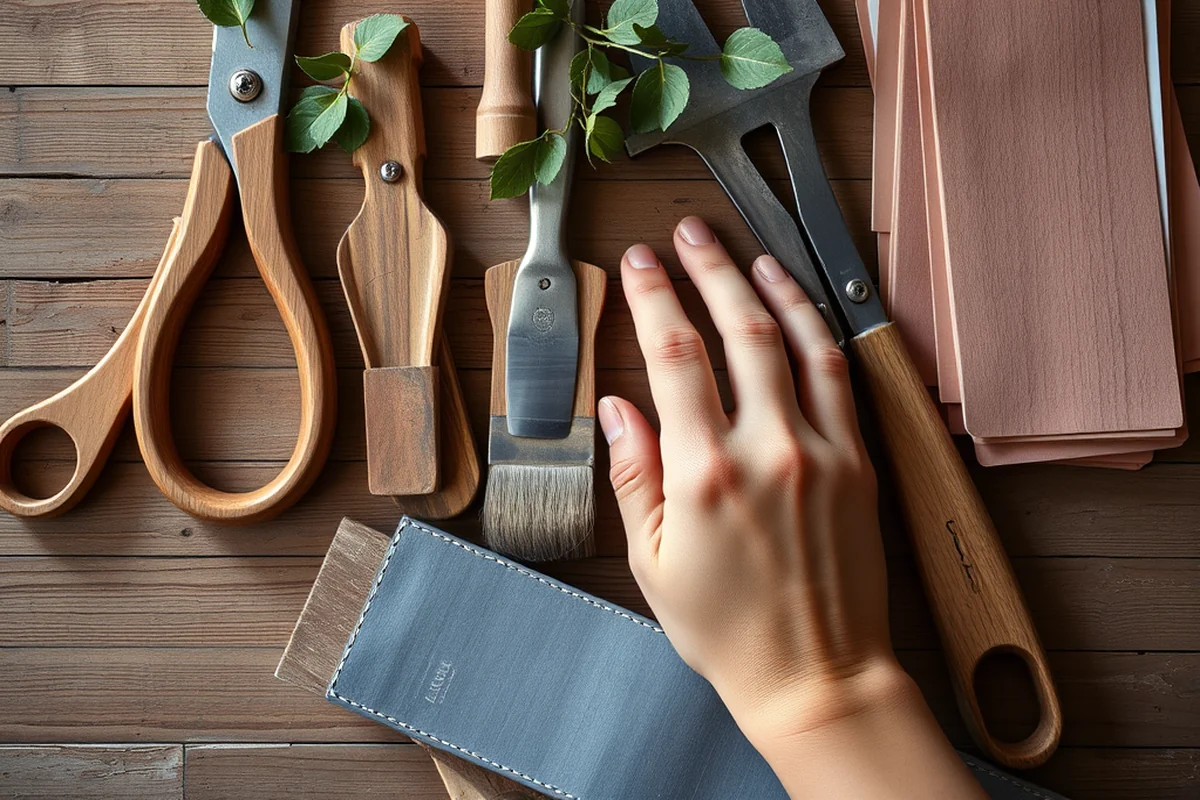
Once the furniture is properly prepared, it's time to start painting. I've found that using a brush with a long handle is the most effective way to reach all areas of the furniture without straining your back. I always start with the primer, applying it in thin, even strokes to avoid drips or runs.
After the primer has dried completely, I move on to the paint. I prefer using a brush with a slightly larger bristle size for larger surfaces, as it covers more area with each stroke. I've found that applying two thin coats of paint is better than one thick coat, as it helps prevent drips and ensures even coverage.
It's important to let each coat of paint dry completely before applying the next one. I've made the mistake of applying a second coat too soon, and it led to streaks and uneven spots. Patience is key with painting furniture, and it's worth the wait for a polished, professional finish.
Related: Furniture flipping painting furniture budget ideas
Finishing Touches and Sealing the Paint
After the final coat of paint has dried, it's time to seal it with a clear coat. I've found that using a water-based polyurethane sealant is the best option for furniture painting, as it provides a protective layer without adding a yellowish tint. This sealant helps protect the paint from scratches, moisture, and everyday wear and tear.
I always apply the sealant in thin, even strokes, just like the paint. It's important to let the first coat dry completely before applying a second one. I've had the best results when using two thin coats of sealant, as it provides the best protection without looking too glossy or artificial.
Once the sealant has dried, I wipe down the furniture with a clean, dry cloth to remove any dust or debris. This ensures that the final finish looks smooth and professional. I've found that sealing the paint is one of the most important steps in the process, as it can make the difference between a project that lasts a few months and one that lasts for years.
Related: How much does it cost to repaint car
Adding Personal Style with Decorative Elements
After the basic paint job is complete, you can take your furniture to the next level by adding decorative elements. I've used stencils to add intricate designs to the edges of my painted furniture, and it has given them a unique, custom look. Stencils are easy to use and can be found at most craft stores or online.
Another popular technique is distressing. I've found that using a dry brush technique with a light-colored paint can give furniture a vintage look that adds character and depth. Distressing is especially effective on pieces like dressers and cabinets, as it gives them a more aged, lived-in appearance.
Don't be afraid to experiment with different techniques. I've tried everything from adding metallic accents to painting furniture in bold colors, and each approach has given me a different result. The key is to have fun and let your personality shine through in your finished pieces.
A little creativity can turn a simple painted piece into a work of art.
Related: Best furniture flipping painting furniture budget
Finishing the Project and Setting It in Place
After all the painting and sealing is done, it's time to move your newly transformed furniture into its new home. I always wait a full day before moving anything, just to be sure the sealant is completely dry. It's easy to scratch or damage the paint if you move the furniture too soon after painting.
Once the furniture is in place, I take a step back and admire my work. It's always rewarding to see the transformation from the original, unimpressive piece to the finished product. I've found that my painted furniture often becomes the focal point of a room, even if I didn't plan for it.
Don't forget to take before and after photos of your project. I've kept a small album of all the furniture I've painted over the years, and it's a great reminder of how far I've come in my DIY journey. It's also a great way to document your progress and share your results with others.
💰 Budget Build
Use affordable, high-quality paints and minimal tools to create a cost-effective piece.
⏳ Weekend Version
Complete the entire project in a single day with pre-prepped materials and simple techniques.
✨ Upgraded Finish
Add decorative elements like stencils or metallic accents for a more polished, custom look.
🛋️ Small-Space Adaptation
Choose compact furniture pieces like side tables or shelves that are perfect for smaller spaces.
🏠 Rental-Safe Option
Opt for removable paints and avoid permanent alterations so you can easily take the furniture with you when moving.
| The mistake | Why it happens | The fix |
|---|---|---|
| Painting over a stained or dirty surface without cleaning it first. | This can cause the paint to look uneven or not adhere properly, leading to peeling or flaking over time. | Always clean the furniture with a mild soap and water solution before painting to ensure the paint adheres properly. |
| Applying too much paint in one go. | This can lead to drips, runs, and an uneven finish that looks unprofessional. | Apply thin, even coats of paint and let each coat dry completely before applying the next one. |
| Skipping the primer step. | Without a primer, the paint may not adhere properly, especially on dark or stained surfaces, leading to poor results. | Always use a primer, especially if you're painting over dark or stained wood, to ensure the paint adheres properly and lasts longer. |
| Moving the furniture too soon after painting. | This can cause the paint to scratch or damage the finish before it has a chance to fully dry and set. | Wait at least 24 hours before moving the furniture to ensure the paint and sealant are fully dry and set. |
Budget Furniture Flipping Painting Furniture Guide
Common Questions
What type of paint is best for furniture painting?
Do I need to use primer before painting?
How long should I wait before moving the furniture after painting?
Can I paint over existing paint on furniture?
References
- Tour Gadsby's Public Dining Room | City of Alexandria, VA (alexandriava.gov)
- Drift | Smithsonian American Art Museum (americanart.si.edu)
- Maggie McGaugh: Marketing Education Inspires Mega Influencer (andersonuniversity.edu)
- Kevin Heidkamp - ArtCenter College of Design (artcenter.edu)
Cite this guide
Flipper Lane (2026). Budget Furniture Flipping Painting Furniture Guide. https://flipperlane.com/budget-furniture-flipping-painting-furniture-guide/
Feel free to cite or share this guide.