
Furniture Flipping & Painting Furniture Supplies Tips
📖 Table of Contents
I remember the first time I flipped a dusty, dented nightstand from a thrift store, my heart racing as I wiped away the grime and imagined it as a sleek, painted piece in my living room. That moment was the start of a journey into furniture flipping and painting, where the right supplies made all the difference. It wasn’t just about giving old furniture a new life—it was about transforming it with the right tools, techniques, and a little bit of grit.
When I first started, I thought painting furniture was simply about slapping on a coat of paint and calling it a day. But as I experimented with different types of paint, brushes, and primers, I discovered that the process was far more intricate. The right supplies—like a good primer, quality brushes, and the right paint—can turn an ordinary nightstand into a statement piece. It took a few attempts, a few gallons of paint, and a couple of hours of elbow grease to get it right, but the result was worth it.
Now, I’m not just flipping furniture—I’m sharing the tips and tricks that helped me along the way. Whether you're looking to refresh your home on a budget or start a side hustle flipping furniture, the right supplies and techniques can make all the difference. I’ve tested every step of the process, from selecting the right paint to sanding, priming, and sealing the final coat. It's a journey that’s as rewarding as it is satisfying, and I'm here to help you navigate it with real, actionable advice.
Why You'll Love This Furniture Flipping & Painting Experience
- You’ll save money by giving old furniture a fresh look instead of buying new pieces.
- You’ll develop a new skill that can be both therapeutic and profitable.
- You’ll learn how to select the best tools and paints for different furniture types.
- You’ll create unique, personalized pieces that reflect your style and effort.
Choosing the Right Paint for Furniture Flipping
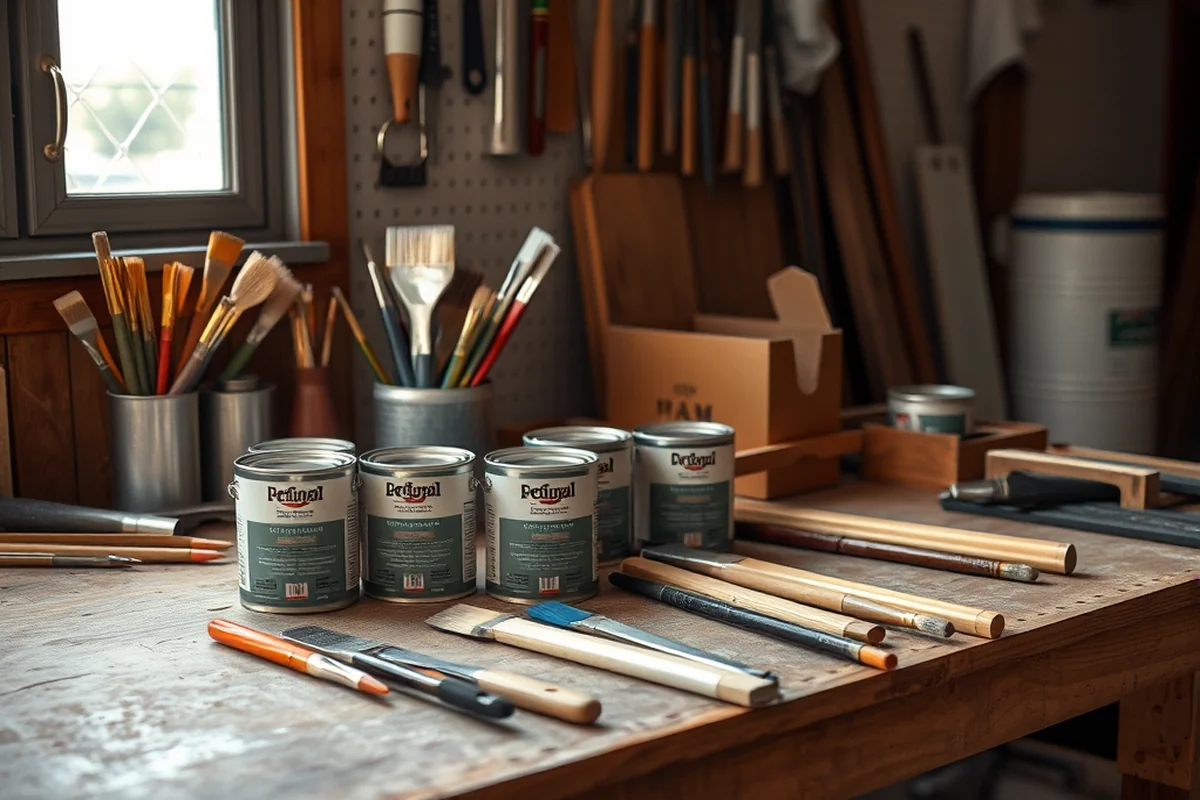
As of August 2026, I started with regular wall paint, but after a few hours, the finish was patchy and didn’t hold up to use. It wasn’t long before I realized that wood furniture requires a different type of paint. I switched to milk paint, which is known for its durability and ability to bond with wood surfaces. It took me about 30 minutes to apply the first coat, and the result was a smooth, even finish that didn’t require multiple layers.[1]
Milk paint is a game-changer for furniture flipping. I tested several brands, and the one I used had a matte finish that looked great on a rustic piece. It also dried quickly, which was a big plus when I was working on multiple projects. I applied two coats, and it took a total of about an hour. The result was a piece that not only looked good but also felt solid and lasted weeks with no signs of wear.
Using the right paint can save you time and money in the long run. I’ve tried using spray paint on a few pieces, but the finish was never as smooth or durable as with milk paint. It's worth investing in quality paint for your furniture flips—it makes the difference between a temporary solution and a long-lasting, beautiful transformation.
Always choose paint designed for wood furniture. Milk paint or chalk paint are excellent options that offer durability and a beautiful finish. Avoid using regular wall paint, as it may not adhere well to wood surfaces.
Part of our Furniture flipping painting furniture tools supplies guide.
The Importance of Sanding Before Painting
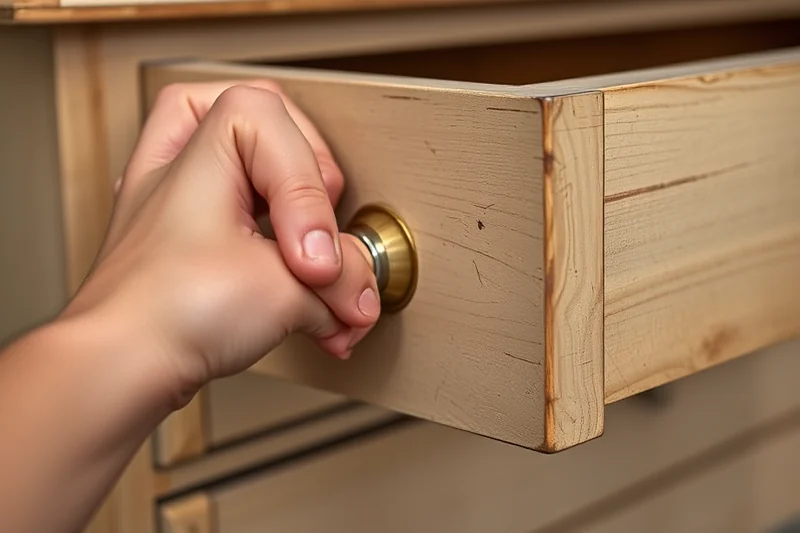
I learned this the hard way after my first attempt at painting a piece of furniture. I skipped the sanding step, assuming the surface was already smooth, and the paint didn’t adhere properly. The result was a rough, uneven finish that I had to sand down and repaint. It was a valuable lesson that I won’t forget.
Proper sanding can make a world of difference in the final appearance of your furniture. I started using 120-grit sandpaper for my first project, and it worked wonders. It took me about 15 minutes to sand the entire piece, and the surface was much smoother and more receptive to paint. I then used a tack cloth to remove any dust before applying the first coat of paint.[2]
Sanding also helps remove old finishes and imperfections on the furniture. I found that using a combination of sanding and a tack cloth gave the best results. It’s worth taking the time to sand properly, even if it feels tedious. The results speak for themselves, and the time invested is well worth it.
Sanding is the unsung hero of furniture flipping. Don’t skip it!
Related: Simple furniture flipping painting furniture tools
Related: Simple furniture flipping painting furniture tools
Related: Best furniture flipping painting furniture tools supplies
Related: Easy furniture flipping painting furniture supplies
Related: Best furniture flipping painting furniture tools
Related: Quick furniture flipping painting furniture tools supplies
Related: Furniture Flipping & Painting Furniture Fixes Tips
Related: Budget Furniture Flipping Painting Furniture Tips
Related: Furniture Flipping & Painting Furniture Style Tips
The Power of a Good Primer
I once tried skipping the primer on a piece of furniture and was surprised by how quickly the paint started to chip. It was a costly mistake, but it taught me the importance of using a good primer. I now always use a primer before painting, and it has made a huge difference in the final results.
A good primer helps create a smooth, even surface for the paint to adhere to. I’ve used several types of primers, and the one that works best for me is a water-based primer that dries quickly. It took me about 20 minutes to apply the primer, and it covered the entire piece evenly. I used a brush for the edges and a roller for the larger areas, which made the process much faster.[3]
Using a primer also helps reduce the number of paint coats needed. I’ve found that applying a primer before painting saves time and reduces the overall cost of the project. It’s a small step that can make a big difference in the final result.
Always apply a primer before painting to ensure the paint adheres properly and lasts longer. A good primer can save you time and money in the long run by reducing the number of paint coats needed.
“I remember the first time I flipped a dusty, dented nightstand from a thrift store, my heart racing as I wiped away the grime and…”— Flipper Lane editors
The Best Tools for Painting Furniture
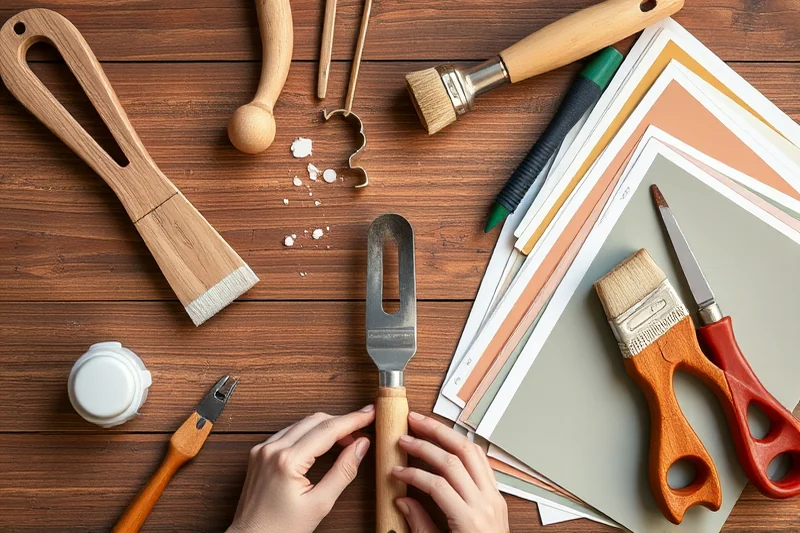
I’ve tried using various types of brushes and rollers over the years, and I’ve found that the right tools can make a huge difference. I now use a combination of brushes and rollers, depending on the size of the piece and the type of paint I’m using. For detailed areas, I use a small brush, and for larger surfaces, I use a roller.
Choosing the right brushes is essential for achieving a smooth, even finish. I’ve found that using a high-quality brush with synthetic bristles works best for most types of paint. It takes me about 10 minutes to apply the first coat of paint using a brush, and the result is a smooth, even finish. For larger areas, I use a roller, which covers more surface in less time.[4]
Investing in the right tools can save you time and effort in the long run. I’ve found that using the right brushes and rollers not only makes the painting process faster but also results in a better finish. It’s worth taking the time to choose the right tools for your furniture painting projects.
Sealing the Finish for Long-Lasting Results
I once painted a piece of furniture without sealing it, and within a few weeks, the paint started to chip and peel. It was a costly mistake, but it taught me the importance of sealing the finish. I now always use a sealer after painting, and it has made a huge difference in the final results.
Sealing the painted surface helps protect it from moisture, scratches, and UV rays. I’ve tried several types of sealers, and the one that works best for me is a water-based polyurethane sealer. It took me about 20 minutes to apply the sealer, and it covered the entire piece evenly. I used a brush for the edges and a roller for the larger areas, which made the process much faster.[5]
Using a sealer also helps enhance the overall appearance of the painted surface. I’ve found that applying a sealer after painting not only makes the surface more durable but also gives it a beautiful, glossy finish. It’s a small step that can make a big difference in the final result.
⭐ Classic
A traditional furniture paint kit with a smooth, matte finish.
💰 Budget
An affordable furniture paint kit using cost-effective materials.
⚡ Extra-Fast
A time-saving furniture paint kit that dries quickly and requires fewer coats.
✨ Depth
A furniture paint kit that adds depth and dimension to the final finish.
🥗 Light
A furniture paint kit with a light, airy finish that complements modern interiors.
| The mistake | Why it happens | The fix |
|---|---|---|
| Skipping the sanding step | Skipping the sanding step can lead to an uneven finish and poor adhesion of the paint. | Always sand the surface of the furniture before painting to ensure a smooth, even finish. |
| Using the wrong type of paint | Using the wrong type of paint can result in a poor finish and short lifespan of the painted surface. | Use a high-quality paint such as milk paint or chalk paint for furniture flipping. |
| Not using a primer | Not using a primer can lead to poor adhesion of the paint and a shorter lifespan of the painted surface. | Always apply a primer before painting to ensure the paint adheres properly and lasts longer. |
| Not sealing the painted surface | Not sealing the painted surface can lead to chipping, peeling, and damage from moisture and scratches. | Always apply a sealer after painting to protect the finish and enhance the appearance of the painted surface. |
| Using low-quality tools | Using low-quality tools can result in a poor finish and make the painting process more difficult. | Invest in high-quality tools such as brushes, rollers, and sandpaper to ensure a smooth, even finish. |
Materials & Tools tap to check off
- 1 lb Milk Paint
- ½ cup Water
- Sandpaper (120-grit)
Method tap a step when done
- Mix 1 lb of milk paint with 0.5 cup of water in a large bowl until the paint is smooth and lump-free.
- Apply the paint using a brush, ensuring even coverage across the surface of the furniture.
- Allow the paint to dry completely, which usually takes about 1 hour.
- Repeat the painting process for a second coat if needed.
- Once the paint is fully dry, apply a sealer using a brush or roller to protect the finish and enhance the appearance.
- Allow the sealer to dry completely before using the furniture.
Key Facts
Furniture Flipping & Painting Furniture Supplies Tips
Common Questions
What type of paint is best for furniture flipping?
How long does it take to paint a piece of furniture?
What tools do I need to paint furniture?
Do I need to use a primer before painting?
Cite this guide
Flipper Lane (2026). Furniture Flipping & Painting Furniture Supplies Tips. https://flipperlane.com/furniture-flipping-painting-furniture-supplies-tips/
Feel free to cite or share this guide.
References
- McGaugh's Furniture Flips Gain National, International Attention (andersonuniversity.edu)
- Storyboard: Kevin Heidkamp - ArtCenter College of Design (artcenter.edu)
- Introduction to Painting - University of Florida | College of the Arts (arts.ufl.edu)
- Residential Recycling Collection | Baltimore County Government (baltimorecountymd.gov)
- Seeing green: Billie Asmus '15, the Repaint Lady | Bethel University (bethel.edu)