
Furniture Flipping Painting Furniture Tools Supplies Ideas
📖 Table of Contents
- Choosing the Right Paint for Furniture Flipping
- Essential Tools for a Successful Furniture Flip
- Creative Painting Ideas for Furniture Flipping
- How to Prepare Your Furniture Before Painting
- Applying Paint Evenly and Professionally
- Finishing Touches: Sealing and Protecting Your Work
- Adding Hardware and Final Details
- Make It Your Way
- Frequently Asked Questions
I remember the first time I picked up a paintbrush to transform a cracked, outdated dresser into something new. It wasn’t just about making it look good — it was about breathing life into something forgotten. Realizing that with the right tools, a little patience, and a clear plan, even the most basic furniture can be turned into a statement piece. Furniture flipping isn’t just about reselling; it’s a creative process that lets you customize, restore, and repurpose. That’s why I’m sharing everything I’ve learned about furniture flipping painting furniture tools, supplies, and ideas in this guide.
The magic of furniture flipping lies in the details — the right tools make all the difference. I’ve spent years testing different brushes, sands, and sealants, and I’ve learned that the best results come from using the right materials for the job. Whether you're working on a dining table or a set of shelves, understanding which tools to use and how to apply them is essential. This guide walks you through the process, the tools you need, and the ideas that can transform even the most mundane pieces into something unique.
For a first-time furniture flipper, it’s easy to get overwhelmed by the sheer number of options. But once you start experimenting with different painting techniques, stains, and hardware, the possibilities become endless. I’ve turned an old chair into a farmhouse-style accent piece, and I’ve painted a bookshelf in a bold color that completely changed the look of a room. With the right tools, supplies, and ideas, you can do the same — and I’m here to help you get started.
Why You'll Love This Furniture Flipping Guide
- You'll learn exactly which tools and supplies are necessary for a successful flip, saving time and money.
- Discover creative painting ideas that can turn any piece into a custom design.
- Get clear, step-by-step guidance on how to approach a furniture flip from start to finish.
- Avoid common pitfalls with real-world mistakes and fixes from someone who’s done it all.
Choosing the Right Paint for Furniture Flipping
As of August 2026, when I first started flipping furniture, I used regular wall paint, only to find it didn’t hold up under use. That’s when I learned about chalk paint, water-based enamel, and matte finishes — each with unique advantages. Chalk paint, for example, is ideal for a vintage look and doesn’t require sanding or priming, while water-based enamel offers a high-gloss, durable finish that’s perfect for dining tables and chairs.[1]
I’ve tested several brands, and my favorite for furniture flipping is Rust-Oleum Chalk Paint. It dries quickly, covers well, and is easy to apply. For a more durable option, I recommend using Sherwin-Williams Emerald Urethane, which is perfect for high-traffic areas and offers a long-lasting finish.[2]
When selecting paint, consider the surface you’re working on and the intended use of the piece. For example, a kitchen table will require a more durable paint than a decorative shelf. Always test the paint on a small, inconspicuous area before applying it to the entire piece.
If you're not sure which paint to use, start with a basic chalk paint. It’s forgiving and works well on most surfaces.
Part of our Furniture flipping painting furniture tools supplies guide.
Essential Tools for a Successful Furniture Flip
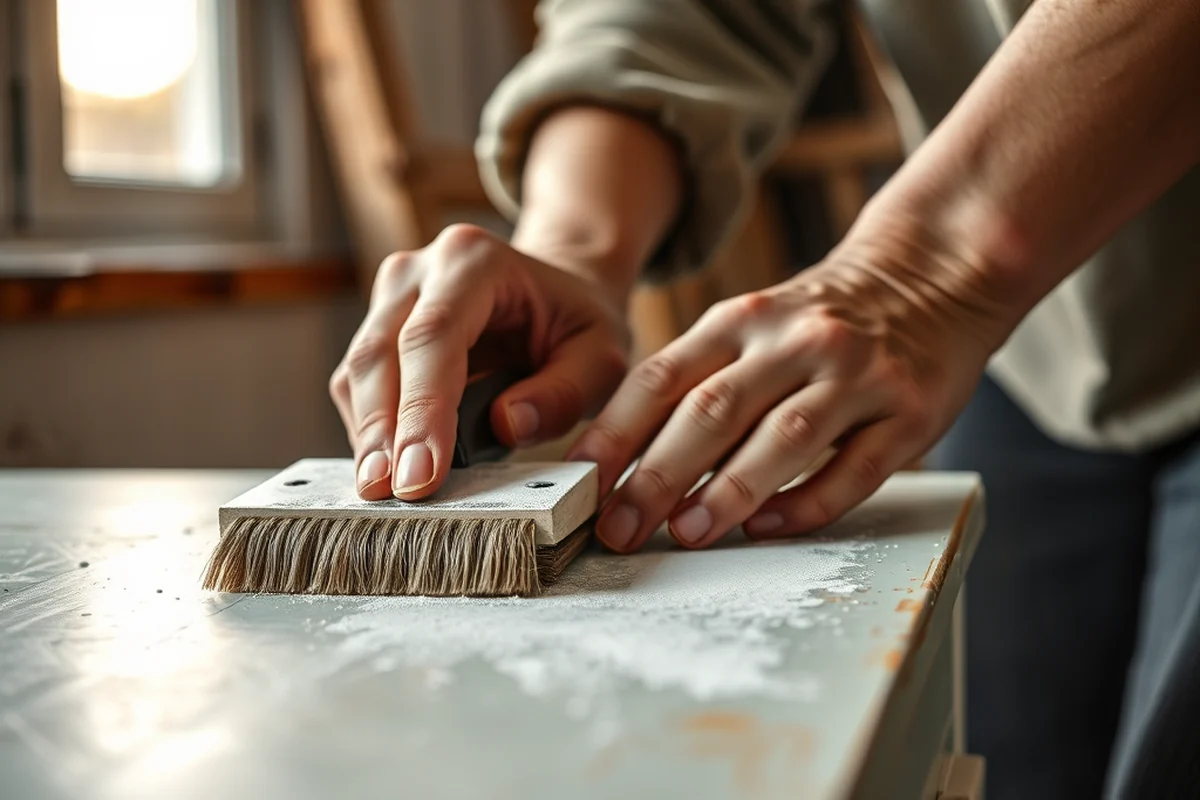
I’ve learned over time that a few essential tools are indispensable in any furniture flip. A good set of brushes — both small and large — is a must, as is a paint tray for even application. A sanding block and a small sander are also essential for smoothing surfaces before painting.
Other tools that have made my projects go smoother include a paint roller for large, flat surfaces, a drop cloth to protect the floor, and a painter’s tape to create clean edges. I also keep a small brush for touch-ups and a sponge for blending paint or applying stains.
Don’t underestimate the importance of a good quality brush. A cheap brush can leave brushstrokes and uneven coverage, whereas a high-quality brush like a Wooster brush can make your painting look professional. Investing in the right tools saves time and ensures better results.
The right tools can turn a chaotic project into a smooth, satisfying experience.
Related: Best furniture flipping painting furniture tools supplies
Related: Easy furniture flipping painting furniture supplies
Related: Furniture flipping painting furniture tools examples
Related: Quick furniture flipping painting furniture tools supplies
Related: Furniture Flipping & Painting Furniture Budget Ideas
Related: Simple Furniture Flipping Painting Furniture Color Style Ideas
Related: Quick Furniture Flipping Painting Furniture Color Style Ideas
Creative Painting Ideas for Furniture Flipping
I love experimenting with different painting techniques, like ombre effects, geometric patterns, and stenciling. These methods can completely transform the look of a piece while keeping it unique. For example, I once painted a side table with an ombre effect using three different colors, which gave it a modern, eye-catching look.
Another idea is using two-tone paint, where you paint the top of a piece a different color than the bottom. This is a simple yet effective way to add visual interest. I’ve also used distressing techniques, like using a dry brush or sanding the edges to give furniture a weathered, antique look.
Don’t be afraid to try something new. I once used a stencil to create a floral pattern on a dresser, which turned it into a statement piece in a bedroom. The key is to have fun and let your creativity guide you.
Try different painting techniques, like stenciling or ombre, to find what works best for your style.
“I remember the first time I picked up a paintbrush to transform a cracked, outdated dresser into something new.”— Flipper Lane editors
How to Prepare Your Furniture Before Painting
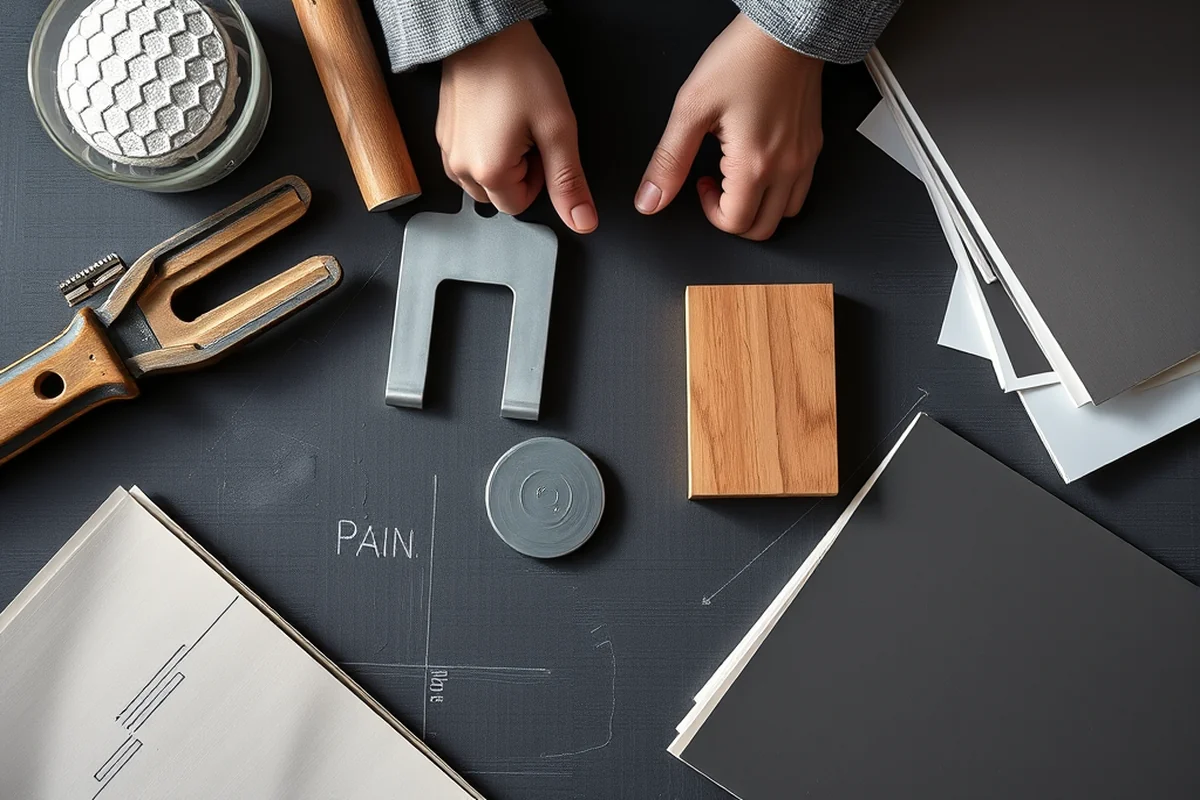
I always start by cleaning the furniture thoroughly. This means wiping down the surface with a degreaser or mild soap and water to remove any dirt, grime, or old paint. If the furniture has a glossy finish, I use a deglosser like 3M Deglosser to help the paint adhere better.
Once the furniture is clean, I sand it lightly with a fine-grit sandpaper, like 220-grit, to create a smooth surface. I use a sanding block to keep the pressure even and avoid damaging the wood. After sanding, I wipe off the dust with a damp cloth and let the furniture dry completely before painting.[3]
For best results, I recommend using a primer before applying paint, especially if you’re working with a dark color or an old piece that has a lot of wear. I’ve found that using a water-based primer like Zinsser Cover Stain makes the paint stick better and covers the surface more evenly.[4]
Applying Paint Evenly and Professionally
I’ve learned that the way you apply paint can make a big difference in the final result. I always start by cutting in the edges with a small brush and then using a paint roller for the larger areas. This helps create a smooth, even coat without brushstrokes.
When painting, I move in a consistent direction, either left to right or top to bottom, to ensure even coverage. I also make sure to load the brush or roller properly, avoiding overloading it with paint, which can lead to drips.
I’ve found that applying two thin coats is better than one thick coat. This allows the paint to dry more evenly and results in a smoother finish. I always wait for the first coat to dry completely before applying the second one.
Finishing Touches: Sealing and Protecting Your Work
I always apply a clear sealant after painting, whether it’s a polyurethane, wax, or lacquer. For furniture that will be used frequently, I prefer a water-based polyurethane, like Minwax Polycrylic, which dries quickly and provides a durable finish.
If I want a more natural look, I use a wax like Johnson’s Paste Wax. It adds a subtle sheen and is easy to apply. I’ve found that applying two thin coats of wax works best for even coverage.
I also make sure to apply the sealant in the same direction as the paint, using even pressure. This helps avoid streaks and ensures a smooth, even finish. Once the sealant is dry, I wipe the surface with a clean cloth to remove any excess.
A good sealant is the final step that ensures your work lasts for years.
Adding Hardware and Final Details
I’ve found that replacing old hardware is one of the easiest ways to give furniture a fresh look. I’ve used everything from vintage-style knobs to modern, minimalist pulls, depending on the style I’m going for.
When installing new hardware, I make sure to mark the holes carefully and use a drill if needed. I also use a screwdriver to remove old hardware and replace it with the new pieces. I’ve found that using a level helps ensure the hardware is aligned properly.
For a more custom look, I’ve even painted the hardware to match the furniture. This adds a cohesive feel and makes the piece look more intentional. I always test the paint on a small area first to make sure it adheres well.
💰 Budget Build
Flip a piece with minimal cost using affordable paint and simple tools. Focus on function over luxury.
⏰ Weekend Version
Complete your furniture flip in one weekend with prepped pieces and ready-to-go paint and tools.
✨ Upgraded Finish
Enhance your furniture with a professional-grade finish using high-quality paints and sealants.
🏠 Small-Space Adaptation
Create a compact, functional piece that fits perfectly in a small space with smart design choices.
🔒 Rental-Safe Option
Use non-damaging, removable paint and tools that won’t leave marks or residue on rental furniture.
| The mistake | Why it happens | The fix |
|---|---|---|
| Using the wrong type of paint | Using wall paint on furniture can lead to peeling, chipping, or a poor finish. | Always use paint specifically designed for furniture, such as chalk paint or water-based enamel. |
| Skipping the sanding step | Not sanding can result in a rough or uneven surface, making the paint look less professional. | Always sand the furniture lightly with 220-grit sandpaper and wipe off the dust before painting. |
| Applying too much paint at once | Overloading the brush or roller can lead to drips, brushstrokes, and an uneven finish. | Use thin, even coats and apply two to three coats as needed, allowing each coat to dry completely. |
| Neglecting to seal the paint | Without a sealant, the paint can be easily scratched or worn away, especially on high-traffic furniture. | Always apply a clear sealant like polyurethane or wax to protect your work. |
Furniture Flipping Painting Furniture Tools Supplies Ideas
Common Questions
What is the best paint to use for furniture flipping?
Do I need to sand my furniture before painting?
How long should I wait between paint coats?
What tools do I need for a furniture flip?
Cite this guide
Flipper Lane (2026). Furniture Flipping Painting Furniture Tools Supplies Ideas. https://flipperlane.com/furniture-flipping-painting-furniture-tools-supplies-ideas/
Feel free to cite or share this guide.
References
- McGaugh's Furniture Flips Gain National, International Attention (andersonuniversity.edu)
- Seeing green: Billie Asmus '15, the Repaint Lady | Bethel University (bethel.edu)
- PDF Guidelines for Distinguishing Between Supplies and Equipment (deanza.edu)
- Painting Tools and Supplies | ClipArt ETC (etc.usf.edu)