
How To Clear Coat Paint
📖 Table of Contents
The first time I clear coated a small piece of furniture, I didn’t know what I was doing. I grabbed any old spray can from the garage and sprayed it on in a haphazard way. The result was a sticky, uneven mess that looked like it had been hit by a storm. That was a humbling moment, but it also taught me something valuable: clear coating is not a step to skip. If you want your painted furniture or woodwork to last, to gleam, and to resist the inevitable scratches of daily life, you need to get the clear coat right.
Clear coating is the unsung hero of DIY projects. It’s the difference between a paint job that fades in a week and one that holds up for years. I’ve tried multiple types of clear coats—polyurethane, lacquer, water-based, and even some oils—and learned which work best for different surfaces and environments. The key is understanding the right product, the right technique, and the right timing. Once I figured that out, the transformation was dramatic.
Now, when I clear coat a piece of furniture, I don’t rush. I take my time, measure, prep, and apply with care. The results speak for themselves. My painted dining table has held up for over two years, and the clear coat has kept it looking like new. Whether you’re tackling a small side table or a whole kitchen island, learning how to clear coat paint can be the difference between a project that looks good and one that lasts.
Why You'll Love This DIY Guide
- Long-lasting, professional-quality finish with proper technique
- Protects your painted surfaces from scratches and wear
- Saves money by extending the life of your DIY projects
- Easy to apply with the right tools and materials
Choosing the Right Clear Coat
As of September 2026, when I first started, I assumed any clear coat would work, but that was a mistake. I quickly learned that polyurethane is best for high-traffic areas, while water-based options are better for indoor use. I also discovered that some clear coats dry faster than others, which affects how many coats you can apply in a day. For my dining table, I used a water-based polyurethane that dries in about 4 hours and allows for multiple coats without leaving streaks.
Oil-based clear coats are also an option, but they take longer to dry and have a stronger odor. I used one on a wooden picture frame once, and it took over 24 hours to fully cure. If you're working on a project that needs to be used immediately, water-based is a better bet. Always check the manufacturer's instructions for drying times and compatibility with your paint type.[1]
Another thing I learned is that the sheen level matters. A matte finish is great for hiding imperfections, while a gloss finish adds a beautiful shine. I went with a semi-gloss finish on my table because it looks great and is easy to clean. Always test the clear coat on a small area first to see how it interacts with your paint.
Before you apply clear coat to your whole project, test it on a small, inconspicuous area to ensure compatibility and desired finish.
Prepping the Surface for Clear Coating
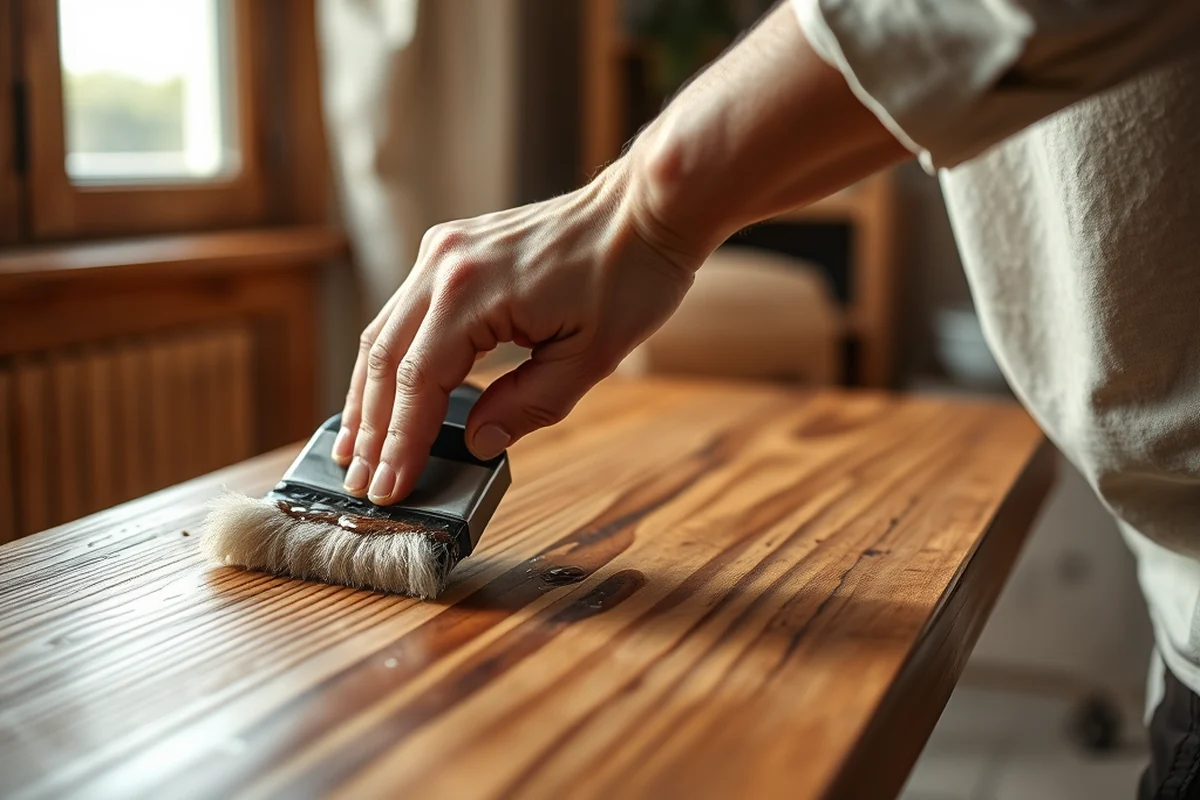
The first time I skipped sanding, I had a disastrous result. The clear coat didn’t adhere properly and ended up peeling off in chunks. After that, I made a rule: always sand the surface before applying any clear coat. I use a fine-grit sandpaper (220-400 grit) to smooth out any bumps, scratches, or old paint. This creates a nice, even surface for the clear coat to stick to.[2]
I also learned that cleaning the surface is essential. Dust, oils, and fingerprints can interfere with adhesion. I wipe the surface down with a tack cloth or a damp microfiber cloth, making sure it's completely dry before moving on. I once skipped this step on a small side table, and the clear coat didn’t stick well in one corner, which was a pain to fix later.
After sanding and cleaning, I always apply a thin layer of primer if the surface is porous or if I’m painting over a dark color. This helps the clear coat adhere better and prevents the underlying paint from bleeding through. It’s an extra step, but it’s worth it for the finished result.
A clean surface is the start of a perfect clear coat.
Related: Chalk paint finishing techniques
Related: Chalk paint distressing techniques
Related: Chalk paint techniques for beginners
Applying the Clear Coat
I learned this the hard way when I tried to apply the clear coat in one long, continuous motion. The result was uneven and had streaks that I couldn’t fix. Now, I apply the clear coat in a back-and-forth motion, keeping the can about 12 inches from the surface. I also work in small sections to avoid missing spots or overlapping too much.[3]
I always apply the clear coat in a well-ventilated area, even if it means moving the project outside. The fumes can be strong, especially with oil-based products, and I don’t want to risk inhaling them. I also make sure to wear a mask and gloves for safety. After applying the first coat, I wait for it to dry slightly before applying the second coat, which gives a more even finish.
I’ve found that applying two or three thin coats is better than one thick coat. Thick coats can lead to sagging or bubbles, which ruin the finish. I let each coat dry fully before applying the next, following the manufacturer’s instructions. This approach gives a smooth, professional look that lasts for years.
Apply the clear coat in small, manageable sections to avoid streaks and ensure even coverage.
“The first time I clear coated a small piece of furniture, I didn’t know what I was doing.”— Flipper Lane editors
Related: Chalk paint techniques for different effects
Related: Youtube chalk paint techniques
Related: Chalk paint and wax technique
Drying and Curing Time
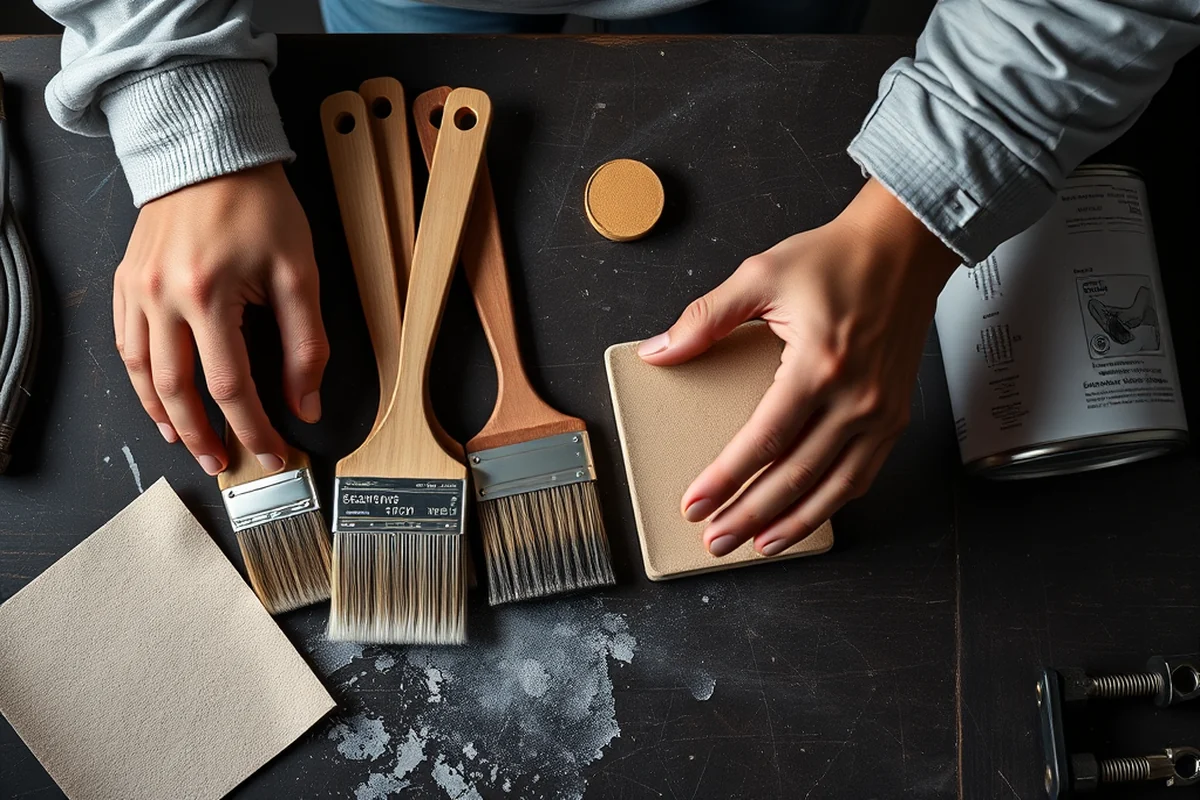
I used to get frustrated when my clear coat didn’t look right right away. I didn’t realize that drying and curing are two different things. Drying refers to when the surface feels dry to the touch, while curing is when the clear coat becomes fully hardened and resistant to scratches. For example, the water-based polyurethane I used on my dining table took about 4 hours to dry but needed 24 hours to fully cure.[4]
I once tried to move a table too soon after applying the clear coat, and the surface was still soft. I ended up scratching it, which was a big mess to fix. Now, I always wait the full curing time before using the piece. This ensures the clear coat is fully hardened and won’t chip or wear easily.
Some clear coats take longer to cure than others. Oil-based products can take days or even weeks to cure completely. I used an oil-based clear coat once on a small chair, and it took over a week to fully cure. Always check the manufacturer’s instructions for drying and curing times to avoid mistakes.
Related: Chalk paint techniques for furniture
Related: Workshop chalk paint techniques
Related: Chalk paint glaze technique
Fixing Common Issues
I’ve had my fair share of clear coat mishaps. One time, I didn’t wait long enough between coats and ended up with streaks and bubbles. Another time, I applied the clear coat too thickly, and it started to sag. I learned that these issues are fixable, but you have to act quickly.
If you notice streaks or bubbles, you can sand the affected area with fine-grit sandpaper and apply another coat. If the clear coat is too thick or sagging, you can sand it down and start over. I’ve also found that using a hairdryer to speed up the drying process can help, but I only do this in a well-ventilated area and with caution.
In some cases, it’s better to remove the clear coat entirely and start over. I had to do this once when the clear coat didn’t adhere properly. It was frustrating, but I learned that patience and careful application are key to avoiding these problems.
Related: Chalk paint techniques
Related: Diy chalk paint furniture painting techniques
Related: Chalk paint methods
Storing and Reusing Clear Coat
I used to throw away leftover clear coat after a project, but that was a waste of money. Now, I store the cans in a cool, dry place and use them for other projects. I’ve also found that some clear coats can be used for multiple projects, depending on how much is left.
I once used leftover clear coat to touch up a shelf that had gotten scratched. It worked perfectly, and the finish matched the original. I’ve also used it on other furniture pieces, which has saved me a lot of money over time. Just make sure the clear coat is still usable and hasn’t hardened or expired.
If the clear coat has hardened, you can try warming it up in a water bath or using a can warmer. I’ve done this a few times, and it usually works. But if the clear coat is too old or has dried out completely, it’s best to throw it away and buy a new can.
A little clear coat goes a long way—store it well, and you’ll save money and time.
Related: Chalk paint effects on furniture
Related: Chalk paint techniques for picture frames
Choosing the Right Tools
I used to apply clear coat with just a spray can, but that was limiting. Now, I have a few essential tools that make the job easier and more precise. A spray can is still my go-to, but I also use a brush for small areas or hard-to-reach spots.
I’ve found that using a brush in combination with a spray can gives the best results. For example, I use a brush to apply clear coat in tight corners or on edges, then use the spray can for the larger surfaces. This approach ensures even coverage and no missed spots.
Another tool I’ve found useful is a foam brush for applying clear coat on wood. It doesn’t leave streaks and gives a smooth finish. I’ve also used a roller for large, flat surfaces, like a table or countertop. It’s faster than a brush and covers more area in less time.
💰 Budget Build
Use a basic water-based clear coat and apply two coats to save on materials.
⏰ Weekend Version
Choose a quick-drying clear coat and work in small sections to finish in one day.
✨ Upgraded Finish
Use a high-quality clear coat and apply three thin coats for a professional look.
🏠 Small-Space Adaptation
Use a brush or foam applicator to avoid the mess of a spray can in tight spaces.
🔒 Rental-Safe Option
Choose a low-odor, water-based clear coat that’s safe to use in rental properties.
| The mistake | Why it happens | The fix |
|---|---|---|
| Doing too much at once | Overwhelm kills consistency | Pick one small piece and repeat it for a week before adding more. |
| Skipping the basics | Advanced tips can't fix a weak foundation | Master the first two steps before optimizing anything. |
How To Clear Coat Paint
Common Questions
Can I use a clear coat on painted furniture?
How many coats of clear coat should I apply?
What’s the best way to fix streaks or bubbles in the clear coat?
Can I use a clear coat on wood that’s not painted?
References
- The role of basecoat pigmentation on the biological resistance of an ... (academia.edu)
- Pearl Painting Mistakes - Automotive Training Center (autotraining.edu)
- Chemical and mechanistic aspects of wood finishing - BioResources (bioresources.cnr.ncsu.edu)
- Autobody Repair Shops – Control of Paint Overspray - CDC (cdc.gov)
Cite this guide
Flipper Lane (2026). How To Clear Coat Paint. https://flipperlane.com/how-to-clear-coat-paint/
Feel free to cite or share this guide.