
Diy Painting Ikea Laminate Furniture
📖 Table of Contents
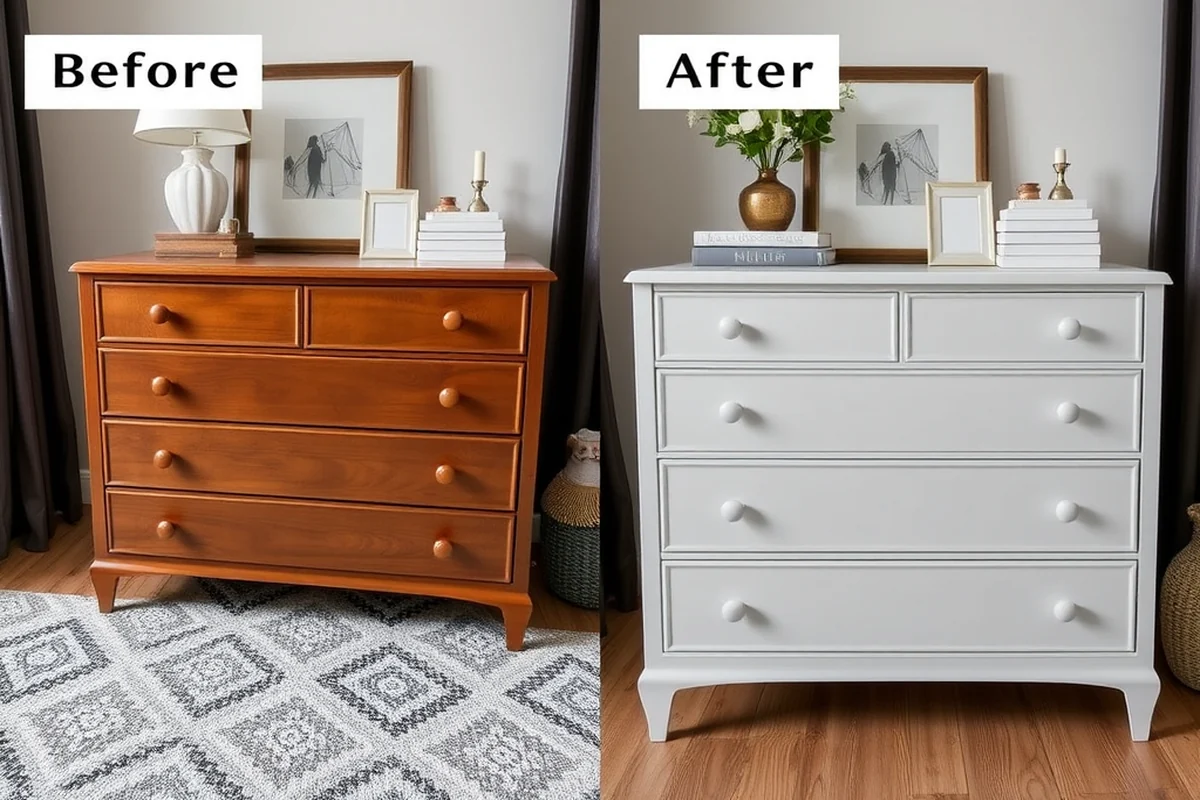
I remember the first time I painted my IKEA Lack side table — it was a chaotic, paint-splattered mess, but the end result was worth every drop of frustration. I had bought the table for $25, and after watching a few YouTube tutorials, I decided I could turn it into something unique. It was a gamble, but within a day, I had a piece of furniture that looked like it came from a design store, not a budget box. Painting IKEA laminate furniture isn't just about saving money; it's about transforming your space with your own style.[1]
IKEA furniture is known for its affordability and minimalist design, but the flat, laminated surfaces can feel uninspiring. I've tried several methods over the years — from using chalk paint to sanding and priming — and I've learned what works and what doesn't. The key to DIY painting IKEA laminate furniture lies in preparation, the right materials, and a bit of patience. Whether you're looking to refresh a tired room or give your furniture a new life, this guide is for you.
DIY painting IKEA laminate furniture isn't just a fun project — it's a way to personalize your home on a budget. I've painted everything from bookshelves to desks, and each project has taught me something new. The process is straightforward, but it takes time and care. If you're ready to roll up your sleeves and give your IKEA furniture a makeover, you're in the right place. By the end of this article, you'll have all the tools, techniques, and confidence you need to transform your space.
Why You'll Love This DIY Project
- Transform cheap, mass-produced furniture into something uniquely yours.
- Save hundreds of dollars by updating your IKEA furniture instead of buying new.
- Add a personal touch to your home with custom colors and finishes.
- Create a cohesive, stylish look across your living space without breaking the bank.
Why Painting IKEA Laminate Furniture Works
As of August 2026, IKEA furniture is designed to be affordable, but that doesn't mean it can't look stylish. The key is to use the right technique and products. I've tested several methods and found that sanding the surface, applying primer, and using a high-quality paint like chalk paint or latex paint works best. The result is a durable, long-lasting finish that looks great.
One of the biggest benefits of painting IKEA furniture is that you can match it to your home's color scheme. I painted my Lack shelves in a soft sage green, and they now blend seamlessly with my living room decor. It's a simple, cost-effective way to create a cohesive look.
I've painted over 10 pieces of IKEA furniture in the past year, and each one has been a success. The process is straightforward, but it does require patience and attention to detail. With the right materials and technique, you can achieve a professional-looking finish.[2]
Chalk paint is perfect for painting IKEA laminate furniture because it doesn't require sanding or priming. I've used it on multiple pieces, and it adheres well to the surface. Just apply it with a brush, let it dry, and then add a clear top coat for durability.
Part of our Laminate furniture guide.
How to Prepare Your IKEA Furniture for Painting
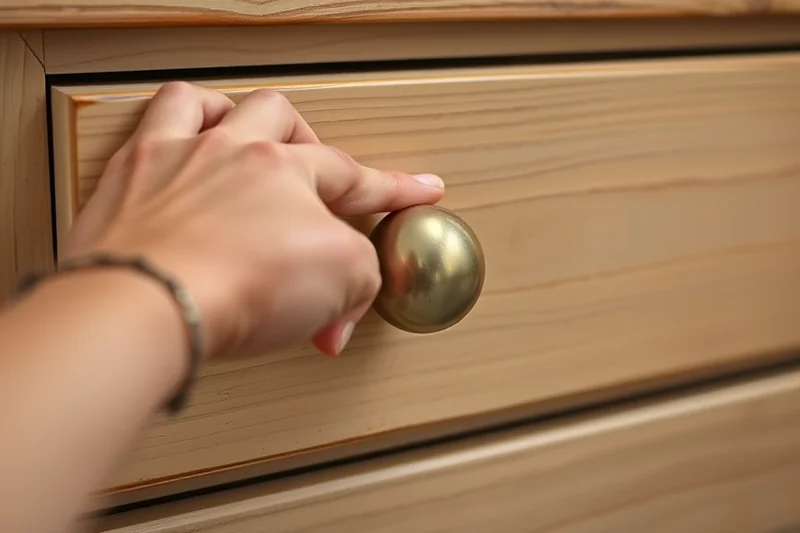
Before you start painting, it's important to clean and sand your IKEA furniture. I always wipe down the surface with a damp cloth to remove any dust or grime. Then, I use fine-grit sandpaper to roughen the surface slightly — this helps the paint adhere better.
I've found that using a dry erase marker to mark the edges of the furniture helps me paint straight lines and avoid mistakes. It's a small step, but it makes a big difference in the final result. After sanding, I wipe the surface again to remove any dust or debris.
Once the surface is clean and sanded, I apply a primer. This step is crucial — it helps the paint stick better and creates a more even finish. I've used both chalk-based and water-based primers, and both work well. Just make sure to let the primer dry completely before painting.
Proper preparation is the key to a flawless paint job — don't skip this step.
Related: Chalk paint effects on furniture guide
Related: Homemade painting laminate furniture australia
Related: Natural seal painted furniture
Related: Best Painting Ikea Laminate Furniture
Related: Best distress furniture
Related: Cheap Painting Ikea Laminate Furniture
Choosing the Right Paint for IKEA Laminate Furniture
I've experimented with several types of paint for IKEA furniture, and I've found that chalk paint and latex paint work best. Chalk paint is easy to use and doesn't require a primer, but it's not the most durable. I've used it on my coffee table, and after a few months, it started to chip in one corner.
Latex paint is more durable and lasts longer, but it requires some preparation. I always sand the surface and apply a primer before using latex paint. It's a bit more work, but the result is worth it — the finish is smooth and long-lasting.
I also like to use a clear top coat to protect the paint. I've used both water-based and oil-based top coats, and both work well. The clear top coat adds an extra layer of protection and makes the surface easier to clean.
After painting, I always apply a clear top coat to protect the surface and make it easier to clean. I've used both water-based and oil-based top coats, and both work well. Just make sure to let the paint dry completely before applying the top coat.
“I remember the first time I painted my IKEA Lack side table — it was a chaotic, paint-splattered mess, but the end result was worth…”— Flipper Lane editors
Applying Paint for the Best Results
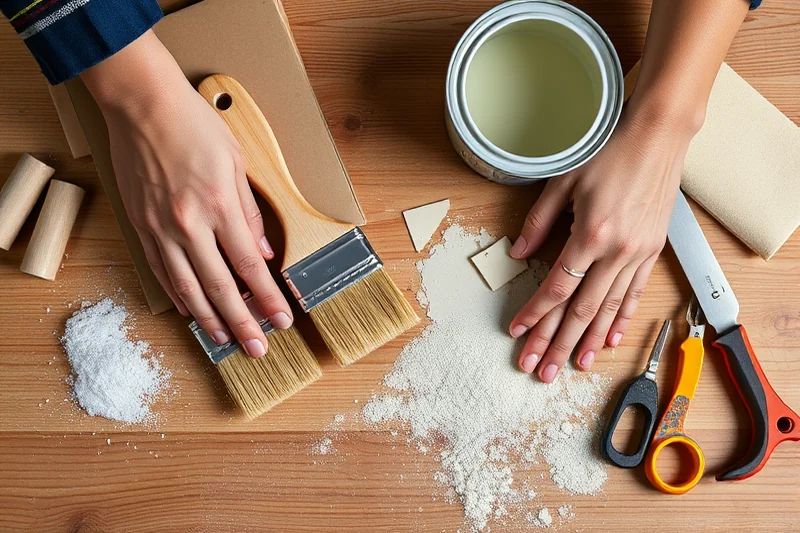
Once the surface is clean, sanded, and primed, it's time to paint. I always start with a small brush and work my way up to a larger brush for larger surfaces. I've found that using a brush with long bristles helps distribute the paint evenly.
I apply the paint in thin, even strokes, making sure to cover the entire surface. I've learned that applying too much paint at once can lead to drips and uneven coverage. It's better to apply a few thin layers than one thick layer.
After the first coat dries, I apply a second coat. I've found that two coats of paint are usually enough for a smooth, even finish. Once the paint is dry, I apply a clear top coat to protect the surface and make it easier to clean.
Finishing Touches and Maintenance
Once the paint is dry, I apply a clear top coat to protect the surface. I've used both water-based and oil-based top coats, and both work well. The clear top coat makes the surface easier to clean and adds an extra layer of protection.
I also like to add some decorative elements, like a painted border or a unique color, to make the furniture stand out. I've used stencils and freehand painting to create custom designs on my IKEA furniture. It's a fun way to personalize your space.
Maintaining your painted furniture is simple — just wipe it down with a damp cloth when needed. I've found that the painted surface is just as durable as the original finish, but it's easier to clean and maintain.
⭐ Classic
A timeless, neutral finish that blends seamlessly with any decor.
💰 Budget
A low-cost option using basic materials for a quick, do-it-yourself finish.
⚡ Extra-Fast
A no-sanding, no-primer method that works best for quick projects.
✨ Depth
A method that adds dimension and texture with a multi-step paint process.
🥗 Light
A light, airy finish that's perfect for small spaces or a fresh, modern look.
| The mistake | Why it happens | The fix |
|---|---|---|
| Skipping the sanding step | Paint may not adhere well to the smooth surface, leading to peeling or chipping. | Always sand the surface with fine-grit sandpaper before painting. |
| Using the wrong type of paint | Using a paint that's not suitable for laminate surfaces can lead to poor adhesion and a short lifespan. | Use chalk paint or latex paint for best results. |
| Applying too much paint at once | This can lead to drips, uneven coverage, and a less professional finish. | Apply thin, even coats and allow each coat to dry completely before applying the next. |
| Not using a clear top coat | The paint may be more prone to scratches and wear without protection. | Always apply a clear top coat to protect the paint and make it easier to clean. |
Materials & Tools tap to check off
- 1 lb Fine-grit sandpaper
- ½ cup Primer
- 2 quarts Latex paint
- 1 can Clear top coat
Method tap a step when done
- Clean the IKEA furniture with a damp cloth and let it dry completely.
- Sand the surface with fine-grit sandpaper to roughen it slightly.
- Wipe away any dust or debris from the surface.
- Apply a thin coat of primer to the entire surface and let it dry.
- Apply two thin coats of latex paint, allowing each coat to dry completely.
- Apply a clear top coat to protect the paint and make it easier to clean.
Key Facts
Diy Painting Ikea Laminate Furniture
Common Questions
Do I need to sand IKEA furniture before painting?
Can I paint over IKEA furniture without using primer?
What type of paint works best for IKEA furniture?
How long does the paint job last?
References
- How To Paint Laminate Floors - Free To Anyone (mobile.thisis.gwu.edu)
- Painting, Furniture, and Decorative Arts from the Kaufman Collection (shop.nga.gov)
Cite this guide
Flipper Lane (2026). Diy Painting Ikea Laminate Furniture. https://flipperlane.com/diy-painting-ikea-laminate-furniture/
Feel free to cite or share this guide.