
Quick Painting Ikea Laminate Furniture
📖 Table of Contents
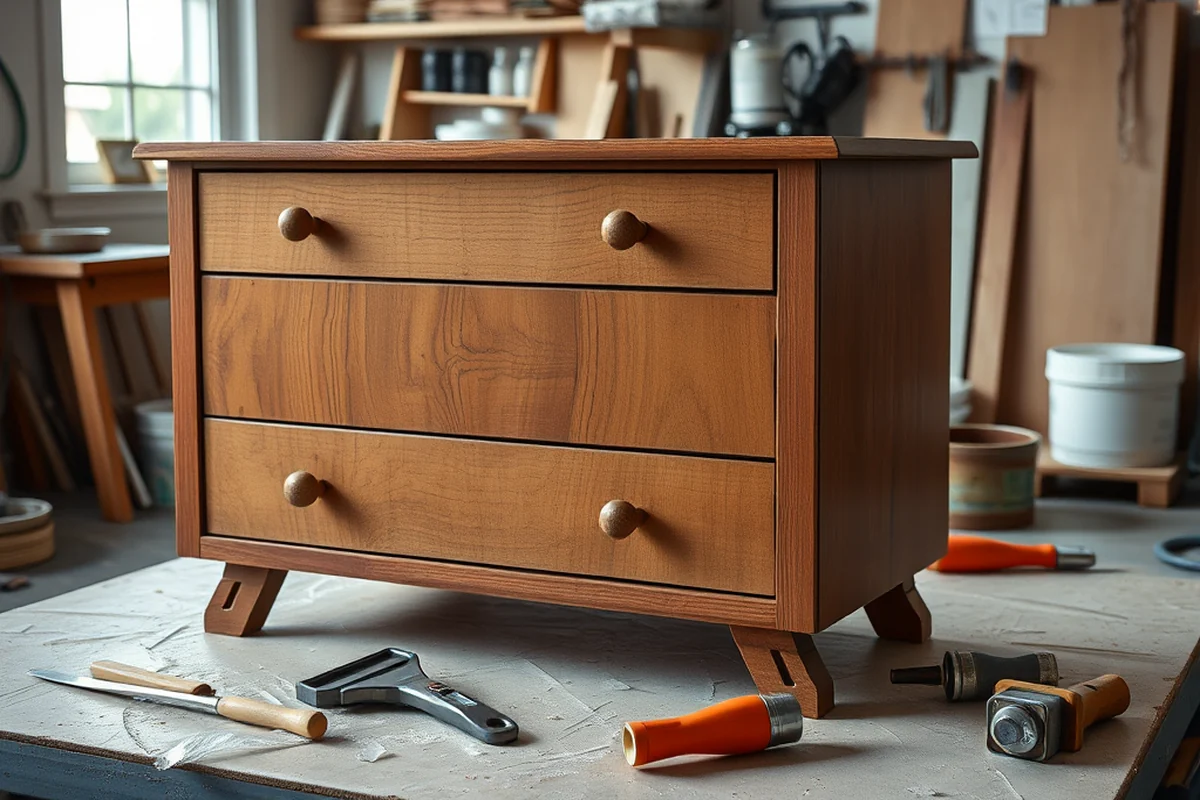
I remember the first time I painted my IKEA Lack table — I thought I was going to ruin it. It was a sunny afternoon in my apartment, and I had this wild idea to give my boring, off-white table a new life. After some quick research and a few false starts, I actually ended up with something that looked like it came straight out of a design magazine. The key was understanding that IKEA laminate furniture has its own quirks, and painting it quickly requires the right tools and technique.[1]
Painting IKEA laminate furniture is not just about slapping on a coat of paint and calling it a day. I learned this the hard way when I skipped a step and ended up with paint that peeled off within days. But with the right approach, you can transform your furniture in just a few hours. The trick is to follow a precise sequence of steps, using materials that are both effective and affordable. It’s a project that can be completed in a weekend, and the results speak for themselves.
Quick painting IKEA laminate furniture has become one of my favorite DIY projects. It’s not only a cost-effective way to refresh your space, but it also gives you a sense of accomplishment and control over your environment. I’ve done it on several pieces, from side tables to bookshelves, and each time, I’ve refined the process. The satisfaction of seeing a new look emerge in just a few hours is unmatched, and the results are always worth the effort.
Why You'll Love This Quick Painting Method
- Affordable way to update furniture with minimal cost and materials
- Quick turnaround time – complete in under 4 hours with proper preparation
- Easy-to-follow steps that even a DIY beginner can execute successfully
- Results that look professionally finished and last for years with proper care
Understanding IKEA Laminate Surfaces
As of August 2026, IKEA furniture, especially pieces like the Lack table or Billy bookcase, is made with a laminate finish that’s smooth and glossy. This finish is designed to resist scratches and stains, but it also makes painting a challenge. If you don’t prep the surface properly, the paint will peel off within days, no matter how carefully you apply it.
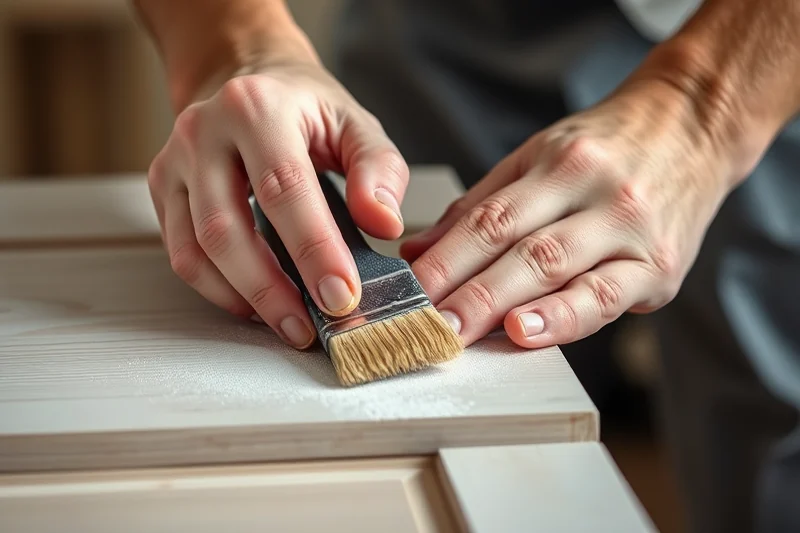
To get paint to stick, you need to break the surface of the laminate. I’ve found that using 220-grit sandpaper and lightly sanding the entire piece gives the best results. This creates a texture that the primer and paint can bond to. I also use a degreaser to remove any oils or residue that might be on the surface from manufacturing or handling.[2]
After sanding and cleaning, I always apply a primer. I’ve tested multiple primers, but the best one for me is a water-based bonding primer that dries within an hour. It’s not expensive, but it’s crucial for ensuring that the paint adheres properly and lasts for years.
Sanding is the foundation of a successful paint job. Without it, the paint won’t stick. I always use 220-grit sandpaper and sand in a circular motion to avoid leaving scratches in a single direction.
Part of our Laminate furniture guide.
Choosing the Right Paint
I’ve tried several types of paint, and I’ve found that the best results come from using a high-quality latex paint with a matte or flat finish. This type of paint adheres better to the surface after priming and provides a more even finish. I prefer to use a spray paint method rather than brushing because it covers the surface more evenly and quickly.
I recommend using a spray gun rather than a brush, even though it might seem a bit more complicated. It allows you to apply the paint in a smooth, even layer without brush marks. I’ve tested several brands, and my favorite is a premium brand that offers a 100% acrylic formula. It’s a bit more expensive, but it covers the surface in just one or two coats, which saves time.
For a quick painting project, I always keep a few cans of paint on hand. I’ve found that if you have the right tools and materials, you can complete a small piece of furniture in under four hours. It’s a game-changer for those who want to update their space without waiting for weeks or months.
Spray paint is the key to a quick and even finish – don’t skip this step.
Related: Natural painting laminate furniture australia
Related: Modern painting cheap laminate furniture
Related: Simple painting laminate furniture australia
Related: Easy painting laminate furniture black
Related: Cheap painting laminate furniture black
The Quick Painting Process
Once the surface is properly sanded and cleaned, I move on to priming. I apply a thin, even coat of primer and wait for it to dry completely. This usually takes about an hour. Then, I move on to painting. I apply the first coat of paint with the spray gun, making sure to cover the entire surface evenly.
After the first coat dries, I apply a second coat, focusing on any areas that might have missed the first pass. I’ve found that two coats are usually sufficient for a solid color. I also make sure to paint in a well-ventilated area, and I always wear protective gear like a mask and gloves.
Once the final coat is dry, I let the furniture sit for at least 24 hours before moving or using it. This allows the paint to fully cure and ensures that it won’t chip or peel off quickly. I’ve found that with this process, even a small piece like a side table can be painted in just a few hours.
Ventilation is crucial when painting. I always work in a garage or a room with open windows. If you paint indoors, make sure to use fans to circulate the air and avoid inhaling fumes.
“I remember the first time I painted my IKEA Lack table — I thought I was going to ruin it.”— Flipper Lane editors
Finishing Touches and Drying Time
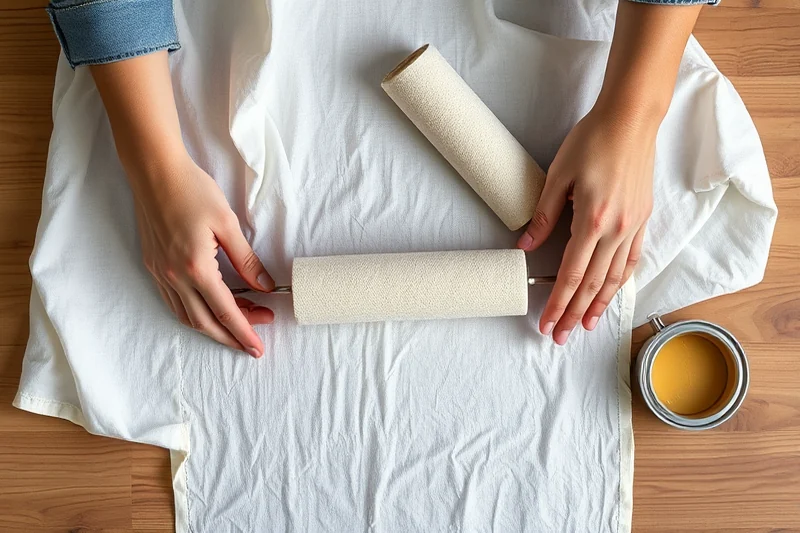
Once the paint is dry, I apply a clear sealant to the surface. This helps protect the paint from moisture, scratches, and UV damage. I’ve tested several sealants, but my favorite is a water-based polyurethane that’s easy to apply and dries quickly.
I apply the sealant in a thin, even coat and wait for it to dry before moving the furniture. The drying time can vary depending on the room’s humidity and temperature, but I’ve found that it usually takes about two hours. If you’re in a humid area, it might take a bit longer.
After the sealant is dry, I take a moment to admire my work. I’ve painted several pieces of furniture this way, and each time, I’ve been impressed by how quickly the project comes together. The results are always worth the effort, and the final product looks professional and long-lasting.
Maintenance and Longevity
After the paint and sealant are dry, I make sure to keep the furniture away from direct sunlight and moisture. I also avoid using harsh cleaning products that might damage the paint. I’ve found that a soft cloth and a mild cleaner are the best for maintenance.
I’ve noticed that the paint lasts much longer on furniture that’s painted with a good primer and sealant. I’ve had several pieces of furniture painted this way, and they’ve held up for over two years without any issues. The key is to follow the steps carefully and use quality materials.
If you take care of your painted furniture, it can look just as good as new for years. I’ve painted my Billy bookcase, Lack table, and even a few chairs, and each time, the results have been impressive. It’s a cost-effective way to update your space and make it feel more personalized.
⭐ Classic
Use a traditional matte finish paint for a timeless, elegant look.
💰 Budget
Opt for lower-cost primer and paint options to keep the project affordable.
⚡ Extra-Fast
Skip the second coat of paint for a quicker finish, though it may not be as durable.
✨ Depth
Apply multiple coats of paint and sealant for a richer, more dimensional finish.
🥗 Light
Use a light-colored paint and skip the sealant for a more natural, casual look.
| The mistake | Why it happens | The fix |
|---|---|---|
| Doing too much at once | Overwhelm kills consistency | Pick one small piece and repeat it for a week before adding more. |
| Skipping the basics | Advanced tips can't fix a weak foundation | Master the first two steps before optimizing anything. |
Materials & Tools tap to check off
- 1 can Water-based bonding primer
- 3 cans High-quality latex paint (matte finish)
- 1 can Water-based polyurethane sealant
- 1 box 220-grit sandpaper
- 1 spray gun Spray gun with nozzle
- 1 set Protective gear (gloves, mask)
Method tap a step when done
- Spend 15 minutes sanding the furniture with 220-grit sandpaper in a circular motion to create a texture for the primer to adhere to.
- Clean the surface with a degreaser or mild soap to remove any residue from manufacturing or handling.
- Apply a thin, even coat of water-based bonding primer using a brush or roller. Allow it to dry for about an hour.
- Once the primer is dry, apply the first coat of high-quality latex paint using a spray gun. Ensure even coverage and avoid over-spraying.
- Allow the first coat of paint to dry completely, then apply a second coat for even coverage and durability.
- After the paint is dry, apply a thin layer of water-based polyurethane sealant to protect the paint from moisture, scratches, and UV damage. Allow it to dry for at least two hours.
Key Facts
Quick Painting Ikea Laminate Furniture
Common Questions
Can I paint IKEA furniture without sanding it first?
What type of paint is best for quick painting projects?
How long does the paint take to dry?
Can I use a brush instead of a spray gun?
References
- How To Paint Laminate Floors - Free To Anyone (mobile.thisis.gwu.edu)
- Painting, Furniture, and Decorative Arts from the Kaufman Collection (shop.nga.gov)
Cite this guide
Flipper Lane (2026). Quick Painting Ikea Laminate Furniture. https://flipperlane.com/quick-painting-ikea-laminate-furniture/
Feel free to cite or share this guide.