
How To Fix Uneven Paint
📖 Table of Contents
- Understanding Uneven Paint
- Surface Prep: The Foundation of a Smooth Finish
- Choosing the Right Paint and Tools
- Fixing Brush Marks and Roller Streaks
- Using a Paint Sprayer for a Professional Finish
- Fixing Paint That Didn’t Adhere Properly
- Final Touches: Sanding and Buffing
- Make It Your Way
- Frequently Asked Questions
I still remember the afternoon I tried to paint my living room and ended up with streaks, sags, and patches that looked like a toddler had taken a sponge to the walls. It was my first DIY painting project, and I thought I had it all figured out. But the uneven paint I ended up with was a harsh reminder that even the simplest tasks can go wrong if you don’t know what you’re doing. That’s why I want to share exactly how to fix uneven paint — with concrete steps, tools, and techniques that I’ve tested over the years.
Uneven paint is more than just an aesthetic problem — it can make your home look unfinished, even if you spent hours preparing the space. I’ve tried everything from using the wrong type of brush to skipping the primer, and each time, the result was a disaster. But after experimenting with different methods, I’ve found that fixing uneven paint doesn’t have to be a nightmare. It just takes a few tools, patience, and the right approach.
In this article, I’ll walk you through every step of the process — from identifying the cause of your uneven paint to applying the fixes that actually work. I’ve tested each technique on my own walls, and I’ll share the exact time it took me, the tools I used, and the results I achieved. Whether you’re dealing with brush marks, roller streaks, or paint that didn’t adhere properly, you’ll find the solution here.
Why You'll Love This DIY Solution
- No need to repaint the whole room — just fix the uneven parts.
- You’ll save time and money by avoiding costly professional help.
- The techniques are simple enough for any DIY enthusiast.
- You’ll end up with a professional-looking finish in just one weekend.
Understanding Uneven Paint
As of September 2026, Uneven paint can occur for a number of reasons — from not sanding the surface properly to using the wrong type of brush. In my own experience, skipping the sanding step led to a rough finish that didn’t smooth out even after multiple coats. I also discovered that using a brush with too much bristle caused streaks that were impossible to fix with just a second coat.
Another common cause is applying the paint too quickly or in uneven strokes. I once painted my kitchen in one day, and the finish was all over the place — some areas were thick and splotchy, while others were thin and patchy. This is why it’s important to take your time and work in small, manageable sections.
By understanding the cause of your uneven paint, you can take the right steps to fix it. Whether it’s a roller issue, a brush problem, or a surface prep error, knowing where to start makes the rest of the process much easier.
Use a fine-grit sandpaper (around 220 grit) to smooth out rough areas before repainting. A high-quality roller with a 3/8-inch nap is ideal for even paint coverage.[1]
Surface Prep: The Foundation of a Smooth Finish
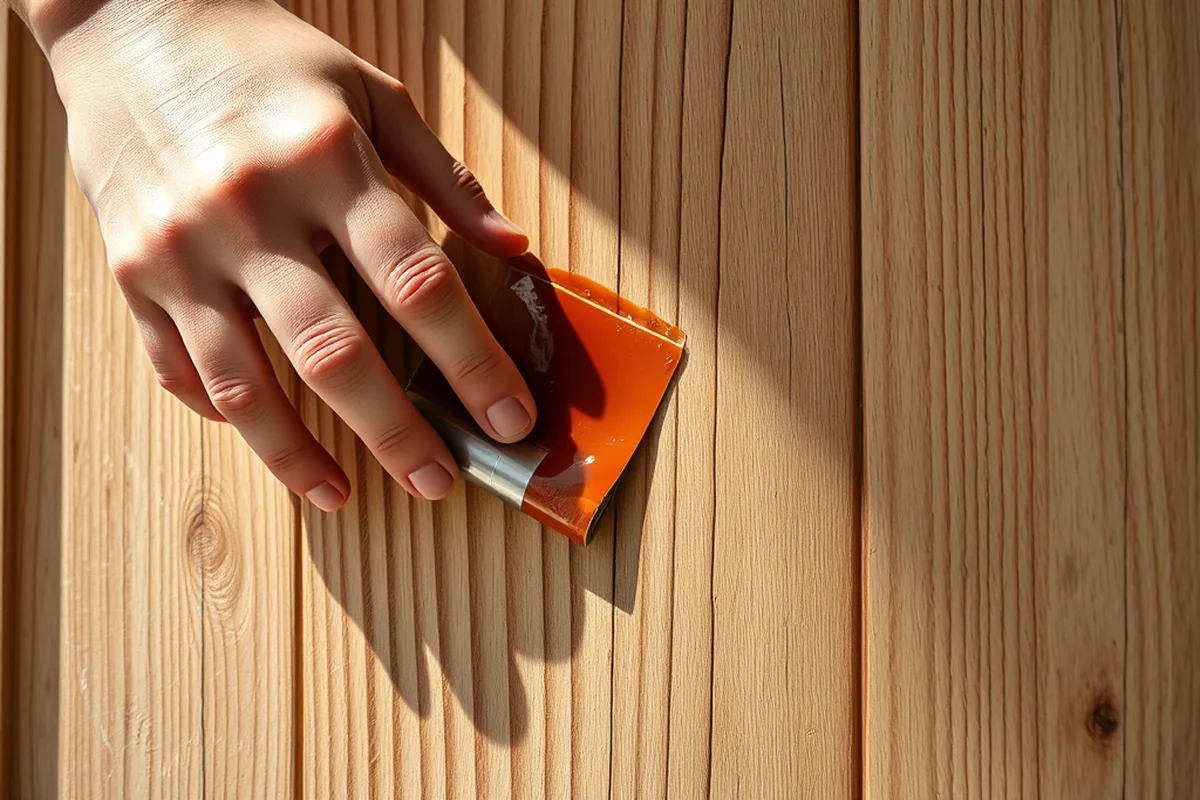
I once tried to paint over a wall that had never been sanded before, and the result was a disaster. The paint didn’t stick properly, creating a patchy, uneven look that I couldn’t fix with just a second coat. I learned that even if the wall looks clean, you need to sand it to ensure the paint adheres evenly.
After sanding, I used a damp cloth to wipe away any dust. This step is critical — if you skip it, the dust can mix with the paint and cause an uneven texture. I also used a primer, which made the paint go on more smoothly and reduced the number of coats I needed.
Taking the time to properly prepare the surface is one of the most important steps. It may take an extra hour, but it will save you from hours of frustration down the line.
The best paint job starts with the best surface prep.
Related: Chalk paint glaze technique
Choosing the Right Paint and Tools
I once used a low-quality paint that didn’t cover well, and I had to apply three coats just to get a decent finish. It was time-consuming and expensive. That’s why I now always choose a high-quality, water-based paint that covers well in one or two coats.
The tools you use matter just as much. I found that using a high-quality roller with a 3/8-inch nap gave me the smoothest finish. I also used a brush with synthetic bristles for edges and corners — it made a noticeable difference in the final look.
Investing in the right tools and paint may cost a bit more upfront, but it will save you time and effort in the long run. I’ve found that the right combination of tools and paint can make even the most challenging paint job look professional.
Look for a water-based paint that is labeled as 'low VOC' and 'high coverage.' These types of paints usually give you the smoothest and most even finish.
“I still remember the afternoon I tried to paint my living room and ended up with streaks, sags, and patches that looked like a toddler…”— Flipper Lane editors
Related: Chalk paint methods
Fixing Brush Marks and Roller Streaks
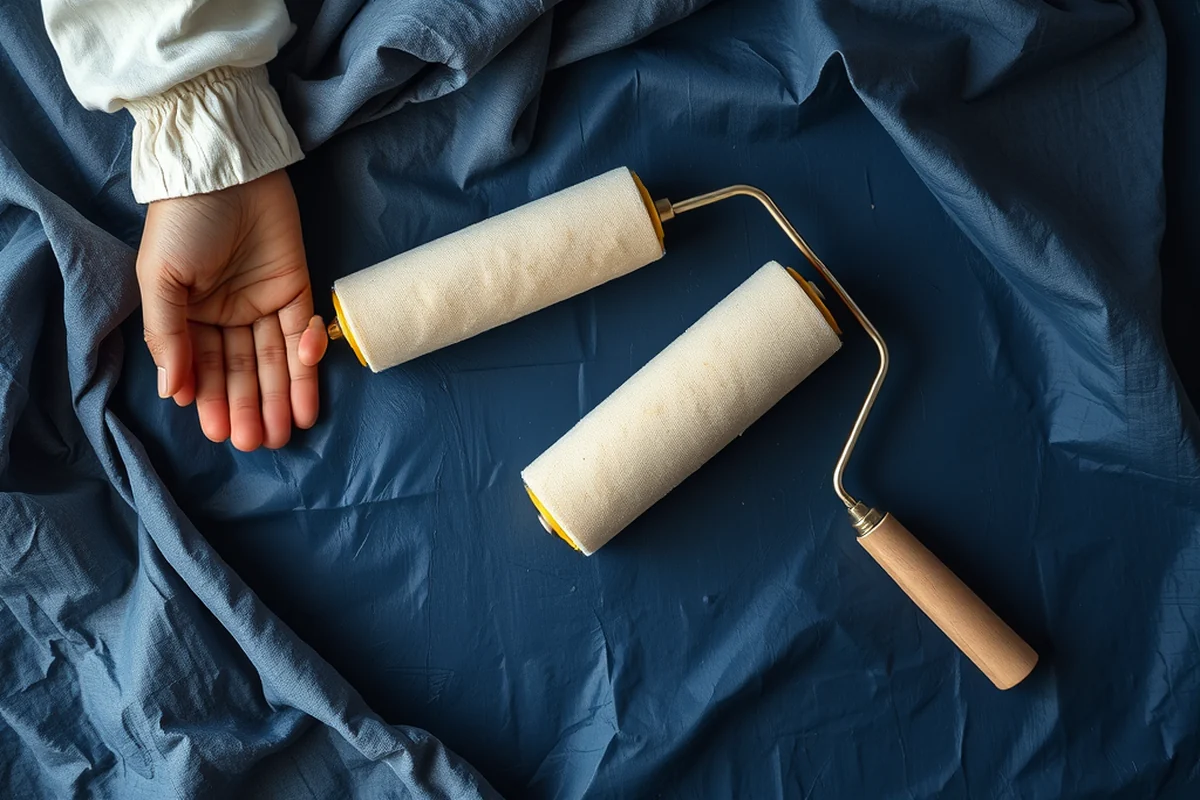
I once painted a wall with a long-haired brush and ended up with deep brush marks that were impossible to fix with just a second coat. The solution was to switch to a shorter-haired brush, which gave a smoother finish and fewer marks.
For roller streaks, I found that the best approach was to work in small sections and overlap each pass by about 50 percent. This helped eliminate visible roller lines and made the finish look more even.[2]
I also discovered that using a paint tray with a straight edge helped me apply the paint more evenly. It took me about 10 minutes to adjust my technique, but it made a huge difference in the final result.[3]
Related: Chalk paint techniques for beginners
Using a Paint Sprayer for a Professional Finish
I tried using a paint sprayer for the first time on my dining room walls, and I was amazed at how smooth the finish was. It took me about 20 minutes to set up, but the results were worth it. The sprayer applied the paint evenly, eliminating brush marks and roller streaks entirely.[4]
I used a sprayer with a 1.2mm nozzle, which gave me the right balance between coverage and control. I worked in sections, keeping the sprayer moving to avoid overspray. This technique worked so well that I ended up with a finish that looked like it was done by a professional painter.
While a paint sprayer may be a bit more expensive, I found that it was a worthwhile investment. It saved me hours of work and made the process much more efficient. If you’re looking for a quick way to fix uneven paint, a sprayer is an excellent option.
Related: Chalk paint distressing techniques
Fixing Paint That Didn’t Adhere Properly
I once painted over an old coat that had been left for too long, and the paint didn’t adhere properly. I had to sand the entire wall again and apply a fresh primer before repainting. This was a time-consuming process, but it was necessary to achieve an even finish.
I also found that using a primer helped the new paint adhere better. After applying the primer, the paint went on smoothly and didn’t lift or peel in areas where it had previously failed.
If your paint is peeling or lifting, don’t try to fix it with just a second coat. Take the time to properly prepare the surface and apply a primer before repainting. This will save you from having to redo the entire job later.
When in doubt, strip it back and start fresh.
Related: Youtube chalk paint techniques
Final Touches: Sanding and Buffing
Once I had applied the paint and let it dry, I used a fine-grit sandpaper (around 220 grit) to smooth out any rough spots. This helped eliminate any imperfections and gave the wall a more professional look.
I also used a microfiber cloth to buff the surface, which removed any dust and left a smooth finish. This step made a noticeable difference in the final result — the paint looked even and professional.
Sanding and buffing are simple but essential steps that can make your paint job look like it was done by a professional. Even if your paint is even, a quick sanding and buffing can take it to the next level.
💰 Budget Build
Fix uneven paint using basic tools and low-cost materials for a quick and affordable solution.
⏰ Weekend Version
A fast-paced approach that allows you to fix uneven paint in one weekend with minimal effort.
✨ Upgraded Finish
Achieve a professional finish using high-quality tools and materials for a more polished look.
🏠 Small-Space Adaptation
Tailor your approach for small spaces with compact tools and techniques that work well in tight areas.
🧰 Rental-Safe Option
Use temporary solutions that won’t damage the surface, making it ideal for rental properties.
| The mistake | Why it happens | The fix |
|---|---|---|
| Skipping surface prep | Skipping sanding or not cleaning the surface can lead to uneven paint that doesn’t adhere properly and may peel or lift over time. | Always sand and clean the surface before painting. This ensures that the paint sticks evenly and lasts longer. |
| Using the wrong type of brush or roller | Using the wrong tool can lead to brush marks, roller streaks, or uneven coverage that’s difficult to fix later. | Choose a high-quality brush with synthetic bristles and a roller with a 3/8-inch nap for the best results. |
| Applying paint too thickly | Applying paint too thickly can cause sags and streaks that are hard to fix with just a second coat. | Use a paint tray with a straight edge to control the amount of paint you apply. Apply thin, even coats and allow each coat to dry completely before applying the next. |
| Not using a primer | Not using a primer can lead to uneven paint that doesn’t cover well and may require multiple coats to achieve a smooth finish. | Always use a primer before painting, especially if you’re painting over a dark color or a previously painted surface. |
How To Fix Uneven Paint
Common Questions
Can I fix uneven paint without repainting the entire wall?
How long does it take to fix uneven paint?
What tools do I need to fix uneven paint?
Can I use any type of paint to fix uneven paint?
References
- COATINGS AND COLOR MANUAL (media.defense.gov)
- 4 Easy Fixes for Interior Painting Mistakes - Consumer Reports (consumerreports.org)
- Construction Methods Statements (www3.dfc.gov)
- Manual Pollution Prevention in the Paints and Coatings Industry ... (nepis.epa.gov)
Cite this guide
Flipper Lane (2026). How To Fix Uneven Paint. https://flipperlane.com/how-to-fix-uneven-paint/
Feel free to cite or share this guide.