
Simple Furniture Flipping & Painting Furniture Tools
📖 Table of Contents
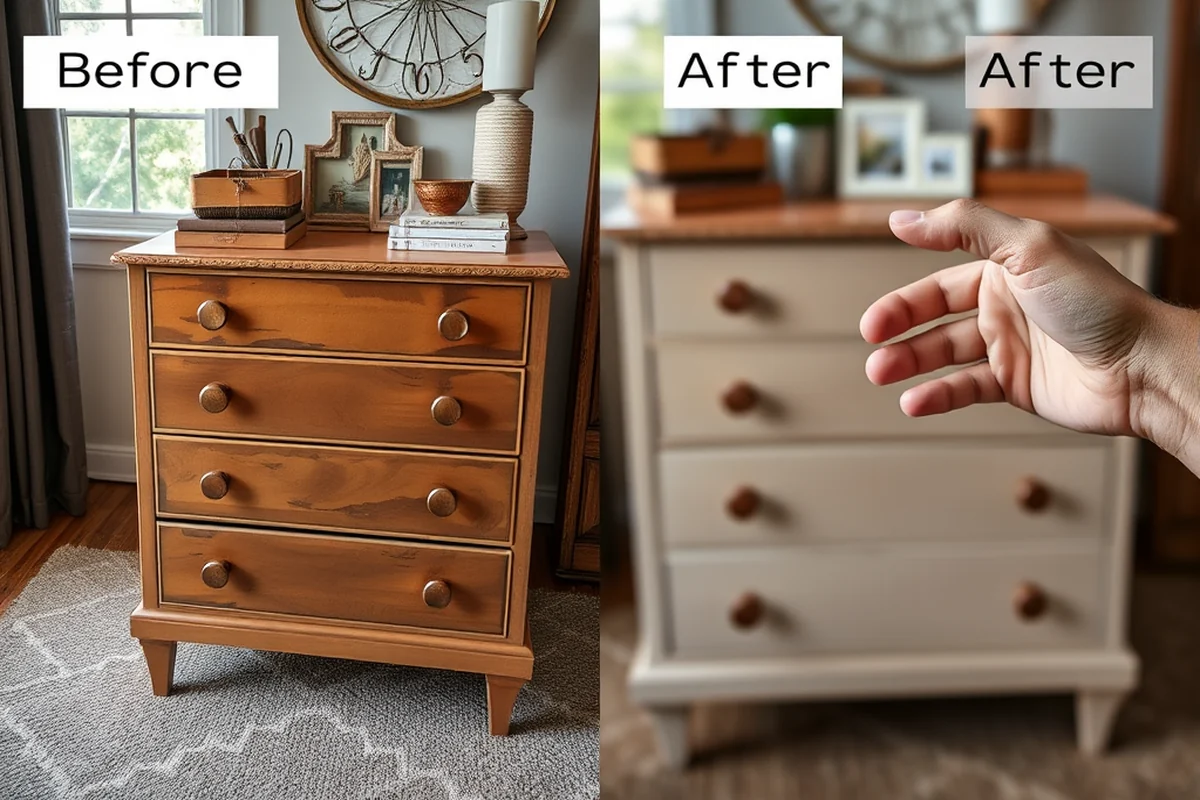
A few years ago, I found a battered oak coffee table at a flea market for $20. It was chipped, scratched, and the legs were warped. But something about the grain caught my eye, and I knew it had potential. I spent the next weekend flipping it, sanding, painting, and sealing it—only to have it transform into a piece that now sits in my living room, drawing compliments from every guest. Simple furniture flipping, once a mystery to me, became a skill I now use to breathe new life into forgotten pieces. And it all started with the right tools.[1]
The first time I tackled a furniture flip, I had no idea what I was doing. I grabbed a few random brushes and a can of spray paint, thinking it would be quick and easy. It wasn’t. The paint bled, the wood didn’t take the finish well, and I ended up with a disaster that took me another weekend to fix. That was my wake-up call. I realized that for simple furniture flipping and painting furniture tools, the right tools and techniques can make all the difference between a quick, satisfying project and a frustrating, time-consuming one.
Now, I can't imagine my home without my own set of trusted tools—sanders, brushes, primers, and sealants. These are the essentials that have helped me turn old, neglected furniture into beautiful, functional pieces. Whether it's a thrifted side table or a forgotten bookshelf, having the right tools and knowing how to use them has turned furniture flipping into a hobby I genuinely enjoy. And if you're new to it, I promise you can learn to do it too with the right guidance and the right tools.
Why You'll Love This Simple Furniture Flipping & Painting Furniture Tools Guide
- You’ll learn exactly what tools and materials are needed for any furniture flip.
- You’ll avoid common mistakes that can ruin a project in minutes.
- You’ll save money by upcycling instead of buying new.
- You’ll gain confidence in tackling DIY furniture projects on your own.
The Essential Tools for Simple Furniture Flipping
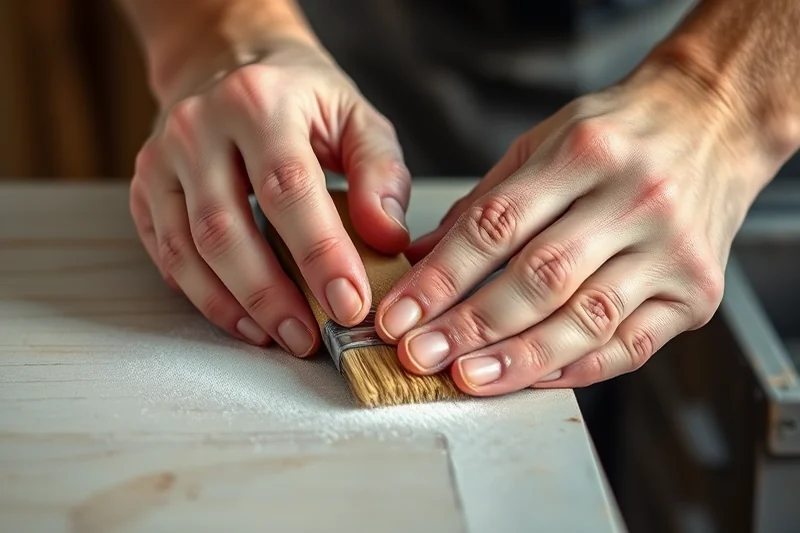
As of August 2026, the first thing on your list should be a sander—either an orbital or a belt sander. I use the former for most furniture flips because it's less aggressive and easier to control. You’ll also need sandpaper, at least two grits: one coarse (like 80 grit) for stripping old paint or lacquer, and one fine (like 220 grit) for smoothing the surface before painting.[2]
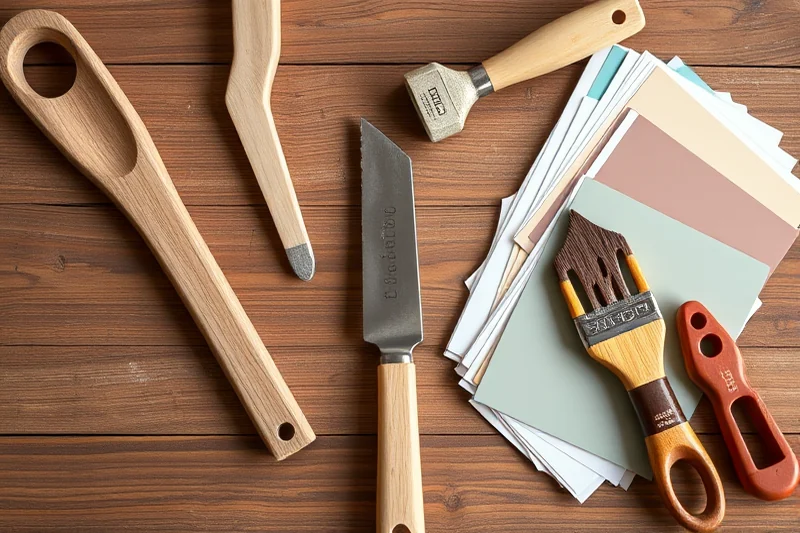
Next, you’ll need a quality paintbrush and a roller. I prefer a 2-inch brush for edges and a 3/4-inch brush for larger areas. A paint roller with a medium nap works well on flat surfaces like tables and shelves. Don’t skimp on the brushes—cheap ones leave streaks and don’t hold up to multiple coats.
You’ll also need painter’s tape, a good primer, and a sealant. Painter’s tape is a game-changer for keeping your paint within the lines. I’ve saved myself hours of touch-up work by using it properly. A primer is essential for old wood or surfaces that have been previously painted, as it ensures the paint adheres well. Lastly, a sealant like polyurethane or a water-based topcoat is crucial for protecting your work from scratches and wear.
Always start with coarse grit to remove old finishes, and finish with fine grit for a smooth, even surface. Skipping this step can lead to uneven paint application and long-term wear.
Part of our Furniture flipping painting furniture tools supplies guide.
Choosing the Right Paint for Your Furniture Flip
When I first started, I used regular latex paint, and I was surprised at how quickly it chipped. That’s when I learned that using a paint specifically designed for furniture is a game-changer. I now stick to water-based acrylic paints, which are durable, easy to clean, and work well on wood surfaces.
Another tip is to consider the sheen of the paint. I prefer a satin or semi-gloss finish because it’s more resistant to scratches and easier to clean. Matte finishes, while beautiful, are more prone to showing dust and fingerprints. I’ve learned this the hard way, and now I always choose satin or semi-gloss for my furniture projects.
Also, consider the color. I’ve found that darker colors tend to hide imperfections better than lighter ones. If you’re working with a piece that has a lot of wear, a darker shade is a great choice. On the flip side, lighter colors can make a small space feel bigger and more open.
“The right paint can make all the difference in how your furniture looks and how long it lasts.”
Related: Furniture flipping painting furniture supplies tips
Related: Best furniture flipping painting furniture tools supplies
Related: Easy furniture flipping painting furniture supplies
Related: Best furniture flipping painting furniture tools
Related: Quick furniture flipping painting furniture tools supplies
Related: Simple furniture flipping painting furniture tools supplies
Related: Simple Furniture Flipping & Painting Furniture Budget
Related: Simple Budget Furniture Flipping Painting Furniture
Related: Simple Furniture Flipping & Painting Furniture Color
The Power of Primer in Furniture Flipping
I used to skip the primer step, thinking it was unnecessary. That was a big mistake. Primer is essential because it creates a smooth, even surface that the paint can adhere to. Without it, the paint can bubble, crack, or even come off entirely.
I’ve found that using a water-based primer works best for wood. It’s easy to apply, dries quickly, and doesn’t emit strong fumes. I always apply two coats of primer, especially if I’m working with a piece that has a lot of wear or old paint. This ensures that the paint sticks well and lasts longer.
I can’t stress enough how important primer is. It’s the unsung hero of furniture flipping, and I now use it on every project. It’s a small investment that pays off in the long run, and I’ve saved myself a lot of time and frustration by using it.
Even if the wood is new or clean, using a primer is a must. It helps the paint bond better and improves the overall durability of the finished piece.
“A few years ago, I found a battered oak coffee table at a flea market for $20.”— Flipper Lane editors
Sealing Your Work for Long-Lasting Results
After painting, I always apply a sealant. I’ve tried several types over the years, and I’ve found that polyurethane is the best option for most furniture. It’s durable, water-resistant, and provides a beautiful finish. I prefer a water-based polyurethane because it’s easier to apply and doesn’t yellow over time.
I apply two to three coats of sealant, allowing each coat to dry completely before applying the next. This ensures maximum protection. I’ve noticed that without a sealant, my painted furniture tends to get scratched or stained more easily. With a proper sealant, it’s much more resistant to wear.
One thing to note is that you should always apply the sealant in a well-ventilated area. I’ve learned this the hard way, and now I always take the time to work in a garage or a space with good airflow. It makes a huge difference in the quality of the finish.
Tips for a Successful Furniture Flip
First, always work in a well-ventilated space. I’ve made the mistake of working indoors without proper ventilation, and it was a disaster. I ended up with a strong smell that lasted for days. Now, I always work in a garage or a space with open windows.
Second, take your time. Rushing through the process can lead to mistakes like uneven paint application or missed spots. I’ve learned that patience is key, and taking the time to do each step properly makes a huge difference in the final result.
Lastly, don’t be afraid to get creative. I’ve found that adding decorative elements like stencils or distressing techniques can give your furniture a unique look. It’s a fun way to personalize your pieces and make them truly your own.
⭐ Classic
The traditional furniture flip with a timeless, neutral color and a satin finish.
💰 Budget
A no-frills approach using affordable tools and materials for those on a tight budget.
⚡ Extra-Fast
A quick and efficient way to refresh furniture without spending too much time on the process.
✨ Depth
A more intricate approach with added details like distressing or stenciling for a unique look.
🥗 Light
A minimalist and modern approach using light colors and a matte finish for a clean, airy feel.
| The mistake | Why it happens | The fix |
|---|---|---|
| Skipping the sanding step | Skipping the sanding step can lead to uneven paint application and long-term wear. The paint may not adhere properly, resulting in a patchy or peeling finish. | Always sand the surface before painting, using coarse grit for stripping old finishes and fine grit for smoothing the surface. |
| Using the wrong type of paint | Using the wrong type of paint can result in a finish that chips, cracks, or doesn’t hold up to wear. Latex paint, for example, is not as durable as water-based acrylic paint. | Always use a water-based acrylic paint, which is durable, easy to clean, and works well on wood surfaces. |
| Not using a primer | Not using a primer can lead to poor paint adhesion, resulting in a finish that doesn’t last. The paint may bubble, crack, or come off entirely. | Always use a water-based primer, especially on old or worn wood. It ensures the paint sticks well and lasts longer. |
| Not sealing the paint | Not sealing the paint can lead to a finish that is easily scratched or stained. Without a sealant, the paint is more vulnerable to wear and tear. | Always apply a water-based polyurethane sealant, applying two to three coats for maximum protection. |
Materials & Tools tap to check off
- 1 set Orbital sander
- 1 set Sandpaper (80 and 220 grit)
- 2 pieces Paintbrushes (2-inch and 3/4-inch)
- 1 can Water-based primer
- 1 can Water-based acrylic paint
- 1 can Water-based polyurethane sealant
Method tap a step when done
- Gather all the tools and materials you’ll need for your furniture flip.
- Set up your workspace in a well-ventilated area.
- Use the orbital sander and sandpaper to strip any old paint or lacquer from the furniture.
- Wipe down the surface with a damp cloth to remove any dust or debris.
- Apply two coats of primer, allowing each coat to dry completely.
- Paint the furniture with your chosen color, applying two to three even coats.
- Seal the furniture with a water-based polyurethane sealant, applying two to three coats.
Key Facts
Simple Furniture Flipping & Painting Furniture Tools
Common Questions
What’s the best type of paint for furniture flipping?
Do I really need to use primer?
Can I skip the sanding step?
How long should I wait between coats of paint?
References
- McGaugh's Furniture Flips Gain National, International Attention (andersonuniversity.edu)
- Carving Community: Preservation and Revival of Scandinavian Styles ... (folklife.wisc.edu)
Cite this guide
Flipper Lane (2026). Simple Furniture Flipping & Painting Furniture Tools. https://flipperlane.com/simple-furniture-flipping-painting-furniture-tools/
Feel free to cite or share this guide.