
Easy Thrift Flip Makeovers For Beginners
📖 Table of Contents
I remember the first time I stumbled upon a thrift store chair with a broken leg and a faded paint job. It looked like it had been abandoned, but I saw potential—something that could be transformed with a little time, paint, and determination. Thrift flipping has become one of my favorite DIY projects, and I want to share how even beginners can do it with ease. 'Easy thrift flip makeovers for beginners' might sound like a daunting task, but with the right approach, it can be both rewarding and fun.[2]
The process doesn’t require a degree in interior design or an expensive tool kit. You can start with just a few basic supplies and a clear vision. I’ve tried flipping everything from chairs and tables to lamps and even old cabinets. Each project has taught me something new, but the key is to keep it simple. You don’t need to spend hours or hundreds of dollars to give an old piece a fresh look.
There’s something deeply satisfying about breathing new life into something that was once overlooked. I’ve seen how a simple coat of paint or a new cushion can completely transform the look and feel of a room. If you’re new to DIY or just looking for a fun weekend project, 'easy thrift flip makeovers for beginners' are the perfect way to get started. It’s a great way to practice your skills, learn new techniques, and build confidence in your abilities.
Why You'll Love This Thrift Flip Journey
- You'll save money by upcycling instead of buying brand new furniture.
- You'll gain confidence in your DIY skills with each completed project.
- You'll enjoy the satisfaction of creating something unique and personal.
- You'll reduce waste by giving old items a second life.
Choosing the Right Thrift Store Finds
As of August 2026, when I go to a thrift store, I look for pieces that have a strong frame and minimal damage. A chair with a broken leg is a common find, but if the base is intact, it’s a great candidate for a flip. I’ve learned that checking for hidden damage is important—sometimes a chair might look fine from the outside but have a loose or broken joint inside.
Look for items that match your decor style. If you love mid-century modern, focus on that. If you’re into rustic, look for pieces with wood and metal elements. I’ve found that pieces with a clean design and a neutral color palette are the easiest to work with, as they can be painted or reupholstered without too much effort.
Also, consider the price. A piece that’s too expensive might not be worth the flip, but something that’s under $20 is a great investment. I’ve flipped dozens of items for under $50, and each one has given me a sense of accomplishment and a new piece for my home.[1]
Check the joints and screws for looseness. Tap the legs and listen for any creaking or instability. A solid frame is essential to a successful flip.
Part of our Thrift flip guide.
Preparing the Item for Transformation
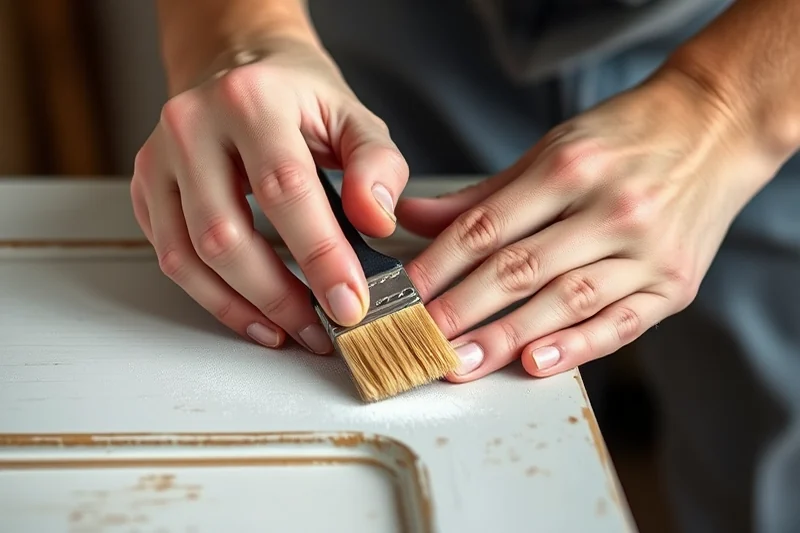
I always start by giving the item a thorough cleaning. For furniture, I use a mild soap and water solution, and for fabric, I wash it with a gentle detergent. This removes any dirt, grime, or old adhesives that might interfere with painting or reupholstering.
If the item has old paint or finishes, I use a degreaser or sandpaper to remove the top layer. For wood, I sand with a coarse grit to smooth out any rough spots, then switch to a finer grit for a polished finish. I’ve found that sanding not only improves the look but also helps the new paint or stain adhere better.
After cleaning and sanding, I apply a primer to create a smooth, even base. This step is crucial because it helps the paint or stain stick better and lasts longer. I’ve noticed that skipping the primer often leads to peeling or chipping, so I always take the time to do it right.
A little prep work goes a long way in making your flip look professional.
Related: Easy simple thrift store makeovers
Related: Thrift store makeovers tips
Related: Thrift flip makeovers reviews
Related: Thrift Flip Makeovers Alternatives
Painting and Staining for a New Look
I’ve painted everything from chairs to cabinets, and the process is surprisingly simple. I start by choosing a paint color that matches my decor or complements the room. I’ve found that lighter colors are more forgiving, but darker shades can add a bold touch to any space.
Before painting, I always make sure the surface is clean, dry, and primed. I use a brush for small areas and a roller for larger sections. I apply two to three coats of paint, allowing each coat to dry completely before applying the next. I’ve learned that rushing this step can lead to uneven coverage or peeling, so I take my time.
For wood, staining is another great option. I mix the stain with a bit of water and apply it with a brush or cloth, working it into the wood grain. I let it sit for a few minutes before wiping off the excess. Staining gives a natural look and can highlight the beauty of the wood. I’ve used both oil-based and water-based stains, and I prefer the latter for quicker cleanup and faster drying times.
Use a foam brush for an even, smooth finish. They’re great for corners and edges and help avoid brush strokes. I always use a foam brush for my flips and have never been disappointed with the results.
“I remember the first time I stumbled upon a thrift store chair with a broken leg and a faded paint job.”— Flipper Lane editors
Related: Thrift flip makeovers tips at home
Adding New Hardware and Decorative Elements
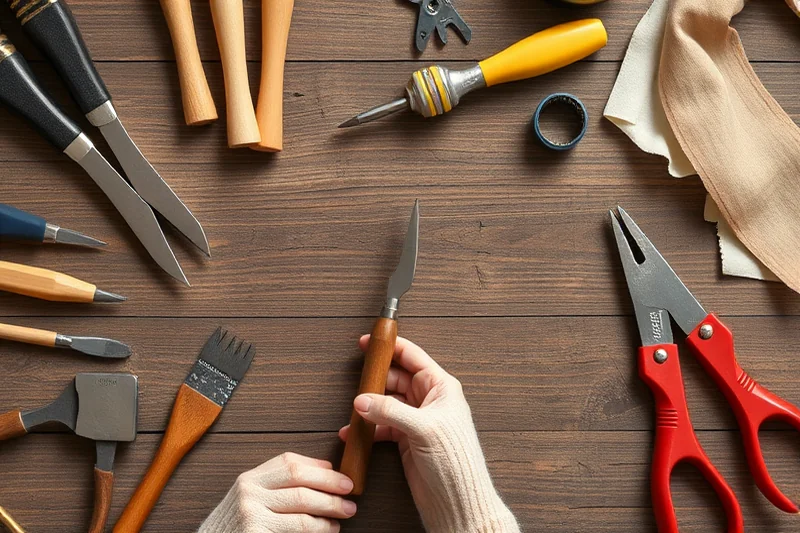
I’ve replaced drawer pulls, knobs, and hinges on several pieces, and it’s always worth the effort. Hardware comes in a variety of styles, from modern to vintage, and it can completely transform the look of a cabinet or chair. I usually go for brushed nickel or matte black, as they’re versatile and easy to find.
When replacing hardware, it's important to measure the existing holes and choose new pieces that match in size and hole placement. If the holes don’t match, I use a hole saw to create new ones. I’ve found that it’s easier to work with metal hardware, as it’s more durable and easier to install.
I’ve also added decorative elements like stickers, stencils, and even hand-painted details. These small touches can add personality to a piece without requiring a lot of time or effort. I’ve used stencils to create patterns on chairs and cabinets, and they’ve always been a hit with guests.
Related: Thrift flip makeovers reviews
Final Touches and Maintenance Tips
I always finish my flips with a clear coat of sealant, especially if the piece has been painted or stained. This helps protect the surface from scratches, moisture, and wear. I’ve used both water-based and oil-based sealants, and I prefer the former for its quick drying time and low odor.
For fabric pieces, I’ve found that using a fabric protector spray is a great way to extend their life. I apply it to the fabric after washing and before reupholstering, and it helps prevent stains and fading. I’ve noticed a big difference in the durability of my pieces after using this step.
Maintenance is also important. I regularly dust and clean my flipped items, and I avoid placing them in high-traffic areas where they might get scratched or worn down. I’ve found that with proper care, my flipped pieces last for years and continue to look great.
⭐ Classic
A timeless paint or stain finish that complements any decor style.
💰 Budget
Use affordable paint and basic hardware to create a flip that fits your budget.
⚡ Extra-Fast
Skip the primer and use a quick-dry paint for a faster flip.
✨ Depth
Add multiple paint or stain layers for a rich, layered look.
🥗 Light
Use a white or light-colored paint for a clean, fresh look that brightens up any space.
| The mistake | Why it happens | The fix |
|---|---|---|
| Skipping the primer | This can lead to paint peeling or chipping over time. | Always apply a primer for better adhesion and a longer-lasting finish. |
| Using the wrong paint or stain | It may not adhere properly or could damage the surface. | Choose the right paint or stain for the material you're working with and follow the instructions on the label. |
| Rushing the process | This can result in uneven coverage or a poorly finished piece. | Take your time with each step and allow each coat to dry completely before moving on to the next. |
| Ignoring maintenance | Your flipped piece may not last as long as it could. | Regularly clean and care for your piece to keep it looking its best for years to come. |
Materials & Tools tap to check off
- 1 lb Paint (choose your color)
- ½ cup Stain (optional)
- Clear sealant (optional)
Method tap a step when done
- Gather your materials: paint, stain, sealant, brushes, sandpaper, and a clean cloth.
- Clean the surface of the item you’re flipping, removing any dirt, grime, or old adhesives.
- Sand the surface with coarse grit sandpaper to smooth it out, then switch to a finer grit for a polished finish.
- Apply a primer to create a smooth, even base for your paint or stain.
- Paint or stain the item, applying two to three coats and allowing each to dry completely.
- Finish with a clear sealant to protect your work and ensure it lasts.
Key Facts
Related: Thrift flip makeovers ideas on a budget
Easy Thrift Flip Makeovers For Beginners
Related: Thrift flip makeovers for beginners near me
Common Questions
What if I don’t have a paintbrush?
How do I choose the right color?
Can I flip a piece without painting?
How long does a flip typically take?
References
- Is Thrift Flipping Ethical and Sustainable? - Boston University (bu.edu)
- Thrift & Flip - visitindiana.in.gov (visitindiana.in.gov)
Cite this guide
Flipper Lane (2026). Easy Thrift Flip Makeovers For Beginners. https://flipperlane.com/easy-thrift-flip-makeovers-for-beginners/
Feel free to cite or share this guide.