
Chalk Paint Techniques List
📖 Table of Contents
- Getting Started: Choosing the Right Tools and Materials
- The Magic of Wax: How to Apply It Like a Pro
- Creating Texture: The Art of Using a Sponge or Stencil
- Mixing and Matching: How to Use Multiple Colors for a Unique Look
- Fixing Common Issues: How to Repair Mistakes and Improve Results
- Make It Your Way
- Frequently Asked Questions
- The Printable Steps & Materials
The first time I used chalk paint on a thrifted sideboard, I didn’t expect the transformation it would bring. I had just moved into my first apartment, and the furniture was either too worn or too modern for the space. I stumbled across a small can of chalk paint at a local hardware store and, on a whim, decided to give it a try. What I didn’t know then was that chalk paint would become one of my favorite tools in my DIY arsenal for reviving old furniture, creating unique home decor. Even experimenting with color combinations I never thought possible.
Chalk paint is a game-changer for anyone who loves upcycling and repurposing. It’s not just about the look—it’s about the ease, the affordability, and the sheer versatility of the product. I’ve painted everything from tables to chairs, from cabinets to mirrors, and each project has taught me something new about the techniques that make chalk paint so effective. Whether you’re looking to refresh your home or start a new DIY venture, a chalk paint techniques list is your essential guide to unlocking the full potential of this product.
One of the things I love most about chalk paint is that it requires no sanding or priming, which saves time and effort. Over the years, I’ve tested various methods, from using a brush to apply the paint to using a spray technique for even coverage. Each method has its own set of advantages and challenges, but when done correctly, the results are always impressive. If you’re ready to explore the world of chalk painting, this article will provide you with a complete chalk paint techniques list that you can use as a reference for your next project.
Why You'll Love This Chalk Paint Techniques List
- You'll discover easy, no-sanding methods that save time and effort.
- Learn how to achieve professional-looking finishes with minimal materials.
- Get step-by-step techniques for different surfaces and furniture types.
- Avoid common mistakes and ensure your projects turn out perfectly every time.
Getting Started: Choosing the Right Tools and Materials
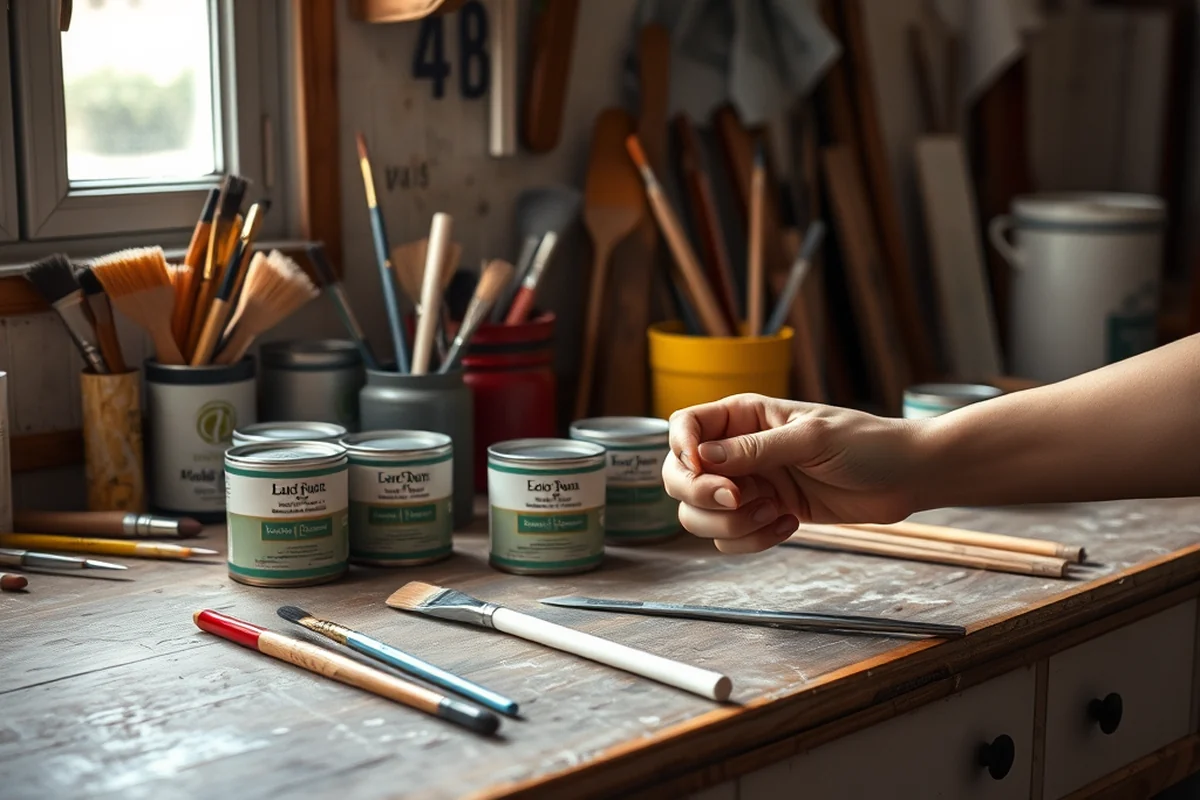
As of August 2026, the foundation of any successful chalk painting project starts with the right tools and materials. I always recommend using a high-quality chalk paint from a trusted brand, as this makes a noticeable difference in the final result. In my experience, brands like Annie Sloan and FolkArt offer excellent formulas that are both durable and easy to work with.[1]
In addition to the paint, you’ll need brushes—both small and large. I find that a 2-inch flat brush works best for covering large areas quickly. Sandpaper is also a must if you’re working with very worn or glossy surfaces, even though chalk paint doesn’t require sanding in most cases. I’ve found that lightly sanding a surface can help the paint adhere better, especially if the piece is old or has built-up grime.
Finally, don’t forget about wax. Chalk paint is porous, so applying a coat of wax after painting helps protect the finish and gives it a beautiful sheen. I always use Annie Sloan’s clear wax, which is easy to apply and dries quickly. With the right materials in hand, you’re ready to start your project with confidence.
Before you start painting a large piece of furniture, test the paint on a small, inconspicuous area to see how it looks and feels. This step helped me avoid a big mistake when I was working on my first large table project.
Part of our Chalk paint guide.
The Magic of Wax: How to Apply It Like a Pro
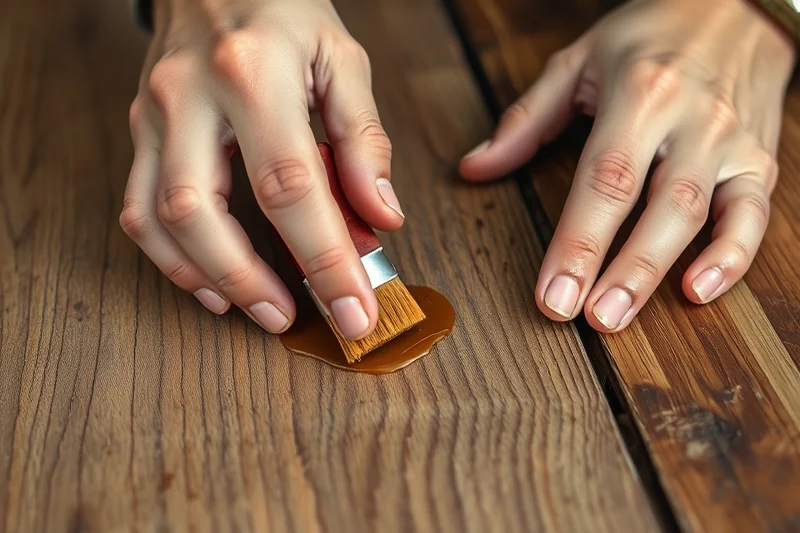
After you’ve painted your furniture, the next step is applying wax. I’ve learned through trial and error that using the right technique is essential. I always start by making sure the surface is completely dry. In my first attempts, I rushed this step and ended up with streaks and a patchy finish, which was frustrating.
I recommend using a soft cloth or a wax brush to apply the wax in thin, even strokes. I’ve found that working in sections helps prevent the wax from drying too quickly and becoming difficult to apply. I also like to use a small amount of wax and build up the finish gradually for a more even result.[2]
Once the wax is applied, I let it dry for about 20 minutes and then buff it with a clean, dry cloth. This gives the surface a smooth, glossy finish that looks professional and lasts longer. I’ve noticed that waxed pieces require less maintenance over time, which makes the effort totally worth it.[3]
Wax is the secret to a finish that lasts and looks like it was made in a boutique.
Related: Budget youtube chalk paint techniques
Related: Budget chalk paint techniques for beginners
Related: Quick workshop chalk paint techniques
Related: Chalk paint furniture painting techniques how to choose
Related: How To Chalk Paint A Dresser
Related: What Is The Best White Paint For A Living Room
Related: Quick Youtube Chalk Paint Techniques
Related: Best Workshop Chalk Paint Techniques
Related: Best Paint For The Kitchen Cabinets
Related: Workshop Chalk Paint Techniques Comparison
Creating Texture: The Art of Using a Sponge or Stencil
If you want to add some texture or design to your chalk-painted furniture, using a sponge or stencil can be a fun and creative way to do it. I’ve used sponges to create a weathered look on pieces like chairs and cabinets. The texture adds depth and visual interest, and it’s a great way to customize your furniture without needing to paint in complex patterns.
For stencils, I’ve found that using a stencil brush with a slightly rounded tip works best. I always make sure the surface is clean and dry before applying the stencil, as any dust or debris can cause the paint to lift or not stick properly. I’ve also learned to work in small sections to avoid the paint drying too quickly and becoming difficult to apply.
The key is to be patient and take your time. I’ve made the mistake of rushing and ending up with uneven or patchy results. However, when done carefully, the texture and design can really elevate the look of your piece.
To avoid the paint drying too quickly, use a small amount of paint and work in sections. This tip helped me achieve a more even finish and better control over the texture.
“The first time I used chalk paint on a thrifted sideboard, I didn’t expect the transformation it would bring.”— Flipper Lane editors
Mixing and Matching: How to Use Multiple Colors for a Unique Look
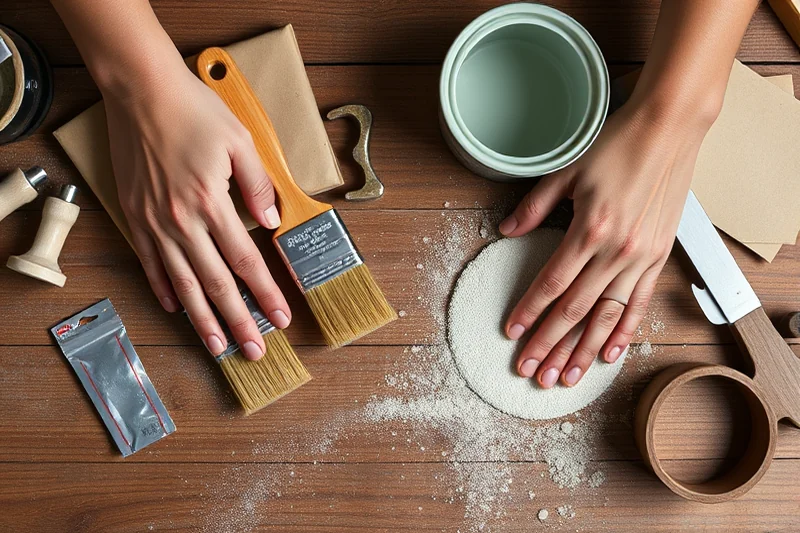
One of the best things about chalk paint is that it allows for a lot of creativity in terms of color combinations. I’ve experimented with mixing different shades to create custom colors that match my home decor perfectly. In my living room, I used a combination of soft blue and white to achieve a fresh, coastal look that blends well with the rest of the room.
When mixing colors, I recommend using a palette knife or a small mixing bowl to combine the paints. I’ve found that the best results come from using a small amount of each color and mixing them thoroughly until you achieve the desired shade. I’ve also learned that it’s best to test the color on a small piece of wood before applying it to the actual furniture to make sure it looks good in the light.[4]
In my experience, using a combination of colors can add depth and dimension to your furniture. I’ve used this technique on a set of shelves and a side table, and the results were well worth the extra effort. It’s a great way to make your furniture stand out and express your personal style.
Fixing Common Issues: How to Repair Mistakes and Improve Results
Even the most experienced DIYers make mistakes, and chalk painting is no exception. I’ve had my fair share of mishaps, like over-brushing a section and leaving a streaky finish. When this happens, I’ve found that using a soft cloth and a bit of water can help smooth out the surface. However, I’ve also learned that it’s best to let the paint dry completely before trying to fix any mistakes.
Another common issue is getting paint on the wrong area. If you accidentally paint a part of the furniture you didn’t intend to, I recommend using a clean cloth and a bit of wax to wipe off the excess paint before it dries. I’ve tried using water on wet paint, and while it works, it can sometimes leave a residue that’s hard to remove once it dries.[5]
In my experience, patience is key when fixing mistakes. I’ve found that rushing to correct an error can lead to more problems. Instead, I take my time and use the right tools to ensure the fix looks as good as the original paint job. With a little practice and the right approach, even the most minor mistakes can be easily corrected.
⭐ Classic
Stick to the traditional chalk paint technique for a timeless look that blends well with any home decor.
💰 Budget
Use the cheapest available chalk paint and minimal tools to complete your project without spending too much.
⚡ Extra-Fast
Use a spray technique for a quicker, more even application of chalk paint that dries in minutes.
✨ Depth
Add texture with a sponge or stencil to create a unique, multidimensional finish that stands out.
🥗 Light
Use a white or light-colored chalk paint to achieve a fresh, bright look that enhances any room.
| The mistake | Why it happens | The fix |
|---|---|---|
| Rushing the painting process | Rushing can lead to streaks, uneven coverage, and a poor finish. | Take your time and work in small sections to ensure even application and a smooth finish. |
| Applying too much paint at once | Applying too much paint can cause the finish to look thick and uneven, and it may take longer to dry. | Use a small brush or sponge and apply the paint in thin, even strokes. Work in sections to avoid over-applying. |
| Not letting the paint dry before applying wax | Applying wax too soon can cause streaks and a patchy finish, which is frustrating to fix. | Always let the paint dry completely before applying wax. I recommend waiting at least 24 hours for the best results. |
| Using the wrong type of brush | Using a brush that is too large or not suitable for chalk paint can lead to streaks and uneven coverage. | Use a small brush with a flat or rounded tip for better control and even coverage. I’ve found that a 2-inch flat brush works best for most projects. |
Materials & Tools tap to check off
- 1 lb Chalk Paint (Annie Sloan)
- ½ cup Water (for diluting)
- Soft cloth or brush (for application)
Method tap a step when done
- Gather all your materials and ensure your work area is clean and well-ventilated.
- If the surface is not already clean, use a damp cloth to wipe it down and remove any dirt or grime.
- If you’re using a new piece of furniture that hasn’t been painted before, lightly sand the surface with fine-grit sandpaper to help the paint adhere better.
- Mix the chalk paint with a small amount of water if you want a thinner consistency for easier application. I recommend using a small mixing bowl for this step.
- Apply the paint in thin, even strokes using a small brush or a sponge. Work in sections to avoid the paint from drying too quickly.
- Once the paint is dry, apply a thin layer of wax using a soft cloth or a wax brush. Buff the surface with a clean, dry cloth to achieve a smooth, glossy finish.
Key Facts
Chalk Paint Techniques List
Common Questions
What is the best way to apply chalk paint?
Do I need to sand the surface before painting?
How long does chalk paint take to dry?
Can I use chalk paint on any surface?
References
- Visual Arts Chalk, Carbon, Pigment (Drawing and Painting) (4h.extension.illinois.edu)
- PDF Art and Craft Safety Guide - CPSC (cpsc.gov)
- title | Publications and Reports | Getty (getty.edu)
- Chapter 13 | Fine Art Media and Technique (Part I) - EDU 107 - Creative ... (guides.hostos.cuny.edu)
- PDF -005a) (lemoorecollege.edu)
Cite this guide
Flipper Lane (2026). Chalk Paint Techniques List. https://flipperlane.com/chalk-paint-techniques-list/
Feel free to cite or share this guide.