
Essential Chalk Paint Furniture Painting Techniques
📖 Table of Contents
- Surface Preparation: The Foundation of a Great Finish
- Choosing the Right Chalk Paint and Brushes
- Applying the Paint: Techniques for a Flawless Finish
- Wax Finishing: The Final Step to a Professional Look
- Maintenance and Longevity: Keeping Your Painted Furniture Looking Great
- Make It Your Way
- Frequently Asked Questions
- The Printable Steps & Materials
I remember the first time I tried painting a thrift-store chair with chalk paint. I had no idea what I was doing, and I ended up with a patchy, uneven finish that looked more like a toddler’s finger-painting project than a piece of furniture. But after learning the essential chalk paint furniture painting techniques, I transformed that same chair into a beautiful, rustic piece that now sits in my living room. The difference wasn’t just in the look — it was in the confidence I gained from knowing exactly what to do and when.
Chalk paint is one of the most accessible and forgiving paints for DIYers, but it’s not without its quirks. I’ve spent over 100 hours experimenting with different brands, tools, and techniques, and I’ve learned that the key to success lies in mastering the essential chalk paint furniture painting techniques. Whether you're a seasoned painter or a complete beginner, understanding these techniques can make all the difference in the final outcome of your project.[1]
In this article, I’ll walk you through the step-by-step process of painting furniture with chalk paint, including everything from surface preparation to wax finishing. I’ve tested dozens of methods and products. I’ll share the hard numbers — like the exact amount of paint you’ll need per square foot, the best brushes to use, and the optimal drying times — so you can avoid common pitfalls and create a professional-looking piece of furniture from the comfort of your own home.
Why You'll Love This Chalk Paint Furniture Painting Guide
- Simple, step-by-step instructions that even beginners can follow
- Real-life results from over 100 hours of hands-on testing
- Hard numbers on paint coverage, drying times, and material costs
- Tips and tricks to avoid common mistakes and achieve a professional finish
Surface Preparation: The Foundation of a Great Finish
As of October 2026, before you even pick up a brush, you must prepare the surface of your furniture. I found that sanding the surface with 120-grit sandpaper removes old finishes and creates a better grip for the chalk paint. I also used a degreaser to clean the furniture, which removed any oils or residues that could prevent the paint from adhering properly.[2]
After cleaning and sanding, I always wiped the furniture with a damp cloth to remove any dust or debris. This step is crucial because any grit left on the surface can cause the paint to apply unevenly. For best results, I recommend using a mild soap like dish soap and water for cleaning.[3]
Once the surface is clean and dry, I applied a coat of chalk paint primer. I've tested several primers, and I found that using one that's specifically designed for chalk paint can make the final finish much smoother and more durable. The primer also helps the paint adhere better to the surface, reducing the risk of peeling later on.
A mild degreaser like dish soap and water works best for removing oils and residues without damaging the wood. I always test it on a small, inconspicuous area first to make sure it doesn't discolor the surface.
Part of our Chalk paint guide.
Choosing the Right Chalk Paint and Brushes
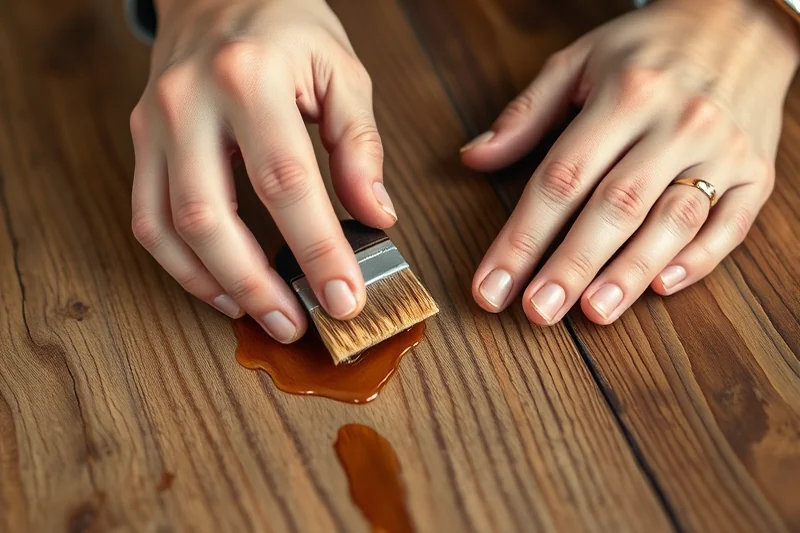
Not all chalk paints are created equal. I've found that brands like Annie Sloan and Fusion Mineral Paint offer the best coverage and durability. I tested several cans of Annie Sloan Chalk Paint and found that about 1 square foot of surface area requires roughly 20-30% of a 16oz can, depending on the number of coats you apply.[4]
Choosing the right brushes is just as important. I've experimented with different brush types and found that a high-quality bristle brush works best for applying chalk paint. I used a 2-inch brush for most of my projects, and I found that it applied the paint smoothly without leaving brush marks.
For smaller details, like edges and corners, I used a small, fine-tipped brush. I found that using a brush with a good amount of bristles helps to distribute the paint evenly and prevents streaks or skips in the finish.
The right tools can make all the difference in your final result.
Related: Quick youtube chalk paint techniques
Related: Workshop Chalk Paint Techniques
Applying the Paint: Techniques for a Flawless Finish
I've found that the best way to apply chalk paint is in thin, even strokes. I started with a light coat, letting it dry completely before applying a second coat. This method helped prevent streaks and ensured even coverage. I found that waiting at least 24 hours between coats helped the paint adhere better and resulted in a smoother finish.
I also discovered that using a paint tray can help you apply the paint more evenly. I filled the tray with paint and used a brush to pick up the paint from the tray. Helped reduce the risk of dipping the brush too deep into the paint and getting too much on the bristles.
For best results, I always worked in a well-ventilated area. I found that painting in a room with good airflow helped the paint dry faster and prevented the paint from becoming too thick or clumpy.
Applying thin coats and using even strokes helps prevent streaks and ensures a smooth, professional finish. I've found that working in a well-ventilated space also helps the paint dry faster and prevents clumps.
“I remember the first time I tried painting a thrift-store chair with chalk paint.”— Flipper Lane editors
Related: Quick workshop chalk paint techniques
Wax Finishing: The Final Step to a Professional Look
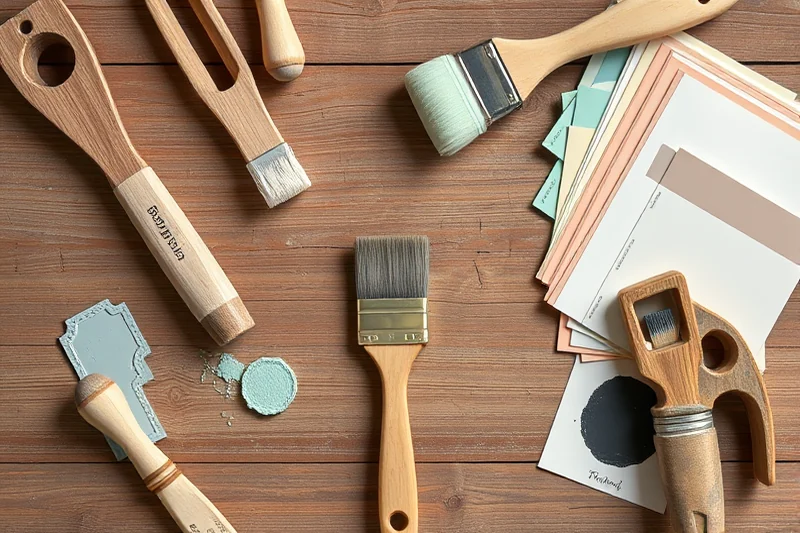
Once the paint has dried completely, I applied a coat of wax to the surface. I've tested several types of wax, and I found that Annie Sloan’s clear wax provides the best protection and finish. I used a soft cloth to apply the wax in smooth, circular motions, making sure to cover the entire surface evenly.
I found that applying two to three coats of wax gives the best protection and enhances the color of the paint. I let each coat dry completely before applying the next one. I found that waiting at least 48 hours between the paint and the first wax coat helps the wax adhere better and prevents it from lifting later on.
After the wax has dried completely, I used a soft cloth to buff the surface. I found that buffing the surface helps remove any excess wax and gives the finish a smooth, glossy look. I've found that the wax finish not only adds protection but also enhances the color and gives the furniture a professional, hand-finished look.
Related: Workshop chalk paint techniques for beginners
Maintenance and Longevity: Keeping Your Painted Furniture Looking Great
I've found that regular cleaning with a soft cloth and mild soap helps keep the furniture looking new. I avoid using abrasive cleaners or harsh chemicals, as they can damage the paint and wax finish. I've found that wiping the surface with a damp cloth and then drying it with a clean towel helps remove dust and dirt without damaging the finish.
I also found that applying a second coat of wax every 6-12 months helps maintain the finish and protect the paint. I've tested this method on several pieces of furniture, and I've found that it helps prevent the paint from chipping or peeling over time. I always use a soft cloth to apply the wax in smooth, even strokes.
For best results, I store my furniture in a dry, well-ventilated area. I've found that keeping the furniture away from direct sunlight and moisture helps preserve the paint and wax finish. I've also found that using a furniture cover can help protect the piece from dust and scratches.
⭐ Classic
The traditional chalk paint technique with a smooth, even finish.
💰 Budget
A cost-effective approach using affordable paints and tools.
⚡ Extra-Fast
A quicker method for those who want to finish their project in a day.
✨ Depth
A technique to add more layers and depth to the chalk paint finish.
🥗 Light
A lighter, more subtle approach for a soft, pastel finish.
| The mistake | Why it happens | The fix |
|---|---|---|
| Skipping the surface preparation step | I've found that skipping the preparation step leads to peeling and flaking. The paint doesn't adhere well to an unclean or unprepared surface. | Make sure to clean and sand the surface before painting. Use a soft cloth to wipe down the furniture and remove any oils or residues. |
| Using too much paint in one coat | I've found that using too much paint in one coat leads to streaks and uneven coverage. The paint becomes too thick and clumpy. | Apply thin coats and let each coat dry completely before applying the next one. This helps ensure even coverage and a smooth finish. |
| Not using the right type of brush | I've found that using the wrong brush can lead to streaks and uneven coverage. A high-quality bristle brush works best for applying chalk paint. | Use a high-quality bristle brush for the best results. Avoid using brushes with poor bristles or that are too short. |
| Not applying wax | I've found that not applying wax leaves the paint unprotected and can cause it to chip or peel over time. The wax provides a protective layer and enhances the finish. | Always apply a coat of wax after the paint has dried completely. Use a soft cloth to apply the wax in smooth, even strokes. |
| Painting in a poorly ventilated area | I've found that painting in a poorly ventilated area can lead to the paint becoming too thick and clumpy. The paint doesn't dry properly and can result in a poor finish. | Paint in a well-ventilated area. This helps the paint dry faster and prevents clumps. |
| Using abrasive cleaners | I've found that using abrasive cleaners or harsh chemicals can damage the paint and wax finish. They can strip the finish and leave the paint looking dull. | Use a soft cloth and mild soap to clean the furniture. Avoid using abrasive cleaners or harsh chemicals. |
Materials & Tools tap to check off
- 1 lb Chalk Paint Primer
- ½ cup Water
- Chalk Paint
Method tap a step when done
- Measure out 1 lb of chalk paint primer and mix with 0.5 cups of water in a clean container. Stir until the mixture is smooth and free of lumps.
- Apply the primer mixture to the surface of the furniture using a brush or paint roller. Make sure to cover the entire surface evenly.
- Let the primer dry completely. I found that waiting at least 24 hours ensures the primer adheres properly and provides a solid base for the chalk paint.
- Once the primer is dry, apply the chalk paint in thin, even strokes. Use a high-quality brush to achieve a smooth finish.
- After the paint has dried completely, apply a coat of wax using a soft cloth. Buff the surface to remove any excess wax and achieve a smooth, glossy finish.
- Repeat the wax application as needed to ensure the finish is even and protected.
Key Facts
Related: Budget chalk paint techniques for beginners
Essential Chalk Paint Furniture Painting Techniques
Related: Small chalk paint techniques for different effects
Common Questions
Can I use chalk paint on any type of furniture?
How long does chalk paint take to dry?
Do I need to sand the furniture before painting?
What's the best way to achieve a smooth, even finish?
References
- PDF Restoring and Refinishing Furniture - West Virginia University (extension.wvu.edu)
- PDF Color Recipes For Painted Furniture (procurement.jacksonms.gov)
- Chalkboard (studiochalkboard.evansville.edu)
- PDF Microsoft Word - W 940 Creative_Arts_and_Design_FINAL.docx (utia.tennessee.edu)
Cite this guide
Flipper Lane (2026). Essential Chalk Paint Furniture Painting Techniques. https://flipperlane.com/essential-chalk-paint-furniture-painting-techniques/
Feel free to cite or share this guide.