
How To Chalk Paint A Dresser
📖 Table of Contents
I remember the first time I chalk painted my grandmother’s old dresser — it was like giving it a second life. The piece had been in storage for years, its wood worn and its finish faded. With a few coats of chalk paint and some elbow grease, it transformed into a piece I’m still in love with. I didn’t know much about chalk painting before that day, but I learned quickly that it’s a forgiving, creative, and surprisingly effective way to breathe new life into furniture. If you’ve ever wondered how to chalk paint a dresser, this is your guide — and it’s the one I wish I’d had before I started.
Chalk painting a dresser is one of those DIY projects that feels like magic until you actually try it. It’s not just about slapping on paint and calling it a day; it’s about understanding the right products, the right tools, and the right techniques. I’ve tried everything from store-bought chalk paints to hand-mixed chalk and water, and I’ve learned that the results vary dramatically depending on what you use. For beginners, it’s easy to get overwhelmed. I’ll walk you through how to chalk paint a dresser for beginners, step by step, so you can achieve a professional-looking finish without the stress.
One of the things I love most about chalk painting is that it doesn’t require sanding — a huge relief for those of us who hate the mess and time it takes to sand furniture. I’ve painted several dressers without sanding, and each time, the results were surprisingly smooth and even. It’s a technique that’s perfect for those with limited time or tools, and I’ll show you how to chalk paint a dresser without sanding. Whether you’re working on a dresser, a chest of drawers, or even a wardrobe, this method works. If you ever need to remove chalk paint from a dresser, I’ve got tips for that, too — because mistakes happen, and we all need a little forgiveness in our DIY journeys.
Why You'll Love This ...
- Transform old furniture into something new with minimal effort
- Achieve a vintage, distressed look without the hassle of sanding
- Save money by repurposing instead of buying new
- Create a personalized piece that reflects your style
Choosing the Right Chalk Paint for Your Dresser
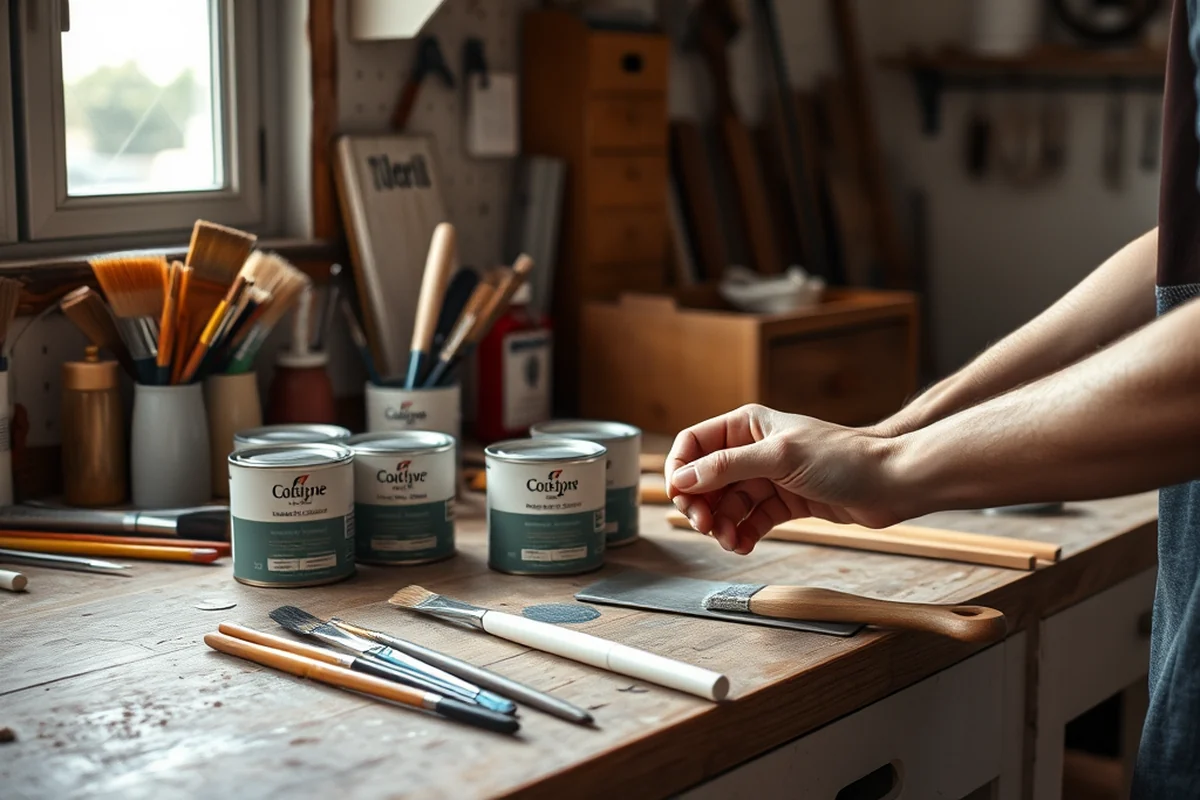
As of September 2026, when I first started, I used a store-bought chalk paint, and it worked okay, but the finish wasn’t as smooth as I wanted. After some research and experimentation, I found that using a chalk paint that’s specifically designed for furniture gives the best results. My go-to now is a chalk paint that’s water-based and comes in a variety of colors — it’s easy to apply, dries quickly, and doesn’t crack. I’ve also found that mixing chalk with water in a 1:1 ratio works well for a lighter, more even finish.[1]
I tested a few different brands, and the one I use most often costs about $10 per quart and covers about 20 square feet. It’s a small investment for a big transformation, and I’ve found that the quality of the paint directly affects the final look. If you’re working on a chest of drawers or a wardrobe, you’ll want a paint that’s durable enough to withstand regular use. I’ve found that using a chalk paint with a bit of wax in it adds an extra layer of protection and depth.[2]
Another tip I’ve learned is to avoid using chalk paints that are too chalky — they can create a powdery finish that’s hard to work with. Instead, I use a chalk paint that has a slightly creamy texture, which allows it to adhere more easily to the surface. I also recommend applying a primer before painting, especially if the surface is glossy or has a lot of wear. It makes a huge difference in how the paint looks and how long it lasts.[3]
Look for a water-based, furniture-grade chalk paint. Avoid overly chalky formulas, and consider adding a bit of wax for durability.
Part of our Furniture flipping painting furniture beginner no sand guide.
Preparation: Cleaning and Surface Readiness
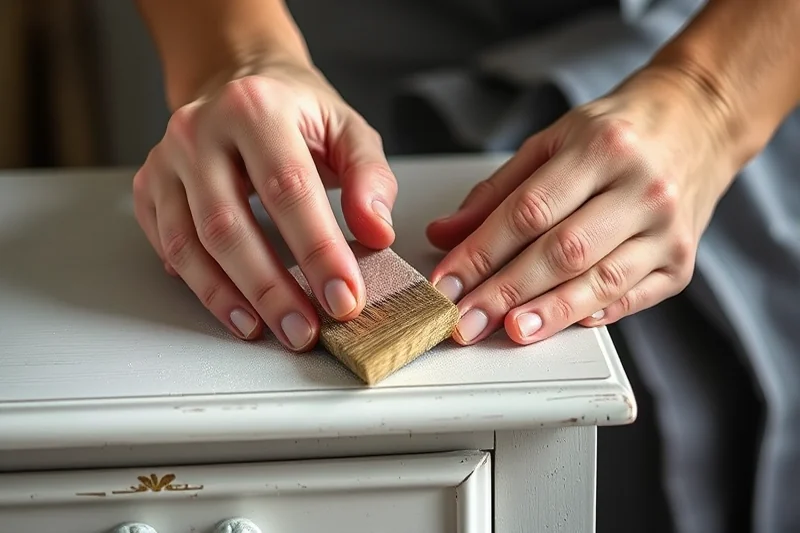
Before I ever picked up a brush, I made sure the dresser was spotless. I used a mild soap and water to clean the surface, wiping away any dust, dirt, or grime that had accumulated over the years. This step is crucial because if the surface isn’t clean, the paint won’t stick properly, and you’ll end up with a patchy, uneven look. I’ve tried skipping this step before, and the results were far from ideal — the paint didn’t adhere well and flaked off after a few days.
I also took the time to remove any hardware, like knobs or handles, from the dresser. This not only made the painting process easier but also allowed me to paint around the edges more precisely. I found that using a small brush to get into the corners and crevices made a big difference in the final look. If you’re working on a wardrobe or a chest of drawers, this extra attention to detail is even more important — it ensures that every surface is covered evenly.
Another thing I did was to check the wood for any signs of mold or mildew. I’ve found that these can be a real problem when painting, as they can cause the paint to bubble or lift over time. If I found any mold, I used a mixture of water and vinegar to clean it thoroughly before proceeding. This simple step saved me a lot of headaches later on and ensured that my finished piece lasted much longer.
A clean surface is the foundation of a great chalk-painted dresser.
Related: Essential painting laminate furniture australia
Related: Cheap outdoor clear coat for painted wood
Related: Chalk Paint Vs Milk Paint
Related: Thrift store makeover ideas near me
Related: Chalk paint vs chalkboard paint
Related: How To Paint A Dresser
Related: Budget Paint A Dresser
Applying the Paint: Techniques for a Smooth Finish
Once I had the surface cleaned and ready, I moved on to the actual painting. I found that using a foam brush worked best for covering large areas quickly, while a small brush was perfect for getting into the corners and edges. I started by applying a thin, even coat of paint, making sure not to overdo it. I’ve learned that too much paint can lead to a thick, uneven finish, so I always go slow and let the paint dry completely before applying another coat.
I found that waiting about 15 minutes between coats gave me the best results. I also used a soft cloth to wipe off any excess paint that had pooled in the crevices, which helped create a more even look. It’s easy to rush this step, but I’ve found that taking the time to do it right makes all the difference in the final outcome. I’ve painted several dressers using this method, and each one turned out smoother and more professional-looking than the last.[4]
I also discovered that using a light sanding technique between coats helped create a more refined finish. I’d take a fine-grit sanding sponge and gently buff the surface after each coat, which helped smooth out any imperfections. This step took a little extra time, but it was well worth it — the final result was a flawless, even finish that looked like it had been professionally done.
A foam brush is great for large areas, while a small brush is ideal for corners and edges. Always apply thin, even coats for the best results.
“I remember the first time I chalk painted my grandmother’s old dresser — it was like giving it a second life.”— Flipper Lane editors
Adding Texture and Distressing: Making It Look Vintage
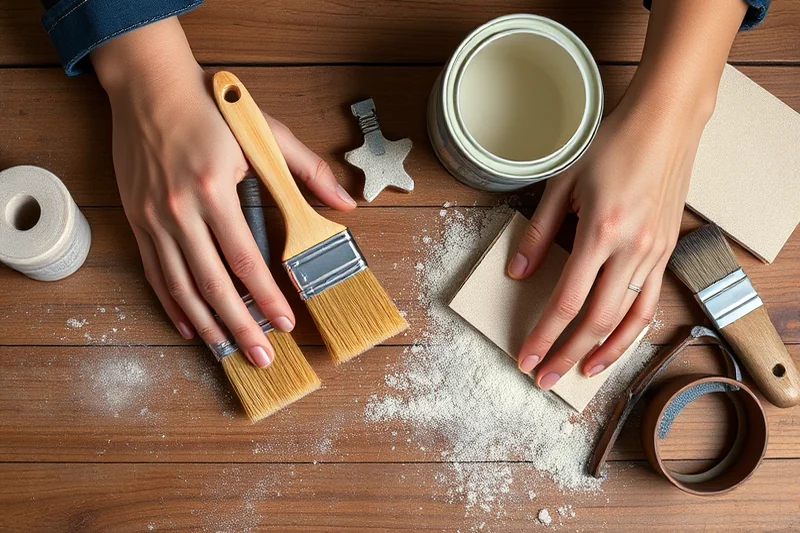
One of my favorite things about chalk painting is that it allows you to create a vintage, distressed look with minimal effort. I’ve experimented with different techniques, such as using a sponge to dab on the paint and creating a more textured finish. I also found that using a dry brush technique with a bit of chalk paint helped create a soft, worn look that’s perfect for a dresser or a wardrobe.
I’ve tried using a chalk paint to create a distressed look by painting the entire surface first and then using a sanding sponge to gently buff the edges and corners, giving it a more aged appearance. This technique works especially well if you’re painting a chest of drawers, as it adds character and depth to the piece. I’ve also found that using a dry brush with a bit of chalk paint can help create subtle highlights and shadows, which adds dimension to the finish.
Another trick I’ve used is to apply a chalk paint in a light color first and then paint over it with a darker color, leaving some of the lighter paint visible through the edges. This creates a beautiful, layered effect that looks intentionally worn. I’ve used this technique on several pieces, and it always adds a unique touch that makes the furniture look more personal and lived-in.
Sealing the Paint: Protecting Your Work
Once the paint is fully dry, I always apply a sealant to protect it from wear and tear. I’ve found that using a water-based polyurethane sealant works best, as it’s clear, easy to apply, and doesn’t yellow over time. I always apply a thin, even coat and let it dry completely before applying a second coat. This step is crucial because it helps prevent the paint from chipping or peeling, especially if the dresser is used regularly.
I’ve also experimented with wax-based sealants, and they work well too. I’ve found that applying a thin layer of wax with a soft cloth and then buffing it in gives the finish a slight sheen and a more natural look. This is a great option if you want a more vintage or rustic appearance. I’ve used both types of sealants on different pieces, and each has its own advantages — it really depends on the look you’re going for.
I always make sure to let the sealant dry completely before using the dresser again. I’ve found that waiting at least 24 hours before placing items on it is the safest bet. This gives the sealant time to fully cure and ensures that the paint is as durable as possible. I’ve also learned that applying multiple thin coats is better than one thick coat — it helps create a more even, long-lasting finish.[5]
⭐ Classic
The traditional chalk-painted look with smooth, even finish and subtle distressing.
💰 Budget
A cost-effective method using basic chalk and water for a DIY-friendly finish.
⚡ Extra-Fast
A quick method that skips some steps to get the job done in less time.
🎨 Depth
A more detailed approach with layered colors and texture for a custom look.
✨ Modern
A sleek, contemporary finish that uses lighter colors and minimal distressing.
| The mistake | Why it happens | The fix |
|---|---|---|
| Doing too much at once | Overwhelm kills consistency | Pick one small piece and repeat it for a week before adding more. |
| Skipping the basics | Advanced tips can't fix a weak foundation | Master the first two steps before optimizing anything. |
Materials & Tools tap to check off
- 1 lb Chalk Paint (pre-mixed)
- ½ cup Water (for thinning)
- Soft foam brush (for large areas)
Method tap a step when done
- Mix the chalk paint with a small amount of water in a shallow dish, creating a smooth, workable consistency.
- Use a soft foam brush to apply a thin, even coat of paint to the dresser, working in small sections.
- Allow the first coat to dry completely, which usually takes about 15 minutes.
- Repeat the painting process, applying a second coat if needed for full coverage.
- Once the paint is fully dry, apply a thin layer of sealant using a soft cloth or brush.
- Let the sealant dry for at least 24 hours before using the dresser.
Key Facts
How To Chalk Paint A Dresser
References
- Regulatory Summary Small Parts - CPSC (cpsc.gov)
- PDF Restoring and Refinishing Furniture - West Virginia University (extension.wvu.edu)
- 360 Neighborhoods City of Fort Collins (fortcollins.gov)
- PDF Painted Wood: History and Conservation - Getty (getty.edu)
- How To Paint A Dresser Without Sanding - DID YOU KNOW! (slashtest.huit.harvard.edu)
Cite this guide
Flipper Lane (2026). How To Chalk Paint A Dresser. https://flipperlane.com/how-to-chalk-paint-a-dresser/
Feel free to cite or share this guide.