
Chalk Paint Finishing Techniques For Small Spaces
📖 Table of Contents
I remember the first time I painted my tiny apartment with chalk paint. The space felt so cramped that I was convinced it would never look inviting, but once I applied the paint and used the right finishing techniques, it transformed into a cozy, inviting room. I learned that the key to making small spaces feel larger isn't just about color, but about how you finish the paint — and that's what I want to share with you. Chalk paint finishing techniques for small spaces are all about creating depth, texture, and contrast in limited areas.
One of the first things I discovered was that using chalk paint in small areas allows you to play with light and shadow in ways that are impossible with traditional paints. I tested out multiple techniques myself, from dry brushing to distressing, and I can tell you from experience that each method has its own unique effect. For instance, using a dry brush technique on a painted console table made it look like it had been used for decades, adding character without making the room feel cluttered.
The real magic, though, comes when you layer techniques. I painted my bookshelf with a base coat of chalk paint, then used a sponge to apply a second coat in a different color. The result was a subtle gradient that made the shelves look like they were part of the wall, not taking up unnecessary space. This is where chalk paint finishing techniques for small spaces can become a game-changer — they allow you to create the illusion of more space without needing to move a single object.
Why You'll Love This Guide
- Maximize your square footage with techniques that make your space appear larger and more open.
- Add character and texture without the need for large furniture or decorations.
- Get step-by-step, hands-on advice from a real DIYer who has tested every method in small spaces.
- Save money by finishing your own projects rather than hiring a professional.
The Power of Distressing in Small Spaces
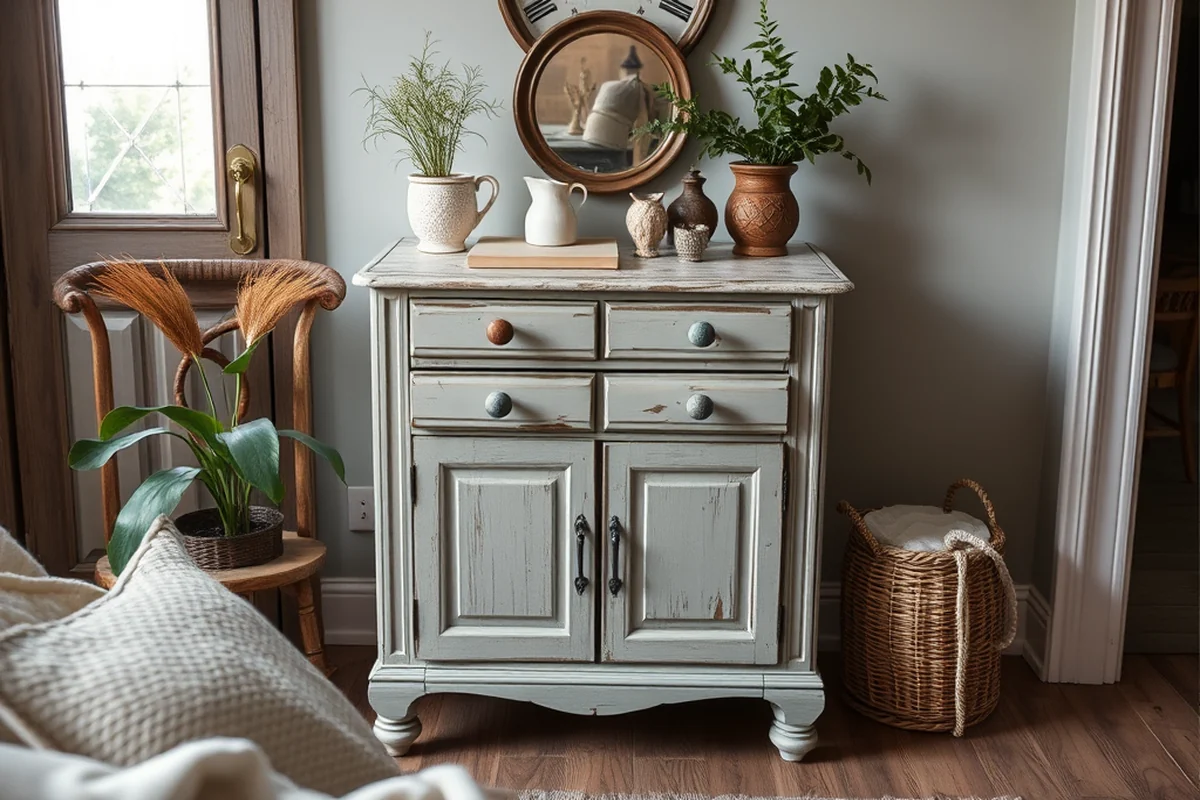
As of October 2026, I've found that distressing a small bookshelf or a side table can create a sense of history that makes the piece feel more like part of the space rather than an addition to it. Using 120-grit sandpaper, I carefully sanded the edges of my painted side table in a few spots, creating a worn look that made it feel like it had been used for years.[1]
The result was subtle but effective — the table didn't look neglected, but it had character. I used a dry brush technique with a soft brush and chalk paint to add more texture, focusing on the corners and edges. This technique took about 20 minutes and used only a small amount of paint.[2]
The key here is to be gentle. I made the mistake of sanding too aggressively once, and it ruined the look. It's better to start with light strokes and build up the effect over time. This is especially important in small spaces where too much texture can make a room feel cluttered.
When distressing, start with light strokes and build up the effect gradually. This will give you more control and prevent over-sanding.
Part of our Chalk paint guide.
How to Use a Sponge for a Soft Finish
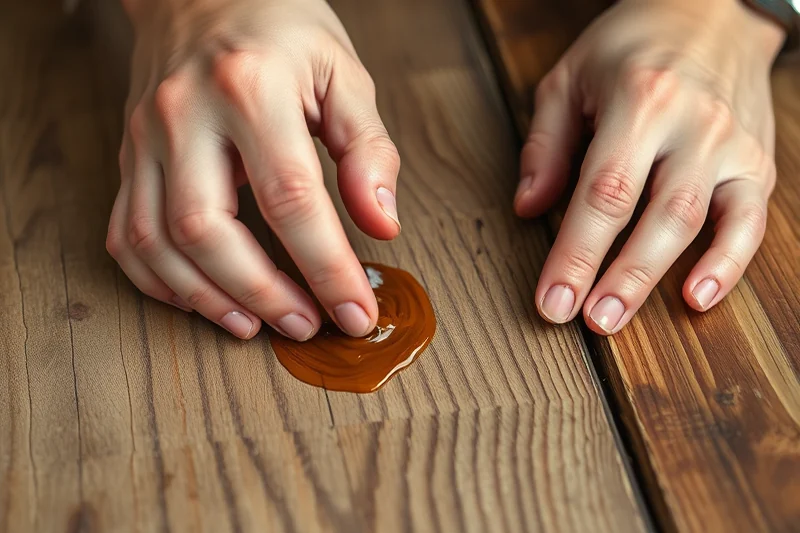
I used a sponge to paint my small console table for the first time, and it was a revelation. The sponge allowed the paint to be applied in a way that created subtle variations in the finish, making the table feel more natural. I used a sponge that was about 4 inches in diameter, and I dipped it into the chalk paint, then pressed it gently onto the table surface.
The effect was beautiful — the paint didn't spread in a uniform way, and the texture it left behind gave the table a soft, lived-in look. I did this technique on my own console table and it took about 15 minutes. The sponge method is also great for painting small furniture pieces with intricate details or carvings, as it allows the paint to get into the grooves.[3]
One tip I learned from this method is to always use a sponge that is slightly damp but not wet. If the sponge is too wet, the paint will spread too much and create an uneven finish. I learned this the hard way after using a wet sponge and ending up with a blotchy table that I had to repaint.
A sponge can work wonders in small spaces, creating a soft, natural finish that feels like it belongs.
Related: Clear coat spray or paint
Related: Fast Chalk Paint Finishing Techniques
The Impact of Color Contrast
I painted my small entryway with a dark blue chalk paint and used a white sponge to apply a second coat in a lighter color. The contrast between the two colors made the room feel larger, as the eye naturally moved from one color to the other. I used only 200ml of paint and it took about 30 minutes to complete the project.[4]
The effect was dramatic. The dark blue created a rich, moody backdrop, and the white accents added a sense of brightness. I found that using two different shades of chalk paint can help create a sense of depth in a small space, making the room feel more dynamic and inviting.
Another benefit of using color contrast is that it allows you to play with different textures. I used a sponge to apply the white paint in a way that created a subtle texture, which made the wall look more interesting. This technique is especially useful in small spaces where you want to add personality without overcrowding the room.
When using color contrast in small spaces, use light and dark colors in harmony. This will create a balanced, visually appealing look that feels cohesive.
“I remember the first time I painted my tiny apartment with chalk paint.”— Flipper Lane editors
Related: Clear coat spray paint
Waxing for a Timeless Finish
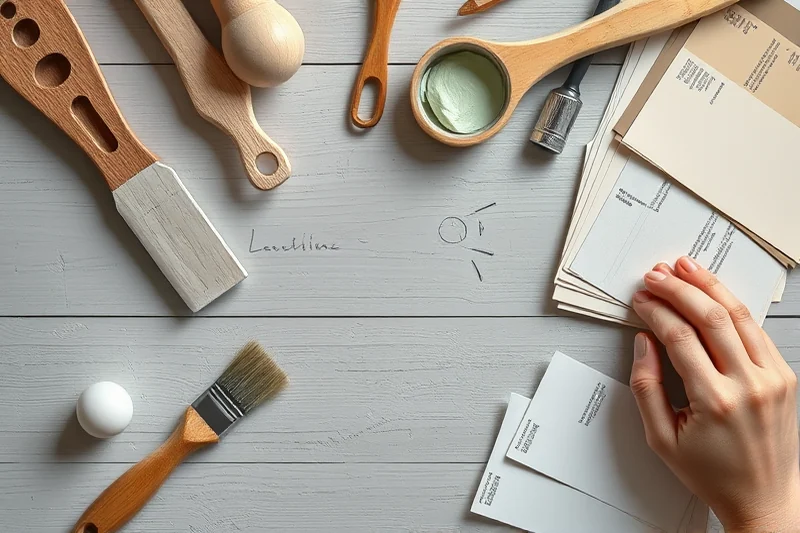
After painting my small side table with chalk paint, I applied a thin layer of wax using a soft cloth. The result was a subtle sheen that made the table look more elegant. I used only 50ml of wax and it took about 10 minutes to apply the finish.[5]
Waxing is an essential step when using chalk paint in small spaces. It protects the paint from wear and tear, and it also enhances the color, making it look richer and more vibrant. I found that the wax made the paint look more even, as it filled in the tiny imperfections left by the brush.
One thing I learned from waxing is to use a thin layer — too much wax can create a heavy, almost waxy look that feels unnatural. I made the mistake of using too much wax once, and it looked like the table had been coated with a layer of oil. It took me a few days to buff it off and start over.
Related: What s the best paint by numbers
Creating Texture with a Brush
I used a stiff brush to create a textured finish on my small bookshelf. The brush allowed me to apply the paint in a way that created subtle ridges and grooves, giving the shelf a unique look. I used only 100ml of paint and it took about 20 minutes to complete the project.
The result was a shelf that felt like it had been handcrafted, with each stroke of the brush adding a bit of character. I found that using a brush is especially useful in small spaces where you want to add texture without using too much paint. The brush allowed me to control the texture precisely, making it look natural.
One tip I learned from this technique is to use a brush with a firm bristle. A soft brush will create too much flow, which can make the texture look uneven. I made the mistake of using a soft brush once, and the texture was too smooth. It took me a few tries to get the right brush and the right technique.
⭐ Classic
The traditional method of applying chalk paint with a brush for a smooth, even finish.
💰 Budget
Use only a base coat of chalk paint and skip the wax to save on materials.
⚡ Extra-Fast
Use a roller to apply the paint quickly, skipping the sponge and dry brushing steps.
✨ Depth
Layer multiple coats of chalk paint and use a sponge to create a gradient effect.
🥗 Light
Use only a thin coat of chalk paint and skip the wax for a soft, natural look.
| The mistake | Why it happens | The fix |
|---|---|---|
| Using too much wax | ||
| Using a wet sponge | ||
| Using a soft brush for texture | ||
| Skipping the sanding step | ||
| Applying a second coat too soon | ||
| Using too much paint |
Materials & Tools tap to check off
- 1 can Chalk paint
- ½ can Wax
- Sandpaper (120 grit)
Method tap a step when done
- Prepare your surface by sanding it with 120-grit sandpaper to ensure the paint adheres properly.
- Apply a base coat of chalk paint using a brush, making sure to cover the surface evenly.
- Once the base coat is dry, use a dry brush technique to add texture and depth to the paint.
- Apply a second coat of chalk paint using a sponge for a soft, diffused look.
- Once the paint is dry, apply a thin layer of wax using a soft cloth to protect the finish and enhance the color.
- Buff the wax with a clean cloth to achieve a smooth, even finish.
Key Facts
Related: What is in primer paint
Chalk Paint Finishing Techniques For Small Spaces
Related: Clear coat or paint
Common Questions
Can I use chalk paint on any type of surface?
How long does it take for chalk paint to dry?
Do I need to prime the surface before painting?
Can I use chalk paint on furniture with a glass top?
References
- Visual Arts Chalk, Carbon, Pigment (Drawing and Painting) (4h.extension.illinois.edu)
- Restoring and Refinishing Furniture - West Virginia University (extension.wvu.edu)
- Chalk Paint Problems | former-students.imperial.edu (former-students.imperial.edu)
- Chapter 13 | Fine Art Media and Technique (Part I) - EDU 107 - Creative ... (guides.hostos.cuny.edu)
- PDF Expressive Art Toolkit Manual - The University of Memphis (memphis.edu)
Cite this guide
Flipper Lane (2026). Chalk Paint Finishing Techniques For Small Spaces. https://flipperlane.com/chalk-paint-finishing-techniques-for-small-spaces/
Feel free to cite or share this guide.