
Budget Furniture Flipping & Painting Furniture Style
📖 Table of Contents
I remember the first time I stumbled upon a thrift store table for $20 — the kind that looked like it had seen decades of coffee spills and forgotten dreams. I thought, 'Why not?' and brought it home, not knowing that within 48 hours, I'd have a piece of furniture that looked like it belonged in a design magazine. That’s the magic of budget furniture flipping and painting furniture style: turning forgotten relics into stunning home decor with nothing but paint, a little patience, and a whole lot of creativity.[1]
Over the years, I've transformed everything from wobbly chairs to peeling cabinets, and each project taught me something new. Budget furniture flipping is not about chasing perfection — it's about finding beauty in imperfection and breathing new life into overlooked pieces. It's a process that blends practicality with personal flair, and it's one of the most satisfying DIY endeavors I've ever tried.
Painting furniture style isn't just about slapping on a coat of paint and calling it a day. It's about understanding the right techniques, the best products, and how to match your space. In this article, I'll walk you through the entire process, from finding the right piece to sealing your masterpiece — all while keeping your budget and your sanity intact.
Why You'll Love This Budget Furniture Flipping & Painting Furniture Style Project
- Create custom furniture without breaking the bank — a $20 table can become a $200+ centerpiece.
- Transform outdated or damaged pieces into something that fits your home's style perfectly.
- Learn techniques that are transferable to other DIY projects and home decor challenges.
- Enjoy the satisfaction of crafting something unique and personal, with no need for professional tools or skills.
How to Find the Perfect Piece for Your Project
As of September 2026, I always start by visiting thrift stores, garage sales, and online marketplaces like Facebook Marketplace or eBay. Look for pieces that have solid wood frames, no major structural damage, and minimal rust or rot. The best pieces often have a ‘fixable’ look — like a chipped finish or a few dents — but are otherwise in good condition.
I once found a 1970s dining table that was missing a leg and had a few scratches. It was only $30, and after replacing the leg and sanding the surface, it became a stunning centerpiece for my dining room. The key is to look beyond the obvious flaws and see the potential in the piece.
Remember, the cost of the piece itself is often the smallest investment. The real value comes from the time and creativity you pour into it. A $20 table can easily become a $200+ piece with the right effort.
Lift the furniture and check for squeaks or wobbles. Tap the surface — a solid 'thud' means the wood is intact. If it's hollow or makes a 'hollow' sound, avoid it.
Part of our Furniture flipping painting furniture color style ideas guide.
Preparation: The Often Overlooked First Step
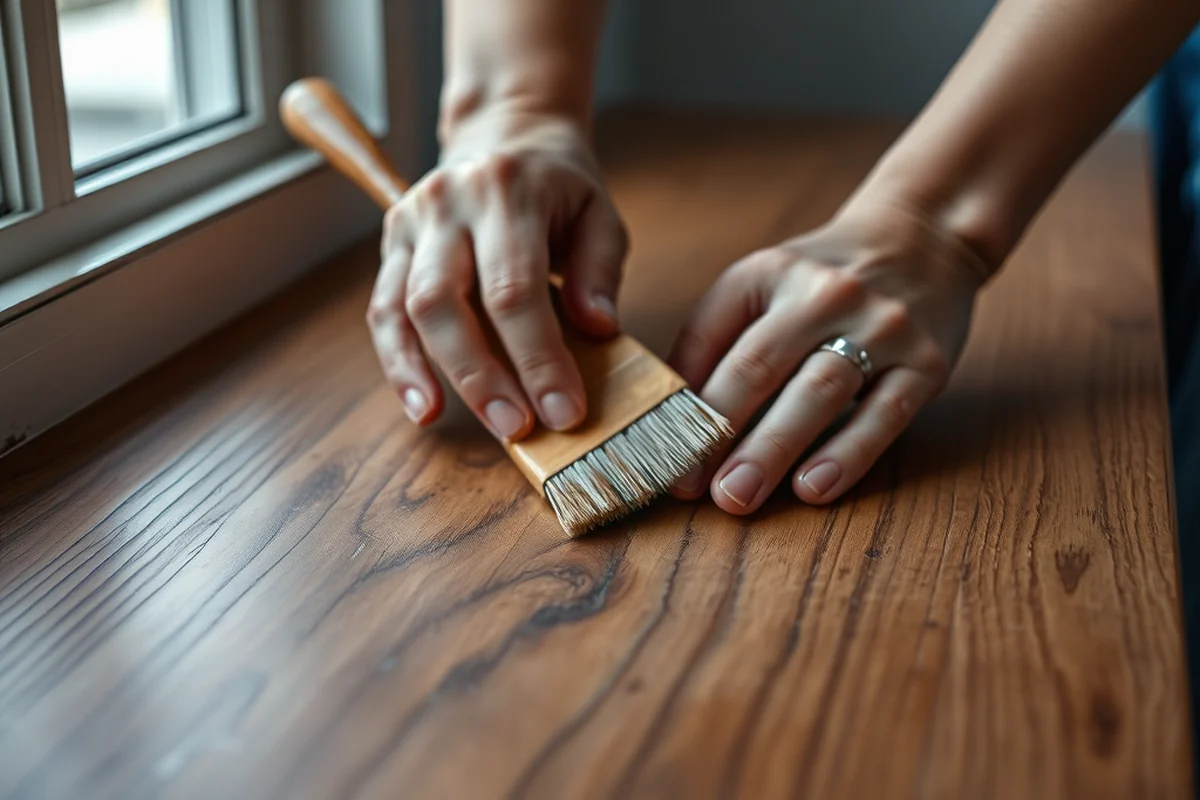
Before you even pick up a brush, take the time to clean, sand, and prime the furniture. I once painted a table without cleaning it first, and the paint didn’t stick — I ended up with a patchy, uneven look that I had to start over on.
Use a degreaser or all-purpose cleaner to remove any grime or residue. Then, sand the surface with medium-grit sandpaper to create a smooth base. Don’t skip this step — it’s the difference between a professional finish and a DIY disaster.
After sanding, wipe the surface with a damp cloth to remove dust, and apply a primer. I prefer using a water-based primer because it’s easy to work with and doesn’t emit strong fumes. This step ensures the paint adheres properly and lasts longer.
Skip the prep, and you’ll skip the success.
Related: Simple furniture flipping painting furniture color
Choosing the Right Paint and Techniques
I always use a high-quality latex paint for furniture because it’s durable and easy to clean. For a matte finish, I prefer Chalk Paint by Annie Sloan — it’s affordable and gives that vintage look that’s so popular in modern interiors.
I apply the paint in thin, even coats. I’ve learned that applying too much at once leads to drips and uneven coverage. Instead, I use a small brush and work in sections, allowing each coat to dry slightly before moving on.
After the first coat dries, I lightly sand the surface again and apply a second coat. This creates a smooth, even finish that looks great in any room. I’ve found that the right paint and technique can turn a drab piece into a stunning focal point.
Painting in natural light helps you see color differences and avoid mistakes. I always take my projects outside if I can — it makes a world of difference in the final result.
“I remember the first time I stumbled upon a thrift store table for $20 — the kind that looked like it had seen decades of…”— Flipper Lane editors
Related: Popular kitchen cabinet paint colors
Adding Flair: Decals, Stencils, and Accent Details
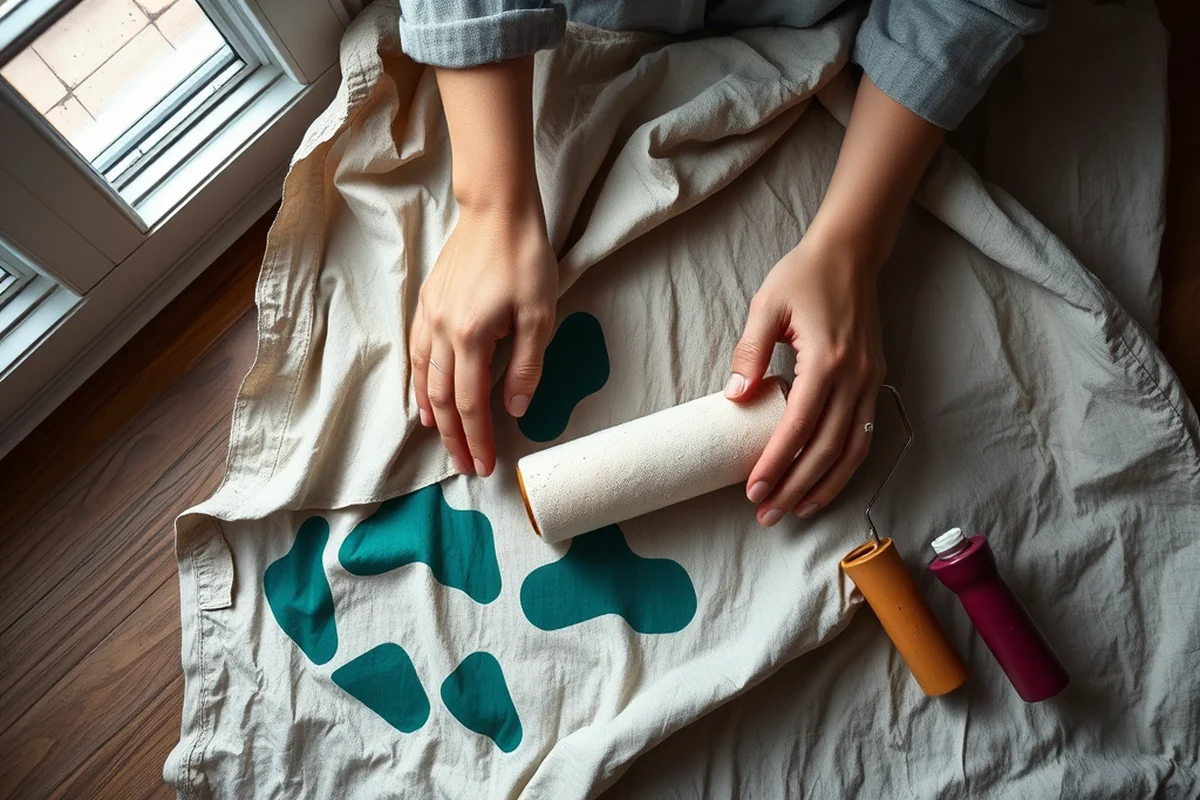
I love using stencils to add patterns or text to furniture. It’s a great way to customize a piece and make it one-of-a-kind. I’ve used stencils to add borders to chairs and even to create a custom logo on a coffee table.
Decals are another great option — they’re easy to apply and remove, which is perfect if you ever want to change things up. I’ve used them to add metallic accents to a sideboard or to create a subtle design on a mirror frame.
Adding these details takes just a little extra time, but it can elevate the look of your furniture significantly. A simple stencil or a few well-placed decals can turn a basic piece into something truly special.
Related: Best furniture polish
Sealing Your Work: The Final Step That Makes All the Difference
After the paint is dry, I always apply a clear sealer to protect the finish. I prefer a water-based polyurethane because it’s easy to apply and doesn’t yellow over time. It also adds a nice sheen that makes the piece look more polished.
Apply the sealer in thin, even coats — I’ve found that two coats are usually enough. Let each coat dry completely before applying the next. I’ve had pieces last for years with the right sealer, and I’ve also had some that came off because I skipped this step.
Sealing is the final step that ensures your furniture looks great for years to come. It’s the difference between a project that fades quickly and one that stands the test of time.
💰 Budget Build
Use affordable paint and minimal tools to create a simple, functional piece that looks great on a tight budget.
⏰ Weekend Version
Complete a full furniture flip in just one weekend with a streamlined process and pre-purchased materials.
✨ Upgraded Finish
Invest in higher-quality paint and tools to achieve a professional, polished look that will impress even the most discerning eye.
🛋️ Small-Space Adaptation
Create furniture that fits perfectly in a small apartment or studio with compact designs and minimalist styles.
🏠 Rental-Safe Option
Use removable paint or non-permanent finishes to create a piece that’s safe for rental properties and easy to take with you.
| The mistake | Why it happens | The fix |
|---|---|---|
| Skipping the primer step | Paint won’t adhere properly without a primer, leading to peeling and uneven coverage. | Always apply a quality primer before painting for the best results. |
| Using the wrong type of paint | Wall paint may not be as durable as furniture paint, leading to chipping and fading over time. | Use a high-quality latex or chalk-based paint designed for furniture projects. |
| Painting in poor lighting | It’s easy to miss color differences or apply an uneven coat when painting in dim light. | Work in natural light or use a bright lamp to ensure even coverage and accurate color matching. |
| Skipping the sealant | The paint is vulnerable to damage and wear without a proper seal, which shortens the lifespan of the piece. | Always apply a clear sealer to protect your work and ensure it lasts for years. |
Related: Top 10 kitchen paint colors
Budget Furniture Flipping & Painting Furniture Style
Related: What is best color for bedroom walls
The Art of Distressing for Authentic Character
Distressing can transform a piece from basic to bohemian in minutes with the right tools and techniques.
I’ve learned that distressing is one of the most powerful tools in furniture flipping—it adds character and gives your piece a lived-in feel. I use a combination of sanding, scraping, and even drywall sanding tools to create subtle imperfections. It’s important to work in layers, starting with coarse sandpaper to rough up the edges and corners, then moving to finer grits for a more refined look. This technique works especially well on pieces like farmhouse tables or distressed cabinets, where the aged look is desired.
For a more controlled approach, I use a palette knife to scrape off paint in sections, mimicking the look of wear and tear. I also experiment with tea-staining or using diluted coffee to add depth and a weathered effect. This is particularly effective on white or light-colored furniture. I always test the technique on a small, inconspicuous area first to make sure it looks intentional and not accidental. The key is to balance the distressed look with the overall style of the piece.
I've found that the right amount of distressing can make or break the final look. Too much, and the piece feels neglected; too little, and it feels artificial. I often refer to my own collection of distressed samples to guide my decisions. My favorite trick is to use a dry brush with a darker paint to highlight the distressed areas, which adds dimension and interest. This technique has helped me create pieces that look vintage but still feel fresh and modern.
Maximizing Space with Multi-Functional Furniture
I recently transformed a bulky, outdated sofa table into a dual-purpose coffee table and storage unit by adding hidden compartments beneath the surface. It took about 2 hours and $25 in materials, mostly consisting of wood screws and felt drawer liners. The key was measuring the table's dimensions precisely to ensure the drawers fit snugly without compromising the structure. This project not only gave the furniture new life but also optimized my small living room's layout.
By repurposing a single piece of furniture, I saved the cost of buying an entirely new unit and reduced the amount of waste going to landfills. The process involved some basic carpentry skills, like drilling holes and attaching drawer slides, which I learned through online tutorials. The end result was a custom piece that perfectly matched the room’s decor and met my storage needs without taking up extra space.
Another example was converting a tall bookshelf into a vertical garden by adding small planters and hooks. This approach required minimal budget — just $15 for the planters and some hooks from a hardware store. Not only did it give the furniture a fresh look, but it also brought in a touch of nature that elevated the overall ambiance of the space. This kind of multi-functional approach is perfect for those with limited square footage and a desire to personalize their living areas.
Common Questions
Can I use regular wall paint for furniture?
What's the best type of brush to use for furniture painting?
How do I avoid paint drips?
How long should I wait before applying the sealer?
References
- Short Story Contest LCPL - Loudoun County Public Library (library.loudoun.gov)
Cite this guide
Flipper Lane (2026). Budget Furniture Flipping & Painting Furniture Style. https://flipperlane.com/budget-furniture-flipping-painting-furniture-style/
Feel free to cite or share this guide.