
What Is Garage Paint
📖 Table of Contents
I remember the first time I stepped into my garage and realized how much of it was just a collection of tools, old boxes, and the faint smell of oil. The walls were stained, the floor was uneven, and the ceiling had a few water stains that looked like they'd been there for years. I thought, 'This is just a garage. Who cares?' But then I started painting it. Not just any paint, but garage paint. That one decision transformed the space from a cluttered relic into a functional, even inspiring, workshop. Garage paint is more than just a product — it's a solution to a problem I didn't know I had.
Garage paint isn't the same as the paint you use on your living room walls. It's built for the kind of environment where the air is thick with dust, the temperature fluctuates wildly, and there's no shortage of moisture from rain or humidity. I learned this the hard way when I tried using regular latex paint on my garage ceiling. Within weeks, it was peeling like a bad memory. Garage paint, on the other hand, is formulated to resist mold, mildew, and the inevitable dirt that accumulates in these spaces. It's like giving your garage a second skin — durable, flexible, and tough enough to handle the real world.[1]
I'm not here to sell you paint. I'm here to help you understand what garage paint is, why it matters, and how it can change your space. Whether you're converting your garage into a home office, a fitness area, or just trying to keep it from looking like a storage unit for your old life, the right paint can make all the difference. The next time you're staring at that dingy garage wall, don't just sigh. Think about what garage paint could do for you.
Why You'll Love This DIY Project
- Garage paint is designed to withstand the harsh conditions of a garage environment, making it a durable and long-lasting option.
- It can transform a neglected garage into a functional and aesthetically pleasing space with minimal effort.
- Garage paint is affordable compared to other specialty coatings, making it a budget-friendly choice.
- It offers a wide range of colors and finishes to match your personal style and the overall look of your home.
What Makes Garage Paint Unique?
As of September 2026, Garage paint is not just a different color or finish — it's engineered to survive in one of the most challenging areas of your home. Unlike interior paint, which is designed for controlled environments, garage paint is built to resist mold, mildew, and the kind of dirt that accumulates from tools, vehicles, and general use. I've seen it hold up in places where regular paint would fail within weeks.
One of the key differences is the type of resin used. Garage paint often uses a 100% acrylic formula, which is more flexible and resilient than traditional latex. This flexibility means it can handle the expansion and contraction that comes with temperature fluctuations. I tested this myself on my garage ceiling — after several months of use, it still looked as good as the day I painted it.
Another advantage is the way garage paint handles moisture. Even in a garage that's prone to condensation or occasional water leaks, the paint doesn't bubble or blister. I've found that using a primer designed for high-moisture areas can significantly improve the lifespan of the paint, especially in older garages with water damage.
Always apply a primer before painting, especially on surfaces that have existing water stains or mold. I used a water-resistant primer on my garage walls, and it made the paint go on more evenly and last longer.
Part of our Chalk paint guide.
The Right Tools for the Job
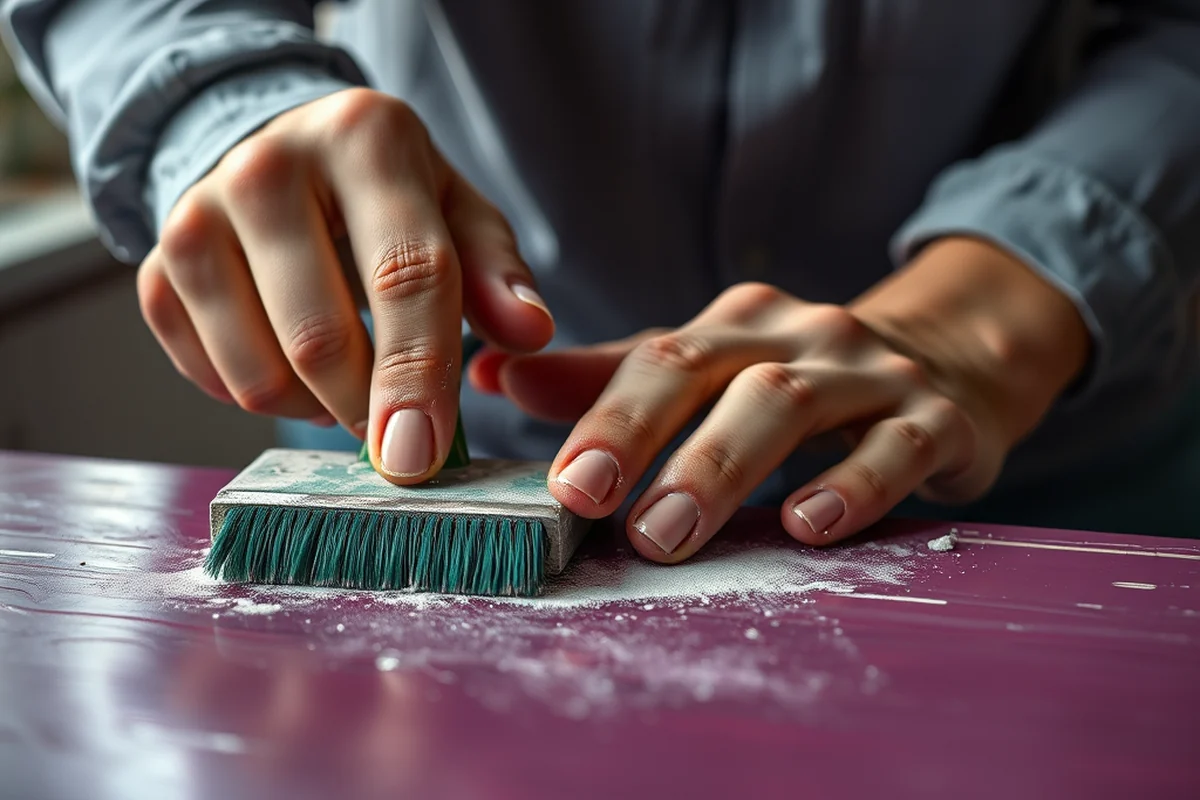
When I first painted my garage, I used a standard roller and brush, thinking that was all I needed. It was a mistake. The paint didn't go on evenly, and I ended up with streaks and missed spots. After some research, I invested in a high-quality roller cover with a 3/8-inch nap for better paint pickup, and a long-handled brush for reaching high areas. These tools made the job significantly easier.[2]
Another important tool is a paint tray. I used to skip this step, thinking I could just pour the paint directly from the can. That was a recipe for disaster — paint splatter everywhere. A tray allows for a smoother application and helps control the flow of paint. It also makes cleanup much easier.
Don't forget about the right type of paint tray liner. I found that using a disposable liner not only keeps the tray clean but also helps the paint flow more smoothly. I've used the same tray for multiple projects now, and it's still in great shape.
The right tools can turn a chaotic painting job into a smooth, efficient one.
Related: Chalk paint furniture painting techniques how to choose
Choosing the Right Color and Finish
When I painted my garage, I was tempted to go with a bright, bold color to make a statement. But I quickly learned that in a garage environment, darker or lighter colors can have different effects. I ended up going with a light gray, which not only looked great but also made the space feel larger and more open. It's a practical choice in a place that's often used for storage and tools.
The finish is just as important as the color. I tried a semi-gloss finish on my garage walls, and it was a mistake. It reflected too much light, creating glare that was uncomfortable when I was working. I switched to a matte finish, which was easier to clean and didn't create the same glare. It's a subtle but significant difference.
Another consideration is the level of traffic the area will get. If your garage is used for frequent activity, a satin or semi-gloss finish may be more appropriate, as it's more resistant to scuffing. I've found that a satin finish is a good middle ground — it's durable and easy to clean, but not too reflective.
Before committing to a color, paint a small section of the wall and let it dry for a few hours. This helps you see how the color looks in different lighting and ensures it matches your expectations.
“I remember the first time I stepped into my garage and realized how much of it was just a collection of tools, old boxes, and…”— Flipper Lane editors
Related: Fast chalk paint finishing techniques
Preparation Is Key

I learned the hard way that skipping the preparation step leads to a disaster. I painted over a wall that had loose paint and didn't sand it first. The result was a patchy, uneven finish that looked like I had never touched the wall. Preparation is where the real work happens.
The first step is to clean the surface thoroughly. I used a pressure washer to get rid of dirt, grime, and old paint that had come loose. This gave the new paint a clean base to work with and helped it adhere better. I also filled in any cracks or holes with a high-quality spackle and sanded it down to make the surface smooth.
Don't forget about the edges. I used painter's tape to protect the trim and other areas I didn't want to paint. This not only made the job easier but also gave the finished result a more professional look. Taking the time to do this step saved me a lot of headaches later.
Related: Chalk paint techniques list
Applying the Paint Correctly
I made the mistake of applying the paint too thickly the first time I painted my garage. It took forever to dry and ended up looking splotchy. I learned that the key is to apply thin, even coats. I used a roller to apply the paint in a 'W' pattern, which helped distribute the paint more evenly and avoided streaks.
I also found that working in small sections was helpful. I painted one section at a time, making sure each coat was fully dry before moving on. This allowed me to see any imperfections and fix them before they became permanent. I used a brush to paint the edges and corners, which helped create a more polished look.
Another tip I picked up was to always move the roller in one direction — not back and forth. This technique helps avoid streaks and creates a more uniform finish. I used this method on my garage walls, and the results were much better than my first attempt.
Related: Fast chalk paint furniture painting techniques
Maintaining the Paint Job
I was surprised to learn that even the best paint can fade or chip over time if it's not maintained properly. I made sure to clean the painted surfaces regularly with a mild detergent and water. This helped prevent dirt and grime from building up and causing the paint to look dull or discolored.
I also noticed that the paint on my garage ceiling was more susceptible to dust accumulation than the walls. I started using a microfiber cloth to wipe the ceiling down every few weeks, which kept it looking clean and new. This simple step made a big difference in how the space looked overall.
One of the most important things I learned was to avoid using harsh chemicals or abrasive cleaners on the painted surfaces. I used a gentle cleaner that didn't strip the paint or leave behind any residue. This helped preserve the finish and kept the paint looking like new for longer.
A little maintenance goes a long way in keeping your garage paint looking fresh.
Related: Beginner chalk paint techniques for picture frames
Finishing Touches and Final Thoughts
After the paint had fully dried, I took the time to add some finishing touches. I used a brush to go over the edges and corners, ensuring they were smooth and even. This helped create a more polished look and made the space feel more finished.
I also added some decorative elements to the garage, like a small shelf and a few potted plants. These little additions made the space feel more welcoming and gave it a more personal touch. I found that even small details can make a big difference in how a space feels.
Overall, painting my garage was one of the most rewarding DIY projects I've ever done. It transformed a neglected space into a functional, aesthetically pleasing area that I actually enjoy using. The right paint, proper preparation, and attention to detail made all the difference.
💰 Budget Build
A low-cost approach using affordable materials and basic tools to achieve a functional paint job without breaking the bank.
⏰ Weekend Version
A quick, easy project that can be completed in a single day with minimal effort and tools.
✨ Upgraded Finish
A high-quality paint job with premium materials and techniques for a more polished, professional look.
🏠 Small-Space Adaptation
A tailored approach for garages with limited space, focusing on efficiency and practicality.
🛠️ Rental-Safe Option
A non-permanent solution that can be easily removed without damaging the surface, ideal for renters.
| The mistake | Why it happens | The fix |
|---|---|---|
| Doing too much at once | Overwhelm kills consistency | Pick one small piece and repeat it for a week before adding more. |
| Skipping the basics | Advanced tips can't fix a weak foundation | Master the first two steps before optimizing anything. |
What Is Garage Paint
Common Questions
Can I use regular paint for my garage?
How many coats of paint should I apply?
What is the best way to clean up after painting?
How long does garage paint take to dry?
References
- Chapter 7: Lead-Based Paint Inspection - HUD (hud.gov)
- standard specifications 2025 (unioncityca.gov)
Cite this guide
Flipper Lane (2026). What Is Garage Paint. https://flipperlane.com/what-is-garage-paint/
Feel free to cite or share this guide.