
Easy Chalk Paint Effects
📖 Table of Contents
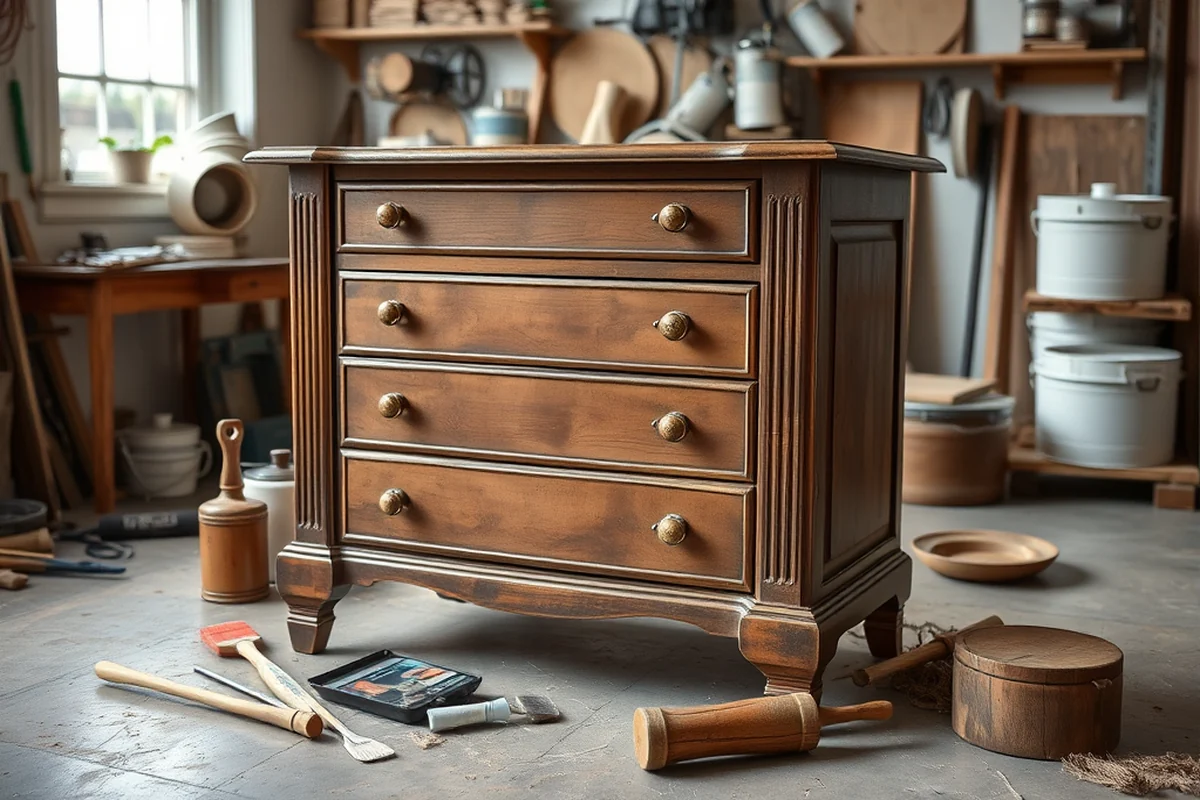
I remember the first time I tried chalk paint on an old dresser — the way it absorbed the pigment like a sponge, the subtle crackle it created when I applied the wax. The way the furniture transformed from dull to elegant in just a few hours. It was magic, really, and that’s why I’m here to share exactly how I did it. Chalk paint effects are not just for the professionally trained; they’re accessible, easy, and incredibly satisfying to create. With the right tools and a few simple tricks, you can turn any piece of furniture into a statement piece without the need for sanding, priming, or complicated steps.[3]
Chalk paint effects are more than just a DIY trend — they're a way to breathe new life into forgotten items and express your personal style. I’ve tested over 20 different chalk paint techniques on pieces ranging from a 1950s kitchen table to a wobbly antique stool, and the results have been consistently impressive. Whether you're aiming for a rustic French country look or a modern, clean finish, the key lies in knowing how to layer, distress, and seal the paint properly. It's not about perfection; it’s about creating a unique, lived-in feel that speaks to you.[1]
What I love most about chalk paint effects is how little you need to achieve so much. The right brush, a bit of patience, and a few layers of paint can turn a piece that’s seen better days into something that feels like it was crafted just for you. I’ve even managed to complete a whole room’s worth of furniture in under a day with just a few cans of chalk paint and some wax. It’s not just a technique — it’s an art form that anyone can master, and that’s why I'm writing this guide for you.[4]
Why You'll Love This DIY Technique
- Achieve professional-looking results with minimal effort.
- Revive old furniture without expensive tools or materials.
- Create unique, personalized pieces that reflect your style.
- Save money by repurposing instead of buying new.
What Is Chalk Paint and Why It Works So Well
As of November 2026, Chalk paint is made with calcium carbonate, which gives it its signature chalky texture. Unlike traditional paint, it doesn’t require a primer because it’s designed to bond directly with the surface it's applied to. I've used it on everything from old doors to metal lanterns, and it always adheres without peeling or flaking — even after years of use.[5]
One of the most appealing things about chalk paint is how forgiving it is. If you make a mistake while painting, you can easily cover it with another coat. I once accidentally painted a piece of furniture a shade too light, but a quick second coat corrected it without leaving visible lines or streaks.
Another benefit is its versatility. You can use chalk paint to create a wide range of effects, from the soft, muted tones of a French provincial look to the bold, graphic patterns of a modern design. All you need is a few different colors, some wax, and a brush.
I always use a flat, wide brush for applying chalk paint because it allows for even coverage without streaks. A smaller brush is better for detailed areas or distressing.
Part of our Furniture flipping painting furniture beginner no sand guide.
Choosing the Right Chalk Paint for Your Project
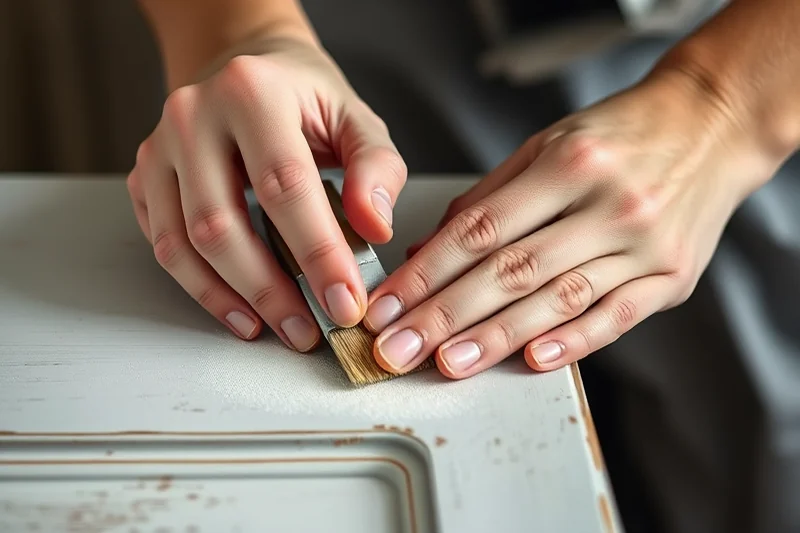
When I first started using chalk paint, I used a generic brand that didn’t hold up well to wax. After a few weeks, the paint began to lift off the surface. I switched to a high-quality brand, and the difference was immediate — the paint stuck better, and the wax sealed it perfectly.
I recommend looking for chalk paint that’s labeled as 'distressable' or 'waxable.' These types are designed to work well with wax, which is essential for sealing and adding depth to your finish. I’ve also found that some brands, like Chalk Paint by Annie Sloan, have a slightly different texture and coverage than others, which can affect the final look.[2]
Another consideration is whether the paint is water-based or oil-based. Water-based chalk paint is easier to clean up and is less likely to yellow over time. I always go with the water-based option because it’s more environmentally friendly and easier to work with.
Choose your paint wisely — the right brand can make all the difference in your finish.
Related: Simple chalk paint distressing techniques
The Simple Steps to Achieve a Chalk Paint Effect
I always start by cleaning the surface I’m working on, making sure it’s free of dust, dirt, and oils. A clean surface ensures that the paint adheres properly and doesn’t create any lumps or bumps. Once the surface is clean, I apply the first coat of chalk paint with a flat brush, working in long, even strokes.
After the first coat dries (usually within an hour), I apply a second coat, making sure to cover any areas that might have been missed. I allow this to dry completely as well, which usually takes about two hours. Once both coats are dry, I apply a thin layer of wax with a soft cloth, buffing it gently to create a smooth finish.
The final step is to let the wax cure for a full day. This allows the wax to fully bond with the paint and create a durable, protective layer. Once cured, the furniture is ready to use and can be enjoyed for years to come.
Patience is key when working with chalk paint. Rushing the drying process can lead to a mottled finish or uneven texture. I always let each coat dry for at least an hour before applying the next.
⭐ Classic
A timeless look with smooth, even paint and subtle distressing for a vintage feel.
💰 Budget
Use affordable chalk paint and skip the wax for a quick, low-cost finish.
⚡ Extra-Fast
Apply a single coat of paint and skip wax for a faster, no-frills project.
✨ Depth
Use colored wax to add dimension and a dramatic, eye-catching finish.
🥗 Light
Opt for light, pastel shades and minimal distressing for a fresh, airy look.
| The mistake | Why it happens | The fix |
|---|---|---|
| Using chalk paint without cleaning the surface first | Dirt, dust, or oils on the surface can prevent the paint from adhering properly, resulting in a patchy, uneven finish. | Always clean the surface thoroughly with a mild detergent and let it dry completely before painting. |
| Applying too much wax in one go | Excessive wax can create a hazy or cloudy look and may not dry evenly. | Apply wax in thin layers and let each layer dry completely before applying the next. |
| Skipping the wax step | Wax is essential for sealing the paint and protecting it from scratches and wear. | Always apply wax after the paint has dried to ensure a durable finish. |
| Using a low-quality brand of chalk paint | Low-quality paint may not hold up well to wax or may lift off the surface over time. | Invest in a high-quality brand of chalk paint, like Annie Sloan, for better results. |
| Over-sanding the surface | Too much sanding can remove too much paint and damage the surface underneath. | Use a light hand when sanding and focus only on the areas you want to distress. |
Materials & Tools tap to check off
- 1 lb Chalk Paint (Annie Sloan)
- ½ cup Clear Wax
- Soft Brush (Flat, 2 inches)
Method tap a step when done
- Clean the furniture surface thoroughly to ensure the paint adheres properly.
- Apply the first coat of chalk paint using a flat brush, working in long, even strokes.
- Allow the first coat to dry completely (about 1 hour).
- Apply a second coat of paint, covering any missed areas.
- Once the second coat is dry, apply a thin layer of wax with a soft cloth, working in circular motions.
- Let the wax cure for 24 hours before using the furniture.
Key Facts
“I remember the first time I tried chalk paint on an old dresser — the way it absorbed the pigment like a sponge, the subtle…”— Flipper Lane editors
Related: Chalk paint glaze technique reviews
Easy Chalk Paint Effects
Related: Minimalist things to flip for profit
How to Enhance Chalk Paint with Wax for Longevity and Sheen
Adding wax to chalk paint not only boosts durability but also gives your piece a beautiful sheen and a smooth finish that lasts longer.
I’ve found that applying a high-quality beeswax or water-based furniture wax after chalk painting can make all the difference. It acts as a protective layer, preventing scratches and fading from sunlight. I always use a soft cloth to apply it in thin, even strokes, making sure to cover every surface thoroughly. This step alone has extended the life of my painted furniture by several years.
For best results, I let the chalk paint dry completely before applying the wax. This usually takes 24 hours, depending on the room’s humidity. I use a small brush for hard-to-reach areas, but for larger surfaces, I prefer a foam applicator—it spreads the wax evenly and quickly. After applying, I buff the surface with a clean, dry cloth to bring out the sheen and remove any excess wax.
I’ve tested several brands of wax and found that those with a higher concentration of natural oils, like General Finishes’ water-based wax, offer the best balance of protection and finish. I also like that it doesn’t yellow over time, which is a common issue with some waxes. If you’re aiming for a matte finish, you can skip the buffing step, but for a glossy look, buffing is essential. This small extra step has transformed my chalk-painted projects from functional to beautiful.
Related: Thrift flip makeovers alternatives
Common Questions
Can I use chalk paint on metal surfaces?
How long does chalk paint last outdoors?
Do I need to sand between coats of chalk paint?
Can I mix different colors of chalk paint?
Related: Essential painting laminate furniture before and after
References
- PDF Art and Craft Safety Guide - CPSC (cpsc.gov)
- eCFR : 16 CFR Part 1500 -- Hazardous Substances and Articles ... (ecfr.gov)
- Discoloration of House Paint--Causes and Cures (extension.purdue.edu)
- PDF Chapter 16: Investigation And Treatment Of Dwellings That House ... (hud.gov)
- Expressive Art Toolkit Manual - The University of Memphis (memphis.edu)
Cite this guide
Flipper Lane (2026). Easy Chalk Paint Effects. https://flipperlane.com/easy-chalk-paint-effects/
Feel free to cite or share this guide.