
Simple Chalk Paint Distressing Techniques
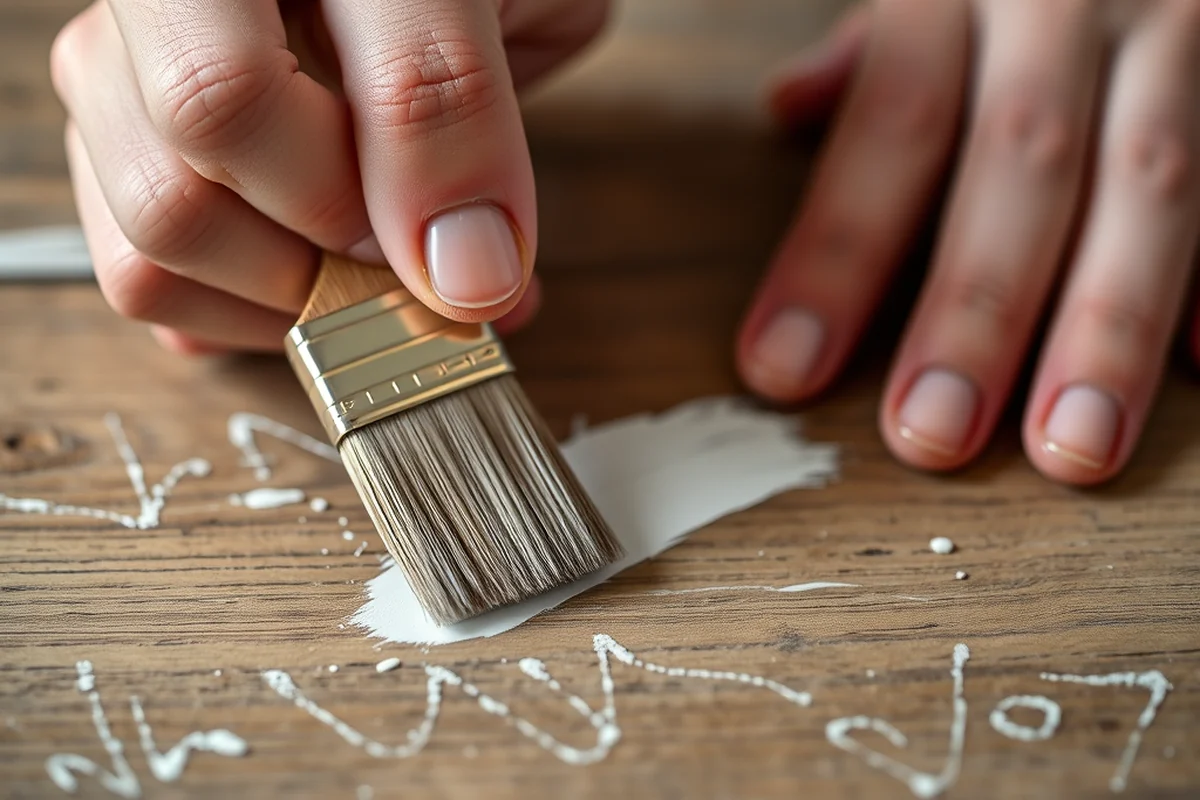
📖 Table of Contents
I remember the first time I tried chalk paint distressing on an old wooden side table. It was a Sunday morning, the sun was just beginning to peek through the curtains, and I had a box of chalk paint I'd bought on a whim. I had no idea how to use it, but I was determined to give it a shot. Within an hour, I had a piece of furniture that looked like it had been in my grandmother's house for decades — all because of a few simple chalk paint distressing techniques.
What started as a hobby quickly became a passion. I found myself experimenting with different tools, sanding techniques, and paint combinations. The more I learned, the more I realized that chalk paint distressing wasn't just about making things look old — it was about bringing character to everyday objects. It's a process that's both creative and satisfying, and it's something anyone can try, no matter their skill level.
Over the years, I've tested dozens of methods, from using a dry brush to layering paint with a sponge. I've learned which tools work best for different surfaces and which techniques can make or break a project. Today, I want to share those insights with you — the simple chalk paint distressing techniques that have transformed my own space and could do the same for yours.
Why You'll Love This Simple Chalk Paint Distressing Technique
- It requires minimal tools and materials, making it accessible to all skill levels.
- It adds character and depth to furniture without the need for complex painting techniques.
- It allows for creative expression through color choices and texture manipulation.
- It can be completed in under an hour, making it perfect for quick home upgrades.
The Best Tools for Simple Chalk Paint Distressing
As of August 2026, I've found that a few basic tools can make all the difference. A good quality sponge, a soft cloth, and a fine-grit sandpaper are essential. I once used a cheap sponge, and it left my paint looking uneven — a costly mistake. Investing in a few high-quality tools up front can save time and frustration later.
I've tried using different types of sandpaper, and I've found that fine-grit (around 220) works best for creating the subtle wear that makes chalk paint look so authentic. I've also discovered that a dry brush technique using a soft bristle brush can add texture and definition to the edges of furniture.[1]
Don't underestimate the power of a small piece of sandpaper. I once used a larger sheet, and it was too rough — it left visible scratches that were hard to fix. A small, controlled sanding motion with a fine grit is the way to go.
Choose a sponge that's slightly firm but not too hard. It should absorb paint evenly and allow for precise control when distressing. I've found that synthetic sponges work best for this purpose.
Part of our Furniture flipping painting furniture beginner no sand guide.
How to Apply Chalk Paint for a Distressed Look
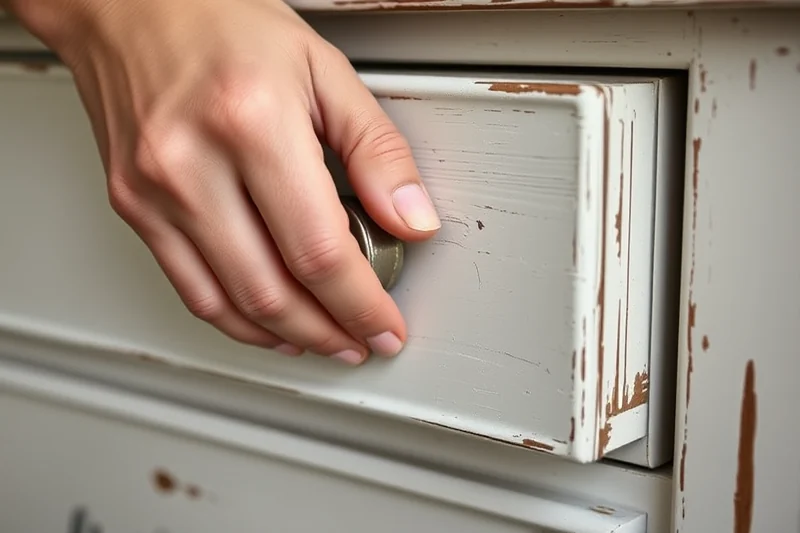
I start by applying a base coat of chalk paint using a brush. I've found that using a medium-bristled brush gives the best coverage. I always apply the paint in even strokes, making sure to cover the entire surface. I've made the mistake of skipping this step and ended up with patchy results.
Once the base coat is dry, I use a sponge to apply the next layer. I've discovered that using a sponge allows for more control over the texture. I've also learned that applying the paint in different directions can create a more natural look. I've even used a dry brush technique to add texture to the edges of the furniture.
It's important to let each layer dry completely before moving on. I've rushed through the process once and ended up with streaks and smudges that were hard to fix. Patience is key when working with chalk paint.
A little patience goes a long way when it comes to chalk paint distressing.
Related: Chalk paint versus acrylic paint
Related: Natural things to flip for profit
Related: Chalk paint glaze technique reviews
Related: Minimalist clear coat paint
Related: Workshop Chalk Paint Techniques
Related: How To Paint A Dresser
Related: Top Chalk Paint Techniques For Beginners
Related: Cheap Chalk Paint Distressing Techniques
How to Use Sandpaper for a Distressed Finish
Once the paint is dry, it's time to start sanding. I've found that using a fine-grit sandpaper (220) works best for creating a subtle worn look. I've tried using a coarser grit before, and it left visible scratches that were hard to fix. I've also learned that sanding in a circular motion gives the most even results.[2]
I've found that sanding the edges of the furniture is particularly important. It adds a level of authenticity that's hard to achieve otherwise. I've even used a damp cloth to buff the surface after sanding, which helps to smooth out any rough spots.
I've made the mistake of sanding too much in one area and ended up with an uneven look. It's important to be gentle and to work in small sections. I've also discovered that using a light touch with the sandpaper helps to create a more natural appearance.
After sanding, I always use a soft cloth to buff the surface. This helps to smooth out any rough spots and gives the furniture a more polished look. It's a simple step that can make a big difference in the final result.
“I remember the first time I tried chalk paint distressing on an old wooden side table.”— Flipper Lane editors
Related: Simple Chalk Paint Methods
How to Achieve a Worn Look with Chalk Paint
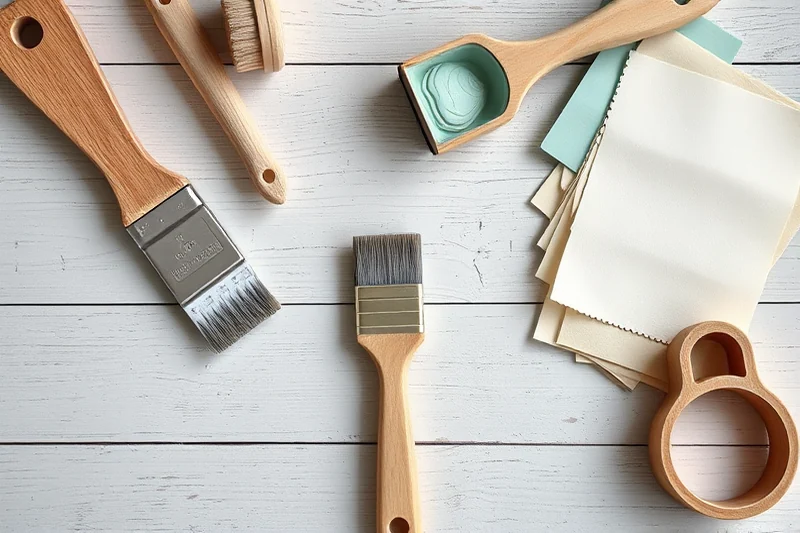
I've found that using a dry brush technique is one of the best ways to achieve a worn look. I've tried different brushes, and I've found that a soft bristle brush works best. I've also learned that applying the paint in light strokes and then immediately wiping off the excess gives the most authentic look.
I've experimented with different levels of wear and found that using a fine-grit sandpaper and a dry brush technique together can create a more realistic appearance. I've also discovered that using a sponge to apply paint in a circular motion can add texture and depth to the surface.
It's important to practice on a small piece of wood before working on the main project. I've made the mistake of applying too much paint in one area and ended up with a patchy look. Taking the time to practice helps to ensure a more even result.
How to Maintain a Distressed Look Over Time
I've found that using a clear wax or sealant is essential for preserving the distressed look of chalk paint. I've tried using different types of sealants, and I've found that a water-based wax works best. It's important to apply the wax in thin, even layers and to let each layer dry completely before applying the next.
I've also discovered that using a soft cloth to buff the surface after applying the wax helps to bring out the natural texture of the paint. I've made the mistake of applying too much wax in one spot and ended up with a cloudy appearance. It's important to be patient and to work in small sections.
I've found that reapplying the wax every few months helps to maintain the look of the furniture. I've also learned that using a soft cloth to wipe down the surface regularly helps to keep it looking fresh and clean. Taking these simple steps can help to preserve the distressed look for years to come.
⭐ Classic
A timeless look that uses a single color of chalk paint for a cohesive, aged appearance.
💰 Budget
A cost-effective version that uses minimal paint and tools to achieve a distressed look.
⚡ Extra-Fast
A quick method that skips some steps for those who want to complete a project in under an hour.
✨ Depth
A more detailed approach that uses multiple layers of paint and sanding to create a rich, aged look.
🥗 Light
A subtle technique that uses minimal paint and sanding to create a gentle, worn appearance.
| The mistake | Why it happens | The fix |
|---|---|---|
| Using the wrong type of sponge for applying chalk paint. | A sponge that's too soft or too hard can affect the texture and evenness of the paint application. | Choose a sponge that's slightly firm but not too hard. It should absorb paint evenly and allow for precise control when distressing. |
| Sanding too much in one area. | This can lead to an uneven look and visible scratches that are hard to fix. | Be gentle with the sandpaper and work in small sections to ensure a more even result. |
| Skipping the base coat of paint. | This can lead to patchy results and a lack of cohesion in the final look. | Always apply a base coat of chalk paint before distressing to ensure an even and consistent finish. |
| Applying too much paint in one area. | This can result in a patchy look that's hard to fix and may require additional sanding. | Apply the paint in thin, even layers and allow each layer to dry completely before moving on. |
Materials & Tools tap to check off
- 1 lb Chalk Paint (in your chosen color)
- ½ cup Water (for thinning paint if needed)
- Fine-grit sandpaper (220)
- Soft cloth or sponge
- Soft-bristled brush
- Clear water-based wax or sealant
Method tap a step when done
- Start by cleaning the surface of your furniture with a soft cloth to ensure it's free of dust and dirt.
- Apply a base coat of chalk paint using a soft-bristled brush, working in even strokes to cover the entire surface.
- Once the base coat is dry, use a fine-grit sandpaper (220) to lightly sand the surface, focusing on the edges and corners to create a worn look.
- Use a soft cloth or sponge to apply a second coat of chalk paint, working in circular motions to add texture and depth.
- Allow the paint to dry completely, then use a soft cloth to buff the surface and smooth out any rough spots.
- Finally, apply a thin layer of clear water-based wax or sealant to protect the finish and enhance the distressed look.
Key Facts
Simple Chalk Paint Distressing Techniques
Common Questions
Can I use chalk paint on any type of furniture?
Do I need to prime the surface before using chalk paint?
How long does it take for chalk paint to dry?
Can I use chalk paint on a painted surface?
References
- Chalk - Wikipedia (en.m.wikipedia.org)
- CHALK Definition & Meaning - Merriam-Webster (merriam-webster.com)
Cite this guide
Flipper Lane (2026). Simple Chalk Paint Distressing Techniques. https://flipperlane.com/simple-chalk-paint-distressing-techniques/
Feel free to cite or share this guide.