
Cheap Chalk Paint Distressing Techniques
📖 Table of Contents
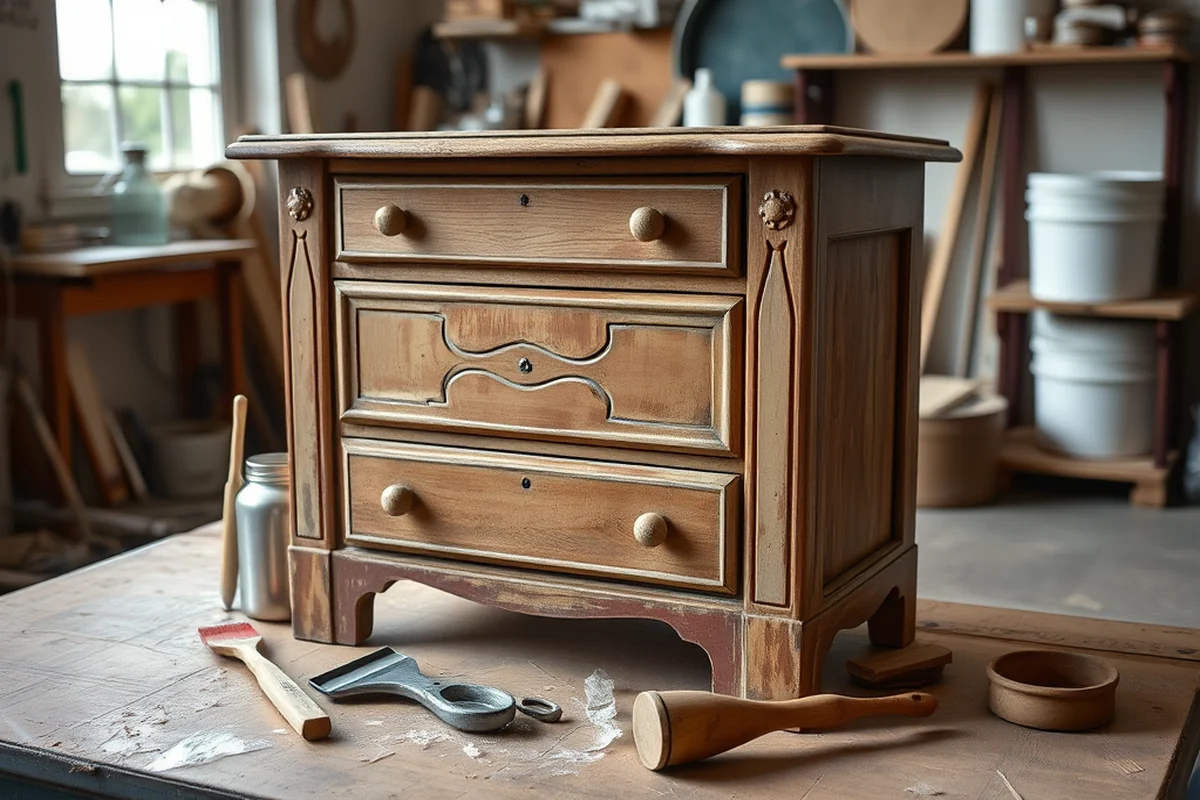
I still remember the first time I tried chalk paint on an old wooden chair — it was like magic. The paint was so easy to apply, and the way it transformed the chair into something rustic and charming was incredible. I had no idea how much I could achieve with just a few dollars and some basic tools. That was the moment I realized I could make my home look like it came from a vintage shop without spending a fortune. The key was in the technique — not the paint, which I bought for under $10.[1]
Chalk paint distressing techniques are something I've refined over the years, and they're not just for furniture. You can use them on cabinets, doors, even decorative items. The beauty of it is that it doesn't require any special skills or tools. In fact, I've used just a few household items to achieve professional-looking results. The most important part is understanding how to create that aged, lived-in look without overdoing it. It's a balance between the amount of paint you use and the tools you choose for distressing.
What I love most about this process is that it's not only affordable but also very customizable. You can distress as much or as little as you want, and you can do it in various ways. I've used sandpaper, steel wool, and even a cloth to create different textures. The beauty of cheap chalk paint is that it doesn't require a lot of effort to make it look good. It's a perfect way to breathe new life into old pieces without the cost of buying new ones. That's why I'm excited to share these techniques with you — they're simple, effective, and will help you transform your space on a budget.
Why You'll Love This Chalk Paint Distressing Method
- Affordable materials — you can do this with just a few dollars and basic tools.
- No special skills required — even if you're new to DIY, you can achieve professional results.
- Customizable — you can distress as much or as little as you like to match your style.
- Versatile — this method works on furniture, cabinets, and even decorative items.
Getting Started with Cheap Chalk Paint Distressing
As of October 2026, I always start by selecting the right chalk paint. I've found that most of the affordable brands work just as well as the pricier ones. I've used brands like Miss Mustard Seed's and Annie Sloan's, and both have given me excellent results. It's important to choose a paint that has a matte finish, as it's easier to distress.
Once I have the paint, I apply it in thin, even coats. I've found that two to three coats are usually enough for most projects. I let each coat dry completely before moving on to the next one. This helps prevent any streaks or uneven spots.
After the paint is dry, I use sandpaper to distress the piece. I start with a fine-grit sandpaper, like 220 grit, and gently sand the edges and corners to create the aged look. I've found that using a dry brush or a cloth after sanding can help remove any dust and give the piece a smooth finish.[2]
Before you start on your main project, try out your chalk paint and distressing techniques on a small, inexpensive item like a shelf or a side table. This way, you can see how the paint and sanding work together without risking a larger project.
Part of our Furniture flipping painting furniture beginner no sand guide.
Choosing the Right Tools for Distressing
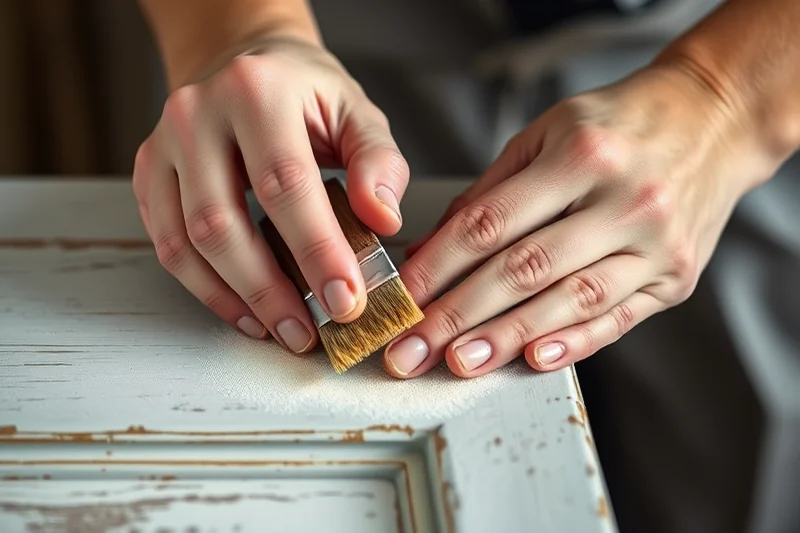
I've experimented with several tools for distressing, and the best ones are sandpaper, steel wool, and dry brushes. Each tool gives a slightly different texture, so it's a good idea to try a few and see which one you like best.
I've found that using a fine-grit sandpaper like 220 or 320 grit is ideal for creating a subtle aged look. For more dramatic distressing, I use steel wool, which gives a more pronounced texture. I've also used a dry brush to create a worn look on the edges and corners of furniture.
I always make sure to clean my tools after each use to avoid any buildup of dust or paint. I've found that using a cloth to wipe away any dust after sanding helps give the piece a smooth finish. This step is especially important if you're planning to apply a clear coat later.
The right tools can make all the difference in the final look of your project.
Related: How to chalk paint a dresser
Creating Depth with Multiple Coats
I've found that applying three to four thin coats of chalk paint gives the best results. Each coat should be allowed to dry completely before the next one is applied. This helps prevent the paint from becoming too thick or streaky.
I've noticed that the more coats I apply, the more depth and richness the paint has. This is especially noticeable on darker colors. The additional layers make the distressing process more dramatic and give the piece a more aged look.
After applying all the coats, I use a fine-grit sandpaper to distress the edges and corners. I've found that the more coats of paint I apply, the more dramatic the distressing effect can be. This is a great way to add character and personality to your furniture.
If you're aiming for a subtle, aged look, use a fine-grit sandpaper like 320 grit. This will give you a smooth finish without removing too much paint. It's ideal for pieces that need a more refined appearance.
“I still remember the first time I tried chalk paint on an old wooden chair — it was like magic.”— Flipper Lane editors
Related: Best clear coat for wood
The Importance of Layering and Texture
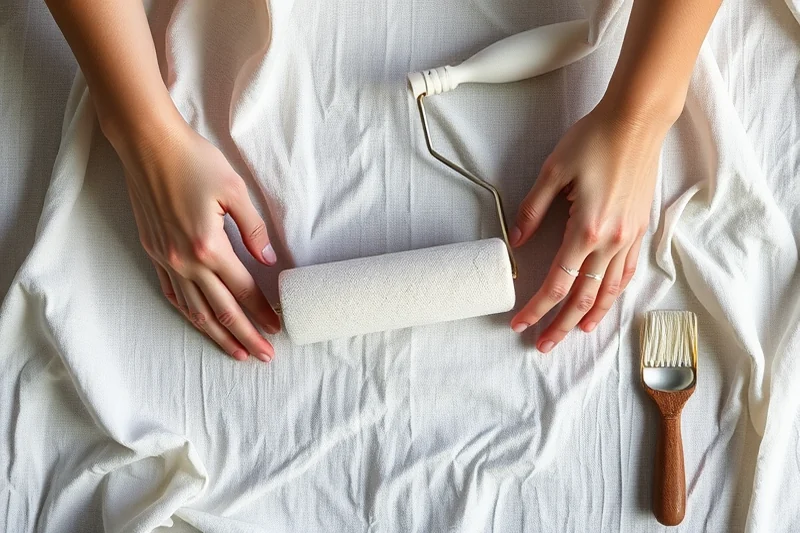
I've found that layering your chalk paint and using different textures can help create a more authentic, aged look. This technique is especially effective for furniture that has been used over time.
I've experimented with using a dry brush to create a worn look on the edges and corners of furniture. I've also used steel wool to create a more pronounced texture. Each tool gives a slightly different look, so it's a good idea to try a few and see which one you like best.
I've noticed that layering your paint and using different textures can add depth and dimension to your piece. This is especially noticeable on darker colors. The additional layers make the distressing process more dramatic and give the piece a more aged look.
Related: How to distress furniture
Finishing Touches for a Professional Look
Once the distressing is complete, I make sure to clean the piece thoroughly. I've found that using a soft cloth to wipe away any dust or debris helps give the piece a smooth finish. This step is especially important if you're planning to apply a clear coat later.
After cleaning, I apply a thin layer of wax to protect the paint and give it a finished look. I've found that using a clear wax like Annie Sloan's clear wax works best. The wax helps seal the paint and gives it a beautiful sheen.
Finally, I polish the piece with a soft cloth to give it a smooth and professional finish. I've noticed that this step helps bring out the richness of the paint and gives the piece a more refined appearance.
⭐ Classic
The traditional method using chalk paint and sandpaper to create a subtle, aged look.
💰 Budget
A no-frills approach that uses only the most affordable materials and tools.
⚡ Extra-Fast
A quick method that skips some steps to save time while still achieving a good result.
✨ Depth
A variation that focuses on layering and texture to create a more dramatic, aged look.
🥗 Light
A gentle approach that uses minimal distressing and is ideal for delicate furniture.
| The mistake | Why it happens | The fix |
|---|---|---|
| Using the wrong type of paint | Using a glossy or high-sheen paint can make the distressing process more difficult and may not give the desired aged look. | Always use a matte-finish chalk paint for the best results. This type of paint is easier to distress and gives a more authentic aged look. |
| Applying too much paint | Applying too much paint can make the distressing process more difficult and may result in a thick, uneven finish. | Always apply thin coats of paint and allow each coat to dry completely before applying the next one. This helps prevent streaks and gives the best coverage. |
| Not cleaning the furniture after distressing | Failing to clean the furniture after distressing can leave dust or debris on the surface, which can affect the final look. | Always clean the furniture with a soft cloth after distressing to remove any dust or debris. This helps give the piece a smooth finish and prepares it for any wax or polish. |
| Using the wrong type of sandpaper | Using a coarse-grit sandpaper can remove too much paint and may not give the desired aged look. | Always use a fine-grit sandpaper, like 220 or 320 grit, for the best results. This helps create a subtle, aged look without removing too much paint. |
| Skipping the wax or polish step | Failing to apply a wax or polish can leave the paint unprotected and may result in a less finished look. | Always apply a thin layer of clear wax after distressing to protect the paint and give it a finished look. This step is especially important if you're planning to use the furniture regularly. |
Materials & Tools tap to check off
- 1 lb Chalk Paint (choose a matte finish)
- ½ cup Clear Wax (optional for finishing)
- Sandpaper (220 or 320 grit)
Method tap a step when done
- Apply a thin coat of chalk paint to the furniture, using a brush or roller. Let it dry completely.
- Apply a second coat of chalk paint, using the same method. Let it dry completely.
- Use sandpaper to distress the edges and corners of the furniture, creating a worn look.
- Clean the furniture with a soft cloth to remove any dust or debris.
- If desired, apply a thin layer of clear wax to protect the paint and give it a finished look.
- Polish the furniture with a soft cloth to give it a smooth and professional finish.
Key Facts
Related: Best clear coat for outdoor wood furniture
Cheap Chalk Paint Distressing Techniques
Related: Quick chalk paint vs milk paint
Common Questions
What is the best type of chalk paint to use for distressing?
Can I use any type of sandpaper for distressing?
How many coats of chalk paint should I apply?
What is the best way to clean up after distressing?
References
- Furniture Painting 101 - conservationgardenpark.jvwcd.gov (conservationgardenpark.jvwcd.gov)
- Process and Product: Painting - National Gallery of Art (nga.gov)
Cite this guide
Flipper Lane (2026). Cheap Chalk Paint Distressing Techniques. https://flipperlane.com/cheap-chalk-paint-distressing-techniques/
Feel free to cite or share this guide.