
Top Chalk Paint Techniques For Beginners
📖 Table of Contents
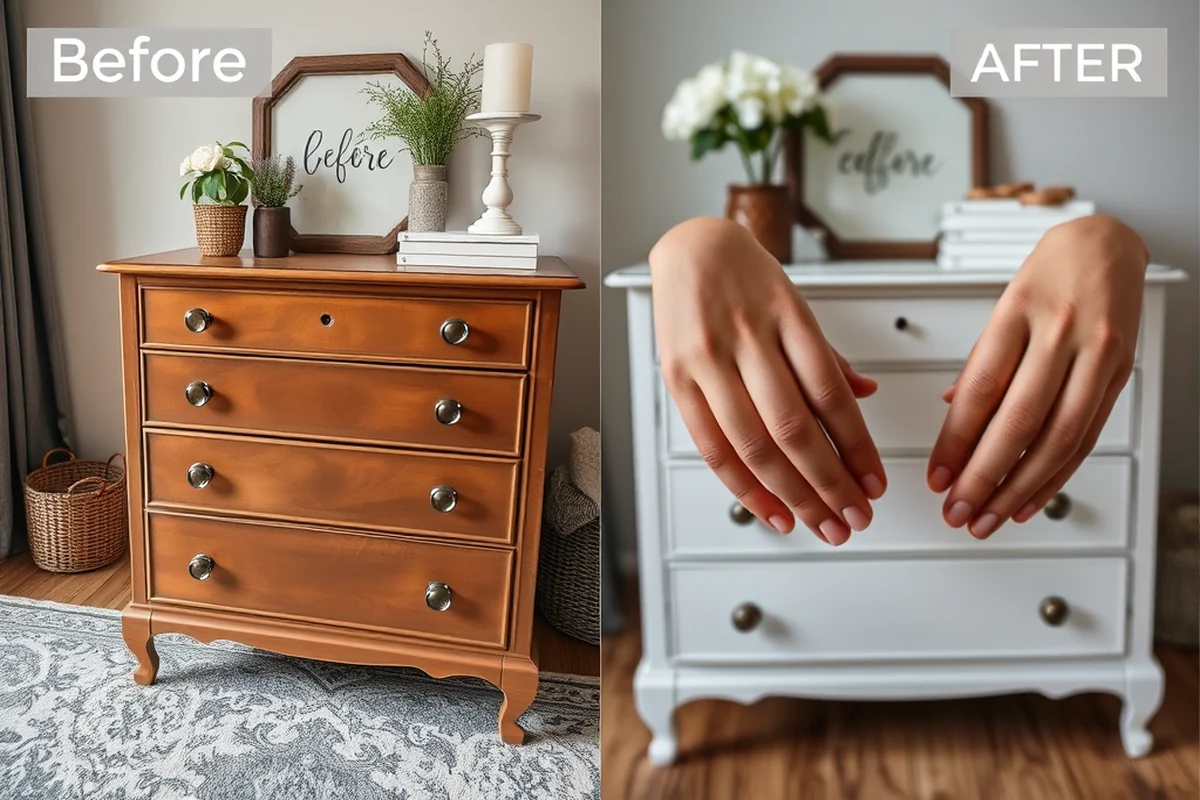
I remember the first time I tried chalk paint on my kitchen table — it felt like magic. I had spent hours researching, reading about how it could transform old furniture into something elegant and fresh. But nothing compared to the moment the first coat dried, and I saw the subtle, chalky texture and soft, muted color. That was the beginning of my journey into the world of chalk painting, and it's something I now do with confidence and ease. If you're just starting out, you might be overwhelmed by the options and techniques. I’m here to help you handle the basics and get you started with some of the top chalk paint techniques for beginners.[4]
Chalk paint is a game-changer for DIYers who love the look of antique or distressed furniture but don't have the skills or time for traditional painting methods. Unlike traditional paint, it doesn't require sanding, priming, or sealing — it adheres directly to most surfaces, especially wood. What I found most surprising was how easy it was to achieve professional results with just a few simple tools and techniques. Whether you're looking to refresh a coffee table, upcycle an old chair, or give a second life to a dresser, the right chalk paint techniques can make all the difference.[5]
I've experimented with various brands and methods over the years, and I've learned that some techniques work better than others. One of the most important lessons I learned was that preparation is key. I used to skip the step of cleaning the surface before painting, and it always led to uneven results. But once I started making sure the surface was clean and dry, things improved dramatically. With that in mind, I’ve compiled a list of the top chalk paint techniques for beginners — practical, tested, and guaranteed to give you the results you want without the stress.
Why You'll Love This Guide to Chalk Paint Techniques
- No need for sanding or priming — chalk paint adheres directly to most surfaces.
- Quick and easy to apply, even for first-time DIYers.
- Achieve professional-looking results with minimal effort and supplies.
- Create a unique, vintage-inspired look with just a few simple steps.
Choosing the Right Chalk Paint
As of August 2026, I’ve tried several brands of chalk paint over the years, and my favorite is a product from a well-known DIY store. It dries quickly, adheres well to wood, and doesn’t require any sealing. I always start by checking the product label to make sure it’s suitable for the surface I’m working on. For example, if I’m painting an old table with a glossy finish, I may need to clean it first to ensure the paint sticks properly.
Another thing I look for is the color. I recommend starting with a neutral tone like white or cream, as these are easier to work with and can be easily distressed later. If you're unsure, choose a light color — they tend to be more forgiving and give you more flexibility with adding depth or texture.[1]
I once tried using a chalk paint that wasn’t intended for wood, and it didn’t stick at all. That was a costly lesson, but it taught me the importance of reading the label carefully. Investing a little time in selecting the right paint can save you a lot of trouble later on.
Before purchasing chalk paint, check the label to make sure it’s suitable for your surface and that it doesn’t require any special preparation.
Part of our Chalk paint guide.
Surface Preparation
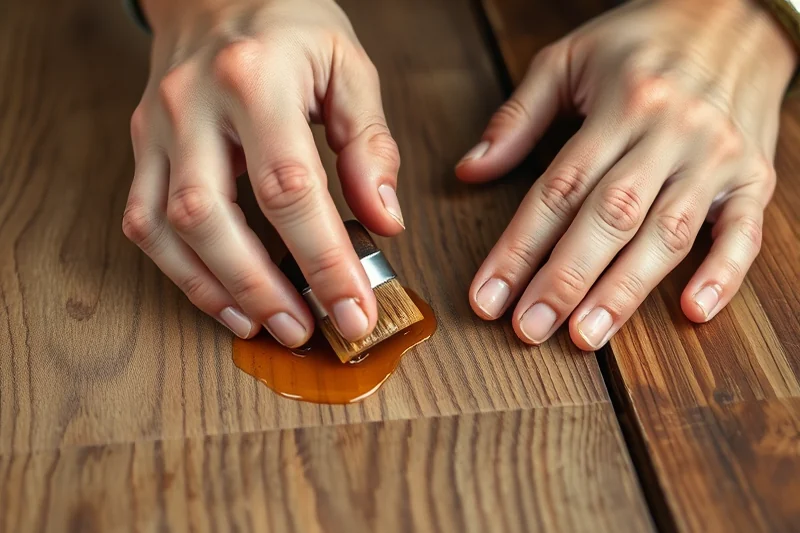
Even the best chalk paint won’t stick properly if the surface isn’t clean. I always start by wiping down the furniture with a damp cloth to remove any dirt, grime, or old wax. It’s important to make sure the surface is completely dry before painting, as any moisture can cause the paint to lift or peel later on.
If the surface is glossy or has a shiny finish, I recommend using a degreaser or a light sanding to help the paint adhere better. I once skipped this step on a piece of furniture and ended up with a patchy, uneven finish that didn’t look good at all. It was frustrating, but it taught me the importance of proper surface prep.[2]
Once the surface is clean and dry, I apply the chalk paint directly — no need for any primer. This is one of the biggest advantages of using chalk paint. The process is much faster and requires fewer steps compared to traditional painting methods.
A clean surface is the first step to a perfect finish.
Related: Workshop chalk paint techniques for beginners
Related: Quick youtube chalk paint techniques
Related: Budget youtube chalk paint techniques
Related: Beginner chalk paint techniques for picture frames
Related: Fast chalk paint furniture painting techniques
Applying the Paint
I use a high-quality brush or a sponge for applying chalk paint, and I always start with a light coat. I’ve found that applying too much paint at once can lead to clumping or streaks, which can be difficult to fix later on. I let the first coat dry completely before applying a second one — this helps the paint adhere better and gives me a smoother finish.
For a distressed look, I sometimes apply a second coat in a different direction. This helps create a subtle texture and gives the piece a more aged appearance. I’ve also experimented with using a sponge for a softer, more uneven finish, which can be great for creating a vintage look.
I’ve made the mistake of rushing the process and applying too much paint too quickly, and it didn’t look good. But once I started applying the paint in thin, even layers and allowing each coat to dry completely, I saw a noticeable improvement in the final result.
Apply the paint in thin, even layers and allow each coat to dry completely before applying the next. This helps prevent streaks and ensures a smooth finish.
“I remember the first time I tried chalk paint on my kitchen table — it felt like magic.”— Flipper Lane editors
Adding Texture and Depth
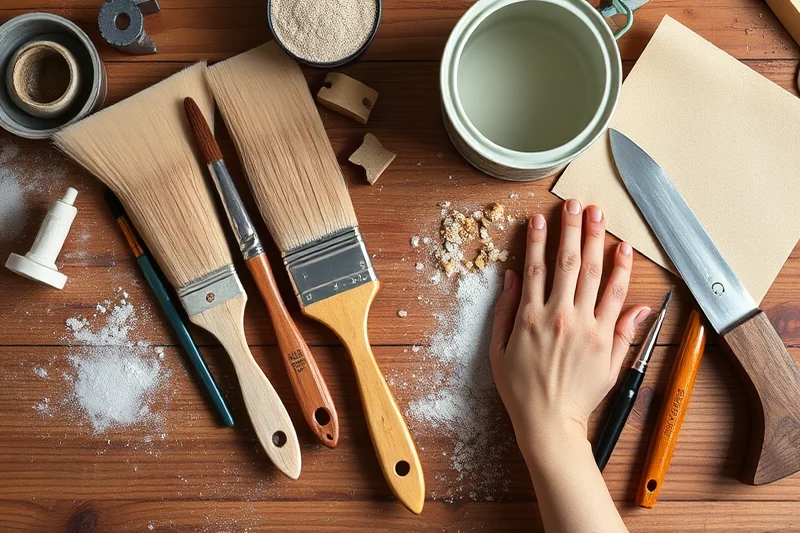
I love using a dry brush technique to add texture to my chalk-painted furniture. This involves using a dry brush and lightly sweeping it over the surface to create a subtle, worn look. It’s a great way to create a vintage feel without having to sand the surface.
Another technique I use is mixing chalk paint with a bit of water to create a wash. This can be applied over the base coat and allowed to dry, creating a softer, more aged effect. I’ve found that using a combination of techniques can help achieve a more complex and interesting finish.
I once tried using a sponge to add texture, but it didn’t work well. The paint bled into the sponge and created an uneven finish. But once I switched to a dry brush technique, it was much easier to control the texture and achieve the look I wanted.
Finishing Touches and Maintenance
After the paint has dried completely, I like to apply a clear wax or sealant to protect the surface. This helps prevent the paint from chipping or peeling and makes it easier to clean later on. I’ve found that using a water-based wax is the best option, as it doesn’t yellow over time.
I’ve also learned that it’s important to avoid using harsh chemicals or abrasive cleaners on chalk-painted furniture. Instead, I recommend using a soft cloth and a mild soap solution to clean the surface. This helps preserve the paint and keeps the finish looking fresh.[3]
I once tried using a harsh cleaner on a chalk-painted table, and it stripped away a lot of the paint. That was a big mistake, but it taught me the importance of using the right cleaning products. Taking a few extra steps now can save you a lot of trouble down the road.
⭐ Classic
A simple, traditional chalk paint recipe with no added ingredients.
💰 Budget
A cost-effective version using easily available materials.
⚡ Extra-Fast
A quick-drying formula for those who want to finish fast.
✨ Depth
Adds more dimension and texture with a few extra ingredients.
🥗 Light
A lighter, more breathable version for indoor use.
| The mistake | Why it happens | The fix |
|---|---|---|
| Skipping the surface preparation step | If you skip the surface preparation step, the paint may not adhere properly, leading to an uneven finish. | Always clean and dry the surface before painting, and consider using a degreaser or light sanding if the surface is glossy. |
| Applying too much paint at once | Applying too much paint at once can lead to clumping, streaks, or an overly thick finish that’s difficult to fix. | Apply the paint in thin, even layers and allow each coat to dry completely before applying the next. |
| Using the wrong type of paint | Using the wrong type of paint can lead to poor adhesion and a subpar finish. | Always check the label to make sure the paint is suitable for your surface and follow the manufacturer’s instructions. |
| Using harsh cleaners on painted surfaces | Using harsh cleaners can strip away the paint or damage the finish over time. | Use a soft cloth and a mild soap solution to clean chalk-painted surfaces, and avoid using abrasive or chemical-based cleaners. |
Materials & Tools tap to check off
- 1 lb Gypsum
- ½ cup White glue
- Water to taste
Method tap a step when done
- Mix 1 lb of gypsum with 0.5 cup of white glue in a large mixing bowl.
- Stir the mixture thoroughly until it forms a smooth, paste-like consistency.
- Gradually add water to achieve the desired thickness — the paint should be thick enough to hold its shape but not too dry.
- Let the mixture sit for 10 minutes to allow the ingredients to blend completely.
- Scoop the paint into a container and store it in a cool, dry place until ready to use.
- Apply the paint to your desired surface using a brush or sponge, and let it dry completely.
Key Facts
Top Chalk Paint Techniques For Beginners
Common Questions
Do I need to sand my furniture before applying chalk paint?
Can I use chalk paint on glass surfaces?
How long does chalk paint take to dry?
What’s the best way to achieve a distressed look?
References
- PDF Art and Craft Safety Guide - CPSC (cpsc.gov)
- PDF The care and repair of petroglyphs - GovInfo (govinfo.gov)
- PDF Preservation Brief 38: Removing Graffiti from Historic Masonry (nps.gov)
- PDF Groundwater Technical Procedures of the U.S. Geological Survey (pubs.usgs.gov)
- Chalk paint - Wikipedia (en.wikipedia.org)
Cite this guide
Flipper Lane (2026). Top Chalk Paint Techniques For Beginners. https://flipperlane.com/top-chalk-paint-techniques-for-beginners/
Feel free to cite or share this guide.