
How To Paint Wood
📖 Table of Contents
- Why Prep Work Matters More Than You Think
- Choosing the Right Primer and Paint
- Techniques That Make a Difference
- Finishing Touches for Longevity
- Drying and Curing Times: What You Need to Know
- Troubleshooting Common Painting Issues
- Maintenance Tips for Long-Lasting Paint
- Make It Your Way
- Frequently Asked Questions
I still remember the first time I tried painting a wooden coffee table. I had no idea how much prep work was involved, and I ended up with a project that looked more like a science experiment than a DIY triumph. But after a few tries and a lot of trial and error, I learned how to paint wood in a way that actually worked. It wasn't just about slapping on a coat of paint — it was about understanding the grain, the surface, and the right tools for the job.
Painting wood is more than a craft — it's a process that involves patience, the right materials, and a few techniques that might seem obvious but are often overlooked. Whether you're updating old furniture or building something from scratch, knowing how to paint wood correctly can make the difference between a project that lasts a decade and one that fades in a matter of months. There's a rhythm to it, a sequence of steps that, once mastered, feel almost effortless.
The first time I painted a shelf, I used the wrong primer and ended up with paint that chipped off within a week. It was a painful lesson, but one that taught me the importance of preparation. Today, when I walk into a room and see a piece of wood that's been painted properly, I know it was done with care — and that's something I can't help but appreciate. If you're ready to learn how to paint wood the right way, read on.
Why You'll Love This Guide
- Learn how to paint wood with precision and confidence
- Avoid common mistakes that ruin DIY projects
- Save money by repurposing old furniture instead of buying new
- Create a personalized, long-lasting finish that looks professional
Why Prep Work Matters More Than You Think
As of September 2026, before you even pick up a brush, you need to clean the wood thoroughly. I've found that using a degreaser like Simple Green on furniture that's been used for years removes years of grime and oils that can prevent paint from adhering properly. It's a step many skip, and it's one that can make or break your project.
Sanding is another critical step. I used 120-grit sandpaper on my first project and ended up with a rough finish. Then I switched to 220-grit, and the difference was immediate — the paint went on smoothly and looked professional. I always recommend sanding in the direction of the wood grain to avoid creating scratches that are hard to fix later.[1]
After sanding, I dusted the surface with a microfiber cloth and wiped it down with a damp rag. It's easy to skip this step, but dust and debris can ruin the finish. I've seen paint jobs fail because of this, so I always take the time to clean properly.
Always sand in the direction of the wood grain to avoid creating scratches that are hard to fix. Use 220-grit sandpaper for the best results, and don't forget to dust the surface thoroughly after.[2]
Choosing the Right Primer and Paint
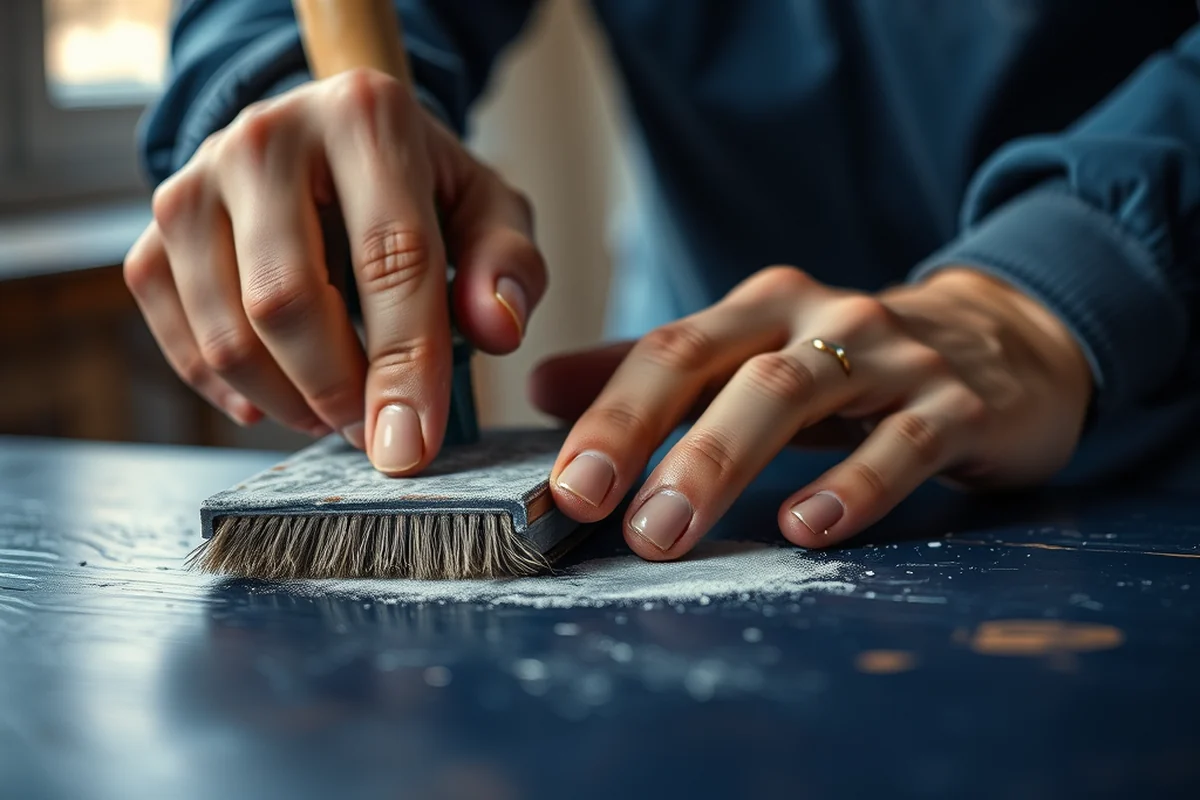
I always start with a high-quality primer. I've used Zinsser Cover Stain on wood that had old paint and stains, and it worked wonders. It sealed the surface and created a smooth base for the paint. I've tried using cheaper primers, and they didn't hold up — the paint didn't stick properly and chipped after a few weeks.
For the paint, I recommend using a latex-based paint for interior wood projects. It's easier to work with and dries faster than oil-based paints. I've used Behr Premium Plus in my home, and it's held up well over time. It's also more forgiving if you make a mistake, and it's easier to clean up with water.[3]
I always test a small area first to see how the paint looks and feels. Sometimes, even the best paint doesn't look right on certain wood surfaces. Testing helps you adjust the color or texture before committing to the whole project.
The right primer and paint can make or break your wood project — don't skip this step.
Related: How to best paint kitchen cabinets
Techniques That Make a Difference
I've found that using a brush instead of a roller gives a better finish on wood. Rollers can leave streaks or uneven texture, especially on furniture. A high-quality brush with natural bristles works best for smooth, even coverage. I always use a 2-inch brush for edges and a 4-inch brush for larger areas.
I learned the importance of applying the paint in thin, even coats. Thick coats can lead to drips and a dull finish. I always apply two thin coats, allowing each one to dry completely before applying the next. This gives the paint time to adhere properly and creates a smoother finish.
I've also found that using a foam brush for the first coat helps eliminate brush marks. It's a technique I picked up from a local painter, and it's made a noticeable difference in the final result. It's a small step, but it pays off in the long run.
Use a brush for edges and a roller for large areas. Always apply thin coats and allow each one to dry completely before applying the next. This ensures a smooth, even finish.
“I still remember the first time I tried painting a wooden coffee table.”— Flipper Lane editors
Related: Best upholstery cleaner
Finishing Touches for Longevity
After painting, I always apply a clear topcoat to protect the finish. I've used Minwax Polycrylic in my home, and it's been a game-changer. It adds a layer of protection against scratches and moisture. I've seen paint jobs without a topcoat fade or chip after a few months — it's not worth the risk.
I always apply the topcoat in the same direction as the grain, and I make sure to cover the entire surface. It's easy to miss a spot, so I take my time to ensure even coverage. I've found that two thin coats of topcoat are better than one thick one — it's more durable and less likely to yellow over time.
I've also noticed that the type of topcoat you use can affect the final look. A matte finish is great for furniture that needs to be touched, while a glossy finish works well for decorative pieces. It's worth experimenting to see what looks best for your project.
Related: Painting ikea laminate furniture
Drying and Curing Times: What You Need to Know
I've made the mistake of not allowing the paint to dry completely before applying the next coat, and it's led to smudges and uneven texture. I've found that allowing each coat to dry for at least 4 hours is the safest bet. If the temperature is higher, it can dry faster, but it's better to be cautious.
Curing time is different from drying time. I've learned that it's best to wait at least 24 hours before using the piece of furniture. Even after that, the paint is still curing, and it can take up to a week for the finish to fully harden. I've had to wait longer than that before, but it was worth it to avoid damage.
If you're in a hurry, you can speed up the process by increasing the room temperature slightly. I've used a space heater in the room where I was working, and it helped the paint dry faster. Just be careful not to overheat the space — too much heat can cause the paint to crack or become brittle.
Related: Painting cheap laminate furniture
Troubleshooting Common Painting Issues
One of the most common issues I've encountered is paint not adhering properly to the wood. This usually happens when the wood wasn't cleaned or sanded properly. If you notice paint peeling or chipping after a few days, it's a sign that the surface wasn't prepared correctly. The fix is to scrape off the paint, sand the surface again, and start over with the preparation steps.
Another common issue is brush marks or streaks in the paint. This can happen if the paint is applied too thickly or if you're using a low-quality brush. I've found that using a high-quality brush and applying thin coats helps prevent this. If you already have brush marks, you can sand the surface lightly and repaint.
If the paint looks dull or not even, it's often due to the paint not being applied correctly. I've had to repaint a few pieces after applying the paint too quickly or not allowing it to dry properly. The fix is to sand the surface and repaint in thin, even coats.
Brush marks and streaks can be fixed with the right tools and technique — don't panic.
Related: Painting laminate furniture before and after
Maintenance Tips for Long-Lasting Paint
I've learned that cleaning painted wood properly is essential for keeping it looking good. I use a microfiber cloth and a mild soap solution to wipe down furniture regularly. It's important to avoid using harsh chemicals or abrasive materials, as they can damage the paint and the wood underneath.
I've also found that applying a fresh coat of topcoat every few years helps refresh the finish and protect the paint. I've used Minwax Polycrylic for this, and it's been effective in maintaining the shine and durability of the painted surface.
If the paint starts to look worn or faded, it's time to repaint. I've repainted a few pieces in my home, and it's been a rewarding process. It's not as hard as I thought, and the results are always worth it.
💰 Budget Build
Use affordable primers and paints for a cost-effective project that still looks great.
🌞 Weekend Version
Complete a small project in one day with quick-dry paints and minimal tools.
✨ Upgraded Finish
Add a clear topcoat and use high-end paints for a professional, long-lasting finish.
🛋️ Small-Space Adaptation
Paint small furniture pieces in a compact area with minimal cleanup and easy storage.
🚪 Rental-Safe Option
Use removable paint and avoid permanent finishes for projects in rental homes.
| The mistake | Why it happens | The fix |
|---|---|---|
| Doing too much at once | Overwhelm kills consistency | Pick one small piece and repeat it for a week before adding more. |
| Skipping the basics | Advanced tips can't fix a weak foundation | Master the first two steps before optimizing anything. |
How To Paint Wood
Common Questions
Can I paint over old paint on wood?
How long should I wait before using the painted wood?
Can I use water-based paint on wood?
How do I fix brush marks on painted wood?
References
- Chapter 12: Abatement - HUD (apps.hud.gov)
- The Inside Story: A Guide to Indoor Air Quality | CPSC.gov (cpsc.gov)
- South Coast Air Quality Management District - AQMD (aqmd.gov)
Cite this guide
Flipper Lane (2026). How To Paint Wood. https://flipperlane.com/how-to-paint-wood/
Feel free to cite or share this guide.