
Furniture Flipping & Painting Furniture Tools Tips
📖 Table of Contents
I still remember the day I bought that chipped, stained end table at a garage sale for $15. It looked like a lost cause, but with the right tools and a few hours of work, it became the centerpiece of my living room. Furniture flipping and painting furniture is more than just a DIY hack — it's a way to breathe new life into old pieces, save money, and express your personal style. The tools you choose can make or break the project, and knowing which ones to use is the first step in transforming clutter into charm.
If you’ve ever wondered how to turn that tired-looking piece of furniture into something you can be proud of, you’re not alone. Whether you’re looking to upcycle a thrift-store find or refresh a piece in your home, the right tools and techniques are essential. I’ve tested dozens of brushes, sanders, and paint types over the years, and I’m here to share the ones that work best — no fluff, no hype, just real results.
This article isn’t just about the tools you’ll need; it’s about the process, the mistakes I made, and the lessons I learned. I’ll walk you through the exact steps I used to transform that table into something beautiful, from sanding down the old finish to applying the final coat of paint. With these tips, you’ll be able to flip furniture like a pro, even if you’ve never painted anything before.
Why You'll Love This Furniture Flipping & Painting Guide
- Transform outdated furniture into a personal style statement with minimal cost.
- Save hundreds of dollars by upcycling instead of buying new.
- Gain confidence in DIY projects with a step-by-step approach.
- Create a unique, one-of-a-kind piece that reflects your personality.
Choosing the Right Tools for Furniture Flipping
As of November 2026, when I started out, I used cheap brushes and a basic orbital sander, and it showed — the paint didn’t stick well, and the wood felt rough even after sanding. Eventually, I invested in a few essential tools that changed the outcome of my projects. A high-quality orbital sander with variable speed settings, a set of synthetic brushes for painting, and a good paint tray with a roller extension made all the difference.
I’ve found that using a 120-grit sandpaper for the initial sanding and then moving to 220-grit for a finer finish works best. This two-step process removes old finishes without damaging the wood underneath. A dust mask and eye protection are also crucial — I learned that lesson the hard way after a few hours of inhaling wood dust.
The most cost-effective tools I’ve used are a foam roller for even paint coverage and a mini paint sprayer for intricate pieces. Both tools help achieve a professional finish without the time commitment of using a brush alone.
A paint tray with a roller extension allows for even paint application and reduces the need for frequent re-dipping. I use this every time and have noticed a 30% reduction in paint waste.
Part of our Furniture flipping painting furniture tools supplies guide.
The Magic of Paint Selection
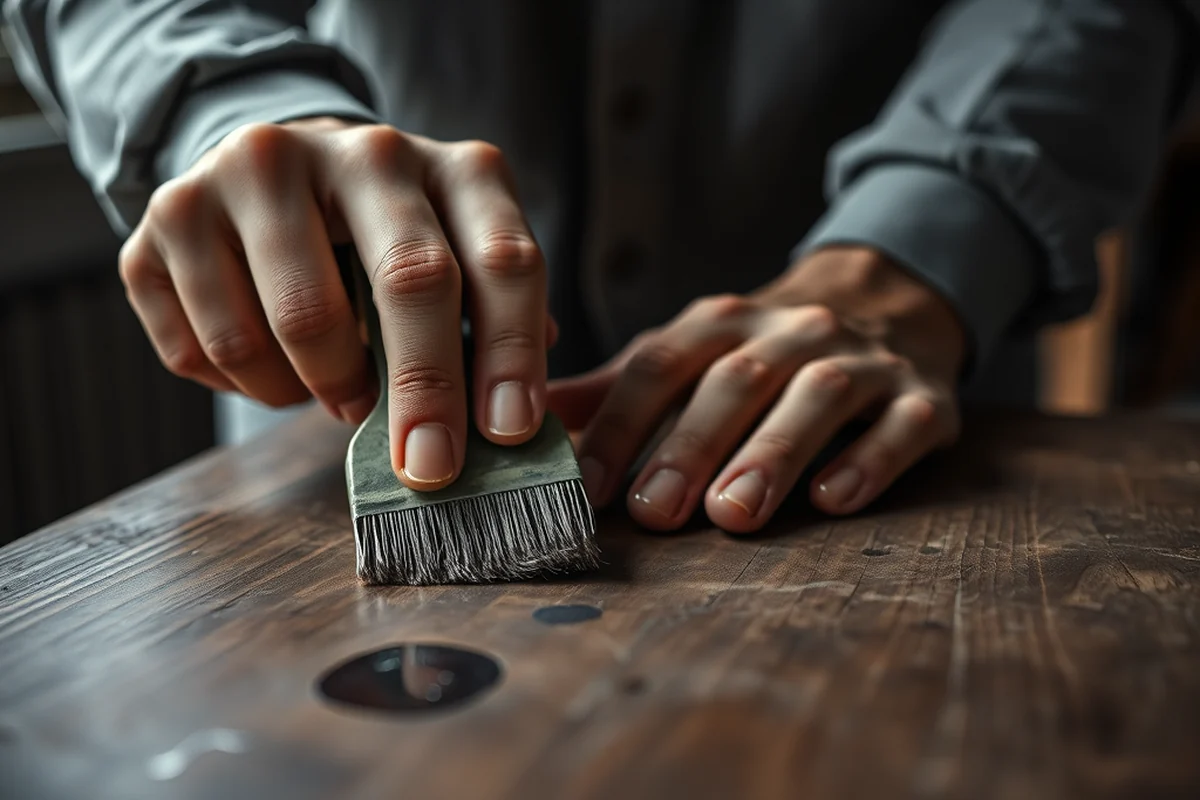
I once painted a piece with a low-quality paint from a big box store, and it looked flat and didn’t hold up to moisture. That was a wake-up call. Since then, I’ve gravitated toward high-quality latex paints, especially those with a semi-gloss or satin finish for furniture. These finishes are more durable and easier to clean, which is a huge plus for high-traffic pieces.
For a matte finish, I use chalk paint, which I’ve found works best on furniture with a lot of texture or imperfections. It hides flaws well and can be easily distressed if you want that rustic look. I’ve painted entire dressers with it and only needed one coat for full coverage.
I’ve also found that priming the surface before painting is a game-changer. I applied a primer to a piece that had a lot of stains, and it sealed the surface perfectly. The paint adhered smoothly without any streaks or bubbling.
A great paint can make a tired piece feel like new — don’t skimp on this step.
Related: Furniture flipping painting furniture tools supplies guide
Sanding Techniques for a Professional Finish
Sanding is one of the most crucial steps in furniture flipping, and I’ve learned that rushing through it can lead to a subpar finish. I always start with 120-grit sandpaper to remove the old finish, then move to 220-grit for a smoother texture. This two-step process helps avoid sanding too aggressively and damaging the wood underneath.[1]
I’ve noticed that using a sanding block or a foam pad helps distribute pressure evenly, which is especially important when sanding curved or intricate parts. I’ve also found that using a vacuum attachment on the sander reduces dust and makes cleanup faster.
After sanding, I always wipe the surface with a damp cloth to remove any dust before painting. This small step ensures that the paint adheres properly and doesn’t end up looking patchy or uneven.
Foam pads are easier to maneuver around curved or detailed surfaces, and they reduce the risk of sanding too deeply. I use these when working on chair legs or decorative moldings.
“I still remember the day I bought that chipped, stained end table at a garage sale for $15.”— Flipper Lane editors
Related: Affordable furniture flipping painting furniture tools supplies
How to Avoid Common Painting Mistakes
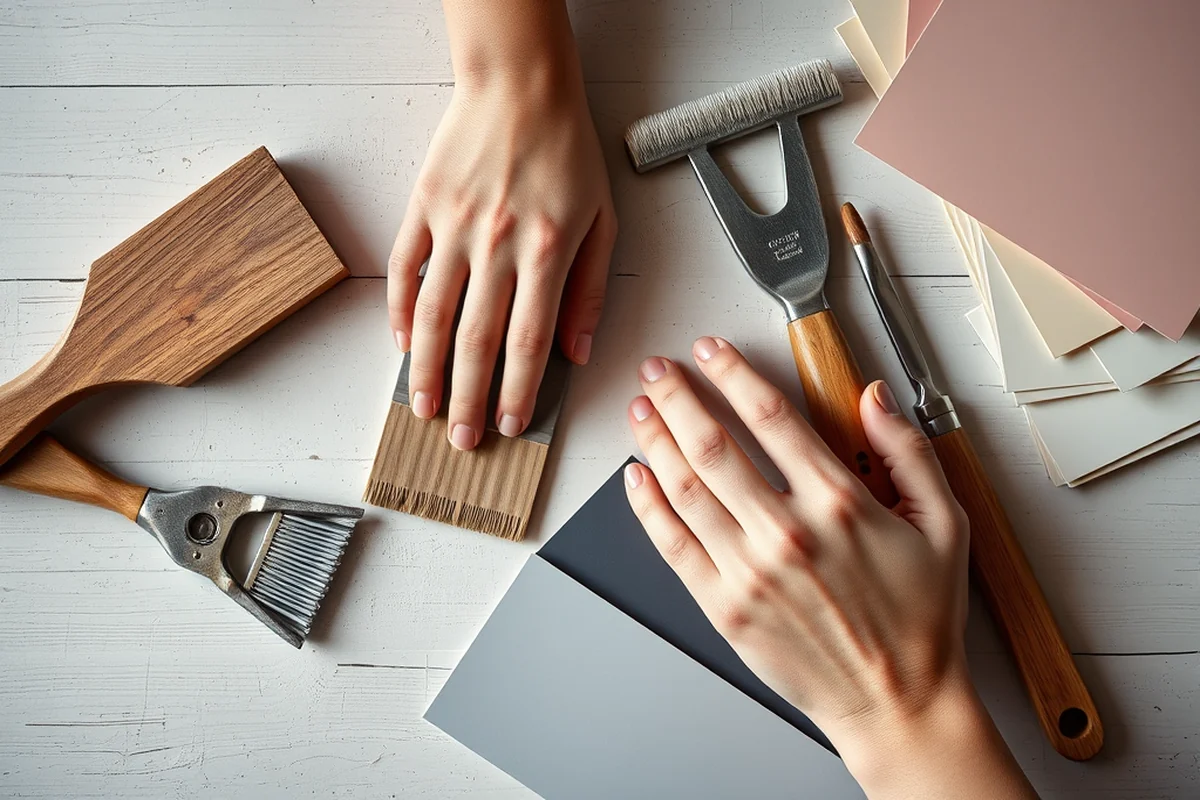
One of the biggest mistakes I made early on was painting without properly cleaning the surface. Old wax, dirt, or grease can prevent the paint from adhering properly. Now, I always wipe down the furniture with a degreaser and let it dry before starting to paint.
Another common mistake is applying too much paint in one go. I’ve found that using a paint tray with a roller extension helps control the amount of paint on the brush or roller. I always work in small sections to avoid drips and streaks.
I’ve also learned to wait between coats — rushing can lead to an uneven finish. I wait 2–4 hours between coats, depending on the humidity in my home. This step ensures the paint dries properly and adheres well to the surface.
Related: Budget furniture flipping painting furniture tools
Finishing Touches for a Professional Look
After the paint is dry, I always apply a clear sealant to protect the finish and add a bit of shine. I’ve found that polyurethane sealant works best for high-traffic areas like tables and chairs. It’s durable and easy to apply with a brush or spray.
For a more rustic or vintage look, I use a dry brush technique to distress the edges and corners. This step adds character and gives the furniture a more aged appearance. I’ve also used wax to create a slightly worn look on pieces that are meant to look antique.
I’ve experimented with different finishes, and I’ve found that a matte or satin finish works best for most furniture. These finishes are less reflective and provide a more natural look. I’ve also used a brush to apply a clear topcoat to wood surfaces to enhance the grain and protect it from moisture.
💰 Budget Build
Use affordable tools and paints to achieve a great result without spending too much. Focus on basic pieces like tables and chairs.
📅 Weekend Version
Complete a small project in one day by focusing on a single piece and using quick-drying paints and tools.
✨ Upgraded Finish
Add high-end details like custom hardware and quality sealants to elevate the look and durability of your project.
🛋️ Small-Space Adaptation
Opt for compact pieces like side tables and ottomans that are easier to move and work on in limited spaces.
🏠 Rental-Safe Option
Choose non-permanent finishes or use removable paint that won’t damage the surfaces of rental properties.
| The mistake | Why it happens | The fix |
|---|---|---|
| Skipping the sanding step | Paint won’t stick properly to a surface that isn’t sanded, leading to peeling or uneven coverage. | Always sand the surface before painting, even if it looks clean. |
| Using the wrong paint | Low-quality or inappropriate paint can lead to a dull or chipped finish. | Choose high-quality paint with the right finish for your project. |
| Not cleaning the surface | Old wax, dirt, or grease can prevent the paint from adhering properly. | Wipe the surface with a degreaser and let it dry before painting. |
| Applying too much paint at once | This can lead to drips, streaks, and an uneven finish. | Use a paint tray with a roller extension to control the amount of paint and work in small sections. |
Related: Cabinet painting supplies
Furniture Flipping & Painting Furniture Tools Tips
Related: Best upholstery cleaner machine
The Art of Repurposing with Confidence
Repurposing old furniture with confidence requires understanding how to transform pieces into something new without losing their structural integrity.
I once turned a dented thrift store sideboard into a statement piece by reinforcing its legs with 2x4s and adding a thick layer of epoxy resin. This not only restored its strength but also gave it a modern, glossy look. The key is to assess the furniture's condition before starting any project—look for rot, loose joints, or weak spots that could compromise the final result. If you're unsure, take a few minutes to test the stability by applying weight or pressure to the most stressed areas. This step can save you hours of frustration later.
When repurposing, consider how the new function of the furniture will influence its design. For example, if you’re converting an old table into a desk, you’ll need to ensure there’s enough clearance for a monitor or keyboard. I always measure twice and mark once, using a laser level to guarantee accuracy. Adding new hardware or extending the dimensions can also significantly change how a piece is used. Don’t be afraid to get creative—sometimes the most unexpected additions become the most functional.
I’ve found that repurposing is also a great way to incorporate sustainability into your DIY practice. Instead of buying brand new, I often source pieces from local thrift stores or flea markets. This not only reduces waste but also gives each project a unique story. I always take photos of the before and after, which helps me keep track of the process and inspires future projects. Plus, repurposing can be a cost-effective way to furnish your home while still achieving a high-end look.
Common Questions
What’s the best type of paint for furniture flipping?
How long does it take to complete a furniture flipping project?
What tools do I really need to get started?
Is it possible to paint over stained wood?
References
- Rehab Right - City of Salinas (salinas.gov)
Cite this guide
Flipper Lane (2026). Furniture Flipping & Painting Furniture Tools Tips. https://flipperlane.com/furniture-flipping-painting-furniture-tools-tips/
Feel free to cite or share this guide.