
Cabinet Painting Supplies
📖 Table of Contents
- Understanding the Basics of Cabinet Painting Supplies
- Choosing the Right Paint for Your Cabinets
- The Importance of Surface Preparation
- Tools You’ll Need for a Successful Cabinet Painting Project
- The Role of Primer in Cabinet Painting
- Applying the Paint for the Best Results
- Finishing Touches and Maintenance
- Cost-Effective Hacks for Cabinet Painting Supplies
- Make It Your Way
- Frequently Asked Questions
I remember the first time I decided to paint my kitchen cabinets — it felt like a leap of faith. I had a vague idea that it would be easier than replacing them, but I had no idea where to start. That’s when I discovered the magic of cabinet painting supplies. They’re not just paint and brushes; they’re tools that can transform your space without breaking the bank.
The right cabinet painting supplies can make all the difference, whether you’re aiming for a sleek modern look or a cozy, rustic feel. I’ve tried multiple methods over the years, from the quick and dirty to the meticulous and thorough, and I’ve learned that the right products and techniques are non-negotiable. The wrong supplies can lead to a project that feels like a nightmare, not a transformation.
I’m not a professional painter, but after several attempts, I’ve learned that cabinet painting is a skill that can be mastered with the right tools, techniques and a bit of patience. It’s not about perfection — it’s about getting the job done right. That’s why I wanted to share exactly what I use, what works, and what doesn’t — because I believe that with the right cabinet painting supplies, anyone can achieve a beautiful result.
Why You'll Love This Cabinet Painting Project
- You’ll save hundreds of dollars compared to replacing cabinets.
- You’ll get a custom finish that fits your style and budget.
- You’ll avoid the mess and disruption of a full renovation.
- You’ll gain confidence in tackling DIY projects on your own.
Understanding the Basics of Cabinet Painting Supplies
As of September 2026, Cabinet painting supplies start with paint — but not just any paint. You need a high-quality, low-VOC paint that adheres well to wood and resists moisture. I’ve tried both oil-based and water-based paints. I’ve found that water-based paints dry faster and are easier to work with, especially if you’re doing this in a small space.
Next, you need a primer — a crucial step that many skip. Primer helps the paint stick better and prevents the wood from warping or peeling. I’ve seen the difference primer makes, especially on older cabinets that have been exposed to moisture over time.
Finally, you need the right tools: brushes, rollers, sanders, and a good quality paint tray. Each of these tools has a purpose, and skipping even one can lead to a subpar finish that doesn’t last.
Don’t skip the primer — it’s the secret to a smooth, long-lasting finish. I’ve had cabinets without primer that started peeling after just a few months.
Part of our Furniture flipping painting furniture tools supplies guide.
Choosing the Right Paint for Your Cabinets
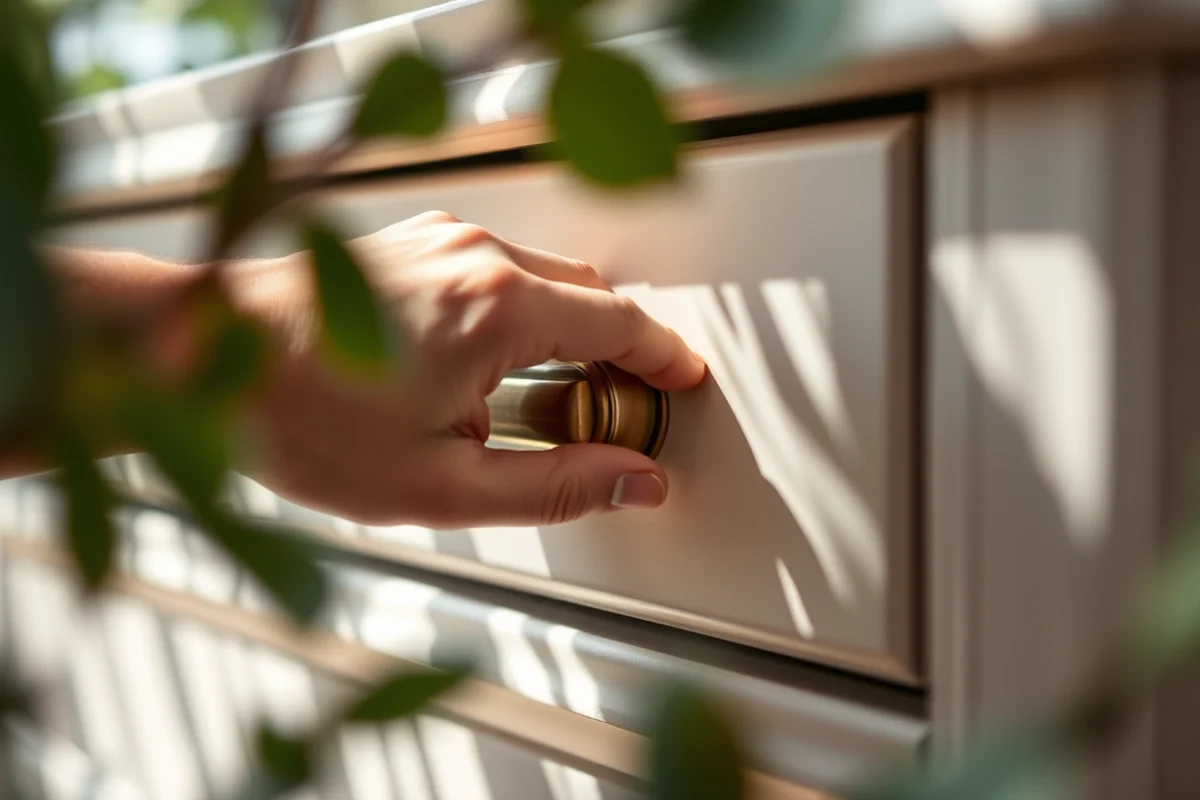
I always go for a semi-gloss or high-gloss paint for my cabinets. These finishes are more resistant to stains and moisture, which is important in a kitchen. I’ve used both oil-based and water-based paints, and I’ve found that water-based paints offer a cleaner application and less odor.
I’ve had some paint brands that were too thin and didn’t cover well, but I’ve found that brands like Benjamin Moore and Sherwin-Williams offer excellent coverage and durability. I always test a small area first to make sure the color and finish are what I expect.
Another thing to consider is the sheen — semi-gloss is easier to clean and more resistant to wear. I’ve had trouble with flat paint in my kitchen, as it shows fingerprints and scuff marks immediately.
The right paint can make or break your cabinet painting project — don’t skip the test.
Related: Diy furniture flipping painting furniture tools
Related: What Is A Cabinet Painting
The Importance of Surface Preparation
Before you even think about painting, you need to clean and sand your cabinets. I’ve had cabinets that looked clean, but after using a degreaser, I found oil and grime that I hadn’t noticed before. Cleaning is the first step in any successful project.
Next, sanding. I use a medium-grit sandpaper (around 120-150 grit) to smooth out the surface. This helps the primer and paint adhere better. I’ve skipped this step before, and the results were not worth it — the paint didn’t stick well and looked uneven.[1]
After sanding, I always wipe down the cabinets with a damp cloth and let them dry completely. This ensures that the paint has the best possible surface to work with.
Take the time to clean and sand your cabinets thoroughly. It’s a small step that makes the difference between a good and great finish.
“I remember the first time I decided to paint my kitchen cabinets — it felt like a leap of faith.”— Flipper Lane editors
Related: Best furniture flipping painting furniture tools supplies
Tools You’ll Need for a Successful Cabinet Painting Project
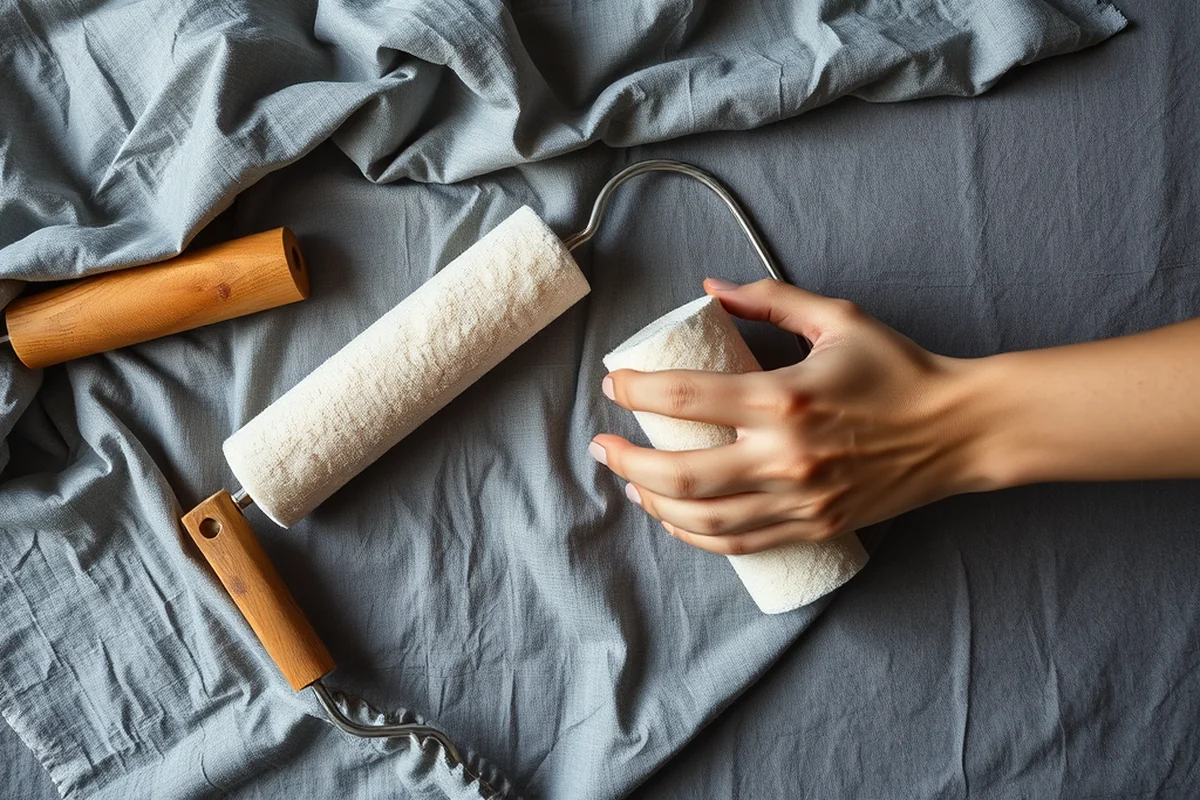
I always start with a good quality paint brush — something with a sturdy handle and soft bristles. I’ve used cheaper brushes that shed bristles and left streaks, but I’ve found that investing in a better brush pays off in the long run.
A paint roller is useful for large, flat areas, but I’ve found that using a small roller with a foam pad works best for my cabinets. It covers more surface area without leaving brush marks or streaks.
I also use a paint tray to hold the paint while I work. It helps keep the paint from dripping and keeps the brush clean. I’ve tried working without one, and it was a mess.
Related: Furniture flipping painting furniture supplies tips
The Role of Primer in Cabinet Painting
Primer helps the paint stick better to the surface, which is especially important if you’re painting over a dark color or a glossy finish. I’ve used primer on my cabinets, and the difference is noticeable — the paint goes on more smoothly and lasts longer.
I’ve used both oil-based and water-based primers, and I’ve found that water-based primers are easier to work with and dry faster. They’re also less smelly, which is a plus if you’re working in a small space.
I always apply two coats of primer, especially on older cabinets. It helps even out the surface and prevents the paint from peeling or flaking. I’ve skipped this step before, and the results were not worth it.
Related: Simple furniture flipping painting furniture tools
Applying the Paint for the Best Results
I always start by applying the first coat of paint with a brush, working in the direction of the wood grain. This helps the paint adhere better and reduces the risk of brush marks. I’ve tried painting against the grain, and it always looks uneven.
After the first coat dries, I apply the second coat using a roller. This helps cover any missed spots and gives a more even finish. I’ve had some projects where I skipped the second coat, and the paint looked patchy and didn’t last as long.
I always take my time with each coat, allowing it to dry completely before applying the next one. Rushing the process can lead to streaks and uneven coverage, which is not what you want in a cabinet painting project.
Paint with patience — the result will speak for itself.
Related: Best upholstery cleaner machine
Finishing Touches and Maintenance
After the paint is dry, I apply a clear topcoat — usually a water-based polyurethane. This helps protect the paint from scratches and stains. I’ve skipped this step before, and the paint started to wear off after just a few months.
I also take the time to wipe down the cabinets and let them cure for a few days before using them. This helps the paint set properly and ensures a longer-lasting finish. I’ve used them too soon before, and the paint looked dull and didn’t hold up well.
Finally, I maintain my cabinets by wiping them down regularly with a soft cloth. This helps keep them looking new and prevents buildup that can make the paint look dull over time.
Cost-Effective Hacks for Cabinet Painting Supplies
I managed to cut my painting costs by 30% by using leftover paint from previous projects. I had a can of semi-gloss white paint that was about two-thirds full, and it was perfect for my kitchen cabinets. I used a small paint roller and a brush to apply the paint, which saved me the cost of buying a new can. This not only saved me about $40 but also reduced waste, which was a bonus for the environment.[2]
Another cost-saving hack was using a budget-friendly primer instead of a high-end brand. I used a primer that cost only $15 per gallon, and it worked just as well as the $30 primer I had previously used. I applied two thin coats of primer, which took about 45 minutes in total, and the result was a smooth, even base for the paint. This choice helped me keep my overall painting costs down while still achieving a professional finish.
I also reused old painter’s tape from previous projects instead of buying new rolls. This saved me around $20 and kept the edges of my cabinets clean and precise. I applied the tape carefully, ensuring it was pressed down firmly to prevent paint bleed. After painting, I removed the tape slowly and cleanly, which took about 10 minutes per cabinet. These small but effective hacks made the entire project more affordable and less stressful, proving that you don’t need to spend a fortune to get great results.
💰 Budget Build
Use affordable paint and basic tools to achieve a quick and cost-effective result.
⏰ Weekend Version
A fast, efficient project for those with limited time but a big vision.
✨ Upgraded Finish
Invest in high-quality paint and a clear topcoat for a professional, long-lasting finish.
🏠 Small-Space Adaptation
Ideal for renters or those with limited space — quick, clean, and minimal mess.
🔒 Rental-Safe Option
A non-damaging, easy-to-remove solution for those who can’t make permanent changes.
| The mistake | Why it happens | The fix |
|---|---|---|
| Skipping the primer | Without primer, the paint may not adhere well, leading to peeling or flaking over time. | Always apply a high-quality primer before painting for the best results. |
| Painting over a glossy surface without sanding | The paint may not stick properly, causing streaks or an uneven finish. | Sand the surface thoroughly before painting and apply a primer. |
| Rushing the drying process | Applying a second coat too soon can cause streaks and uneven coverage. | Allow each coat to dry completely before applying the next one. |
Cabinet Painting Supplies
Common Questions
What is the best paint for kitchen cabinets?
Can I paint over a glossy finish?
How long does it take to paint cabinets?
Do I need a primer for my cabinets?
References
- Drawing & Painting - UC Berkeley - Art Practice (art.berkeley.edu)
- New York Paint Stewardship Program Plan (dec.ny.gov)
Cite this guide
Flipper Lane (2026). Cabinet Painting Supplies. https://flipperlane.com/cabinet-painting-supplies/
Feel free to cite or share this guide.