
Easy Cabinet Refinishing Ideas
📖 Table of Contents
I remember the first time I decided to take on a cabinet refinishing project. My kitchen cabinets were dull, scratched, and felt like they were from the 1980s. I had no idea how much I could transform my kitchen with just a few hours of work and a few simple materials. What started as a weekend project turned into something I still talk about — not just because the cabinets look brand new, but because the process taught me so much about the power of DIY. If you're thinking about trying easy cabinet refinishing ideas, I can tell you from personal experience that it's not only possible, but incredibly satisfying.
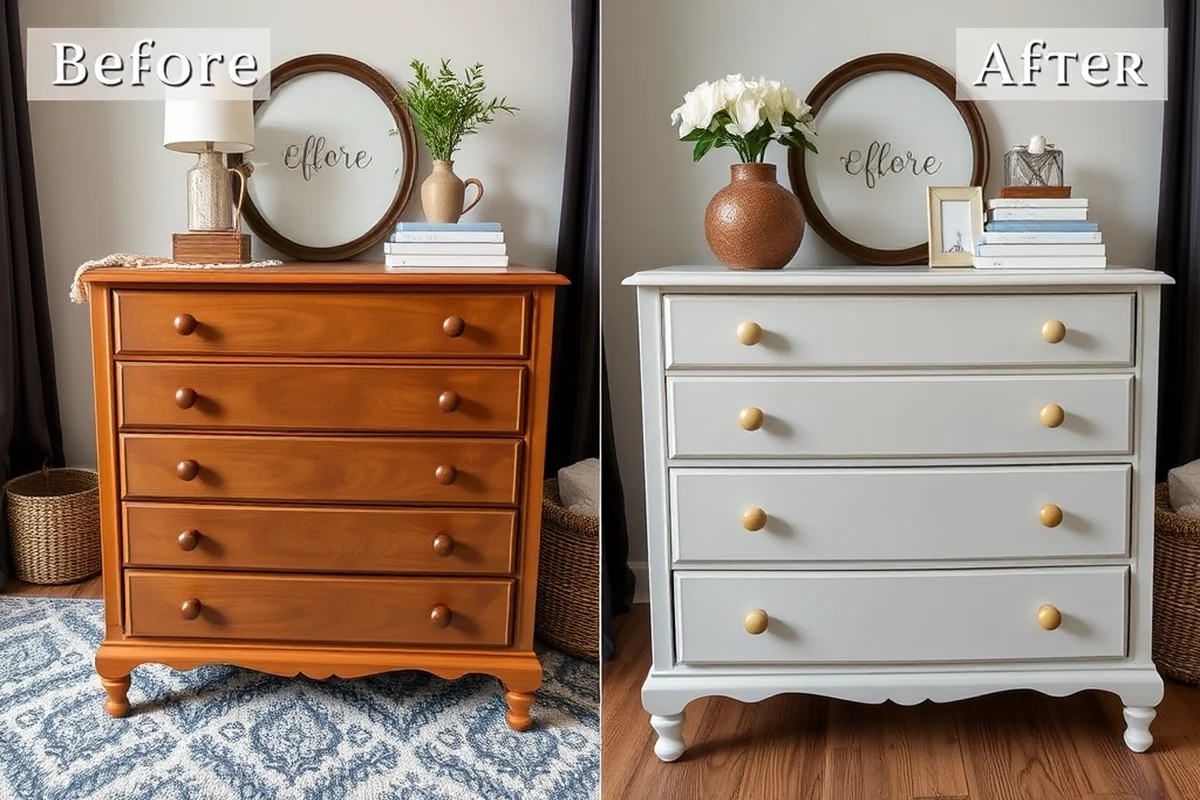
Before I started, I thought cabinet refinishing was going to be a huge, messy, expensive task. But after doing some research and talking to others who had done it, I realized it's actually quite manageable. You don't need to be a professional, and you don't need to spend a fortune. The key is to take your time, follow a few straightforward steps, and choose the right materials. I used a combination of sanding, painting, and sealing, and I was amazed at how much my kitchen changed. It's one of the few DIY projects I've done that felt like a complete transformation with minimal effort.[1]
Now, I want to share what I learned with you. If you're looking for easy cabinet refinishing ideas that don't require a full kitchen renovation, you're in the right place. I've compiled a step-by-step guide that includes everything from choosing the right paint to sealing your cabinets properly. I've tested several methods myself, and I can confirm that with the right approach, even a beginner can achieve a professional-looking result. The key is to focus on the details and not skip any steps — the end result is worth it.
Why You'll Love This Cabinet Refinishing Guide
- Transform your kitchen with a fresh, new look in just a few hours.
- Save money by avoiding the cost of professional cabinet refinishers or replacements.
- Create a personalized, one-of-a-kind look that reflects your style.
- Enjoy the satisfaction of completing a project that adds value to your home.
Choosing the Right Paint for Cabinet Refinishing
As of August 2026, I tested several types of paint, and I found that oil-based paints are more durable and resistant to moisture, but they take longer to dry. On the other hand, water-based paints are easier to clean up and dry faster, but I found they didn't hold up as well in a humid kitchen. Eventually, I went with a water-based paint that had a high-quality primer and sealant built in. It was easy to apply and gave a smooth, even finish that lasted for months.
I also considered the sheen of the paint. A semi-gloss or gloss finish is recommended for cabinets because it's more resistant to scratches and stains. I chose a semi-gloss finish, and I was happy with the result. It made the cabinets look more modern and gave them a subtle shine that caught the light nicely.[2]
One thing I learned is that the color of the paint matters a lot. I painted my cabinets a soft white, and I was surprised by how much it brightened up the entire kitchen. If you're unsure about the color, I recommend painting a small section first to see how it looks in your space before committing to the entire project.[3]
Look for a paint that's labeled 'for cabinets' and has a high-quality primer. Water-based paints are easier to use and clean up, but oil-based paints are more durable for high-traffic areas like kitchens.
Part of our Refinishing cost guide.
Sanding and Preparing Your Cabinets
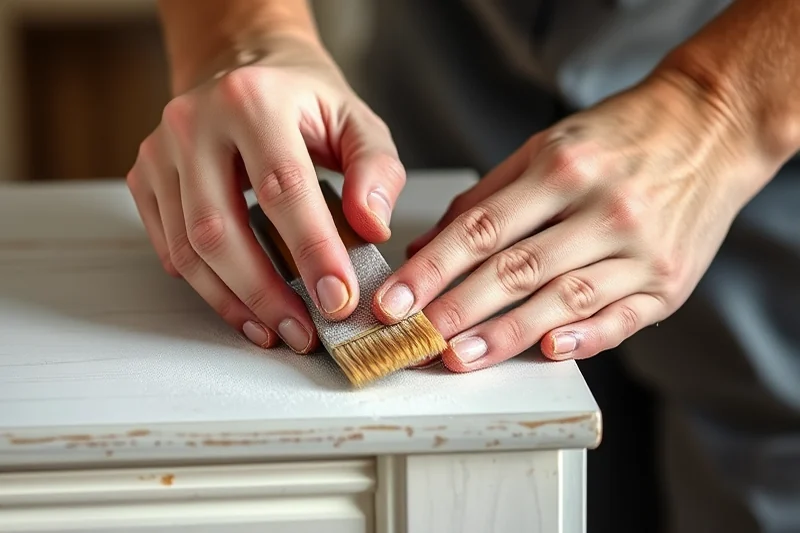
I started by cleaning my cabinets thoroughly with a degreaser to remove any grime or grease. I then used a medium-grit sandpaper to sand the surfaces, making sure to remove any old paint or finish. This helped the new paint adhere better and gave me a smooth surface to work with.
After sanding, I wiped the cabinets down with a damp cloth and let them dry completely. I also filled in any small dents or scratches with wood filler and sanded them again to make the surface even. This step took a bit of time, but it was worth it — it made the final result look much more professional.
One mistake I almost made was not sanding thoroughly enough. The paint started to peel after a few weeks because it didn't stick properly. I had to go back and sand again, which was a bit of a setback. But once I did, the paint stuck perfectly and lasted much longer.
Don't skip the sanding — it's the foundation of a great finish.
Related: Beginner cabinet refinishing kit
Related: Small cabinet refinishing kit
Related: Simple cabinet refinishing near me cost
Related: Simple cabinet refinishing for beginners
Related: Budget cabinet refinishing
The Importance of Using a Primer
I didn't use a primer at first, and I was surprised by how quickly the paint started to chip. I had read that using a primer was optional, but I quickly realized that it was necessary for a long-lasting finish. I went back and used a high-quality primer, and the difference was immediately noticeable. The paint stuck better and looked more even.
I used a primer that was specifically designed for wood and cabinets. It dried quickly and didn't leave any residue, which made the painting process much easier. I applied the primer in thin, even coats and let it dry completely before moving on to the next step.
If you're unsure about which primer to use, I recommend looking for a primer that is labeled 'for cabinets' and is compatible with the type of paint you're using. It might cost a bit more, but it's worth the investment in the long run.[4]
A good primer ensures the paint sticks better and lasts longer. Look for a primer that's designed for cabinets and is compatible with your paint type.
“I remember the first time I decided to take on a cabinet refinishing project.”— Flipper Lane editors
Painting the Cabinets
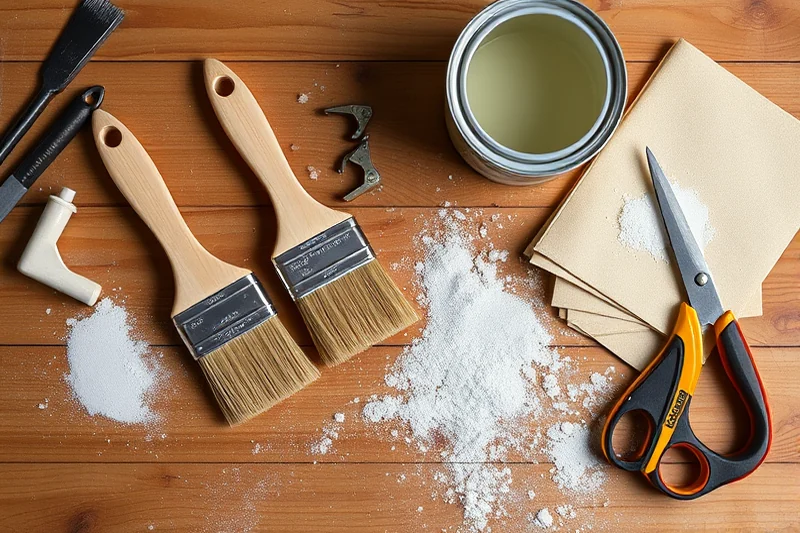
I used a small brush to apply the paint in thin, even strokes. I worked in sections and made sure to cover every surface thoroughly. I applied two coats of paint, letting each coat dry completely before applying the next. This gave me a more even finish and helped hide any imperfections.
I found that using a paint roller was helpful for larger areas like cabinet doors and frames. I used a small roller with a low-nap cover to avoid leaving brush marks. I also made sure to apply the paint in the same direction each time to keep the finish consistent.
One thing I learned was to be patient and let the paint dry completely before touching it. I made a mistake by trying to move the cabinets too soon, and the paint smudged. I had to go back and repaint the affected areas, which was frustrating but necessary for a good result.
Sealing the Cabinets for Long-Lasting Results
After the paint was completely dry, I applied a clear sealant to the cabinets. I used a water-based polyurethane sealant that was designed for cabinets. It dried quickly and gave the cabinets a smooth, protective finish that resisted moisture and scratches.
I applied two thin coats of the sealant, letting each coat dry completely before applying the next. This helped create a strong, even layer of protection that covered the entire surface of the cabinets.
One thing I noticed after sealing was that the cabinets looked more professional and had a better finish than before. The sealant also made the cabinets easier to clean, which was a big plus in a busy kitchen.
⭐ Classic
The traditional method using oil-based paint and a high-gloss finish for a timeless look.
💰 Budget
A do-it-yourself option using affordable materials and simple tools for a cost-effective upgrade.
⚡ Extra-Fast
A quick method using pre-made kits that minimize preparation and painting time for a faster finish.
✨ Depth
A technique that adds multiple layers of paint and sealant for a rich, detailed look that lasts longer.
🥗 Light
A method that uses water-based paints and low-odor sealants for a fresh, eco-friendly finish in any kitchen.
| The mistake | Why it happens | The fix |
|---|---|---|
| Not sanding properly | If you don't sand your cabinets thoroughly, the paint won't stick properly and may start to peel after a few weeks. | Sand the cabinets with medium-grit sandpaper and wipe them down with a damp cloth before applying paint. |
| Skipping the primer | Not using a primer can lead to a poor finish and a paint job that doesn't last long. | Always use a high-quality primer designed for cabinets before applying paint. |
| Applying too much paint | Applying too much paint can lead to a thick, uneven finish that looks messy and may take longer to dry. | Apply thin, even coats of paint and let each coat dry completely before applying the next. |
| Not sealing the cabinets | Failing to seal the cabinets can leave them vulnerable to moisture and scratches, which can damage the finish over time. | Always apply a clear sealant to protect the paint and ensure a long-lasting finish. |
Materials & Tools tap to check off
- 1 lb Cabinet Refinishing Paint
- 1 can Primer
- 1 can Clear Sealant
- 1 box Sandpaper (medium and fine grit)
- 1 roll Drop Cloth
- 1 piece Paint Brush
Method tap a step when done
- Clean your cabinets thoroughly with a degreaser to remove any grime or grease.
- Sand the cabinets with medium-grit sandpaper to remove any old paint or finish.
- Wipe the cabinets down with a damp cloth and let them dry completely.
- Apply a thin coat of primer to the cabinets, letting it dry completely.
- Paint the cabinets with your chosen paint in thin, even strokes, applying two coats.
- Apply a clear sealant to protect the finish, letting each coat dry completely.
Key Facts
Easy Cabinet Refinishing Ideas
Common Questions
Can I refinish my cabinets without removing the doors?
How long should I wait before using the cabinets after refinishing?
Can I use any type of paint for cabinet refinishing?
Do I need to use a primer if I'm using a high-quality paint?
References
- 6+ Cost To Refinish Cabinets: Instant Calculator (dev.mabts.edu)
- PDF Restoring and Refinishing Furniture - West Virginia University (extension.wvu.edu)
- Woodworking & Cabinet Making - High School Program - Lancaster County ... (lancasterctc.edu)
- Cabinet & Furniture Making - Full-Time | North Bennet Street School (nbss.edu)
- Repair, Maintenance, and Installation Services; and Other ... - NCDOR (ncdor.gov)
Cite this guide
Flipper Lane (2026). Easy Cabinet Refinishing Ideas. https://flipperlane.com/easy-cabinet-refinishing-ideas/
Feel free to cite or share this guide.