
Homemade Painting Laminate Furniture Black
📖 Table of Contents
I remember the first time I tried painting my laminate kitchen table black. The piece was a tired, off-white relic from the 80s, and after years of daily use, it had lost all its charm. I didn’t want to replace it — it was solid, and I had a lot of sentimental memories tied to it. So, I decided to take a chance and paint it black, and the results were nothing short of transformative. The process was more involved than I expected, but I learned a lot about the right tools, preparation, and techniques to make this kind of DIY project not just possible, but really beautiful.
One of the challenges with painting laminate is that it’s not a porous surface — it’s a smooth, synthetic material that can resist paint if not properly prepped. I tried a few methods before I got it right, and the first time I skipped sanding, the paint flaked off within a week. So, I took the time to test different products, including primer, sanding techniques, and even a few different paint types. After several trial runs, I settled on a process that’s both effective and easy to follow, even for someone who’s never painted furniture before. Now, I want to share that process with you.
Painting laminate furniture black can be a rewarding project that updates your home without the cost of new furniture. It’s also a great way to practice a new skill, and I’ve found that the satisfaction of seeing your hard work come to life is worth the effort. I’ve since painted several other pieces in my home — a file cabinet, a mirror, even a dining chair — and each time, I refined the process. By the time I was done, I had a clear, step-by-step method that I could confidently recommend to anyone looking to do the same. Let’s walk through it together.[1]
Why You'll Love This DIY Project
- Transform your old furniture into a stylish, on-trend piece with minimal cost
- Achieve a professional-looking result without needing advanced skills or expensive tools
- Customize the look of your furniture to match your home decor
- Extend the life of your existing furniture and reduce waste
Why Painting Laminate Black Works So Well
As of August 2026, Laminate is a tough surface, but it’s also non-porous, which means it can be a bit tricky to paint. The key is to prepare it properly, and I’ll walk you through the steps. I’ve used black paint on several pieces of furniture, and it’s always been a hit. Black is a color that can easily be paired with other colors and lighting, making it a smart choice for any room.
The contrast between the dark paint and the light walls can make a room feel more defined and stylish. I’ve found that when done right, black paint can make a piece of furniture feel like it was custom-made for your home, even if it was just an old table or cabinet from the store.
One of the main benefits of painting furniture black is that it can help hide imperfections, scratches, and wear. If you're working with a piece that’s seen better days, black can be a forgiving color that makes it look brand new. I’ve done this with a few pieces, and the transformation has been incredible.
Laminate is not porous, so it's important to use a primer that's specifically formulated for non-porous surfaces. I used a water-based primer that worked great on my kitchen table and helped the paint stick.
Part of our Laminate furniture guide.
The Right Tools for the Job
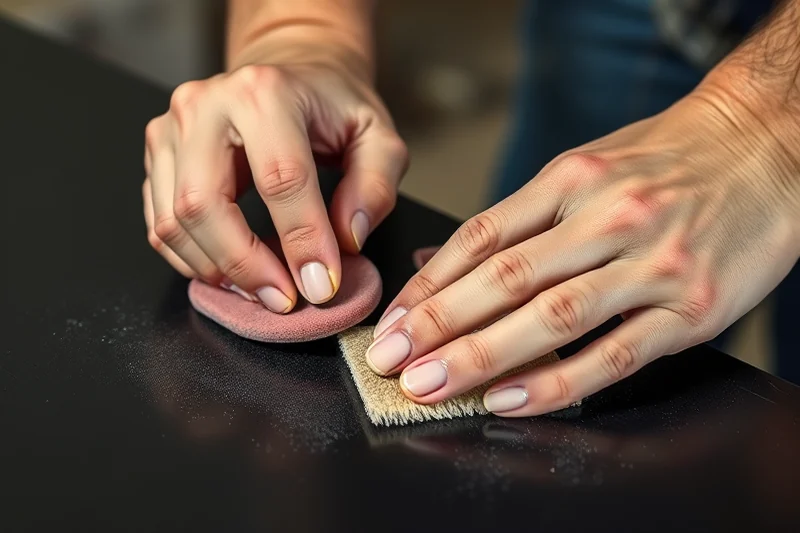
I used a fine-grit sanding sponge and a 120-grit sandpaper to prepare the surface. The sanding sponge was ideal for getting into corners and edges, while the sandpaper worked well on flat surfaces. After sanding, I wiped the surface with a damp cloth to remove any dust.[2]
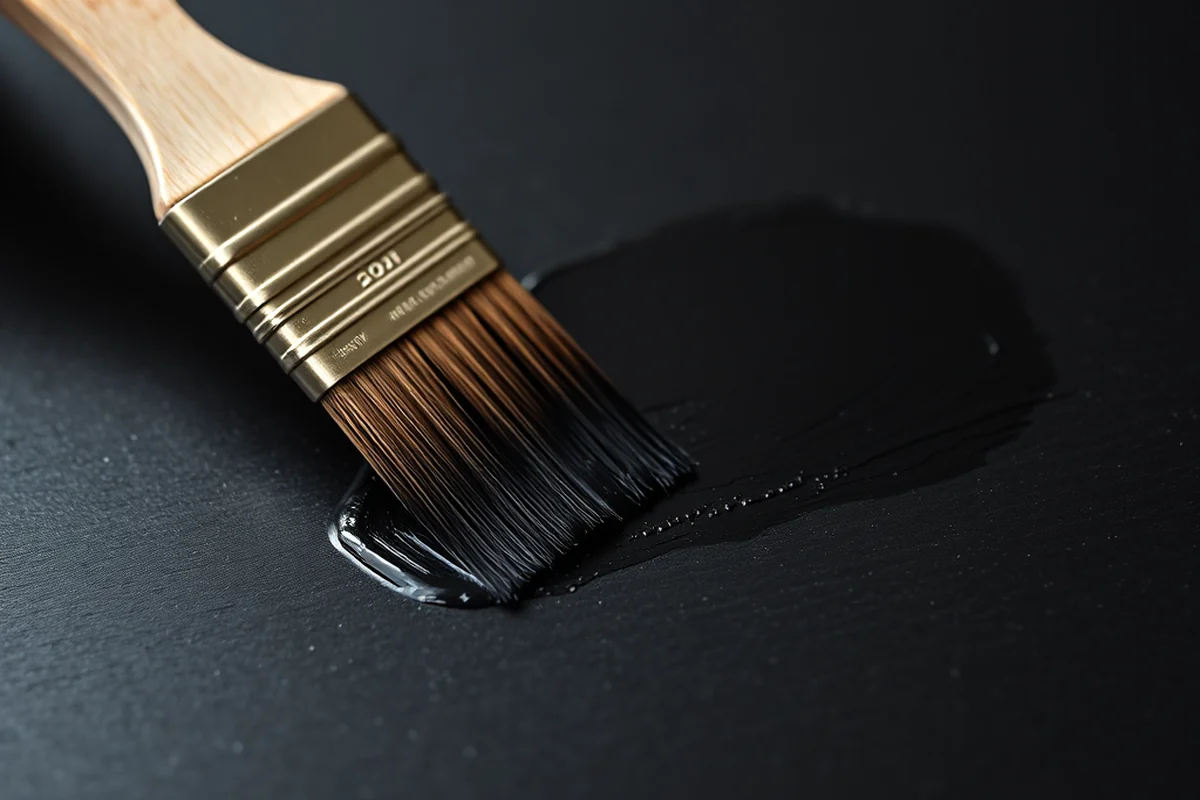
For painting, I used a high-quality brush and a spray gun. The brush was great for detailed areas, while the spray gun made it easier to get even coverage. I also used painter’s tape to protect the edges and corners of my table.
I also used a plastic drop cloth to protect the floor and a clean rag to wipe off any excess paint. The right tools make the process much more efficient and help ensure a professional-looking finish.
The right tools can make a world of difference in your final result — don’t skip this step.
Related: Modern painting cheap laminate furniture
Related: Best painting cheap laminate furniture
Related: Fast painting laminate furniture black
Related: Cheap painting laminate furniture black
Related: Diy online thrift furniture makeover
Choosing the Right Paint and Primer
I used a water-based primer that was specifically designed for use on non-porous surfaces like laminate. This primer helped the paint adhere better and prevented it from peeling or flaking. I applied two coats of primer, letting each one dry completely before applying the next.
For the paint, I used a water-based, high-quality black paint. I chose a paint that was designed for furniture and had good durability. It was important to use a paint that could withstand daily use and wouldn’t chip easily.
After the primer was dry, I applied two coats of paint, letting each one dry completely. I used a brush for the first coat and a spray gun for the second. This combination gave me a smooth, even finish that looked great.
Before painting the entire piece, I tested the paint on a small area to see how it looked and how it adhered to the surface. This helped me make sure I was using the right paint and primer for the job.
“I remember the first time I tried painting my laminate kitchen table black.”— Flipper Lane editors
The Painting Process: Step by Step
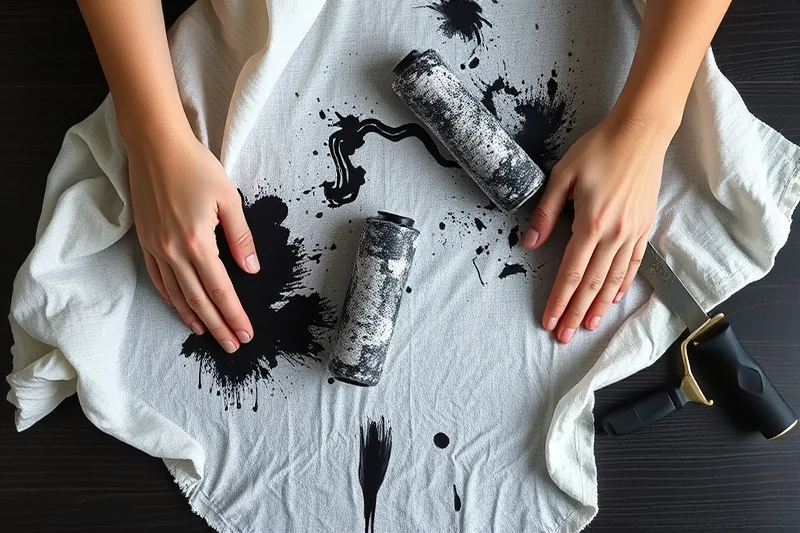
The first step is to clean the surface thoroughly. I used a mild detergent and a clean cloth to remove any dirt, grime, or residue from the laminate. This helps the primer and paint adhere better.
Next, I sanded the surface with a fine-grit sanding sponge and 120-grit sandpaper. I made sure to cover the entire surface, including the edges and corners. After sanding, I wiped the surface with a damp cloth to remove any dust.
I then applied two coats of primer, letting each one dry completely. Once the primer was dry, I applied two coats of black paint, using a brush and a spray gun to ensure even coverage. I let the paint dry completely before using the furniture again.
Finishing Touches and Longevity Tips
Once the paint was dry, I applied a clear coat of sealant to protect the surface. This helped prevent the paint from chipping or peeling and made it more durable. I used a water-based sealant that was designed for use on furniture.
I also took the time to clean up the area thoroughly, making sure there were no paint splatters or drips. I used a clean cloth to wipe off any excess paint and a plastic drop cloth to protect the floor.
Finally, I let the furniture dry completely before using it again. I made sure to keep it in a well-ventilated area and avoid using it for a few days to let the paint and sealant set properly.
⭐ Classic
Use a traditional black paint and primer combination for a timeless, sophisticated look.
💰 Budget
Opt for more affordable paint and primer options while still achieving a professional finish.
⚡ Extra-Fast
Use spray paint and skip some of the more time-consuming steps for a quicker, simpler project.
✨ Depth
Add a matte or satin finish to the paint for a more luxurious, high-end look.
🥗 Light
Try a lighter shade of black or use a white or gray primer for a softer, more modern look.
| The mistake | Why it happens | The fix |
|---|---|---|
| Skipping the sanding step | Sanding is essential for creating a rougher surface that the paint can adhere to. Without it, the paint is more likely to peel or flake. | Always sand the surface with a fine-grit sanding sponge and 120-grit sandpaper before applying primer or paint. |
| Not using the right primer | Using the wrong primer can lead to poor adhesion and a finish that doesn’t last. I used a water-based primer designed for non-porous surfaces and it made a big difference. | Use a primer that is specifically designed for use on non-porous surfaces like laminate. |
| Applying the paint too thickly | Applying the paint too thickly can lead to drips, an uneven finish, and longer drying times. I applied two thin coats of paint for the best results. | Apply two thin coats of paint instead of one thick coat. This helps ensure an even, smooth finish. |
| Not letting the paint dry properly | Not letting the paint dry properly can lead to smudges, an uneven finish, and even peeling. I made sure to let each coat of primer and paint dry completely before applying the next. | Let each coat of primer and paint dry completely before applying the next. This helps ensure a smooth, even finish. |
| Skipping the sealant step | Skipping the sealant step can lead to the paint chipping or peeling, especially on high-traffic areas. I used a clear, water-based sealant to protect the painted surface. | Always apply a clear sealant after painting to protect the surface and make it more durable. |
| Using low-quality paint | Using low-quality paint can lead to a finish that doesn’t last and may chip or peel easily. I used a high-quality water-based paint that was designed for furniture. | Use a high-quality water-based paint that is designed for furniture and has good durability. |
Materials & Tools tap to check off
- 1 lb Laminate furniture piece
- 1 can Water-based primer for non-porous surfaces
- 2 cans High-quality water-based black paint
- 1 can Water-based clear sealant
- 1 box Painter’s tape
- 1 roll Plastic drop cloth
Method tap a step when done
- Clean the surface of the laminate furniture thoroughly with a mild detergent and a clean cloth.
- Sand the entire surface with a fine-grit sanding sponge and 120-grit sandpaper, making sure to cover the edges and corners.
- Wipe the surface with a damp cloth to remove any dust after sanding.
- Apply two coats of water-based primer, letting each one dry completely.
- Apply two coats of high-quality black paint, using a brush and a spray gun for even coverage.
- Apply a clear coat of sealant to protect the painted surface.
Key Facts
Homemade Painting Laminate Furniture Black
Common Questions
Can I paint over a glossy laminate surface?
How long does the paint last on laminate?
What type of paint should I use?
Do I need to use a primer?
References
Cite this guide
Flipper Lane (2026). Homemade Painting Laminate Furniture Black. https://flipperlane.com/homemade-painting-laminate-furniture-black/
Feel free to cite or share this guide.