
Furniture Flipping & Painting Furniture Style Tips
📖 Table of Contents
- Choosing the Right Piece for Your Flip
- Preparing the Surface for Painting
- Selecting the Right Paint and Finish
- Painting Techniques for a Professional Finish
- Adding Personalized Details and Decor
- Finishing Touches and Maintenance Tips
- Inspiration and Where to Find Ideas
- Make It Your Way
- Frequently Asked Questions
I still remember the first time I flipped a piece of furniture in my tiny apartment — a thrift-store end table that looked like it had been through a war. I painted it a bold navy blue with a matte finish, and suddenly, it wasn’t just a table; it was a statement. That moment taught me that furniture flipping isn’t just about making things look better — it’s about giving old pieces new purpose and personality. And with the right tools, techniques, and style tips, anyone can do it, even on a budget.
Furniture flipping and painting furniture style tips are more than just DIY trends; they’re a way to transform spaces without the price tag of new furniture. Over the years, I’ve spent countless hours sanding, painting, and refinishing everything from chairs to dressers. Each project taught me something new — about paint choices, surface prep, and the power of a good coat of lacquer. If you’re thinking about exploring furniture flipping, you’re not alone, and you’re in the right place.
The beauty of furniture flipping is that it’s endlessly customizable. Whether you’re going for a rustic, modern, or vintage look, the possibilities are endless. I’ve painted a coffee table in a bold red, refinished a set of bookshelves with a natural wood stain. Even turned an old kitchen chair into a mid-century-modern piece with some careful sanding and a fresh coat of paint. Every project has been different, but the common thread has always been the joy of seeing something old come back to life — and the satisfaction of doing it yourself.
Why You'll Love This Furniture Flipping & Painting Furniture Style Tips
- Transform thrift-store finds into statement pieces with minimal cost.
- Customize your space without the hassle of buying new furniture.
- Gain confidence in your DIY skills with every completed project.
- Create a unique, personalized space that reflects your style.
Choosing the Right Piece for Your Flip
As of August 2026, when you start furniture flipping, the first step is choosing the right piece. Look for items that are structurally sound — no major cracks, missing legs, or rotten wood. I’ve learned that trying to fix a piece that’s too far gone is a waste of time and money. Thrift stores, yard sales, and online marketplaces are great places to find overlooked gems. Take your time and inspect each piece carefully before bringing it home.[1]
Consider the style you want to achieve. If you’re going for a rustic look, a weathered wooden table or chair is a good start. For a modern aesthetic, look for clean lines and minimal detailing. I once found a beautifully carved antique mirror that I painted white and used as a statement piece in my living room — it was well worth the effort.
Also think about the size and placement of the piece in your home. A large cabinet might not be practical in a small space, but a small side table can be a perfect addition to a bedroom or living room. Choosing the right piece is the foundation of a great furniture flip.
Before buying, check for any signs of rot, insect damage, or major cracks. Even minor issues can become major problems later.
Part of our Furniture flipping painting furniture color style ideas guide.
Preparing the Surface for Painting
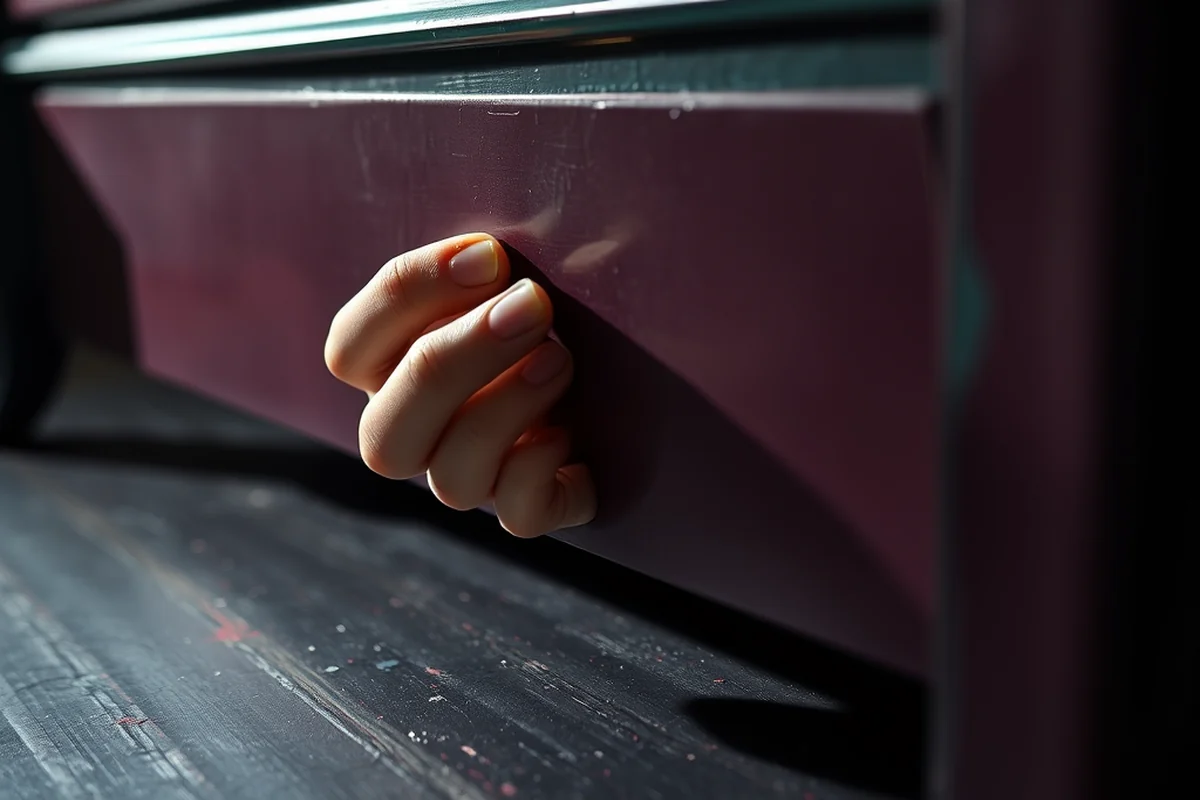
Once you’ve found the perfect piece, the next step is preparing the surface for painting. Start by cleaning the item thoroughly — use a degreaser or mild soap and water to remove any dirt, grime, or old wax. I’ve found that skipping this step can lead to poor paint adhesion and a finish that peels or flakes over time.
Next, sand the surface using medium-grit sandpaper to create a smooth, even texture. This helps the paint stick better and creates a more professional finish. Don’t forget to sand any edges or corners — they’ll show through the paint if you’re not careful.
After sanding, wipe the surface with a damp cloth to remove any dust or debris. It’s also a good idea to apply a primer, especially if you’re painting over a dark color or a stained wood surface. Primer helps the paint go on more evenly and lasts longer.
Never skip the sanding step — it makes all the difference in the final result.
Related: Quick furniture flipping painting furniture color style ideas
Related: Quick furniture flipping painting furniture color
Related: Affordable furniture flipping painting furniture color style ideas
Related: Furniture flipping painting furniture color that actually work
Related: Furniture flipping painting furniture color style ideas on a budget
Selecting the Right Paint and Finish
The type of paint and finish you choose can transform the entire look of your furniture piece. I’ve used both latex and oil-based paints, and each has its own pros and cons. Latex paint is easier to work with, dries faster, and is more forgiving for beginners. Oil-based paint, on the other hand, offers a harder, more durable finish that’s better for high-traffic areas like tables and chairs.
With finishes, matte, satin, and gloss are the most common options. Matte finishes are great for hiding imperfections and giving a modern, sophisticated look. Gloss finishes are easier to clean and more durable, but they highlight any flaws in the surface. I prefer satin finish for most of my furniture projects — it strikes a good balance between durability and aesthetics.
Don’t forget to consider the color and how it will look in your home. Test the color on a small area before painting the entire piece. I’ve learned the hard way that some colors look different under different lighting conditions, and I’ve ended up repainting a few pieces because the color didn’t match my expectations.
Always check how a paint color looks in different lighting conditions before committing to it.
“I still remember the first time I flipped a piece of furniture in my tiny apartment — a thrift-store end table that looked like it…”— Flipper Lane editors
Painting Techniques for a Professional Finish
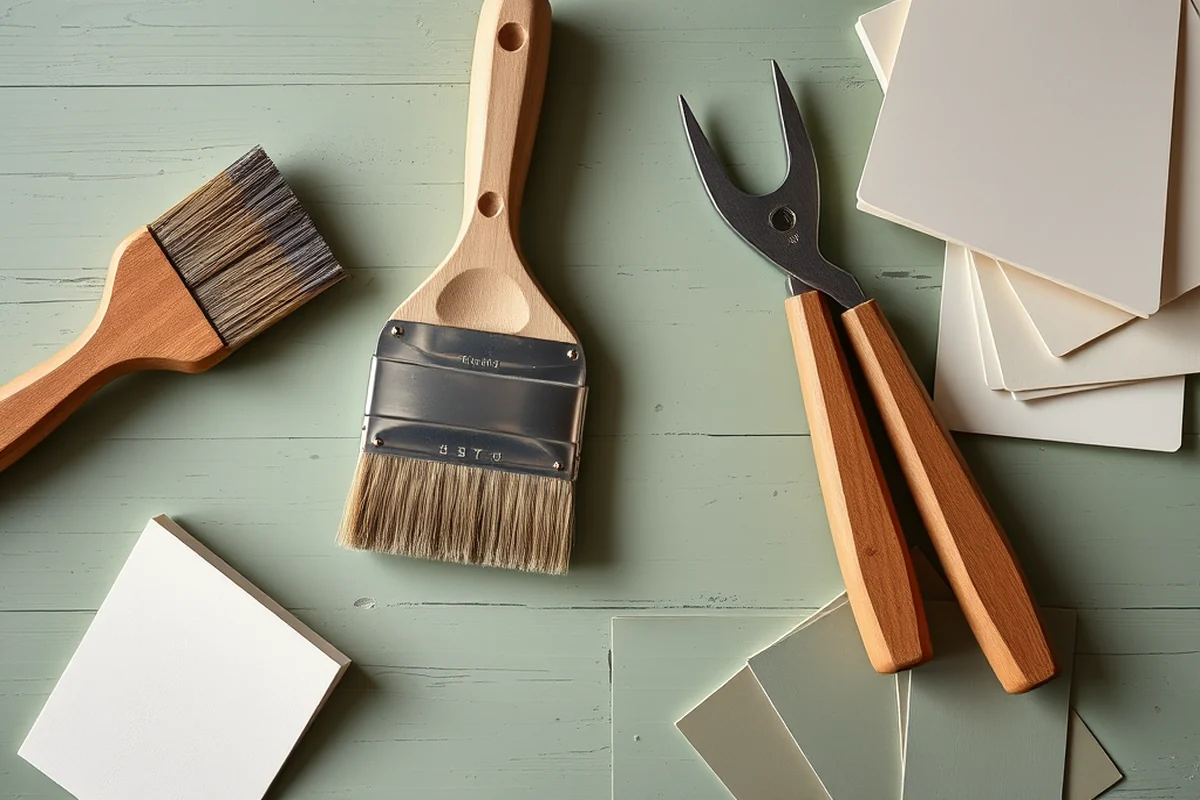
Once you’ve prepped the surface and chosen your paint, it’s time to get painting. I like to use a brush for the first coat and then a roller for the second and third coats — it gives a smoother, more even finish. Be sure to apply the paint in thin, even strokes and avoid over-brushing, which can leave brush marks.
Work in a well-ventilated area, and make sure the paint is at room temperature. I’ve found that cold paint tends to clump and not spread evenly. If you’re painting a large piece, take breaks and let each coat dry completely before applying the next one. I usually wait 2-3 hours between coats for latex paint and up to 24 hours for oil-based paint.[2]
After the final coat, let the piece dry completely before applying a topcoat like lacquer or polyurethane. This will protect the paint and make it more durable. I apply two thin coats of lacquer — it adds a nice sheen and makes the piece easier to clean.
Adding Personalized Details and Decor
After the paint is dry, you can add personalized details to make your piece unique. I’ve used stencils, hand-painted designs, and even added hardware to give my furniture a custom look. These details can be as simple as a few brush strokes or as intricate as a full design — it all depends on your creativity.
Another way to add personality is by using different textures or finishes on the same piece. For example, I once painted a set of chairs in a bold red and then used a chalkboard paint on the back of each chair for a fun, interactive element. It was a great way to make the furniture both functional and decorative.
Don’t be afraid to experiment with different materials and finishes. You can mix and match different types of paint, use metallic accents, or even add lighting elements to create a unique piece. The key is to have fun and let your creativity shine through.
Finishing Touches and Maintenance Tips
Once your furniture is painted and personalized, it’s time to finish the job with a few final touches. I always make sure to clean the piece one last time before placing it in its new location — this helps remove any dust or debris that may have accumulated during the painting process.
If you’re using a lacquer or polyurethane topcoat, let it cure fully before using the furniture. I’ve learned that rushing this step can lead to a dull, uneven finish. I usually wait at least 24 hours before using the furniture to ensure the topcoat has fully hardened.[3]
Once your furniture is in place, it’s important to maintain it properly. I avoid using harsh cleaners or abrasive materials on painted surfaces, as they can scratch or damage the finish. Instead, I use a soft cloth and a mild soap solution to clean any spills or dirt that may accumulate.
Maintenance is just as important as the initial paint job — it keeps your furniture looking great for years.
Inspiration and Where to Find Ideas
When you’re starting out, it’s easy to feel overwhelmed by the endless possibilities. I find that looking for inspiration on design websites, social media, or even in magazines helps me get ideas for my next project. Pinterest is a great resource — I’ve found countless ideas for paint colors, finishes, and decorative details.
Another source of inspiration is visiting local home decor stores or even browsing online marketplaces like Etsy. I’ve found some amazing pieces that I’ve used as references for my own furniture flips. Don’t be afraid to mix and match different styles — the goal is to create something that reflects your personality and taste.
I also like to take photos of my finished projects and look back at them for inspiration on future flips. It’s amazing how much you can learn from your own work — and it’s a great way to see how far you’ve come in your DIY journey.
💰 Budget Build
Paint an old piece with a simple, bold color for a quick and affordable refresh.
⏰ Weekend Version
Complete a full furniture flip in one weekend with minimal time and effort.
✨ Upgraded Finish
Add a high-gloss lacquer or metallic accents to elevate your furniture flip to the next level.
🏠 Small-Space Adaptation
Refinish compact pieces like side tables or stools for a small-space solution.
🚪 Rental-Safe Option
Use removable wall stickers or temporary paint to make a furniture flip that won’t damage rental units.
| The mistake | Why it happens | The fix |
|---|---|---|
| Skipping surface prep | Improper cleaning and sanding can cause the paint to peel or flake over time. | Always clean and sand the surface before painting for better adhesion. |
| Using low-quality paint | Cheap paint can lead to a dull, uneven finish that doesn’t last. | Invest in a quality paint and finish that is suitable for furniture. |
| Overpainting without letting coats dry | Applying multiple coats too quickly can cause the paint to run or not adhere properly. | Allow each coat to dry completely before applying the next one. |
| Ignoring the topcoat | Without a topcoat, the paint is more susceptible to damage and wear. | Always apply a clear lacquer or polyurethane to protect the finish. |
Furniture Flipping & Painting Furniture Style Tips
Common Questions
What type of paint is best for furniture flipping?
How long does a furniture flip usually take?
Do I need any special tools for furniture flipping?
Can I paint over a stained wood surface?
Cite this guide
Flipper Lane (2026). Furniture Flipping & Painting Furniture Style Tips. https://flipperlane.com/furniture-flipping-painting-furniture-style-tips/[4]
Feel free to cite or share this guide.
References
- Drift | Smithsonian American Art Museum (americanart.si.edu)
- McGaugh's Furniture Flips Gain National, International Attention (andersonuniversity.edu)
- Thomas Jayne 1982 | School of Art + Design - University of Oregon (artdesign.uoregon.edu)
- What You See Here | Burlington County, NJ (burlingtoncountynj.gov)