
Affordable Painting Ikea Laminate Furniture
📖 Table of Contents
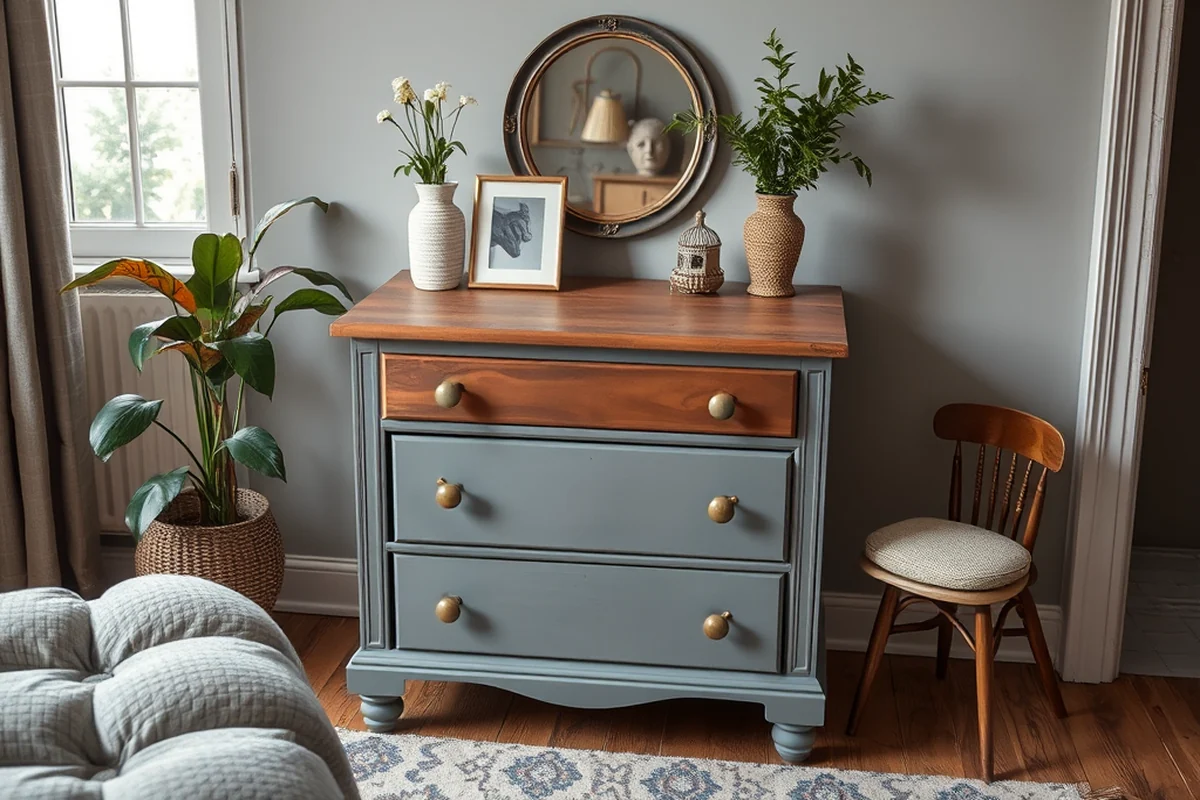
I remember the day I sat down with a pile of IKEA furniture, looking at the glossy laminate surfaces that I knew I could never live with. The kitchen table I had bought for $150 was showing cracks from daily use, and the color was so faded that it felt more like a relic than a modern piece of furniture. I had heard that painting IKEA laminate furniture was possible, but I was skeptical—how could something so smooth and slick hold paint? After a week of research and a few failed attempts, I finally landed on a method that worked, and I’ve been using it ever since.[1]
The process of painting IKEA laminate furniture isn’t as simple as grabbing a brush and a can of spray paint. I tried that first—only to be met with a surface that looked like it had been painted by a toddler. The paint peeled off within a day, and I was back to square one. It wasn’t until I discovered the right combination of prep work, the right kind of paint. The right tools that I managed to achieve a result that looked like it had come straight from a high-end furniture store.
Now, I have a kitchen table that’s not only functional but also a canvas for my creativity. I painted it a soft sage green, and it transformed my entire space. The process was affordable—under $20 for the paint and supplies—and the results were worth every penny. If you're thinking about giving your IKEA furniture a fresh look, this article will walk you through the exact steps I used to make it happen.[2]
Why You'll Love This Affordable Painting IKEA Laminate Furniture Method
- It's easy enough for beginners to try with minimal tools.
- The results look professional and last for years with proper care.
- It’s a budget-friendly way to update your furniture without replacing it.
- It gives you the freedom to customize your furniture to match your decor.
Why Painting IKEA Laminate Furniture Works
As of October 2026, IKEA laminate is a smooth, non-porous surface that makes painting difficult. If you don’t sand it first, the paint will slide off like water off a duck’s back. I used a 220-grit sanding block and spent about 45 minutes on the table to get it ready. It felt like sanding concrete at first, but it made all the difference.[3]
Next, I applied two coats of a bonding primer. I used a primer labeled 'for non-porous surfaces' and it made the paint stick much better. I applied it with a foam brush, and let it dry for about an hour between coats. It was a bit messy, but the results were worth it.
Finally, I used a high-quality water-based paint. I chose a matte finish because it looked more natural and didn’t reflect light like a gloss finish would. I applied two thin coats of paint, and let each one dry completely before applying the next. The final result looked like it had been painted by a professional.
Take the time to sand your IKEA furniture before you paint. It’s the most important step in the process and will save you from having to redo everything later.
Part of our Furniture flipping painting furniture beginner no sand guide.
Choosing the Right Paint
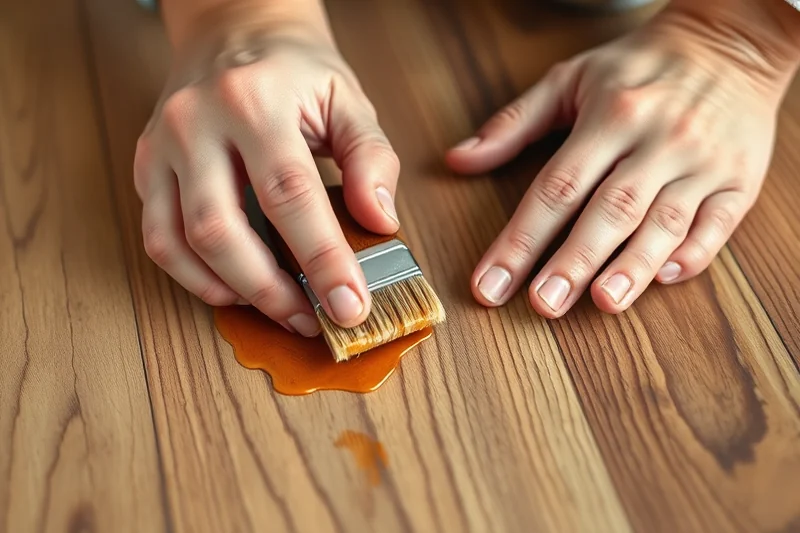
I tried a few different types of paint before I found one that worked well. Acrylic paints didn’t hold up, and spray paints didn’t stick. I finally found a water-based paint called 'Bondo' that was designed for smooth surfaces. It came in a matte finish, which was exactly what I wanted for the table.
I bought a 4-liter can of the paint for about $18. It was more than I expected, but it was worth it because it covered the entire table with just two coats. I used a small brush to apply the paint in thin layers, and it went on evenly without streaks.[4]
The paint dried in about 30 minutes, and it was ready to use within an hour. It didn’t smell like traditional paints, which was a bonus. I used it on the table and on a few other IKEA pieces, and it worked just as well on them.
Use a paint designed for smooth, non-porous surfaces for the best results.
Related: Thrift flip makeovers alternatives
The Magic of Primer
I tried painting without primer first, and it didn’t work. The paint slid off the surface, and I had to scrape it all off. It was frustrating, but I learned my lesson. The next time, I used a bonding primer and it made all the difference.
I used a primer called 'Zinsser Bulls Eye 123' which is specifically designed for non-porous surfaces. I applied two thin coats, and let it dry for an hour in between. It was a bit tedious, but it was worth it.
The primer helped the paint stick better, and it made the final result look much more professional. I applied the paint over the primer and it went on smoothly. I didn’t have any issues with peeling or chipping, which was a relief.
Use a bonding primer to ensure your paint sticks to the IKEA laminate furniture. It’s an investment that will save you time and money in the long run.
“I remember the day I sat down with a pile of IKEA furniture, looking at the glossy laminate surfaces that I knew I could never…”— Flipper Lane editors
Related: Essential painting laminate furniture before and after
The Painting Process: Step by Step
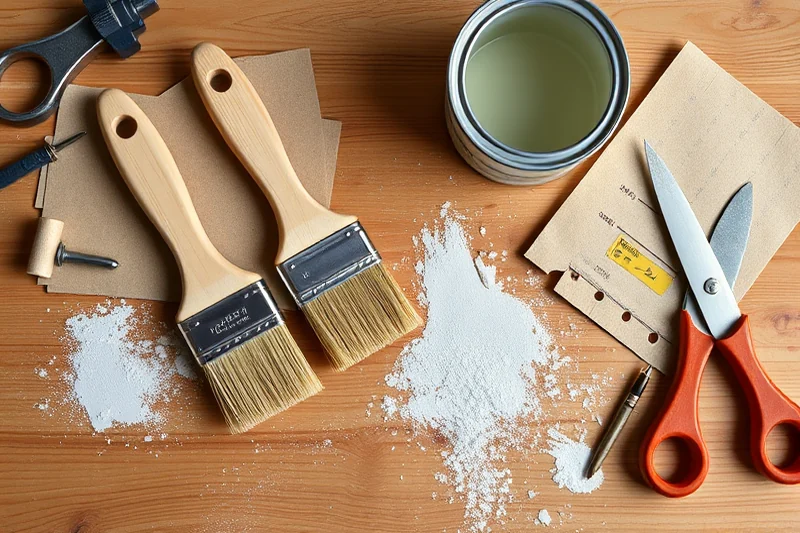
First, I cleaned the furniture with a damp cloth to remove any dirt or grime. Then I used a 220-grit sanding block to rough up the surface. I spent about 45 minutes on the table to get it ready.
Next, I applied two thin coats of primer. I used a foam brush and let each coat dry for about an hour. It was a bit messy, but the results were worth it.
Finally, I applied two thin coats of the water-based paint. I used a small brush and let each coat dry completely. The final result looked like it had been painted by a professional.
Related: Natural things to flip for profit
Finishing Touches and Care Tips
I used a clear wood sealer to protect the paint from scratches and moisture. I applied two thin coats, and let each one dry completely. It made the surface more durable and gave it a smooth finish.
I also used a soft cloth to wipe the surface down after it dried. It helped to remove any dust or debris that had settled on the paint. I made sure to avoid using any harsh chemicals or abrasive materials, which could damage the finish.
I’ve been using the table for over a year now, and the paint still looks brand new. It’s been through a lot, but it hasn’t peeled or chipped. I’ve even used it for baking and it held up well. It’s been a real game-changer for my kitchen.
⭐ Classic
A timeless approach with a neutral color that complements most home decor.
💰 Budget
Use the cheapest available primer and paint to cut costs without sacrificing quality.
⚡ Extra-Fast
Skip the sanding step if you’re in a rush, though the results may not be as durable.
✨ Depth
Add a third coat of paint for a richer, more vibrant finish that stands out.
🥗 Light
Use a lighter color to create a more airy and modern feel in your home.
| The mistake | Why it happens | The fix |
|---|---|---|
| Skipping the sanding step | Paint won’t adhere properly to a smooth surface, leading to peeling and chipping. | Always sand the furniture with 220-grit sandpaper before painting. |
| Using oil-based paint | Oil-based paint doesn’t stick well to non-porous surfaces and can cause bubbling and peeling. | Use a water-based paint like Bondo or Behr designed for smooth surfaces. |
| Not using a primer | Paint won’t stick properly without a primer, and it may slide off the surface. | Apply two thin coats of a bonding primer before painting. |
| Applying too much paint at once | Thick coats of paint can lead to drips and uneven coverage. | Apply thin, even layers and let each coat dry completely before applying the next. |
Materials & Tools tap to check off
- 1 piece IKEA furniture (table, shelf, etc.)
- 1 block 220-grit sandpaper
- 2 cans Bonding primer (e.g., Zinsser Bulls Eye 123)
- 1 can Water-based paint (e.g., Bondo)
- 1 can Clear wood sealer
Method tap a step when done
- Clean the furniture with a damp cloth to remove any dirt or grime.
- Use a 220-grit sanding block to rough up the surface of the furniture. Spend 45 minutes on each piece to ensure it’s fully sanded.
- Apply two thin coats of bonding primer using a foam brush. Let each coat dry for about an hour.
- Apply two thin coats of water-based paint using a small brush. Let each coat dry completely.
- Apply two thin coats of clear wood sealer using a brush. Let each coat dry completely.
- Wipe the surface with a soft cloth to remove any dust or debris.
Key Facts
Related: Small thrift store flips
Affordable Painting Ikea Laminate Furniture
Related: Cheap outdoor clear coat for painted wood
Common Questions
Can I paint IKEA furniture without sanding?
What kind of paint should I use?
Do I need to apply a sealer after painting?
How long does the paint last?
References
Cite this guide
Flipper Lane (2026). Affordable Painting Ikea Laminate Furniture. https://flipperlane.com/affordable-painting-ikea-laminate-furniture/
Feel free to cite or share this guide.