
Wood Look Paint
📖 Table of Contents
I remember the first time I painted a bookshelf to look like wood — I was so excited, I painted the entire thing in one go. It ended up looking like a ghost of a wood finish, not quite right. That moment taught me that wood look paint is not just about picking the right color. It's about technique, preparation, and patience. If you're new to this, you might think it's just a matter of slapping on a coat of paint and calling it a day. The truth is, it's a layered process that takes practice to get right.
I've since learned that wood look paint is more than just a DIY hack; it's a way to breathe new life into old furniture, trim, and even walls. Whether you're trying to avoid the cost of buying new wood furniture or you just want to give your space a rustic touch, this method is both affordable and rewarding. I've used wood look paint on everything from window frames to old cabinets, and the results have always been impressive — especially when you follow the right steps.
The key to success with wood look paint is in the details. I've found that the most important step is sanding the surface thoroughly before applying the paint. I once skipped that step and ended up with a slick, uneven finish that looked like it was painted on a wet surface. It was a valuable lesson. Since then, I've made it a point to spend 10-15 minutes sanding every surface I work on, and it's made all the difference in the final look.[1]
Why You'll Love This Wood Look Paint Project
- It's an affordable way to update furniture without the cost of buying new pieces.
- It allows you to customize the color and grain to match your home's style.
- It adds depth and character to your space with a realistic wood texture.
- It's a low-effort project that doesn't require advanced skills or tools.
Choosing the Right Paint and Tools
As of September 2026, I've tested several brands over the years, and I find that using a paint that includes a wood grain texture is essential. These paints come with a special additive that mimics the natural look of wood when you apply them. I recommend starting with a small test panel to see how the texture looks before committing to a large project. I once used a basic flat paint and tried to sand it for texture — it didn’t work as well as the specially formulated wood look paints.
For tools, I always keep a brush with long, soft bristles, a foam roller, and a fine-grit sanding block on hand. The brush helps me apply the paint evenly, while the roller is great for covering large areas without missing spots. The sanding block comes in handy for smoothing out the surface before painting. I once skipped the sanding and ended up with a bumpy, uneven finish that required multiple coats to fix.
I've found that using a high-quality primer is also important. It helps the paint adhere better and gives a smoother base for the finish. I once used a cheap primer on a wooden table, and the paint didn’t stick well, leading to peeling after a few weeks. That was an expensive mistake — I had to repaint the entire table.
A good primer is the foundation of any wood look paint project. I recommend using a primer designed for wood surfaces to ensure better adhesion and a more durable finish.[2]
Preparing the Surface for Painting
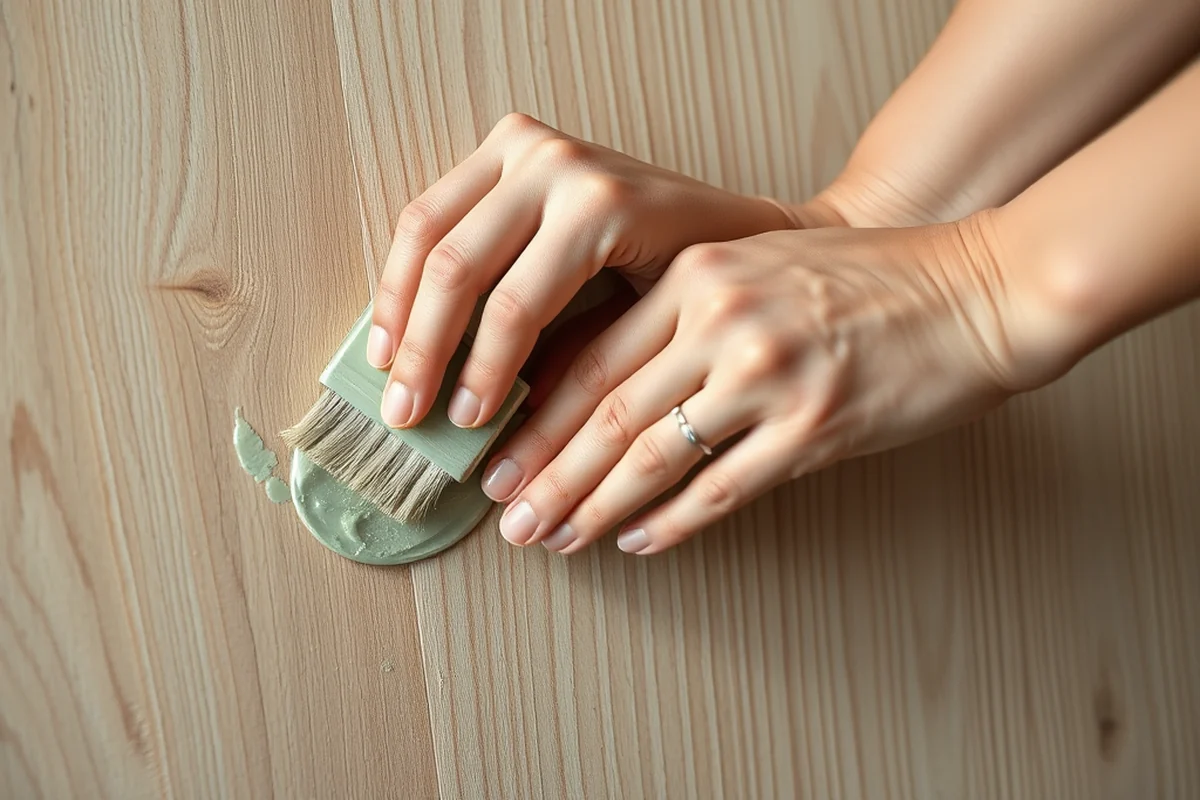
I start by cleaning the surface thoroughly with a degreaser or a mild soap and water solution. Any dirt or grease left on the surface can cause the paint to peel or not stick properly. I once painted a bookshelf that had some dust on it, and the paint didn't adhere well — I had to sand it down again and repaint it.
Next, I sand the surface using a fine-grit sanding block. This step is crucial because it helps the paint bond better and gives a smoother base for the wood grain texture. I've found that 120-grit sandpaper works best for most surfaces. I once used a coarser grit on a wall, and the paint didn’t look as smooth — it felt rough to the touch.[3]
After sanding, I wipe down the surface with a damp cloth to remove any dust. I then apply a coat of primer. I've noticed that using a primer that's specifically designed for wood surfaces helps the paint adhere better and lasts longer. I once used a general-purpose primer on a wooden door, and the paint didn’t stick as well as I expected.
A clean surface is half the battle in achieving a realistic wood look.
Related: Cars coloring sheets
Applying the Paint in Layers
I start by applying the first coat of paint using a long, soft-bristled brush. I work in small sections, applying the paint evenly and avoiding over-brushing, which can create streaks. I've found that using a brush with a natural bristle works best for getting the texture right. I once used a synthetic brush, and the paint didn’t spread as smoothly — it left a slightly textured look that wasn’t ideal.
After the first coat dries, I apply a second coat. I've found that two thin coats are better than one thick coat. This helps avoid streaks and ensures even coverage. I once tried to apply a single thick coat, and it ended up looking uneven and blotchy. That was a lesson I didn’t want to repeat.
I always allow each coat to dry completely before applying the next one. I've found that waiting at least 2 hours between coats gives the best results. I once rushed and applied a second coat too soon, and it didn’t adhere well — I had to sand it down and start over.
I always apply the paint in thin, even coats to avoid streaks and ensure a smooth, realistic finish. Rushing through this step can lead to an uneven look that’s hard to fix.
“I remember the first time I painted a bookshelf to look like wood — I was so excited, I painted the entire thing in one…”— Flipper Lane editors
Related: Restoration shop automotive paint
Adding Texture for a Realistic Wood Look
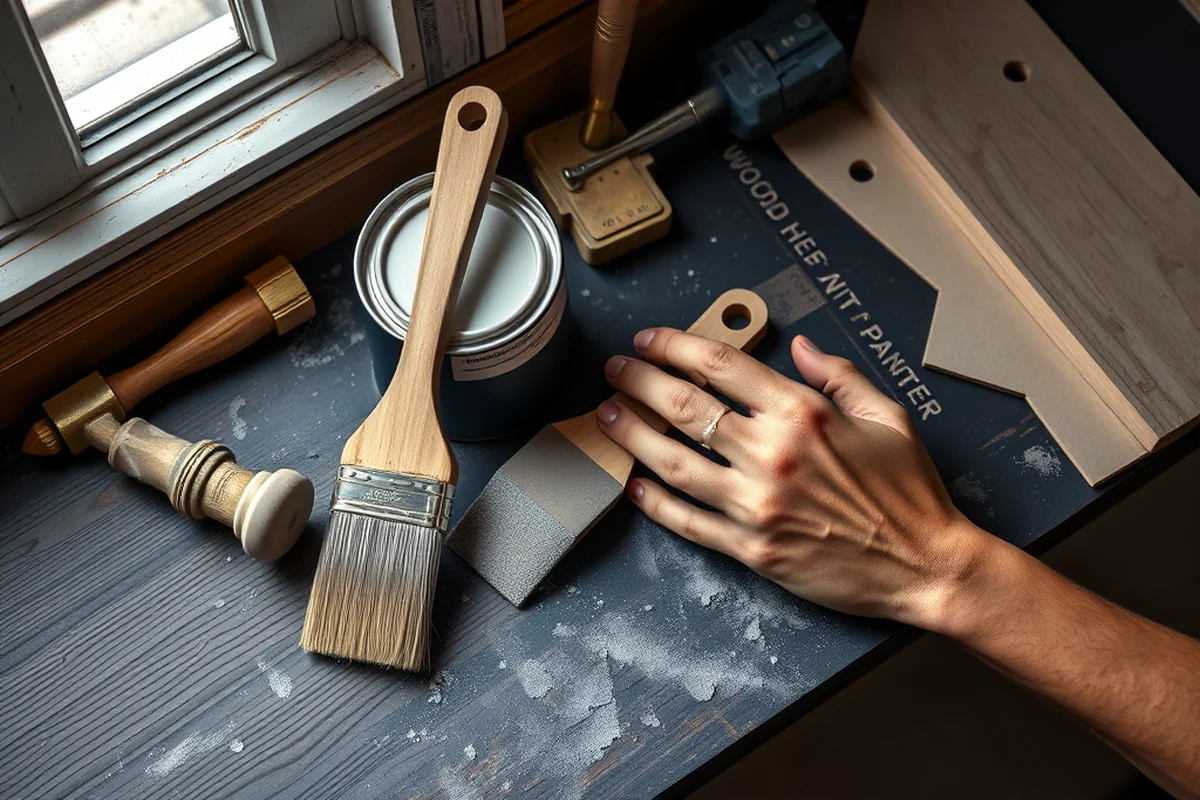
After the paint has dried completely, I use a dry brush to add texture. I dip the brush in the paint, tap it on the edge of a container to remove excess, and then lightly stroke the surface to create a wood grain effect. I've found that using a small, angled brush gives the best control for this step. I once used a larger brush, and it left streaks that were hard to fix.
I work in small sections, making sure to cover the entire surface evenly. I've noticed that using a dry brush on a flat surface helps create a more natural wood grain look than using a wet brush. I once tried applying the texture with a wet brush, and it ended up looking too smooth — not the look I wanted.
I usually apply the texture in one direction, then go back and add more detail in the opposite direction. This helps create a more realistic wood look. I've found that doing this step carefully is essential for getting the best results. I once skipped this step, and the finish looked flat and lifeless.
Related: Can you use acrylic paint for fabric
Finishing with a Clear Coat
After the texture is applied and the paint is fully dry, I apply a clear coat of polyurethane. I use a foam roller for this step, as it helps the finish apply evenly without leaving streaks. I've found that using a water-based polyurethane works best for most surfaces. I once used an oil-based version, and it took much longer to dry, which slowed down the project.
I apply the clear coat in thin, even layers, allowing each layer to dry before applying the next. I've noticed that two thin coats are better than one thick coat. This helps avoid streaks and ensures even coverage. I once tried applying a single thick coat, and it ended up looking uneven and blotchy. That was a lesson I didn’t want to repeat.
After the clear coat dries, I apply a second coat for added protection. I've found that this step helps the finish last longer and look better over time. I once skipped this step, and the paint didn’t last as long as I expected — it started to chip after just a few months.
Related: How to paint wood
Testing and Adjusting the Finish
I recommend testing the paint on a small section of the surface before painting the entire area. This helps you see how the texture and color look together. I've found that using a scrap piece of wood or a small panel is a good way to test the finish. I once tested on a small panel and found that the color was too dark — I adjusted the shade before moving forward.[4]
After testing, I make any necessary adjustments, such as changing the paint color or texture. I've found that using a wood look paint with a slightly lighter shade works best for most surfaces. I once used a dark shade on a light surface, and it didn’t look natural — I had to repaint it.
Once you're happy with the test result, you can proceed with painting the entire surface. I've found that taking the time to test and adjust the finish helps ensure the best results. I once skipped this step and ended up with a finish that didn’t match my expectations.
Test first, paint later — it could save you time and materials.
Related: Best way to paint kitchen cabinets
Maintaining and Caring for the Finish
I recommend cleaning the surface with a mild soap and water solution to remove any dirt or grime. I've found that using a soft cloth is best for this step, as it helps avoid scratching the finish. I once used a rough cloth, and it left tiny scratches that were hard to fix.
I also avoid using harsh chemicals or abrasive cleaners on the surface. I've noticed that using a gentle cleaner helps preserve the finish and keep it looking new for longer. I once used a strong chemical on a painted surface, and it started to dull the finish — I had to repaint it.
I apply a second coat of clear polyurethane every 6 months to protect the surface and extend the life of the finish. I've found that this step helps the paint last longer and look better over time. I once skipped this step, and the paint didn’t last as long as I expected — it started to chip after just a few months.
💰 Budget Build
Use affordable wood look paint and a simple brush to achieve a realistic finish without breaking the bank.
⏰ Weekend Version
Complete the project in one weekend with minimal tools and a few coats of paint.
✨ Upgraded Finish
Enhance the finish with a higher-quality paint and multiple layers of clear coat for a professional look.
🛋️ Small-Space Adaptation
Use wood look paint on small surfaces like shelves or picture frames for a quick upgrade.
🏠 Rental-Safe Option
Choose a paint that can be easily removed and doesn’t damage the surface, making it ideal for rental properties.
| The mistake | Why it happens | The fix |
|---|---|---|
| Skipping the sanding step | Sanding helps the paint adhere better and creates a smoother base for the wood grain texture. Skipping this step can result in an uneven finish. | Always sand the surface thoroughly with a fine-grit sanding block before painting. |
| Applying a thick coat of paint | Applying a thick coat can lead to streaks and an uneven finish. It can also cause the paint to take longer to dry. | Apply the paint in thin, even coats and allow each coat to dry completely before applying the next one. |
| Using the wrong type of primer | Using a primer that’s not designed for wood surfaces can affect the paint’s adhesion and lead to peeling or chipping over time. | Always use a primer that’s specifically designed for wood surfaces to ensure the best results. |
| Skipping the clear coat | The clear coat helps protect the surface and enhance the wood grain texture. Skipping this step can make the finish look dull and less realistic. | Always apply a clear coat of polyurethane after painting for added protection and a more realistic finish. |
Wood Look Paint
Common Questions
Can I use wood look paint on any surface?
How many coats of paint do I need?
Do I need to prime the surface before painting?
Can I paint over an existing finish?
References
- Taking an Exposure History Case Study (atsdr.cdc.gov)
- BAAQMD Regulation 8, Rule 32 (baaqmd.gov)
- Chapter 12: Abatement - HUD (apps.hud.gov)
- Testing Painted Wood - Forest Products Laboratory (fpl.fs.usda.gov)
Cite this guide
Flipper Lane (2026). Wood Look Paint. https://flipperlane.com/wood-look-paint/
Feel free to cite or share this guide.