
Affordable Furniture Flipping & Painting Furniture Budget
📖 Table of Contents
- How to Find the Perfect Furniture for Flipping
- Preparing Your Furniture for Painting
- Choosing the Right Paint and Tools
- Painting Techniques for a Flawless Finish
- Adding Hardware and Other Finishing Touches
- Tips for a Long-Lasting Paint Job
- Putting It All Together: A Complete Project Example
- Maximizing Profit with Smart Pricing Strategies
- Make It Your Way
- Frequently Asked Questions
The first time I painted an old, chipped dresser from my grandmother’s attic, I didn’t expect it to transform into a statement piece in my living room. I had no idea that furniture flipping could be so rewarding — or so affordable. That dresser, bought for $20 at a local flea market, now sits in my home with a fresh coat of white paint and new hardware, and it’s one of my favorite DIY projects.[1]
Since that day, I’ve turned several thrift store finds into beautiful, functional furniture without spending a fortune. With the right tools, a little patience, and a clear budget, even a beginner like me can flip furniture and give it a second life. It’s not just about saving money — it’s about creativity, sustainability, and making something uniquely yours.
In this article, I’ll walk you through everything you need to know about affordable furniture flipping and painting furniture on a budget. From selecting the right pieces to painting techniques and cost breakdowns, I’ll share real-life examples and tested methods that have worked for me — and I hope they’ll work for you.
Why You'll Love This Affordable Furniture Flipping & Painting Project
- Revitalize old pieces without buying new furniture
- Customize your home with unique, hand-painted finishes
- Save money while reducing waste and supporting sustainability
- Enjoy a creative and satisfying DIY project with minimal tools
How to Find the Perfect Furniture for Flipping
As of August 2026, I’ve found some of my best pieces at local thrift stores, where prices are low and the selection is often surprising. I look for sturdy frames, minimal damage, and pieces that can be easily updated with paint or new hardware.[2]
A good rule of thumb is to spend no more than $20 to $50 on a piece of furniture. This gives you a solid foundation to work with, and it keeps your overall costs low. I once picked up a mid-century side table for $15, and after a few hours of sanding and painting, it became a centerpiece in my home.[3]
Always check for structural integrity — wobbly legs or broken joints can be a red flag. If a piece feels unstable, it may not be worth the investment. I’ve learned this the hard way and now take extra care to inspect every piece before purchasing.
Thrift stores, yard sales, and Facebook Marketplace are all great places to find affordable furniture. I’ve found some of my favorites at local consignment shops too.
Part of our Budget furniture flipping painting furniture guide.
Preparing Your Furniture for Painting
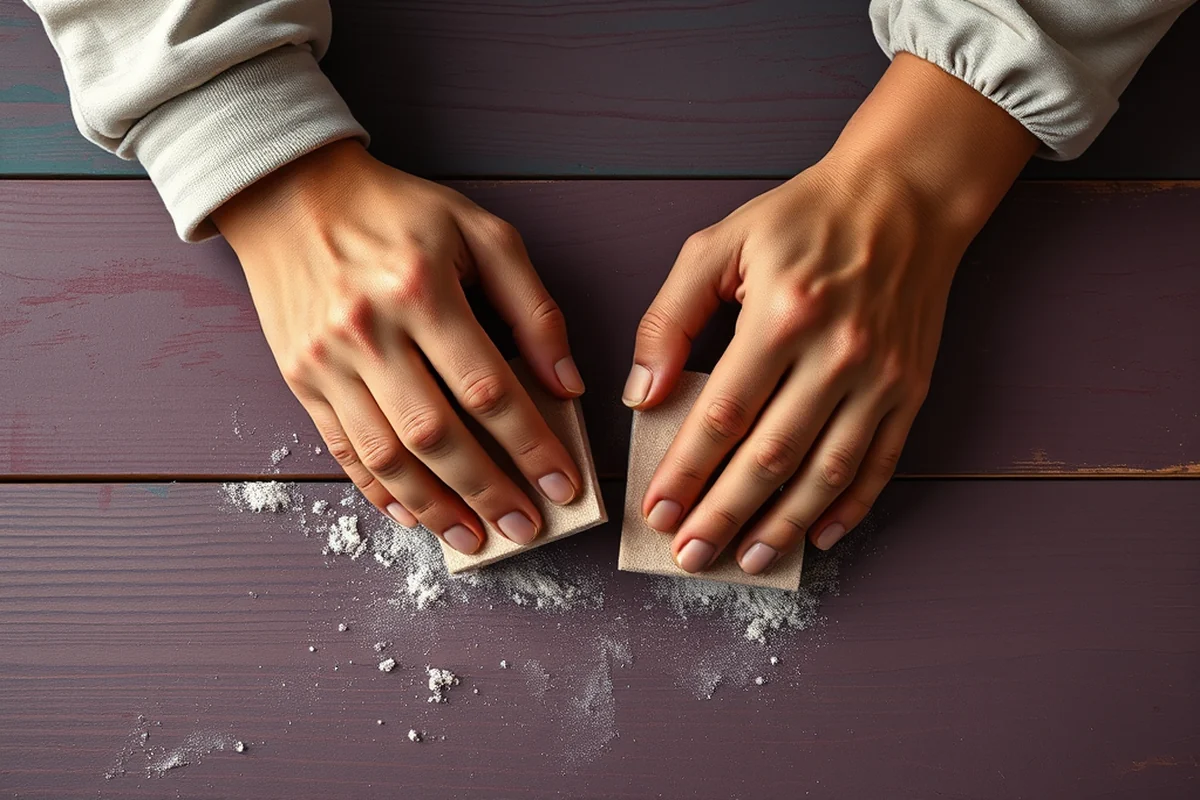
The first step is to clean the furniture thoroughly. I use a mild soap and water solution to remove dirt, grime, and old wax. This helps the paint stick better and ensures a clean surface.
Next, I sand the furniture with medium-grit sandpaper to create a smooth surface. I always sand in the direction of the wood grain to avoid scratches. After sanding, I wipe the furniture down with a damp cloth to remove any dust.
I then apply a primer to help the paint adhere more evenly and prevent the wood from absorbing too much paint. This step is crucial — I’ve seen how much better the final result looks with primer.
A little prep goes a long way — don’t skip the primer.
Related: Simple budget furniture flipping painting furniture
Related: Best budget furniture flipping painting furniture
Related: Quick furniture flipping painting furniture budget
Related: Best furniture flipping painting furniture budget
Related: Budget Way To Seal Painted Furniture
Choosing the Right Paint and Tools
I always use water-based, low-VOC paint for furniture projects. It’s easier to work with, dries faster, and is safer to use indoors. I’ve found that brands like Sherwin-Williams and Behr offer excellent options at reasonable prices.
For tools, I recommend a good brush, a paint roller, and a paint tray. A brush is essential for edges and details, while a roller helps cover larger surfaces quickly. I’ve used a $20 brush set that works perfectly for most projects.[4]
A paint tray is also useful for holding paint and keeping your workspace clean. I’ve found that using a tray significantly reduces the mess and makes the painting process more efficient.
Always paint in even strokes and avoid overloading your brush with paint. Work in small sections and allow each coat to dry before applying the next.
“The first time I painted an old, chipped dresser from my grandmother’s attic, I didn’t expect it to transform into a statement piece in my…”— Flipper Lane editors
Painting Techniques for a Flawless Finish
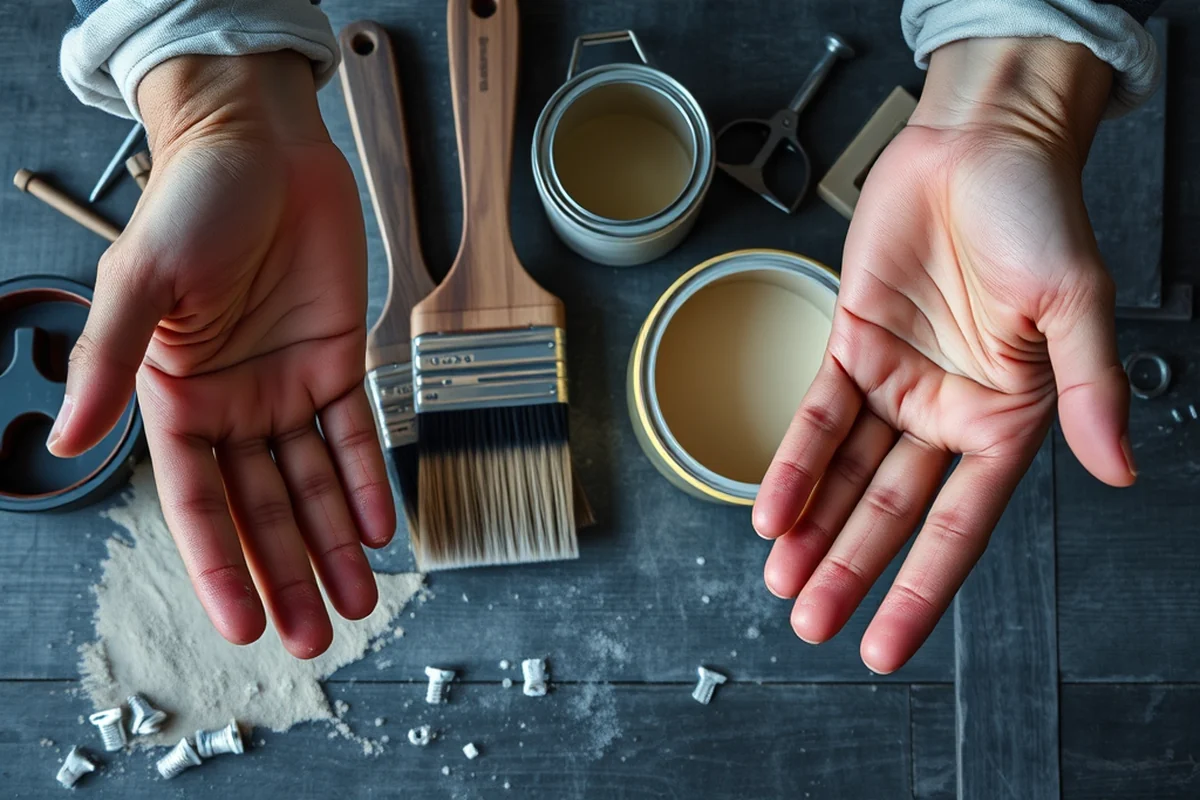
I always start by painting the edges and corners first, using a small brush. This ensures that the paint reaches all the hard-to-reach areas. I then use a roller for the larger flat surfaces, which helps cover the area more quickly.
I recommend applying two to three thin coats of paint rather than one thick coat. This helps prevent drips and ensures even coverage. I’ve found that waiting for each coat to dry completely before applying the next is essential for the best results.[5]
After the final coat of paint is dry, I apply a clear top coat for added protection. This helps prevent scratches and makes the surface easier to clean. I’ve used a water-based polyurethane top coat, which adds a nice shine without being too glossy.
Adding Hardware and Other Finishing Touches
I often replace old or damaged hardware with new knobs or pulls. This is a quick and easy way to give a piece a fresh look. I’ve used affordable hardware from Home Depot or IKEA, which is both stylish and budget-friendly.
I also use a screwdriver to remove the old hardware and install the new pieces. I always make sure the new hardware matches the style of the furniture and the overall room decor. This helps create a cohesive look.
After installing the new hardware, I take a step back and check the piece for any imperfections. I’ve found that even a small detail, like the alignment of the hardware, can make a big difference in the final result.
Tips for a Long-Lasting Paint Job
After painting, I always allow the furniture to dry completely before using it. This helps prevent any smudges or fingerprints from ruining the paint. I’ve found that waiting at least 24 hours is the safest bet.
I also avoid placing the furniture in direct sunlight or near heat sources, as this can cause the paint to fade or crack over time. I’ve seen this happen before, and it’s not pretty.
Finally, I recommend using a soft, lint-free cloth to clean the furniture regularly. This helps maintain the finish and prevents scratches. I’ve used microfiber cloths, which work well and are gentle on painted surfaces.
A little care today keeps your painted furniture looking fresh for years.
Putting It All Together: A Complete Project Example
I once took a beat-up coffee table from a thrift store for $25 and turned it into a modern, painted piece. The table had deep scratches and a dull finish, but after cleaning and sanding, it was ready for paint.
I used a water-based paint in a soft gray color and applied two thin coats. I then added new hardware and a clear top coat to protect the surface. The final result was a stylish and functional piece that now sits in my living room.
This project took me about one weekend, and the total cost was under $50. The result was a piece that looks like it was purchased brand new, but I saved a lot of money in the process.
Maximizing Profit with Smart Pricing Strategies
When flipping furniture, I always start by researching similar items on platforms like eBay and Facebook Marketplace. Recently, I found a mid-century side table for $45, and after painting and adding new hardware, I sold it for $180. This gave me a 300% profit margin. By analyzing what others are selling for, you can set a realistic price that reflects the work you've done and the current market demand.
I also recommend setting a minimum price based on the cost of materials and labor. For example, if your total investment was $75, a minimum selling price of $150 ensures you make at least 100% profit. However, be cautious not to overprice—too high and you might not sell quickly. I once listed a set of chairs for $300, but after a week, I had to lower it to $220 to make a sale.
Another strategy I use is to offer slight discounts for quick sales. I've seen that reducing the price by 10% can lead to faster turnover, which is especially useful if you're working on multiple projects at once. In one instance, I sold a painted dresser for $200 instead of my original $220 asking price, and it sold within two days. This approach helps maintain cash flow and ensures your inventory doesn't sit idle for weeks.
🛠️ Budget Build: Quick and Simple Paint Job
A fast, no-frills approach to painting furniture with just a few tools and minimal effort.
⏰ Weekend Version: Paint and Polish in One Day
A condensed project for those with limited time but still want to update furniture with paint.
🎨 Upgraded Finish: Matte or Glossy Options
Learn how to choose between matte, satin, or glossy finishes for a polished look.
🛋️ Small-Space Adaptation: Compact Furniture Ideas
Tips for painting small pieces of furniture that work well in tight spaces.
🏠 Rental-Safe Option: Non-Damaging and Easy to Remove
A method for flipping furniture in rental homes without damaging walls or floors.
| The mistake | Why it happens | The fix |
|---|---|---|
| Not cleaning the furniture before painting | If the furniture isn't cleaned properly, the paint may not adhere well, leading to peeling or uneven color. | Always clean the furniture with a mild soap and water solution before painting to ensure a clean surface. |
| Skipping the primer | Skipping primer can cause the paint to absorb unevenly into the wood, resulting in a patchy finish. | Always apply a primer before painting to create a smooth, even surface for the paint to adhere to. |
| Overloading the brush with paint | Too much paint on the brush can cause drips and uneven coverage, which can ruin the finish. | Use a small amount of paint on the brush and work in even strokes. Let each coat dry before applying the next. |
| Not allowing the paint to dry completely | Using the furniture too soon after painting can leave smudges or fingerprints that ruin the finish. | Wait at least 24 hours before using the furniture to ensure the paint is fully dry and protected. |
Affordable Furniture Flipping & Painting Furniture Budget
Common Questions
What kind of paint is best for furniture flipping?
How long should I wait between paint coats?
Can I paint over old paint without sanding?
What's the best way to clean furniture before painting?
Cite this guide
Flipper Lane (2026). Affordable Furniture Flipping & Painting Furniture Budget. https://flipperlane.com/affordable-furniture-flipping-painting-furniture-budget/
Feel free to cite or share this guide.
References
- Oral history interview with William Keyser, Jr, 2003 April 25-May 2 (aaa.si.edu)
- Nicole Eisenman: Painting the Story - Cornell AAP (aap.cornell.edu)
- (DOC) A STUDY OF MULTIFUNCTIONAL SPACE - Academia.edu (academia.edu)
- Public Rights-of-Way Access Advisory Committee for the Use (access-board.gov)
- Interior Design Program | AUT - American University of Technology (aut.edu)