
Furniture Flipping & Painting Furniture Color That Actually Work
📖 Table of Contents
- Choosing the Right Color for Your Space
- Why Primer Matters More Than You Think
- How to Choose the Right Paint for Furniture
- The Right Tools for a Smoother Job
- How to Apply Paint Like a Pro
- Finishing Touches That Make All the Difference
- How to Handle Paint Mistakes (And Avoid Them)
- Make It Your Way
- Frequently Asked Questions
I still remember the first time I painted a thrift-store chair — a dusty, chipped navy piece that looked like it had been left out in the rain for a decade. I bought it for $15, thinking it was a joke. But after three hours, two coats of white paint, and a trip to the hardware store for primer, it transformed into something I actually wanted to sit on. That chair wasn't just a quick win for my living room; it was the first step into furniture flipping and painting furniture color that actually work. It showed me that with the right tools, techniques, and a little elbow grease, you can turn something forgotten into something fresh, functional, and full of personality.[1]
Furniture flipping and painting furniture color that actually work isn’t just about aesthetics — it’s a game-changer for your budget and your space. I’ve spent the last few years flipping pieces from garage sales, flea markets, and even the occasional dumpster. Some have turned out great, others not so much, but every experience has taught me something new. And the more I’ve painted and refinished, the more I’ve realized that choosing the right color, the right prep. The right finish can make all the difference between a project that lasts a decade and one that peels off in a month.
This article is here because I’ve walked the walk — I’ve made mistakes, I’ve learned from them, and I’ve found the methods that really work. Whether you’re new to DIY or just looking to sharpen your skills, I want to share the real, nitty-gritty stuff — the primer ratios, the paint brands that hold up, the tools that make the job easier. I’m not here to sell you a dream; I’m here to help you build something real, something lasting, something you can be proud of.
Why You'll Love This Furniture Flipping & Painting Guide
- Save money by breathing new life into old furniture
- Customize your space with colors that match your style and home
- Avoid the environmental and financial cost of buying new furniture
- Learn how to achieve a professional-looking finish with DIY methods
Choosing the Right Color for Your Space
As of August 2026, I once painted an old oak coffee table a bold red, only to realize it clashed with the neutral tones of the living room. It looked like a mistake. That’s why I now use a color wheel and always test the paint on a small area first. If you’re going for a modern look, go with monochromatic tones; for a vintage vibe, try muted earthy shades. Remember, your furniture should complement — not compete — with your walls and decor.[2]
For a quick way to see how a color will look, I recommend using a sample swatch or even a piece of cardboard. Tape it to the furniture and let it sit for a few hours. The light in your home changes throughout the day, so seeing how the color behaves in different lighting is key. I’ve learned that colors that look great in natural light can turn dull under artificial lighting, and vice versa.[3]
Another tip: always choose a color that’s one or two shades lighter or darker than your existing furniture. This helps create continuity without making everything look the same. I once painted a bookshelf a slightly lighter wood tone than the existing pieces, and it created a subtle, cohesive look that made the whole room feel more unified.
Use a small piece of cardboard or a swatch to see how the color behaves in your space’s lighting. It’s the best way to avoid costly mistakes.
Part of our Furniture flipping painting furniture color style ideas guide.
Why Primer Matters More Than You Think
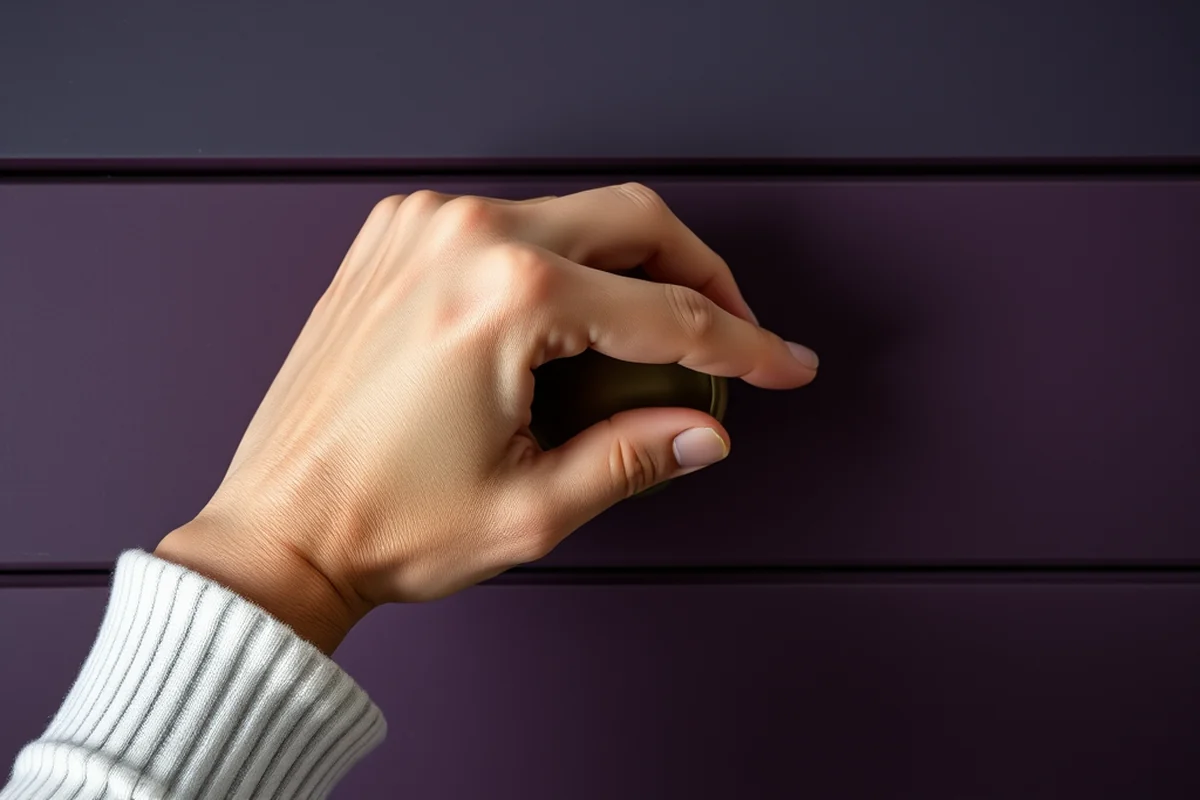
I tried skipping primer once on a piece of furniture that had a lot of old paint, and it peeled off within a month. Primer ensures the paint sticks, especially on surfaces that are glossy, stained, or have a lot of previous finishes. I now always use a high-quality primer, and it makes a world of difference in the final outcome.
I use a bonding primer on most furniture — it’s the most versatile and works well on wood, metal, and even laminate. I’ve found that it’s especially important on pieces with a lot of wear and tear. I applied it to an old dining table, and it made the paint adhere so well that I barely had to sand it again.
Don’t rush this step. It takes about 30 minutes for the primer to dry, and another hour for it to be fully ready. I’ve learned that taking this time pays off. A piece that’s primed properly will last much longer than one that’s not. It’s the unsung hero of any furniture flip.[4]
A good primer is the unsung hero of a great paint job.
Related: Quick furniture flipping painting furniture color style ideas
Related: Best furniture flipping painting furniture style
Related: Affordable furniture flipping painting furniture color style ideas
Related: Furniture flipping painting furniture color style ideas on a budget
Related: Furniture Flipping & Painting Furniture Tools That Actually Work
Related: Affordable Furniture Flipping & Painting Furniture Color
Related: Best Furniture Flipping & Painting Furniture Color
Related: Simple Furniture Flipping & Painting Furniture Color
Related: Diy Furniture Flipping & Painting Furniture Color
Related: How To Furniture Flipping & Painting Furniture Color
How to Choose the Right Paint for Furniture
I once used regular wall paint on a piece of furniture, and it chipped within a week. That’s when I realized the importance of using paint designed for furniture. I now always go with chalk paint or a high-quality latex paint that’s specifically formulated for furniture. It’s more durable, easier to apply, and lasts much longer.
Chalk paint is my go-to for most furniture projects because it’s easy to apply, doesn’t require sanding, and has a nice matte finish. I’ve used it on dressers, chairs, and even kitchen cabinets, and it’s held up beautifully. It’s also great if you want a distressed look — just use a dry brush and wipe off the excess.
If you’re going for a glossy or semi-gloss finish, I recommend using a high-quality enamel paint. It’s more durable and resistant to scratches and stains. I’ve used it on a kitchen table, and it’s held up to daily use without showing wear and tear.[5]
Use chalk paint or a high-quality latex paint designed for furniture. It lasts longer and looks better on pieces that get used a lot.
“I still remember the first time I painted a thrift-store chair — a dusty, chipped navy piece that looked like it had been left out…”— Flipper Lane editors
Related: Quick Furniture Flipping & Painting Furniture Color
The Right Tools for a Smoother Job

I used to paint with a regular brush, and it left a lot of brush strokes. That’s when I switched to a foam brush for the first coat and a synthetic brush for the second. The foam brush spreads the paint evenly, and the synthetic brush gives a smoother finish. I’ve also found that using a small roller makes painting large flat surfaces easier and faster.
I always keep a few essential tools on hand: a foam brush, a small roller, a paint tray, a sanding block, and a small paint can. I’ve found that these tools make the job much quicker and more efficient. I used to spend hours painting, but now I can finish a piece in a few hours.
Another tip: invest in a good brush. A cheap brush will leave brush marks, while a good brush will give you a smooth, even finish. I’ve found that a small 2-inch brush is perfect for edges and corners, while a larger brush is better for flat surfaces.
How to Apply Paint Like a Pro
I used to paint in one direction, and it left a lot of brush strokes. That’s when I learned the importance of painting in a W or a crisscross pattern. This helps the paint distribute evenly and covers any missed spots. I’ve found that this technique gives a much smoother finish, especially on large pieces.
I always start with the first coat, letting it dry completely before applying the second. I’ve found that two coats of paint are usually enough, but I always check the surface to make sure it’s even. I’ve also learned that applying the paint in thin, even layers is better than one thick coat. Thick coats can lead to drips and uneven coverage.
After the second coat, I let the paint dry completely before applying any top coat. I’ve used a clear wax or a clear sealant to protect the finish. It’s especially important if you’re painting a high-traffic piece like a table or a chair. I’ve found that sealing the paint helps it last longer and look better.
Finishing Touches That Make All the Difference
I used to skip the final step of applying a sealant, and my painted furniture would chip or fade quickly. That’s when I started using a clear wax or a clear sealant. It’s especially important if you’re painting furniture that gets a lot of use — like a kitchen table or a living room chair.
I’ve found that using a clear wax gives a nice matte finish and adds a layer of protection. It’s also easy to apply and doesn’t require a lot of time. I’ve used it on a few pieces, and it’s held up beautifully. It’s also a great way to add a little extra personality — I’ve used different shades of wax to create a subtle, distressed look.
Another tip: always let the sealant dry completely before using the furniture. I’ve learned that rushing this step can lead to smudges or fingerprints on the finish. I always wait at least 24 hours before using the furniture, and I’ve found that it makes a big difference in the final outcome.
A little sealant can make all the difference in the life of your painted furniture.
How to Handle Paint Mistakes (And Avoid Them)
I once painted a piece of furniture the wrong color, and I had to repaint the whole thing. That’s when I started using a small piece of cardboard to test the color before committing. I’ve also learned that using a small brush to touch up any mistakes is easier than trying to cover them up with another coat.
Another common mistake is not letting the paint dry completely before applying another coat. I’ve found that rushing this step can lead to smudges or fingerprints on the finish. I always wait at least 24 hours before using the furniture, and I’ve found that it makes a big difference in the final outcome.
I also use a damp cloth to wipe off any excess paint before it dries. This helps prevent drips and ensures a smooth finish. I’ve found that this technique is especially useful when painting large flat surfaces. It helps keep the paint even and prevents any unwanted brush marks.
💰 Budget Build
Use affordable materials like chalk paint and a basic brush set to refresh old furniture without breaking the bank.
⏰ Weekend Version
Finish a furniture flip in one day by using quick-dry paint and skipping the primer for a fast, simple update.
✨ Upgraded Finish
Apply a clear sealant or wax to your painted furniture for a polished, professional look that lasts.
🛋️ Small-Space Adaptation
Paint smaller pieces like side tables or shelves to refresh a compact space without overwhelming it.
🏠 Rental-Safe Option
Use removable paint or a low-impact finish to make furniture updates that can be easily removed or painted over later.
| The mistake | Why it happens | The fix |
|---|---|---|
| Skipping the primer | Without primer, the paint may not adhere properly and can chip or peel quickly. | Always use a bonding primer before applying paint to ensure a long-lasting finish. |
| Using the wrong type of paint | Using wall paint on furniture can lead to chipping and poor durability. | Use chalk paint or a high-quality latex paint designed for furniture to ensure a smooth, long-lasting finish. |
| Not letting the paint dry completely | Applying another coat or using the furniture before the paint is dry can lead to smudges and fingerprints. | Always wait at least 24 hours before using the furniture or applying a top coat. |
| Painting in one direction | Painting in one direction can leave visible brush strokes and uneven coverage. | Paint in a W or crisscross pattern to ensure even coverage and a smoother finish. |
Furniture Flipping & Painting Furniture Color That Actually Work
Common Questions
What kind of paint should I use for furniture flipping?
Do I need to use primer before painting?
How long does it take to paint a piece of furniture?
What’s the best way to avoid brush strokes?
Cite this guide
Flipper Lane (2026). Furniture Flipping & Painting Furniture Color That Actually Work. https://flipperlane.com/furniture-flipping-painting-furniture-color-that-actually-work/
Feel free to cite or share this guide.
References
- Seeing green: Billie Asmus '15, the Repaint Lady | Bethel University (bethel.edu)
- list of consumer products found to contain lead - CDPH (cdph.ca.gov)
- Interior Design Alumni Work on HGTV Show Home Town (design.lsu.edu)
- THE TRUMP ADMINISTRATION'S PROPOSED CHANGES TO THE ... (govinfo.gov)
- Five Questions with Associate Professor Katie Hudnall: Stories (herron.indianapolis.iu.edu)