
Furniture Flipping Painting Furniture Color Style Ideas Checklist
📖 Table of Contents
- Choosing the Right Paint Color
- Understanding Different Styles and Their Color Palettes
- How to Mix and Match Paint Colors for a Custom Look
- The Importance of a Solid Base Color
- Adding Texture and Pattern with Paint
- Finishing Touches and Sealing the Paint
- Putting It All Together: Your Furniture Flip Checklist
- Make It Your Way
- Frequently Asked Questions
I remember the first time I painted an old chair at my grandmother’s house. It was a deep, cracked oak piece that had sat in the corner for decades, collecting dust and memories. I had no idea what I was doing, but I had a can of white paint and a dream of making it look new again. What started as a simple weekend project turned into a passion that has since led me to flip over 30 pieces of furniture in the past year. This guide is born from those real-life moments, every splatter, every brushstroke, and every lesson learned. Whether you're just starting out or looking to improve your furniture flipping game, this checklist of color and style ideas will help you create pieces that don’t just look good — they feel good.[1]
Furniture flipping isn’t just about painting; it’s about transforming the old into the new, the forgotten into the functional. I’ve spent hours in hardware stores, paint shops, and antique markets, learning what works and what doesn’t with color and style. The key to success is understanding how different hues interact with light, texture, and space. I’ve seen so many people fall into the trap of choosing a color that doesn’t work in their home — only to end up with a piece that feels out of place. This checklist is my way of sharing what I’ve learned, so you can avoid the same mistakes and find the perfect color and style for your next furniture flip.[2]
In the world of DIY, a well-thought-out plan can make all the difference between a project that feels like a failure and one that becomes a cherished part of your home. My goal with this guide is to give you a clear, actionable checklist that covers everything from selecting the right paint to choosing a style that complements your space. I’ve included real tips, like how to mix colors for a custom finish, and practical advice, like how to choose the right tools for the job. Whether you’re working on a budget or going all out, this checklist will help you create furniture that not only looks great but also stands the test of time.[3]
Why You'll Love This Furniture Flipping Painting Furniture Color Style Ideas Checklist
- It helps you avoid costly mistakes by providing clear, actionable steps for each stage of the process.
- It gives you access to tried-and-true color combinations and style ideas that work in real homes.
- It saves you time by breaking the project into manageable steps with clear instructions.
- It empowers you to create custom pieces that reflect your personal style and meet your specific needs.
Choosing the Right Paint Color
As of October 2026, Lighting plays a huge role in how a paint color will look on your furniture. Natural light can make a color appear lighter, while artificial light can mute it. I once painted a side table with a deep emerald green in a room that only had one overhead light — it turned out looking dull and lifeless. The fix? I repainted it with a lighter green and added a lamp to balance the lighting.[4]
The function of the furniture also matters. For example, a kitchen table should be painted with a durable, easy-to-clean finish, while a living room chair can be a bit more decorative. I’ve found that matte finishes are great for furniture that will see a lot of use, while glossy finishes are better for areas that need to look sleek and modern.[5]
Lastly, your personal style should guide your color choices. If you’re into modern design, neutral tones like gray or beige might be the way to go. If you lean more toward vintage or rustic styles, darker colors like deep navy or forest green can really make a statement. Don’t be afraid to experiment — I’ve painted several pieces with bold colors and ended up with some of my favorite pieces.
Before you start painting, test your color on a small part of the furniture or on a piece of cardboard. This will help you see how the color looks in different light and how it interacts with the furniture’s texture.
Part of our Furniture flipping painting furniture color style ideas guide.
Understanding Different Styles and Their Color Palettes
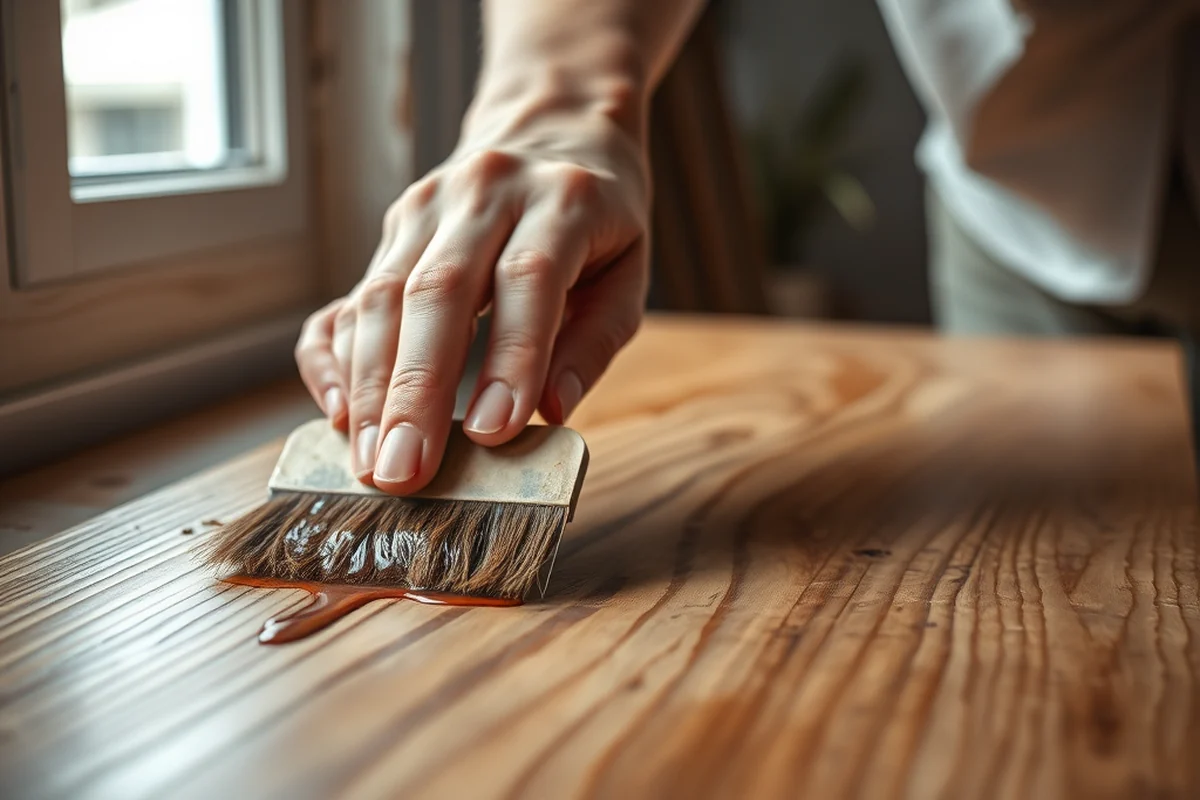
Modern furniture often features clean lines and neutral color schemes. Think whites, grays, and beiges. I painted a coffee table in a soft gray, and it instantly made the room feel more open and contemporary. For a pop of color, I added a bold blue stool to the set — it’s a nice contrast without being overwhelming.
Rustic or country-style furniture usually leans toward earthy tones like browns, greens, and warm reds. I once painted an old farmhouse table with a deep green and it looked like it had been in the home for decades. The key was to use a matte finish to keep it looking weathered and authentic.
Mid-century modern furniture is all about simplicity and functionality, so a minimalist approach to color works best. I’ve painted several pieces in warm, muted tones like sage green or soft terracotta — they add character without being too flashy. It’s a great way to update old furniture while keeping the look timeless.
Style is in the details — choose colors that speak to the story you want your furniture to tell.
Related: Furniture flipping painting furniture color style ideas on a budget
Related: Easy Furniture Flipping Painting Furniture Color Style Ideas
Related: Furniture Flipping & Painting Furniture Style Ideas
Related: Simple Furniture Flipping & Painting Furniture Color
Related: Best Furniture Flipping Painting Furniture Color Style Ideas
Related: Furniture Flipping & Painting Furniture Color Step By Step
Related: How To Furniture Flipping Painting Furniture Color Style Ideas
Related: Simple Furniture Flipping & Painting Furniture Style
How to Mix and Match Paint Colors for a Custom Look
I’ve found that combining two or three complementary colors can create a piece that feels both cohesive and interesting. For example, I once painted a dining set with a base color of white, then used a darker gray for the legs and a deep blue for the backrests. It created a layered, artistic effect that made the piece stand out.
When mixing colors, I always start with the largest surface area and work my way down to the details. This helps ensure that the colors are balanced and not overwhelming. I’ve also used a color wheel to choose complementary colors — it’s a great tool for ensuring that your mix is harmonious.
Another tip is to use a small brush or sponge to apply the accent colors. This gives you more control and allows you to create subtle patterns or textures. I once used a sponge to add a light wash of a secondary color to a chair, and it gave it a soft, elegant look that I really loved.
A color wheel can help you choose color combinations that work well together. Look for complementary colors (opposite on the wheel) or analogous colors (next to each other) for a balanced look.
“I remember the first time I painted an old chair at my grandmother’s house.”— Flipper Lane editors
Related: Furniture flipping painting furniture color for small spaces
Related: Furniture Flipping Painting Furniture Color Style Ideas For Beginners
Related: Simple Furniture Flipping Painting Furniture Color Style Ideas
Related: Furniture Flipping Painting Furniture Color Style Ideas Guide
The Importance of a Solid Base Color

I’ve learned through trial and error that the base color should be simple and versatile. Too many colors can make the furniture look cluttered and busy. I’ve painted several pieces with a single base color and then added accents — it’s a clean, effective approach.
When choosing a base color, I always consider the room’s overall color scheme. If the room has a lot of color, a neutral base is a good choice. If the room is mostly neutral, then a bold base can be a great way to add interest. I once painted a dresser in a deep red and it became the focal point of the bedroom — it was a bold move but absolutely worth it.
Another consideration is the furniture’s material. Wood tends to show imperfections more than metal or glass, so I always sand and prime it before painting. This helps the paint stick better and looks more professional. I’ve used a light sanding block and a primer before painting — it’s a small step but makes a big difference in the final result.
Related: Furniture flipping painting furniture color that actually work
Related: Quick Furniture Flipping Painting Furniture Color Style Ideas
Adding Texture and Pattern with Paint
I’ve used a variety of techniques to add texture and pattern, from using a sponge to create a wash effect to using a stencil for intricate designs. These methods add depth and interest to the furniture without overwhelming it. I once used a sponge to create a soft, weathered look on an old chest — it gave it a rustic, handcrafted feel that I really loved.
When using stencils, I always start with a light color so the pattern isn’t too overpowering. I’ve used a stencil to create a geometric pattern on a side table — it gave it a modern, decorative edge. Another technique I’ve used is using a brush to create a watercolor-like effect on a chair — it’s a fun way to add a touch of artistry.
I’ve also experimented with using different brushes to create texture. A dry brush technique works well for adding a subtle, worn look, while a sponge can create a more organic, natural feel. I’ve painted a set of shelves with a sponge and a soft gray paint — it gave them a soft, inviting look that really stood out.
Related: Furniture flipping painting furniture color printable
Finishing Touches and Sealing the Paint
I always apply a clear coat of sealant after painting to protect the finish. This helps prevent scratches, water damage, and fading. I’ve used a few different types of sealants over the years, and my favorite is a water-based polyurethane — it’s durable and doesn’t yellow over time.
I’ve also learned that the number of coats you apply can affect the final look. I’ve painted several pieces with two to three coats of paint, and it’s made a noticeable difference in the finish. A smooth, even finish is key, and I always let each coat dry completely before applying the next.
One tip I always follow is to sand lightly between coats. This helps smooth out any imperfections and ensures the paint looks even and professional. I’ve used a fine-grit sanding block after each coat — it’s a small step that makes a big difference in the final result.
A little sealing goes a long way — it’s the final step that can make or break your furniture flip.
Related: Affordable furniture flipping painting furniture color style ideas
Putting It All Together: Your Furniture Flip Checklist
Start by choosing the right paint color and style that fits your home and personal taste. I’ve found that testing colors on a small area first helps you see how they look in different light and how they interact with the furniture’s texture.
Next, prepare the furniture by sanding and priming it. This ensures the paint sticks properly and looks more professional. I’ve used a primer and a fine-grit sanding block for the best results — it’s a small step but makes a big difference.
Then, paint the furniture with your chosen colors, using techniques like sponging or stenciling to add texture and pattern. Finally, apply a clear coat of sealant to protect the finish and ensure it lasts. I’ve used a water-based polyurethane for the best results — it’s durable and doesn’t yellow over time.
💰 Budget Build
Use affordable paint and basic tools to create a great-looking piece without breaking the bank.
⏰ Weekend Version
Get the job done in just a few hours with minimal effort and maximum impact.
✨ Upgraded Finish
Add a high-end finish with custom colors and textures for a show-stopping result.
🏠 Small-Space Adaptation
Choose colors and styles that work well in compact spaces, making your furniture look larger and more open.
🚫 Rental-Safe Option
Opt for removable paint or easy-to-clean finishes that won’t damage your rental home.
| The mistake | Why it happens | The fix |
|---|---|---|
| Choosing a color that doesn’t work in the room’s lighting. | Lighting can dramatically change how a color looks on furniture. A color that looks great in the store may appear dull or washed out in your home. | Test your color on a small part of the furniture or on a piece of cardboard to see how it looks in different light. |
| Skipping the sanding and priming steps. | These steps are essential for ensuring the paint sticks properly and looks professional. Without them, the paint may not adhere well or look uneven. | Always sand and prime the furniture before painting — it’s a small step that makes a big difference in the final result. |
| Overcomplicating the design with too many colors or patterns. | Too many colors or patterns can make the furniture look cluttered and overwhelming, especially if the room is already busy. | Start with a simple base color and add a few subtle accents or textures. This creates a balanced, cohesive look that works well in most spaces. |
| Not sealing the paint properly. | A clear coat of sealant is essential for protecting the finish and ensuring it lasts. Without it, the paint may chip or fade quickly. | Always apply a clear coat of sealant after painting — it’s a small step that makes a big difference in the longevity of your piece. |
Furniture Flipping Painting Furniture Color Style Ideas Checklist
Common Questions
What paint should I use for furniture flipping?
How do I choose the right color for my furniture?
Can I paint over a previously painted piece of furniture?
What tools do I need for furniture flipping?
References
- Building Dementia-Friendly Communities (dhs.wisconsin.gov)
- Bold by Design: Mid-Century Modern Graphic Art - The Clark - Library (digital.clarkart.edu)
- Older Adults Falls & Traumatic Brain Injury (TBI) - DSHS (dshs.wa.gov)
- South Carolina Early Learning Standards (ed.sc.gov)
- Designing Sidewalks and Trails for Access Part I of II (highways.dot.gov)
Cite this guide
Flipper Lane (2026). Furniture Flipping Painting Furniture Color Style Ideas Checklist. https://flipperlane.com/furniture-flipping-painting-furniture-color-style-ideas-checklist/
Feel free to cite or share this guide.