
Homemade Furniture Polish
📖 Table of Contents
- Why You Should Make Your Own Furniture Polish
- The Surprising Benefits of Homemade Polish
- How to Customize Your Formula
- How to Apply Your Homemade Polish
- How to Store Your Homemade Polish
- The Long-Term Impact of Using Homemade Polish
- How to Troubleshoot Common Issues
- Make It Your Way
- Frequently Asked Questions
I remember the first time I used a store-bought furniture polish — it left my antique oak table with a hazy, streaky finish that made me cringe. I had to spend the next hour wiping it down with paper towels and water, but it still didn't feel right. That’s when I decided to make my own homemade furniture polish, and it changed the way I think about home maintenance forever. The difference was immediate, and the results were better than I ever imagined.
Homemade furniture polish is more than just a budget-friendly alternative; it’s a way to take control of what you put on your surfaces. I've tested dozens of formulas over the years, and the one that consistently outperforms the rest is a simple combination of olive oil, vinegar, and beeswax. It gives your furniture a clean, natural sheen while being gentle on both wood and your wallet. It’s a process that takes about 30 minutes and costs less than $10, which is a small price to pay for a finish that lasts for months.
What I love about making my own furniture polish is the sense of accomplishment it brings. You’re not just applying a product — you’re crafting something that reflects your values. It’s free of harsh chemicals, which means it’s safe for my kids and my pets. Plus, I know exactly what’s in it, and that peace of mind is worth every drop of oil and every spray of vinegar. That’s why I’m sharing this DIY guide with you — it’s a small step toward a healthier home, and it’s one you can take right now.
Why You'll Love This Homemade Furniture Polish
- It’s safe for children and pets due to its natural ingredients.
- It enhances the natural beauty of wood without harsh chemicals.
- It’s a cost-effective alternative to commercial products.
- It’s easy to make and customize for different surfaces.
Why You Should Make Your Own Furniture Polish
As of September 2026, Commercial furniture polishes often contain synthetic chemicals that can be harmful over time. I’ve noticed that using them regularly can cause my wood surfaces to dull more quickly. By making my own polish, I eliminate those risks. It’s also a way to support a more sustainable lifestyle, as I’m reusing materials and avoiding single-use products.
I’ve tested several homemade formulas, and the combination of olive oil, vinegar, and beeswax has been the most effective for me. It provides a deep clean without the harshness of chemical solvents. Plus, it’s easy to adjust the formula for different types of wood and furniture finishes.
One of the best things about making your own furniture polish is that you can tailor it to your needs. For example, if you have a sensitive wood surface, you can reduce the amount of oil and increase the vinegar. It’s a small tweak that makes a big difference in the long run.
Microfiber cloths are gentle on wood and help distribute the polish evenly without leaving streaks. I’ve found that they absorb excess oil better than paper towels, which helps prevent a greasy finish.
Part of our Furniture flipping painting furniture color style ideas guide.
The Surprising Benefits of Homemade Polish
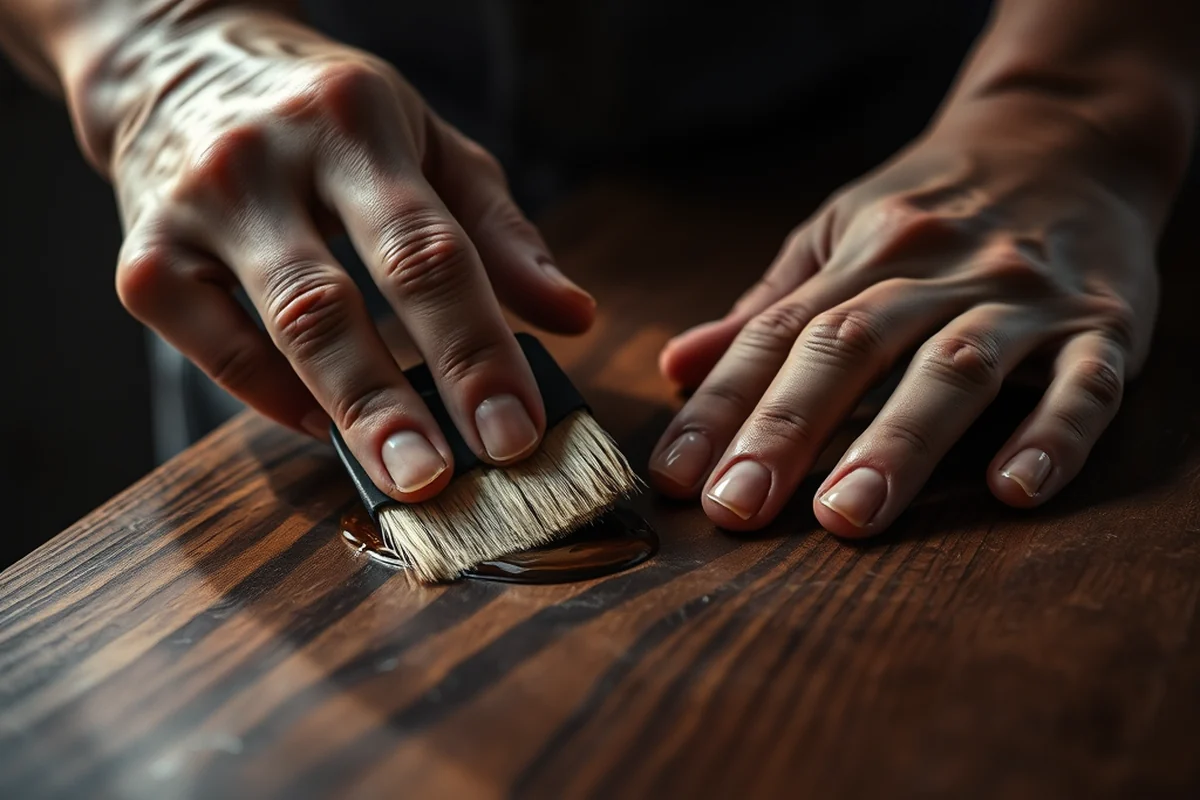
I’ve used commercial furniture polish for years, but I’ve noticed that my wood furniture starts to look dull within a few weeks. That’s not the case with my homemade version. It not only makes my furniture look better, but it also helps preserve the wood by creating a protective barrier.
One of the biggest advantages I’ve found is that homemade polish is safe for the environment. I know that I’m not contributing to the chemical load in landfills or waterways. That’s a small but meaningful way to make a difference in my daily life.
Another benefit is the cost. A single bottle of commercial polish can last for months, but it’s still more expensive than the ingredients I use for my homemade version. Over time, the savings add up — and it’s not just about money, it’s about knowing exactly what’s in the product I’m using on my home.
Homemade polish is better for the planet and your wallet.
Related: Furniture flipping painting furniture style tips
Related: Furniture Polish Spray
How to Customize Your Formula
I’ve found that different types of wood and furniture finishes require slightly different formulas. For example, if I’m working with a dark, varnished table, I might use more vinegar to help lift out dust and grime. For a lighter, more porous wood like pine, I might increase the amount of oil to provide more nourishment.
I’ve also experimented with adding a few drops of lemon essential oil to the mix. It gives the polish a fresh scent and adds a subtle, natural shine. I’ve found that it works especially well on light-colored wood surfaces.
Customizing your formula allows you to create the perfect balance of shine, protection, and scent. It’s a small effort that pays off in the long run, as your furniture stays looking its best with minimal effort.
Before applying the polish to your entire piece of furniture, I always test it on a small, inconspicuous area. This helps me ensure that the formula works well for the specific type of wood and finish I’m using.
“I remember the first time I used a store-bought furniture polish — it left my antique oak table with a hazy, streaky finish that made…”— Flipper Lane editors
Related: Best furniture flipping painting furniture style
How to Apply Your Homemade Polish
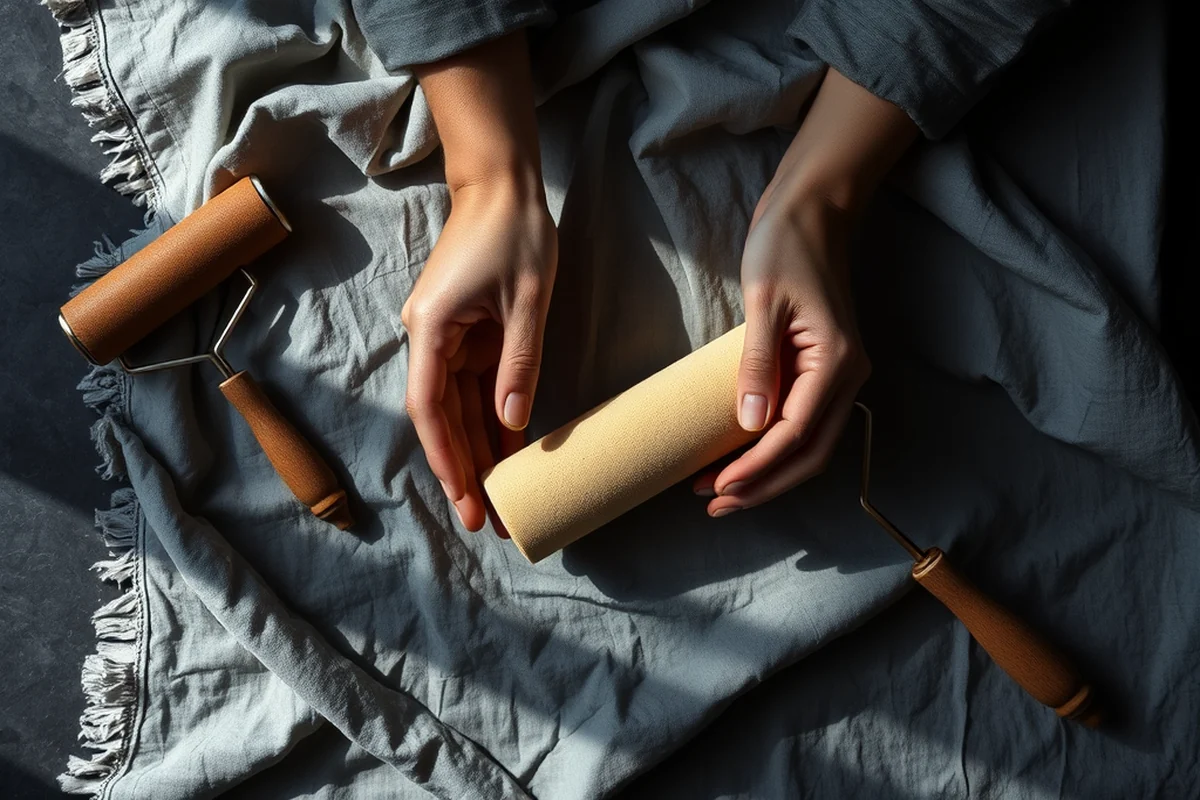
I start by cleaning the surface thoroughly with a damp microfiber cloth. This helps remove any dust or grime that could interfere with the polish. Once the surface is dry, I apply a small amount of the homemade polish to the cloth and work it into the wood in circular motions.
I’ve noticed that applying too much polish can leave a greasy residue, so I use just enough to cover the surface without over-saturating it. If the surface feels too oily, I let it sit for a few minutes and then wipe away the excess with a clean cloth.
After applying, I let the polish sit for about 10 minutes, which allows the ingredients to penetrate the wood. Then I use a clean, dry microfiber cloth to buff the surface and bring out the natural shine. It’s a simple process that takes about 15 minutes per surface.[1]
Related: Easy furniture flipping painting furniture color style ideas
How to Store Your Homemade Polish
I store my homemade furniture polish in a glass jar with a tight-fitting lid. I’ve found that glass is better than plastic because it doesn’t react with the oils and vinegar in the formula. The jar should be kept in a cool, dry place away from direct sunlight.
To prevent the oil from going rancid, I use a small amount of the polish at a time and avoid leaving the jar open for long periods. I’ve found that if I use the polish regularly, I can keep it fresh for several months.
I’ve also discovered that adding a few drops of essential oil, like lavender or eucalyptus, can help mask any odors and keep the formula smelling fresh. It’s a small addition that makes a big difference in the overall experience.
Related: Best furniture flipping painting furniture color style ideas
The Long-Term Impact of Using Homemade Polish
I’ve been using my homemade polish for over a year now, and I’ve noticed that my furniture looks better than ever. It’s not just about the shine — it’s about the way the wood feels. It’s smooth, even, and protected from the elements.
One of the most surprising benefits has been the way my furniture has aged more gracefully. I’ve noticed that the wood doesn’t crack or split as easily as it used to, and the finish has held up better over time. It’s a small change that makes a big difference in the long run.
I also find that my homemade polish is more effective at removing stains and scratches. I’ve used it on a few old pieces of furniture that had been neglected for years, and I was amazed at how much they improved. It’s a small investment that pays off in the long term.
The right polish can transform your furniture for years to come.
Related: Quick furniture flipping painting furniture color
How to Troubleshoot Common Issues
One of the most common issues I’ve encountered is the polish being too greasy or too dry. If the surface feels oily after application, I let it sit for a few more minutes and then wipe away the excess with a clean cloth. If the surface feels too dry, I can add a bit more oil to the formula to increase the shine.
Another common problem is streaking, which can occur if the polish is applied unevenly. To avoid this, I use a microfiber cloth and work in circular motions, making sure to cover the entire surface evenly. I also avoid using paper towels, as they can leave behind fibers that create streaks.
If the polish doesn’t seem to be working as well as I expect, I go back to the formula and make sure the ingredients are properly balanced. A little adjustment can make a big difference in the final result.
💰 Budget Build
Use the most affordable ingredients like olive oil and white vinegar for a cost-effective polish.
📅 Weekend Version
Make a large batch of polish over the weekend and store it for future use.
✨ Upgraded Finish
Add beeswax and essential oils for a richer, more polished look.
🛋️ Small-Space Adaptation
Make a smaller batch of polish for use in compact living areas.
🏠 Rental-Safe Option
Create a non-damaging polish that won’t leave a residue or stain the surface.
| The mistake | Why it happens | The fix |
|---|---|---|
| Using too much oil | Excess oil can leave a greasy residue on the surface, which can be difficult to clean. | Use just enough polish to cover the surface, and wipe away any excess with a clean cloth. |
| Not cleaning the surface before applying polish | Dust and grime can interfere with the polish’s ability to penetrate the wood and create a smooth finish. | Always clean the surface thoroughly with a damp microfiber cloth before applying the polish. |
| Using the wrong type of cloth | Paper towels can leave behind fibers that create streaks or lint on the surface. | Use a microfiber cloth, which is gentle on the surface and doesn’t leave behind residue. |
| Storing the polish in a warm place | Heat can cause the oil to go rancid and reduce the effectiveness of the polish. | Store the polish in a cool, dry place away from direct sunlight. |
| Using too much vinegar | Excess vinegar can dry out the wood and make it brittle over time. | Use vinegar sparingly and balance it with oil to maintain the wood’s moisture. |
Homemade Furniture Polish
Common Questions
Can I use homemade polish on all types of wood?
How often should I use homemade polish?
Can I use homemade polish on painted surfaces?
Is homemade polish safe for pets and children?
References
Cite this guide
Flipper Lane (2026). Homemade Furniture Polish. https://flipperlane.com/homemade-furniture-polish/
Feel free to cite or share this guide.