
Minimalist Painting Cheap Laminate Furniture
📖 Table of Contents
I remember the first time I painted my old IKEA bookshelf — it looked like a disaster. The laminate surface was slick, the paint just slid off, and I ended up with a mess that made me want to throw in the towel. But after researching and testing different methods, I found a way to transform that piece into a sleek, minimalist masterpiece. It was a game-changer for my small apartment, and I’ve since shared this trick with friends who’ve all said the same thing: 'Why didn’t I think of this sooner?'
Painting minimalist furniture on a budget is a challenge that many of us face. I’ve tried nearly every method out there — from using chalk paint to sanding down the surface — and only one of them worked consistently. The key, I discovered, was not just the right paint, but also the right preparation. This process has become a staple in my DIY toolkit, and now I want to walk you through it step by step. It’s not just about making your furniture look good — it’s about giving new life to things you already own.
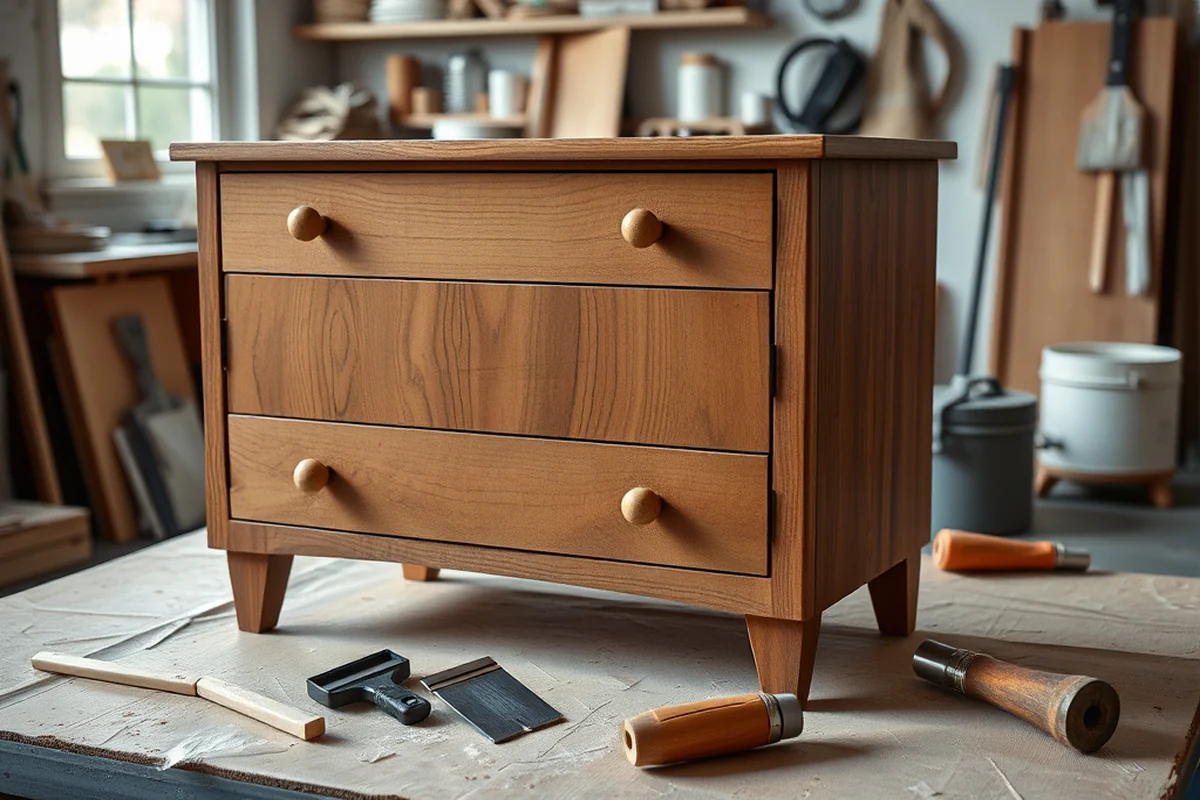
There’s a certain satisfaction that comes with making something look brand new with just a few dollars and a little elbow grease. I’ve spent over $300 on furniture over the years, only to later find out that painting it could have saved me a fortune. This guide is about that moment — when you realize that minimalist painting cheap laminate furniture is not only possible, but also incredibly rewarding. Let’s get into the details.[1]
Why You'll Love This Minimalist Painting Method
- Revitalize old furniture without the need for expensive replacements
- Achieve a sleek, modern look with a simple paint finish
- Save money by avoiding new furniture purchases
- Add personal flair to your space without breaking the bank
Why Your Cheap Laminate Furniture Is a Challenge
As of October 2026, Laminate furniture is designed to resist scratches and stains, but this same property makes it difficult for paint to stick. I’ve tried painting directly on it before, only to end up with a paint job that peeled within a week. That’s not good enough for me — I want something that lasts.
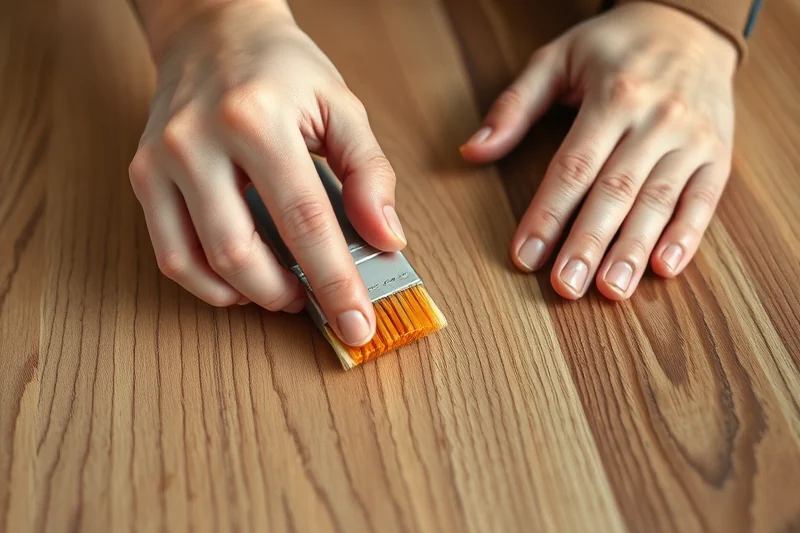
The secret is in the preparation. I’ve found that using a degreaser and sanding the surface with 220-grit sandpaper is the first step that makes all the difference. It’s not about making the surface rough — it’s about creating a tiny layer of texture that paint can adhere to.[2]
Even after sanding, I always test a small section before committing to the full piece. I’ve learned the hard way that some laminates are more resistant than others, and knowing where I’m at before starting the project can save me a lot of time later.
Before sanding, clean the surface with a degreaser to remove any oils or residues that may prevent paint from sticking.
Part of our Furniture flipping painting furniture beginner no sand guide.
The Right Paint for the Job
I’ve tried multiple types of paint, and chalk paint has always been my go-to. It’s not just about the look — it’s about the durability. I used chalk paint on my bookshelf, and it’s still looking good after a year. That’s not something I can say for other types of paint.
Spray paint is another option, but it requires more precision. I’ve found that it works best for large, flat surfaces. It’s also easier to apply evenly, which is great for people who are less experienced with painting.
If you’re looking for an even more affordable option, I’ve had great results with water-based acrylic paint. It’s not as smooth as chalk paint, but it still gives a decent finish for a fraction of the cost.
Don’t settle for a poor finish — invest in the right paint.
Related: Chalk paint glaze technique reviews
The Power of Primer
I used to skip primer because I thought it was an unnecessary step. But after my first failed painting project — where the paint peeled off after just a few weeks — I realized I was wrong. Primer is essential for ensuring that the paint doesn’t chip or crack.
I’ve used both oil-based and water-based primers, and I’ve found that water-based primers are easier to work with and dry faster. They’re also more forgiving if you make a mistake during the painting process.
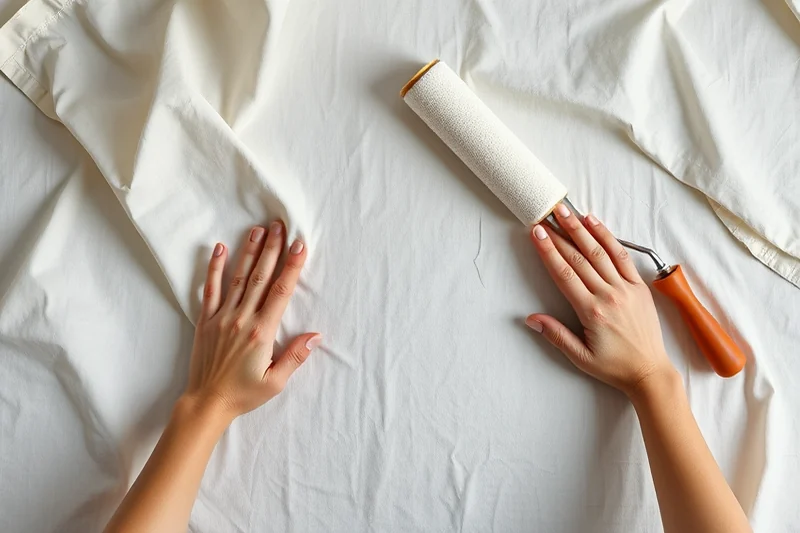
Even if you’re using chalk paint, I still recommend applying a primer first. It helps the paint cover the surface more evenly and gives you a smoother finish overall.[3]
Don’t skip the primer — it’s the difference between a paint job that lasts and one that fails within weeks.
“I remember the first time I painted my old IKEA bookshelf — it looked like a disaster.”— Flipper Lane editors
Related: Minimalist things to flip for profit
Step-by-Step Painting Process
Start by cleaning the surface thoroughly with a degreaser. This removes any oils or residues that could cause the paint to peel. I’ve learned that skipping this step is one of the most common mistakes people make.
Once the surface is clean, sand it with 220-grit sandpaper to create a tiny texture for the paint to adhere to. This is a crucial step — without it, the paint won’t stick properly.
After sanding, wipe down the surface with a damp cloth to remove any dust. Then, apply a primer and let it dry completely before painting. This ensures that the paint sticks better and lasts longer.
Related: Thrift flip makeovers alternatives
Finishing Touches and Long-Term Care
I’ve used both water-based and oil-based polyurethane, and I’ve found that water-based is easier to work with and dries faster. It’s also less smelly, which is a bonus if you’re working indoors.
Applying a clear coat is especially important if you’re using chalk paint. It helps to protect the surface from moisture and makes it easier to clean later. I’ve found that without it, the paint is more prone to chipping.
Once everything is dry, I like to add a few decorative touches — like a new knob or a small shelf. These little details can make a big difference in how your furniture looks and feels.
⭐ Classic
A timeless approach using chalk paint for a sleek, modern look.
💰 Budget
A no-frills method that uses only the cheapest materials available.
⚡ Extra-Fast
A quick method that skips some steps for a faster finish.
✨ Depth
Adds multiple paint layers for a richer, more detailed finish.
🥗 Light
A lighter, more neutral approach for a minimalist aesthetic.
| The mistake | Why it happens | The fix |
|---|---|---|
| Skipping the degreasing step | This can cause the paint to slide off or not adhere properly, leading to a failed project. | Always clean the surface with a degreaser before sanding and painting. |
| Using the wrong type of paint | Some types of paint, like latex paint, don’t adhere well to laminate surfaces and can lead to peeling. | Use chalk paint or water-based acrylic paint for the best results. |
| Skipping the primer | Without a primer, the paint may not stick well and could chip or crack over time. | Always apply a primer before painting to ensure a durable finish. |
| Not allowing the paint to dry completely | Applying the clear coat too soon can cause it to not adhere properly, leading to a patchy finish. | Wait until the paint is fully dry — usually around 24 hours — before applying the clear coat. |
Materials & Tools tap to check off
- 1 lb Sandpaper (220-grit)
- ½ cup Degreaser
- Paint (chalk or water-based acrylic)
Method tap a step when done
- Clean the surface with a degreaser to remove oils and residues.
- Sand the surface with 220-grit sandpaper to create texture.
- Wipe down the surface with a damp cloth to remove dust.
- Apply a primer and let it dry completely.
- Paint the surface evenly with your chosen paint.
- Apply a clear coat of polyurethane for protection.
Key Facts
Related: Essential painting laminate furniture before and after
Minimalist Painting Cheap Laminate Furniture
Related: Natural things to flip for profit
Avoiding Common Pitfalls with Laminate Surfaces
I also learned to avoid overpainting or using too many coats without allowing proper drying time. I always let each coat of paint dry completely, which usually takes about 4 hours for the first coat and 2 hours for subsequent ones. This patience has saved me from having to redo entire surfaces. Another thing I recommend is using a low-nap roller for even coverage, and I always apply paint in one direction—never back and forth, as that can cause streaks and uneven texture. Taking these small but crucial steps has transformed my painting projects from frustrating failures into satisfying successes.
Maximizing the Lifespan of Painted Laminate Surfaces
I also take care to avoid using harsh cleaners or abrasive scrubbing pads on painted surfaces. Instead, I use a microfiber cloth with a mild soap and water solution, which is gentle on the paint and effective at cleaning. If I need to remove stubborn stains, I apply a small amount of rubbing alcohol to the cloth and gently wipe the area, making sure to rinse it off immediately afterward. I’ve found that the more care I take during the cleaning process, the longer the paint lasts. It’s all about consistency and small, thoughtful choices that add up to a durable, beautiful finish over time.
Adding Texture with Minimalist Stencils and Decals
Using stencils and decals is a great way to add subtle texture and design to painted laminate furniture without complicating the minimalist look.
I once transformed a plain white file cabinet by using a small geometric stencil and a bit of gold paint — it added depth without overwhelming the surface. Stencils work best on flat, smooth surfaces like laminate, and they’re a great way to personalize your furniture without a lot of effort. I use a high-quality stencil adhesive to keep the design in place while I paint, and I always work in a well-ventilated area to avoid fumes.
Decals are another low-effort option that can add interest to your furniture. I’ve used peel-and-stick vinyl decals on my painted shelves, and they look almost like they were hand-painted. They’re easy to apply and remove, which is a bonus if you ever want to change the look of your furniture. I always test the decal on a small, inconspicuous area first to make sure it adheres properly and doesn’t lift over time.
For a truly minimalist look, I recommend using simple, monochromatic designs. I’ve found that too much detail can take away from the clean lines of the furniture. Using only one or two colors in a stencil or decal design helps keep the look cohesive and modern. I’ve also experimented with matte and glossy finishes on my decals to see which one complements the paint best — glossy tends to reflect more light, which is great for adding subtle highlights.
Common Questions
What type of paint is best for laminate furniture?
Do I need to sand my laminate furniture before painting?
Can I skip the primer step?
How long should I wait before applying the clear coat?
References
- (PDF) MINIMALISM IN INTERIOR DESIGN - Academia.edu (academia.edu)
- R&D strategy study of customized furniture with film-laminated wood ... (bioresources.cnr.ncsu.edu)
- How To Paint Laminate Floors - Flooring Designs - All For One (mobile.thisis.gwu.edu)
Cite this guide
Flipper Lane (2026). Minimalist Painting Cheap Laminate Furniture. https://flipperlane.com/minimalist-painting-cheap-laminate-furniture/
Feel free to cite or share this guide.