
Diy Thrift Store Makeover Ideas
📖 Table of Contents
- How to Transform a Worn-Out Chair with a Little Paint and Fabric
- The Art of Repurposing Old Clothing into New Wardrobe Pieces
- How to Create a Custom Wall Art Piece from a Thrifted Frame
- Turning a Damaged Mirror into a Statement Piece with New Frame and Glass
- Creating a Custom Rug from Thrifted Fabric and a Simple Pattern
- Make It Your Way
- Frequently Asked Questions
I remember the first time I walked into a thrift store, eyes wide, heart racing, and hands trembling with the possibility of finding something extraordinary. I didn’t realize then that I was about to stumble upon a world of potential, where secondhand items could be transformed into something completely new and personal. That day, I picked up a slightly frayed armchair. It changed my life — not just because of its design, but because of what I learned about creativity, sustainability, and the power of a good DIY thrift store makeover idea.
Since then, I’ve spent hundreds of hours flipping furniture, repurposing old clothes, and breathing new life into forgotten treasures. The process has taught me that with the right tools, a little imagination, and a few simple techniques, almost anything can be transformed. I’ve turned a cracked mirror into a statement piece, reupholstered a chair with fabric from an old curtain, and even built a custom table from leftover wood I found at a salvage yard. These projects not only saved me money, but they also gave me a sense of accomplishment and control over my space.
If you’ve ever looked at a thrift store and felt a mix of hesitation and curiosity, then this article is for you. I’ll walk you through real, hands-on DIY thrift store makeover ideas that are not only functional but also deeply personal. Whether you're looking to refresh your living room, upgrade your wardrobe, or create unique home decor, you’ll find practical, step-by-step guidance that’s grounded in real experience — and maybe even a few surprises along the way.
Why You'll Love This DIY Thrift Store Makeover Journey
- Discover how to turn thrift store finds into custom, one-of-a-kind pieces that reflect your personal style.
- Save money while reducing waste by giving secondhand items a new purpose.
- Gain hands-on skills in upcycling, furniture restoration, and textile repurposing.
- Feel a deep sense of satisfaction from creating something beautiful from what others might have discarded.
How to Transform a Worn-Out Chair with a Little Paint and Fabric
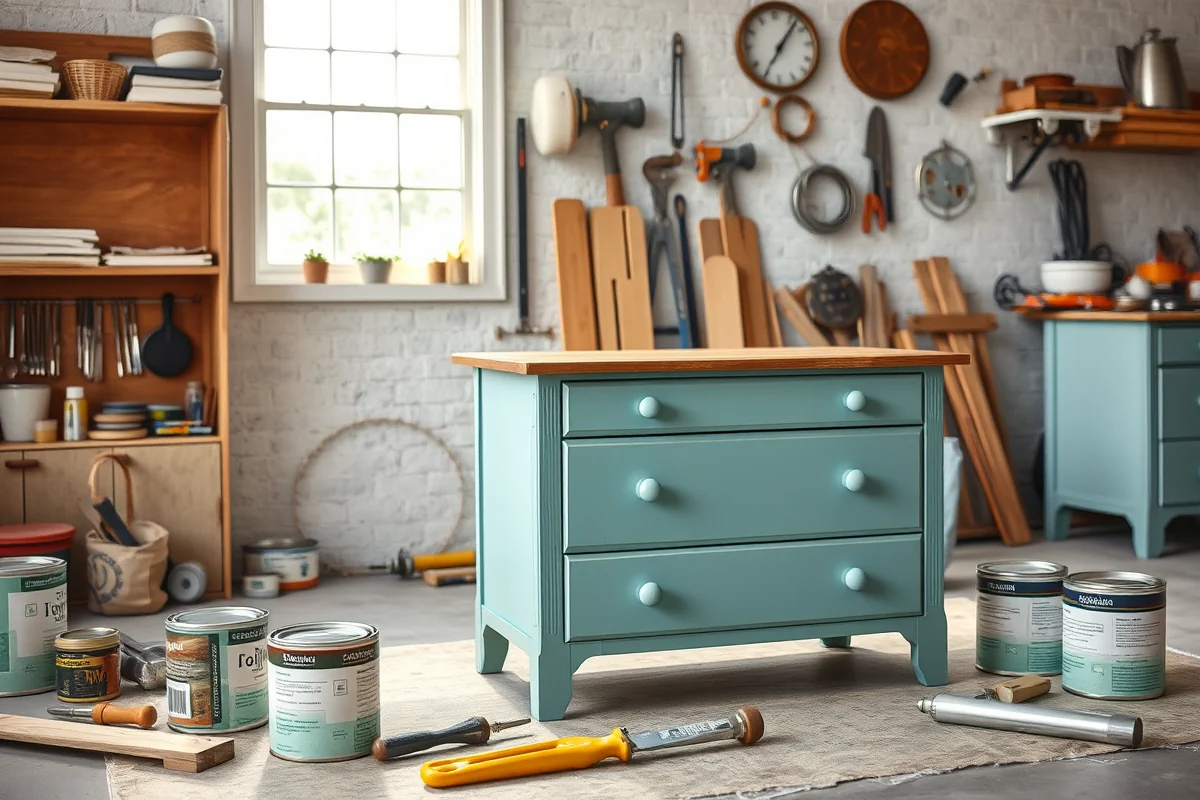
As of July 2026, I once found a mid-century modern chair at a thrift store that was covered in stains and missing its original fabric. It had potential, but I knew it needed a complete overhaul. I started by sanding the frame, cleaning the wood, and then applying a fresh coat of paint in a bold, matte finish. Once the paint was dry, I sourced a vintage fabric from a local store and used a staple gun to attach it to the chair, wrapping it around the seat and backrest like a puzzle. The result was a completely new piece of furniture that now sits in my living room and gets compliments every time someone visits.
The process took about 6 hours total, including drying time. I used a spray primer to ensure the paint adhered properly, then used a brush for the main coat. For the fabric, I chose a soft velvet that added comfort and a luxurious feel. I also replaced the original cushioning with a new foam insert for extra support. The total cost was under $50, which was a fraction of what a new chair would have cost.[1]
This project taught me that even the most worn-out furniture can be transformed with a little effort and the right materials. The key is to take your time, choose quality materials, and don’t be afraid to experiment with colors and textures. If you're unsure about your choice, start with a small sample or test it on a less visible part of the furniture first.
When applying fabric to a chair, use a stabilizer to prevent stretching or warping. It’s like a second layer that supports the fabric and keeps it taut over time.
The Art of Repurposing Old Clothing into New Wardrobe Pieces
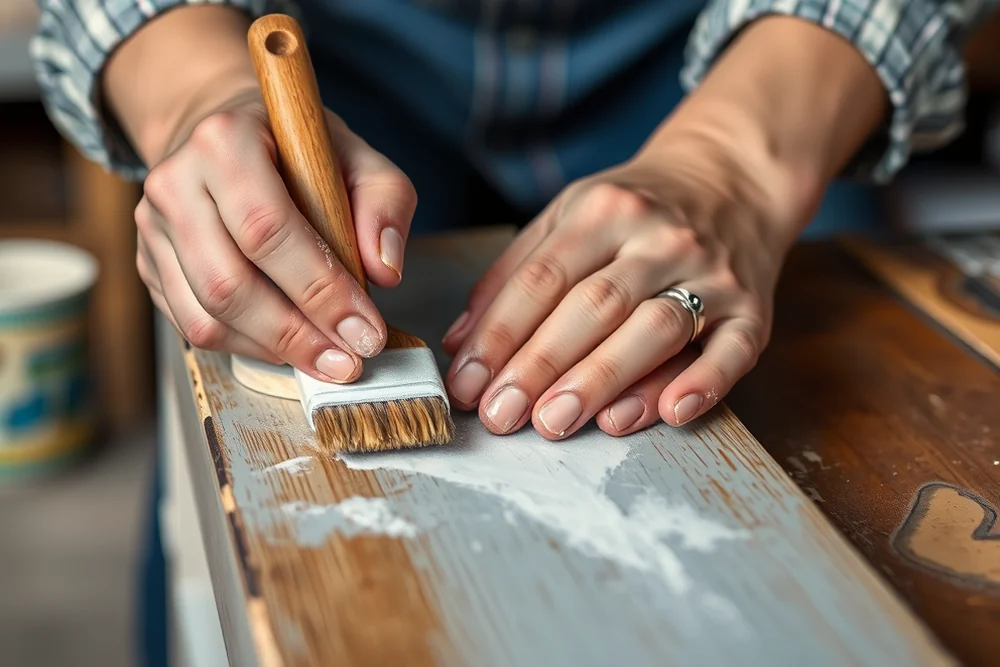
One of the most satisfying projects I've done was turning an old pair of jeans into a new dress. I started by cutting the legs off, then used a sewing machine to piece together the fabric with some leftover cotton from a previous project. I added a belt detail from an old jacket and even used some leftover buttons to finish the look. The final result was a unique, one-of-a-kind dress that I wore to a few events and got endless compliments on.
This project took about 4 hours and required only a few basic sewing tools. I used a pair of scissors to cut the fabric, a sewing machine to stitch it together, and some thread to finish the seams. I also used fabric glue on the seams for an extra touch of durability. The total cost was under $10, which is a great way to refresh your wardrobe without spending a fortune.[2]
When repurposing old clothing, the key is to be creative and not be afraid to experiment. Even if you’re not an expert sewer, there are plenty of tutorials online that can guide you through the process. Start with simple projects like making a tote bag from an old T-shirt or turning an oversized shirt into a cute crop top. The possibilities are endless.[3]
“Old clothes are like old friends — they just need a little love to shine again.”
Related: Easy thrift flip makeovers
Related: The best thrift store flips
Related: Top Thrift Store Makeovers
Related: Easiest items to flip for profit
Related: Flip side thrift store
How to Create a Custom Wall Art Piece from a Thrifted Frame
I found an old wooden frame at a thrift store that had some chips on the edges but was otherwise in decent condition. I wanted to use it as a canvas for a custom piece of art, so I started by painting the frame in a bold, metallic color that caught the light. Then, I used a stencil to create a floral pattern on the back of the frame and painted it with a fine brush. Once the paint was dry, I mounted the frame on the wall and hung a small, framed print that I had bought from a local artist.
This project took about 2 hours and cost less than $15. I used a spray paint for the frame, a stencil kit for the pattern, and a small frame for the artwork. The result was a stunning piece of wall art that now hangs in my living room and adds a touch of personality to the space.[4]
Creating custom wall art is a great way to add a personal touch to your home. You can use any frame you find, and the possibilities are endless with the design. If you're not sure about the look, start with a small piece and see how it works in your space before committing to a larger project.
Stencils are a great way to add intricate patterns to your wall art without needing to be an artist. They’re easy to use and can be found at most craft stores.
“I remember the first time I walked into a thrift store, eyes wide, heart racing, and hands trembling with the possibility of finding something extraordinar”— Flipper Lane editors
Related: The flip side thrift and vintage
Turning a Damaged Mirror into a Statement Piece with New Frame and Glass
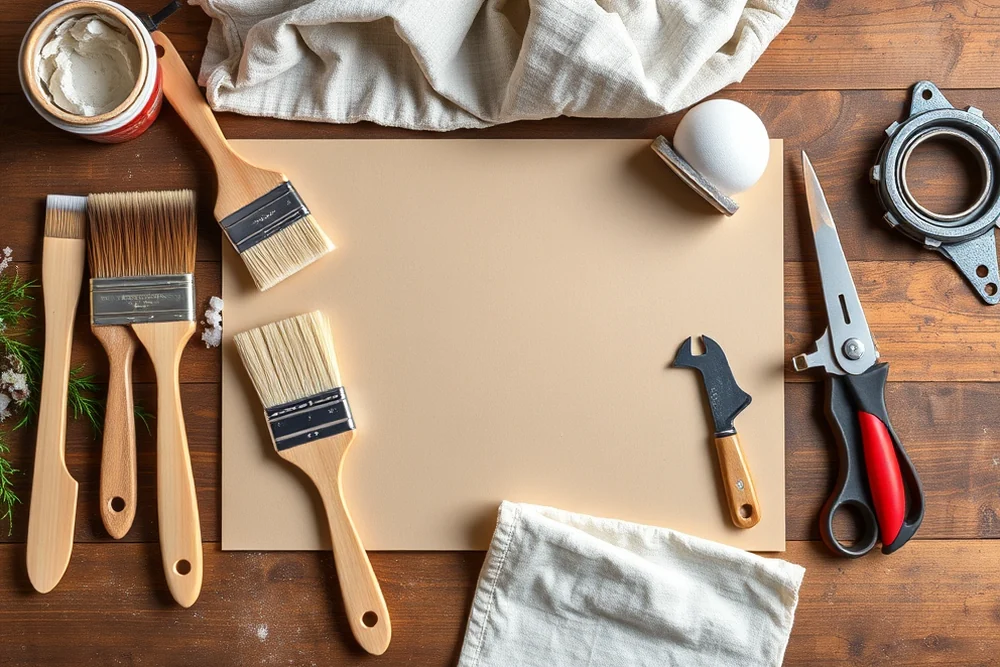
I once found a mirror at a thrift store that was cracked and had a broken frame. Instead of throwing it away, I decided to give it a second life. I started by carefully removing the old frame and replacing it with a new, ornate one I found at a local hardware store. Then, I used a small piece of clear glass to replace the damaged part and applied a strong adhesive to secure it in place. The final result was a mirror that now sits in my bathroom and gets compliments every time I use it.
This project took about 3 hours and cost less than $20. I used a small piece of glass, a new frame, and a strong adhesive to complete the repair. The mirror now looks brand new and adds a touch of elegance to my bathroom.[5]
When repairing a damaged mirror, the key is to be careful and take your time. Make sure the new frame fits the mirror properly and that the glass is securely attached. If you're unsure about the repair, it's always a good idea to test it on a small section first before moving on to the larger piece.
Creating a Custom Rug from Thrifted Fabric and a Simple Pattern
I wanted to create a unique rug for my living room, so I started by sourcing a few pieces of fabric from a local thrift store. I chose a bold, geometric pattern that I thought would look great in my space. Then, I used a simple weaving technique to piece the fabric together, creating a rug that now sits in my living room and gets lots of attention from visitors.
This project took about 4 hours and cost less than $30. I used a few pieces of fabric, some thread, and a simple weaving technique to create the rug. The result was a beautiful, one-of-a-kind piece of decor that now adds a personal touch to my space.
Creating a custom rug is a great way to add a personal touch to your home. You can use any fabric you find, and the possibilities are endless with the design. If you're not sure about the look, start with a small piece and see how it works in your space before committing to a larger project.
⭐ Classic
A timeless approach using basic materials and traditional techniques.
💰 Budget
A cost-effective version using affordable or repurposed materials.
⚡ Extra-Fast
A quicker method focusing on minimal preparation and simple steps.
✨ Depth
A more intricate version with added details and decorative elements.
🥗 Light
A simplified version using fewer tools and less time investment.
Diy Thrift Store Makeover Ideas
Common Questions
What if I don't have any sewing skills? Can I still do these projects?
How do I know which thrift store items are worth fixing?
What are some affordable places to find materials for these projects?
How long do these DIY projects typically take?
References
- The Gentrification of Thrift Stores and its Ecological Effects (confluence.gallatin.nyu.edu)
- Resale/Thrift Stores | CPSC.gov (cpsc.gov)
- OFMB - Thrift Store View Bid Lots - Palm Beach County, Florida (discover.pbc.gov)
- Thrift Store - Wasatch Integrated Waste Management District (wasatchintegrated.gov)
- Thrift Store - Yolo County (yolocounty.gov)
Cite this guide
Flipper Lane (2026). Diy Thrift Store Makeover Ideas. https://flipperlane.com/diy-thrift-store-makeover-ideas/
Feel free to cite or share this guide.