
Furniture Flipping & Painting Furniture Techniques Tips
📖 Table of Contents
- Why Furniture Flipping Is a Game-Changer for DIYers
- How to Select the Perfect Piece to Flip
- Preparing Your Furniture for Painting
- Choosing the Right Paint and Finish
- Painting Techniques for a Professional Finish
- Adding the Final Touches and Sealing the Paint
- Finishing Touches: Hardware, Stain, and Decor
- Make It Your Way
- Frequently Asked Questions
I still remember the first time I found a battered mid-century side table at a local flea market for $25. It was dented, stained, and missing a drawer handle, but something about its lines called to me. I took it home, sanded it down, and painted it in a warm terracotta. Within a week, I had sold it for $150. That was my first foray into furniture flipping, and it changed the way I see secondhand pieces. It’s not just about finding something cheap and making it look nice—it's about transforming a forgotten object into something functional, stylish, and valuable.[1]
Furniture flipping is more than just a DIY trend; it's a creative process that blends practicality with artistry. Painting furniture is a key technique in this process, allowing you to breathe new life into old pieces. Whether you're looking to save money, reduce waste, or simply express your personal style, learning the right techniques can make all the difference. From selecting the right primer to mastering brush strokes, every step in the process matters.
Over the years, I’ve flipped dozens of pieces, from dining tables to dressers, and each project has taught me something new. The secret isn’t just in the paint or the tools—it's in the attention to detail, the patience, and the willingness to experiment. If you're new to furniture flipping and painting, this guide is designed to walk you through the essentials, from preparation to final touches, with real-world insights and techniques I've tested and refined myself.
Why You'll Love This Furniture Flipping & Painting Guide
- Learn to transform thrift store finds into high-style home décor at a fraction of the cost.
- Discover techniques that make painting furniture easier, faster, and more professional-looking.
- Get real tips on choosing the right materials, tools, and finishes for your project.
- Avoid common mistakes that could ruin your project and waste your time and money.
Why Furniture Flipping Is a Game-Changer for DIYers
As of August 2026, Furniture flipping is one of the most rewarding DIY projects you can take on. It’s not just about aesthetics—it’s about sustainability, value, and creativity. I’ve saved hundreds of dollars by finding pieces at garage sales and flea markets and turning them into something elegant and functional. The best part? You don’t need to be an expert to get started. With the right tools and techniques, even beginners can achieve professional-looking results.[2]
I remember the first time I transformed a wobbly dining table into a sturdy, stylish centerpiece. It cost me less than $50 in materials, and after a weekend of work, I had a piece that looked like it came out of a design magazine. This is the magic of furniture flipping—it’s about seeing potential in what others have discarded.[3]
The thrill of finding a hidden gem, then watching it transform under your hands, is unmatched. Whether you're doing it for your own home or selling the finished pieces, the satisfaction of creating something meaningful is worth every drop of paint and every hour spent.
Invest in a good quality orbital sander, paintbrushes, and a spray gun for smoother finishes. I’ve found that the right tools make a world of difference in the final look of your project.
Part of our Furniture flipping painting furniture step by step techniques guide.
How to Select the Perfect Piece to Flip
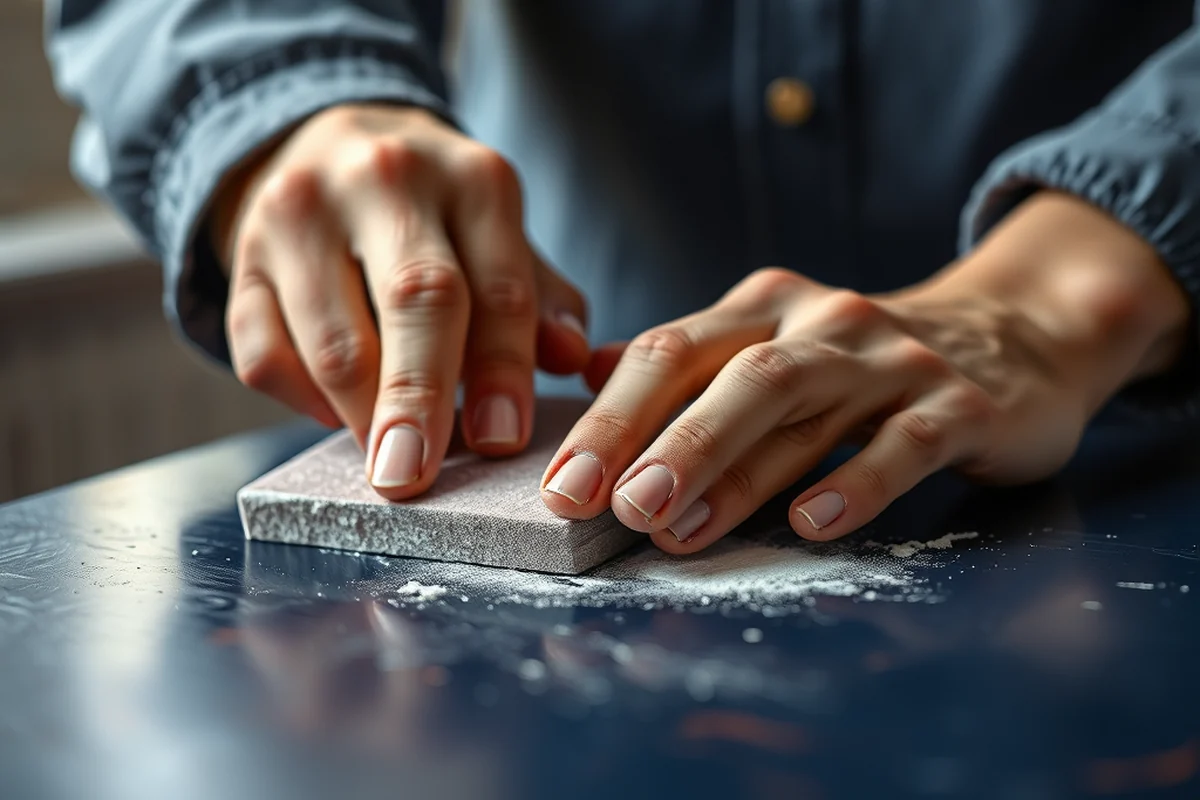
Not every piece is worth flipping. I’ve learned through trial and error that the best candidates have a strong foundation, even if they’re a little worn out. Look for pieces with minimal structural damage, like broken legs or missing corners. If a piece is missing large sections or has deep structural issues, it might not be worth the effort.
When I’m at a flea market or thrift store, I look for pieces with clean lines and simple designs. These are easier to paint and style. Avoid overly ornate or complicated pieces, especially if you’re new to furniture flipping. They can be more difficult to work with and may require more time and effort.
I’ve also found that pieces that are slightly out of style can be easily updated with a fresh coat of paint. A mid-century chair or an old dresser can be transformed into something modern with the right technique and color choice.
Choose a piece with potential, not just a price tag.
Related: Simple furniture flipping painting furniture step by step techniques
Related: Best furniture flipping painting furniture step by step techniques
Related: Furniture flipping painting furniture step guide
Related: Furniture flipping painting furniture techniques checklist
Related: Furniture Flipping & Painting Furniture Style Tips
Related: Budget Furniture Flipping Painting Furniture Tips
Preparing Your Furniture for Painting
Before you even think about painting, you need to prepare the surface properly. This means cleaning, sanding, and priming. I always start by washing the piece with a mild soap and water to remove any dirt, grime, or old wax. Then I sand it down with an orbital sander to create a smooth surface. This step is crucial—it ensures that the paint adheres properly and doesn’t peel later on.
After sanding, I wipe the piece down with a damp cloth to remove any dust. Then I apply a primer, which helps the paint stick better and provides a uniform base. I’ve found that using a primer not only improves the finish but also helps the paint last longer. It’s a small investment that pays off in the long run.
I always use a high-quality primer, and I apply it in thin, even coats. Letting it dry completely before applying the paint is important. Rushing this step can lead to poor results, so I take the time to let the primer dry fully before moving on to the next step.
Primer is often overlooked, but it can make or break the final look of your project. I’ve seen pieces that looked great right after painting, only to flake or peel a few weeks later because the primer was skipped.
“I still remember the first time I found a battered mid-century side table at a local flea market for $25.”— Flipper Lane editors
Choosing the Right Paint and Finish
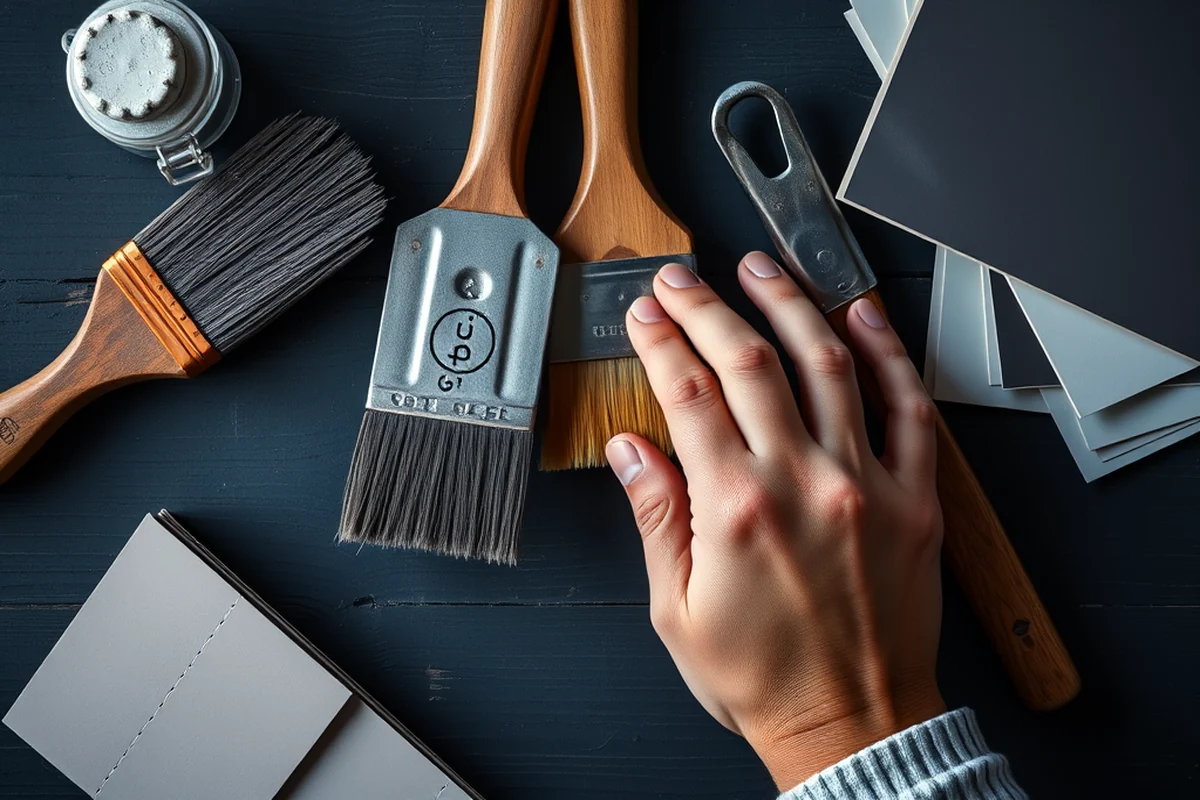
Not all paints are created equal, and using the wrong type can lead to a subpar result. I recommend using a high-quality latex paint for furniture projects. It’s easy to apply, dries quickly, and provides a smooth finish. I’ve found that using a satin or semi-gloss finish is best for furniture, as it’s more durable and easier to clean.[4]
I always test the paint on a small area first to ensure the color and finish are what I want. This is especially important if you’re using a bold color or a special finish. I’ve made mistakes in the past by not testing the paint first, and it turned out to be a complete mismatch.
When I’m working on a project, I also consider the room where the furniture will go. A kitchen table, for example, needs to be more durable and easy to clean, while a bedroom dresser can have a more decorative finish. Choosing the right paint for the right space makes a huge difference in the final result.
Painting Techniques for a Professional Finish
Painting furniture might seem simple, but the technique you use can make all the difference. I’ve found that using a brush with the right bristles and applying the paint in thin, even strokes is key. I always start with the edges and work my way inward, making sure to cover all areas evenly.
I also use a foam brush for larger areas, as it helps to avoid brush marks. I’ve found that applying two thin coats of paint is better than one thick coat, as it dries faster and provides a smoother finish. I always wait for each coat to dry completely before applying the next one.
For a more professional look, I use a spray gun on larger pieces. It allows for even coverage and a smooth finish, which is especially useful for pieces with a lot of detail or texture. I’ve found that using a spray gun can save time and produce a better result, especially if you’re working on a large piece like a sofa or a cabinet.
Adding the Final Touches and Sealing the Paint
After painting, it’s important to seal the paint to protect it from scratches, stains, and wear. I always use a clear topcoat, which not only adds a layer of protection but also enhances the finish. I’ve found that using a clear polyurethane or a water-based sealer works best for furniture projects.
I apply the sealer in thin, even coats, making sure to cover all areas. I’ve found that using a brush or a foam brush works best for this step, as it helps to avoid streaks and uneven coverage. I always wait for each coat to dry completely before applying the next one.
I’ve also found that using a satin or semi-gloss sealer is best for furniture, as it’s more durable and easier to clean. This is especially important for pieces that will be used frequently, like a dining table or a dresser. A good sealer can make all the difference in the longevity of your project.
A good sealer can make your furniture last for years.
Finishing Touches: Hardware, Stain, and Decor
Once the paint is dry, it’s time to add the finishing touches. This includes replacing old hardware, adding decorative elements, and styling the piece. I always replace old drawer pulls or knobs with new ones, as they can make a huge difference in the look and feel of the piece.
I’ve also found that adding a stain or a wood finish to the legs or frame of a piece can give it a more elegant look. This is especially useful for pieces that have a lot of wood showing, like a coffee table or a sideboard. I’ve used a wood stain on the legs of a table to give it a more rustic, vintage look.
Finally, I like to style the piece with decorative elements like a vase, a candle, or a small plant. This adds a personal touch and makes the piece feel more complete. I’ve found that even the smallest details can make a big difference in the overall look of your project.
💰 Budget Build
Flip a thrifted piece with minimal cost using basic tools and affordable paint.
⏳ Weekend Version
Complete a furniture flip in one weekend with a simple, time-efficient method.
🎨 Upgraded Finish
Add a custom touch with metallic paint or decorative hardware for a high-end look.
🛋️ Small-Space Adaptation
Repurpose a large piece into something compact for small apartments or tiny homes.
🏠 Rental-Safe Option
Use removable paint or temporary finishes to avoid damaging rental properties.
| The mistake | Why it happens | The fix |
|---|---|---|
| Skipping the primer step | Primer ensures proper paint adhesion and a smooth finish. Skipping it can lead to peeling or flaking over time. | Always apply a high-quality primer before painting, even if the surface looks clean. |
| Using the wrong type of paint | Using a low-quality or incorrect paint can lead to a dull, chipping finish that doesn’t last. | Choose a high-quality latex paint with a satin or semi-gloss finish for furniture projects. |
| Not sanding the surface properly | If the surface isn’t sanded, the paint may not adhere well and could look uneven or bumpy. | Always sand the furniture with an orbital sander before painting and wipe down the surface to remove dust. |
| Painting in overly humid conditions | High humidity can prevent the paint from drying properly and lead to a dull, uneven finish. | Paint in a well-ventilated area and avoid painting in overly humid or cold conditions. |
Furniture Flipping & Painting Furniture Techniques Tips
Common Questions
What type of paint should I use for furniture flipping?
How long does it take to complete a furniture flip?
Do I need to sand the furniture before painting?
Can I paint over a previously painted piece of furniture?
Cite this guide
Flipper Lane (2026). Furniture Flipping & Painting Furniture Techniques Tips. https://flipperlane.com/furniture-flipping-painting-furniture-techniques-tips/[5]
Feel free to cite or share this guide.
References
- Nicole Eisenman: Painting the Story - Cornell AAP (aap.cornell.edu)
- Drift | Smithsonian American Art Museum (americanart.si.edu)
- McGaugh's Furniture Flips Gain National, International Attention (andersonuniversity.edu)
- Keeping U.S. Senate Historic Furniture Looking New | AOC (aoc.gov)
- Architecture students use the school's 'coolest machine' for furniture ... (buffalo.edu)