
How To Furniture Flipping & Painting Furniture Techniques
📖 Table of Contents
- Choosing the Right Piece to Flip
- Preparation: The Secret to a Flawless Finish
- Selecting the Right Paint and Finish
- Painting Techniques for a Professional Look
- Adding Personality with Stencils and Decals
- Sealing the Finish for Long-Lasting Results
- Putting It All Together: The Final Touches
- Make It Your Way
- Frequently Asked Questions
I remember the first time I flipped a thrift store table — it was a beat-up oak piece that had seen better days, but I saw potential. After stripping it down and giving it a fresh coat of paint, it transformed into a modern, eye-catching piece that now sits in my living room. The process wasn’t easy, but it was rewarding, and I learned a lot about furniture flipping and painting furniture techniques along the way.
Furniture flipping isn’t just about buying cheap and selling high; it’s about transforming pieces with care and purpose. Whether you're a seasoned DIYer or a beginner, there's a method to the madness with furniture flipping and painting furniture techniques. It involves more than just paint — it's about preparation, patience, and knowing what to look for in a piece before you even pick up a brush.
Over the years, I've flipped dozens of pieces, from chairs to cabinets, and each project has taught me something new. One of the biggest lessons was the importance of proper surface preparation. I used to skip sanding and move straight to painting, only to find out later that the paint didn’t adhere well. Now, I follow a step-by-step approach that includes sanding, priming, and sealing — and it’s made all the difference in the final outcome.
Why You'll Love This Furniture Flipping & Painting Process
- Transform thrift store finds into stylish, custom pieces at a fraction of the cost of buying new.
- Enjoy the satisfaction of upcycling and giving furniture a second life.
- Learn how to use paint and finishes to match your home decor perfectly.
- Create unique, one-of-a-kind furniture with your personal touch.
Choosing the Right Piece to Flip
As of August 2026, I always look for furniture that’s sturdy, with minimal damage. Pieces with deep scratches or major structural issues are usually not worth the time and effort. I’ve learned the hard way that trying to fix a broken table leg can be a nightmare — it’s better to start with something that can handle a few coats of paint and a new finish.[1]
When I find a piece that looks promising, I test the surface with my fingernail. If the paint comes off easily, that’s a good sign. If it’s stuck on and I have to scratch it to remove, that means it’s not going to be easy to get rid of. I always make sure to bring a small sanding block with me on my thrift store trips.
I’ve spent hours on pieces that didn’t end up being worth the effort. Now, I’ve developed a system: I look for pieces with clean lines, minimal hardware, and a simple design that can be easily painted. This approach has saved me time and money in the long run.
Don’t be tempted by the cheapest piece in the store — sometimes the most affordable ones have hidden damage. Always inspect the structure and test the surface before buying.
Part of our Furniture flipping painting furniture step by step techniques guide.
Preparation: The Secret to a Flawless Finish
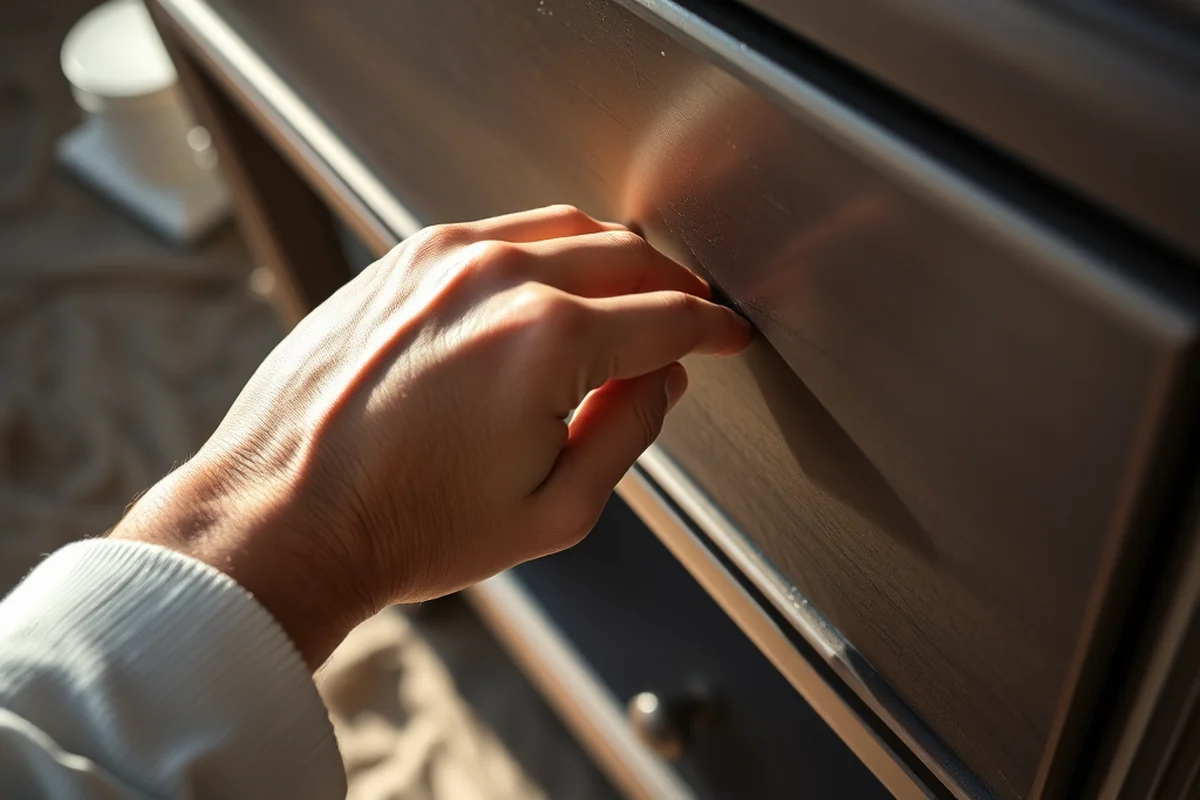
Before I ever put a brush to a piece, I spend time preparing the surface. This includes stripping old paint, sanding, and cleaning. I’ve learned that skipping any of these steps can lead to peeling or chipping later on.
I always use a degreaser to clean the piece before sanding. This removes any oils or dirt that might be on the surface. Then, I sand with 120-grit sandpaper to get rid of any old paint or finish. I follow this with a light sanding using 220-grit paper to create a smooth surface for painting.[2]
After sanding, I wipe the piece down with a damp cloth to remove any dust. This step is crucial because if dust gets into the paint, it can create imperfections in the finish. I’ve learned this the hard way — one time, I skipped this step and ended up with a bumpy, uneven coat of paint.
A clean surface is the foundation of a beautiful finish.
Related: Affordable furniture flipping painting furniture step by step techniques
Related: Best furniture flipping painting furniture step by step techniques
Related: Furniture flipping painting furniture techniques tips
Related: Best Furniture Flipping & Painting Furniture Style
Selecting the Right Paint and Finish
I always use a high-quality paint, even if it costs a bit more. I've found that cheaper paints tend to chip or fade faster, especially on pieces that get a lot of use. I've had great results with both latex and oil-based paints, but for furniture, I prefer the durability of oil-based finishes.
I've tested several brands over the years, and I've found that a few stand out for their quality and coverage. One of my favorites is a brand that offers a satin finish with minimal odor. I've used this on several projects, and it's always held up well.
Another thing to consider is the type of finish you want. I like using a clear coat of polyurethane to protect the paint and give it a glossy or matte finish. This step has saved me from having to repaint pieces after only a few months of use.
Invest in a good quality paint and finish. It might cost a bit more upfront, but it will save you money and hassle in the long run.
“I remember the first time I flipped a thrift store table — it was a beat-up oak piece that had seen better days, but I…”— Flipper Lane editors
Related: Diy furniture flipping painting furniture step by step techniques
Painting Techniques for a Professional Look
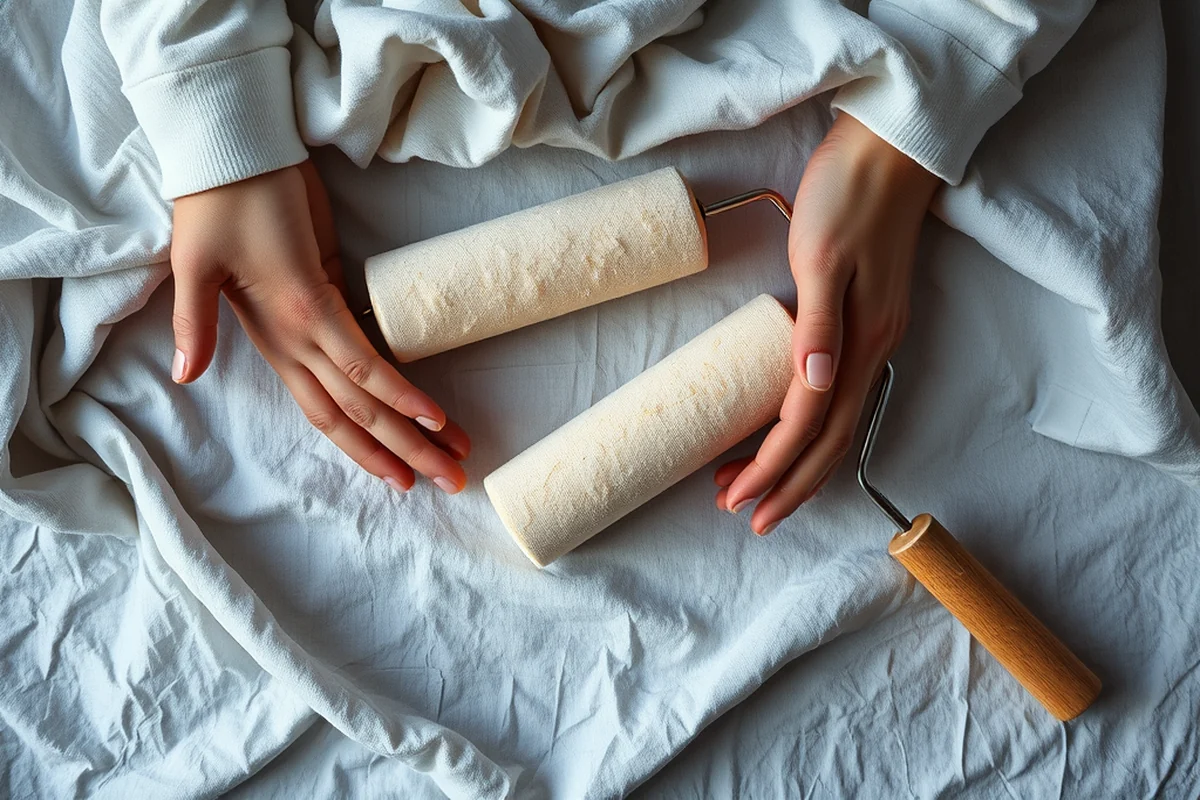
I always start with a primer before applying paint. This helps the paint adhere better and prevents the wood from showing through. I've found that using a primer can save me multiple coats of paint, which saves both time and money.
When painting, I use a small brush for the edges and corners to avoid getting paint on the trim or other parts of the room. I’ve found that this technique helps create a cleaner, more professional look. I also use a foam roller for the flat surfaces to ensure even coverage.
I’ve made the mistake of rushing this step and ending up with uneven paint. Now, I take my time, applying thin, even coats and allowing each coat to dry completely before applying the next. This has resulted in a much smoother and more consistent finish.
Adding Personality with Stencils and Decals
I’ve used stencils to add patterns to chairs, tables, and cabinets. They’re a great way to give a piece a unique look without a lot of effort. I’ve found that using a stencil with a bold pattern can make a big impact on a plain piece of furniture.
I’ve also experimented with using vinyl decals on furniture. They’re a quick and easy way to add a personal touch, especially if you want something that can be easily removed later. I’ve used them on a few pieces and they’ve held up well over time.
One thing to keep in mind is that stencils and decals are best used on pieces that aren’t going to be used in high-traffic areas. I’ve found that they can wear off quickly if the furniture is used a lot. If you want to use them on a heavily used piece, I recommend sealing them with a clear coat of polyurethane.[3]
Sealing the Finish for Long-Lasting Results
After the paint is dry, I always apply a clear coat of polyurethane. This step has made a huge difference in the longevity of my painted furniture. I’ve found that using a clear coat helps protect the paint from scratches and stains, especially on pieces that get a lot of use.
I’ve tested several types of polyurethane, and I’ve found that a water-based polyurethane is a good choice for furniture. It dries faster and has a lower odor than oil-based polyurethane, which is great if you're working in a small space. I’ve used this on several projects, and it’s always worked well for me.
I’ve made the mistake of skipping this step, and I’ve ended up having to repaint pieces after only a few months of use. Now, I always make sure to apply a clear coat. This has saved me from having to repaint several pieces over the years.
A clear coat is the final touch that can make your furniture last for years.
Putting It All Together: The Final Touches
After the clear coat is dry, I always take a look at the piece from all angles to check for any imperfections. I’ve found that even the smallest mistakes can be glaring if you’re not careful. I’ve learned to take my time with this step, as it can make a big difference in the final outcome.
I’ve also found that adding hardware can make a big difference in the look of a piece. I’ve used different types of knobs and handles on my furniture, and I’ve found that the right hardware can really tie the look together. I’ve experimented with different styles over the years, and I’ve found that some pieces look better with a modern, sleek look, while others look better with a more traditional design.
Finally, I always make sure to test the piece before moving it. I’ve found that testing the drawers, doors, and any moving parts is an important step. This helps me catch any issues before it’s too late. I’ve had a few pieces that didn’t work properly after I finished, and I’ve learned to take this step seriously.
💰 Budget Build
A cost-effective way to flip furniture using affordable materials and minimal tools.
⏰ Weekend Version
A quick, easy project that can be completed in a single day with minimal effort.
✨ Upgraded Finish
Add a professional touch with high-end paints and finishes for a polished look.
🏠 Small-Space Adaptation
A version of the project tailored for those with limited space and storage.
🔒 Rental-Safe Option
A version of the project that won’t damage your rental unit or its furnishings.
| The mistake | Why it happens | The fix |
|---|---|---|
| Skipping the cleaning step before sanding. | This can leave oils or dirt on the surface, which can interfere with paint adhesion. | Always clean the piece with a degreaser before sanding to ensure a smooth surface. |
| Using low-quality paint. | Low-quality paint tends to chip or fade more quickly, especially on pieces that get a lot of use. | Invest in a high-quality paint that is designed for furniture use. |
| Not allowing each coat to dry completely. | This can lead to uneven paint, peeling, or a bumpy finish. | Always wait for each coat to dry completely before applying the next one. |
| Using the wrong type of polyurethane. | Using the wrong type of polyurethane can lead to a finish that doesn't last or looks unattractive. | Choose a water-based polyurethane for furniture that dries faster and has a lower odor. |
How To Furniture Flipping & Painting Furniture Techniques
Common Questions
Can I paint over existing paint on furniture?
What type of paint is best for furniture flipping?
Do I need to use primer when painting furniture?
How long does it take to paint a piece of furniture?
Cite this guide
Flipper Lane (2026). How To Furniture Flipping & Painting Furniture Techniques. https://flipperlane.com/how-to-furniture-flipping-painting-furniture-techniques/[4]
Feel free to cite or share this guide.
References
- Nicole Eisenman: Painting the Story - Cornell AAP (aap.cornell.edu)
- Drift | Smithsonian American Art Museum (americanart.si.edu)
- McGaugh's Furniture Flips Gain National, International Attention (andersonuniversity.edu)
- Keeping U.S. Senate Historic Furniture Looking New | AOC (aoc.gov)