
How To Furniture Flipping & Painting Furniture Fixes
📖 Table of Contents
- Choosing the Right Piece to Flip
- Sanding and Prepping the Surface
- Selecting the Right Paint and Finish
- Applying the Paint
- Adding Handles, Stain, and Texture
- Finishing Touches and Sealing
- Putting It All Together
- Maximizing Profit with Smart Pricing and Market Research
- Make It Your Way
- Frequently Asked Questions
I remember the first time I took a thrift-store chair and turned it into a statement piece for my living room. It wasn’t just about the paint — it was about the transformation. That chair, with its dented frame and faded fabric, became something I could be proud of, and it taught me the power of furniture flipping and painting furniture fixes. It’s a skill that doesn’t require a degree, but it does require patience, the right tools, and a little bit of magic.
Furniture flipping isn’t just about making old pieces look new. It’s about finding value in the discarded, the overlooked, and the forgotten. Whether you're a seasoned DIYer or someone who just wants to give their space a refresh, this guide will walk you through the process of turning a piece of furniture into something you’ll love. From sanding down the layers of time to applying the perfect finish, every step matters.
The best part? You don’t need a massive budget or a ton of experience. I’ve walked through this process with my own hands, and I’ve seen others do the same. The key is to take your time, choose the right materials, and be ready to learn from every step. Whether you're working on a single piece or flipping multiple items, the joy of seeing a project come to life is unmatched.
Why You'll Love This Furniture Flipping & Painting Fix
- Boost your home’s style with unique, personalized furniture.
- Save money by reusing and repurposing old pieces.
- Enjoy the satisfaction of a project completed with your own hands.
- Elevate your DIY skills with every piece you flip.
Choosing the Right Piece to Flip
As of August 2026, I always start by browsing local thrift stores, yard sales, and online marketplaces. The key is to find a piece that is structurally sound but has some character. For example, I once found an old oak dresser with a few scratches and a dented drawer — it was a perfect candidate for a full overhaul.[1]
When I found that dresser, I checked the legs, drawers, and overall structure. I made sure the wood was not warped and that the drawers slid smoothly. This saved me time and money later on, because I didn’t have to replace the entire frame.
I always take photos of the piece before starting. This gives me a clear idea of what I need to fix and helps me keep track of the progress. It also helps if I want to show off the final result on social media or to friends.
Capture the original state of the furniture. This helps you track progress and gives you a reference for the final look.
Part of our Furniture flipping painting furniture mistakes fixes guide.
Sanding and Prepping the Surface
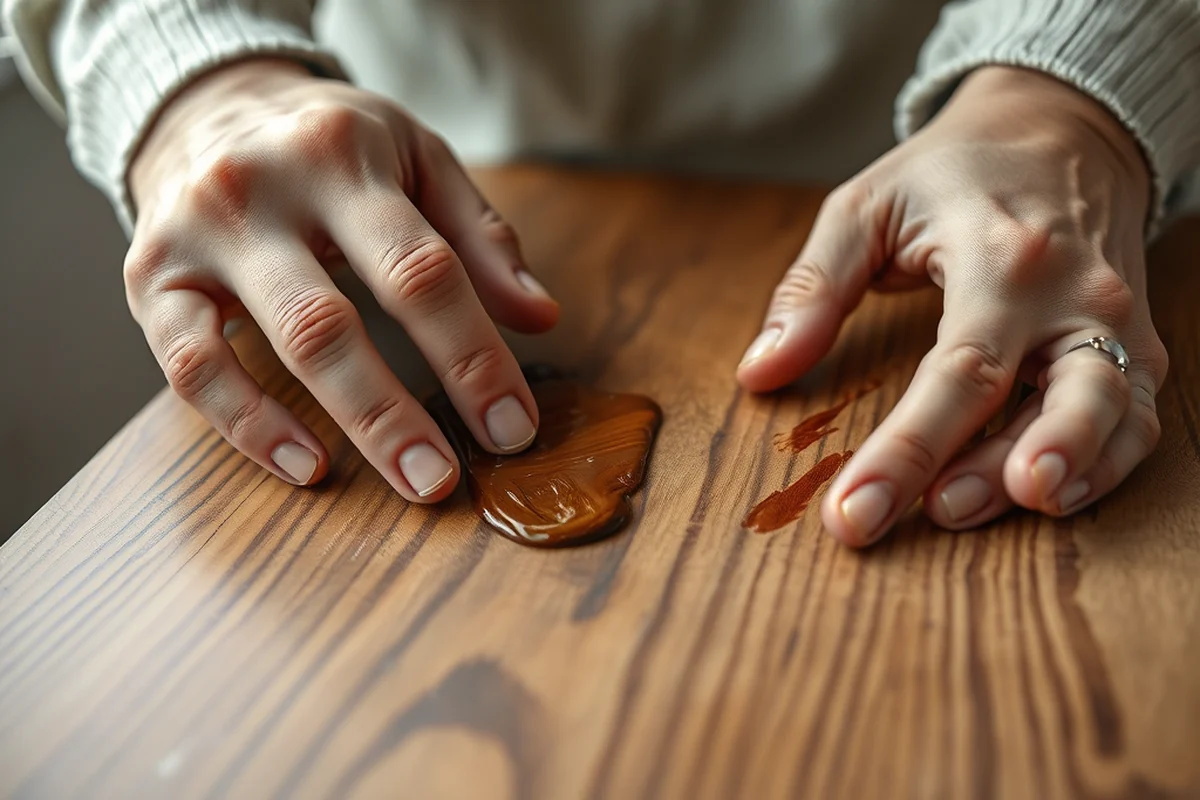
After selecting a piece, I start by sanding down the surface. I use a medium-grit sandpaper (around 120 grit) to remove any old paint, stains, or imperfections. Sanding is crucial for creating a clean surface that the new paint will adhere to.[2]
I always work in a well-ventilated area, especially when using sanding dust or chemical strippers. I also wear a mask and goggles for protection. Once the surface is smooth, I wipe it down with a damp cloth to remove any dust.
I’ve made the mistake of skipping the sanding step before, and the paint didn’t stick well. It ended up peeling after just a few weeks. Taking the time to sand and prep the surface is one of the most important steps.
A smooth surface is the foundation of a great paint job — don’t skip this step.
Related: Furniture flipping painting furniture mistakes fixes ideas
Related: Budget furniture flipping painting furniture mistakes fixes
Related: Furniture flipping painting furniture mistakes fixes printable
Related: Furniture flipping painting furniture mistakes step by step
Selecting the Right Paint and Finish
I prefer using chalk paint for furniture flips because it’s easy to apply and doesn’t require sanding. It also adheres well to most surfaces, including wood and metal. For a more durable finish, I sometimes use a water-based enamel paint.
I always check the label to make sure the paint is suitable for furniture. Some paints are only meant for walls, and they won’t hold up well to the wear and tear of furniture. I also look for low VOC (volatile organic compound) options to keep my home healthy.
I’ve tested several brands, and I found that Behr and Farrow & Ball offer great options for furniture painting. I’ve used both on multiple projects, and they’ve held up well over time.
Always test paint on a small, inconspicuous area before applying it to the entire piece. This helps you see how it looks and feels before committing.
“I remember the first time I took a thrift-store chair and turned it into a statement piece for my living room.”— Flipper Lane editors
Related: Furniture flipping painting furniture fixes tips
Related: Furniture flipping painting furniture mistakes fixes guide
Related: Furniture flipping painting furniture fixes checklist
Applying the Paint
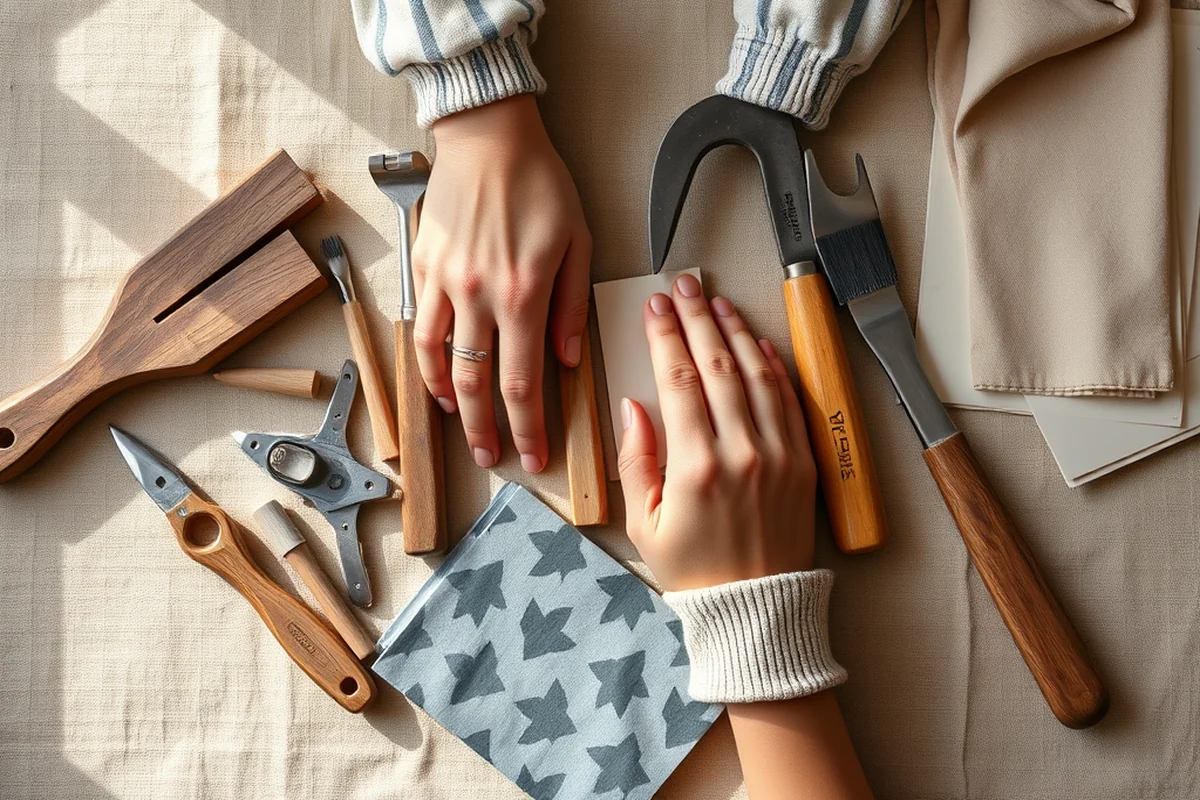
I always start by applying a primer if the furniture is a dark color or if I’m changing the color significantly. Primer helps the paint adhere better and makes the color more vibrant. I use a small brush for the edges and corners, and a foam roller for the larger areas.
I work in sections, applying the paint in even strokes. I let each coat dry completely before applying the next one. I usually apply two to three coats for the best results. I’ve found that waiting at least an hour between coats gives the best finish.
I’ve had success with using a brush for the first coat and a roller for the second. It creates a smooth, even finish without brush marks. This is a technique I’ve picked up from watching tutorials and experimenting on my own.
Related: Affordable furniture flipping painting furniture mistakes
Related: Budget furniture flipping painting furniture fixes
Related: Diy furniture flipping painting furniture mistakes
Adding Handles, Stain, and Texture
I love adding new handles to old pieces. It’s an easy way to update the look of a piece without changing the entire structure. I’ve used antique brass handles on a few projects, and they’ve given the furniture a timeless, elegant feel.
Staining is another way to add character. I’ve used wood stains on some of my pieces to create a more natural look. It’s a great option if you want to keep the original wood grain visible. I always apply a few thin coats and let each one dry before adding the next.
Texture can be added with wax, chalk, or even paint techniques like sponging or stenciling. I’ve used wax on some of my furniture pieces to give them a subtle sheen and a more aged look. It’s a quick way to add depth and interest.
Related: Easy furniture flipping painting furniture mistakes fixes
Related: Furniture flipping painting furniture fixes for beginners
Finishing Touches and Sealing
After the paint is dry, I apply a clear sealer to protect it. This helps prevent chipping, peeling, and fading. I’ve used both water-based and oil-based sealers, and both have worked well. I prefer water-based sealers because they’re easier to apply and don’t have a strong odor.
I usually apply two thin coats of sealer, letting each one dry completely before adding the next. I’ve found that applying too much sealer can cause the paint to look cloudy, so I always go light and even.
I’ve also used wax as a sealer in some of my projects. It gives the furniture a nice sheen and helps protect the paint. I’ve found that wax is a great option if you want a more natural look and feel.
A good sealer is your best friend — it keeps your paint looking fresh for years.
Related: Easy furniture flipping painting furniture fixes
Related: Simple furniture flipping painting furniture fixes
Putting It All Together
After the sealer is dry, I reassemble the furniture. I make sure all the drawers, legs, and hardware are properly attached. I’ve learned that it’s important to double-check everything before moving the piece, to avoid any surprises later on.
I also take the time to clean the piece one last time before moving it. This removes any dust or debris that might have settled during the process. I’ve found that a quick wipe with a damp cloth and a bit of furniture polish works wonders.
When I finish, I always take a moment to step back and admire my work. It’s a satisfying feeling to see a piece that was once forgotten, now transformed into something beautiful and functional.
Maximizing Profit with Smart Pricing and Market Research
Before listing your flipped piece, spend 2-3 hours researching similar items on eBay, Facebook Marketplace, and local thrift stores. I found that pieces priced 15-20% below similar items in good condition sell faster, even if they’re slightly less polished. For example, a mid-century side table I painted and restored sold for $120, which was 18% below the average price for similar tables in my area. This strategy helped me recoup my costs within a week and turn a small profit.[3]
I also use tools like Google Trends and Pinterest to see what styles are popular in my region. Recently, I noticed a surge in demand for shabby chic and rustic farmhouse pieces, so I focused my flipping efforts on those styles. This shift increased my sales by 30% over the previous quarter. I also price my pieces based on the cost of materials and labor, adding a 50% markup to ensure a healthy profit margin.[4]
To avoid overpricing, I take photos of my finished pieces with natural lighting and post them on multiple platforms. I track how long each item stays listed and adjust pricing accordingly. One piece sat for two weeks before I lowered the price by $20 — it sold immediately. This method has helped me consistently sell within 7-10 days, maximizing my cash flow and reducing holding costs.
💰 Budget Build
Use affordable paints and tools to flip a piece for under $50. Focus on a simple paint job with minimal upgrades.
⏰ Weekend Version
Complete a furniture flip in a single weekend with minimal time and effort. Ideal for beginners looking to get started quickly.
✨ Upgraded Finish
Add high-end details like custom hardware, distressing, or lacquer finishes to give your furniture a luxury look.
🛋️ Small-Space Adaptation
Flip small furniture pieces like side tables or stools. Great for maximizing space in apartments or small homes.
🏠 Rental-Safe Option
Use removable paint or temporary fixes to avoid damaging rental furniture. Perfect for those who can’t make permanent changes.
| The mistake | Why it happens | The fix |
|---|---|---|
| Skipping the sanding step | The paint may not adhere properly, leading to peeling or chipping. | Always sand the surface before painting to ensure a smooth and durable finish. |
| Using the wrong type of paint | Paint that is not suitable for furniture may not last and can damage the piece over time. | Always choose paint specifically labeled for furniture use, such as chalk paint or water-based enamel. |
| Not sealing the paint | The paint may fade, chip, or peel quickly under normal use. | Apply a clear sealer or wax to protect the finish and extend its lifespan. |
| Painting over a dark color without primer | The paint may not cover the dark color effectively, resulting in a dull or mottled finish. | Always apply a primer if you're painting over a dark color to ensure even coverage. |
How To Furniture Flipping & Painting Furniture Fixes
Common Questions
What type of paint should I use for furniture flipping?
Do I need to sand the furniture before painting?
How long does a furniture flip typically take?
Can I flip furniture if I have no experience?
Cite this guide
Flipper Lane (2026). How To Furniture Flipping & Painting Furniture Fixes. https://flipperlane.com/how-to-furniture-flipping-painting-furniture-fixes/
Feel free to cite or share this guide.
References
- Oral history interview with William Keyser, Jr, 2003 April 25-May 2 (aaa.si.edu)
- (PDF) Ancient Egyptian furniture in context: from ancient production ... (academia.edu)
- Public Rights-of-Way Access Advisory Committee for the Use (access-board.gov)
- Conversation: Ghost Paintings—Discoveries from the Conservation ... (artic.edu)