
Budget Furniture Flipping Painting Furniture Before After Projects
📖 Table of Contents
- Why Painting Furniture Is a Smart DIY Choice
- The Basic Tools You'll Need
- How to Prep Your Furniture for Painting
- Choosing the Right Paint Color and Finish
- Applying the Paint for the Best Results
- Finishing Touches for a Professional Look
- Where to Display Your Finished Piece
- Make It Your Way
- Frequently Asked Questions
I remember the first time I saw that scratched-up IKEA dresser in a thrift store, its legs wobbly and its paint chipped like old skin. It was $25, and I thought to myself, 'This could be something else.' That moment, right there, was the spark for my first furniture flip. I didn’t know how to paint furniture then, but I knew I wanted to give that piece new life—and I’m not alone. Budget furniture flipping, especially painting furniture before and after projects, is becoming a popular way to breathe new life into thrift store finds and transform them into something beautiful without breaking the bank.[1]
Over the last few years, I’ve turned dozens of thrift store finds into statement pieces for my home and even sold a few at local markets. The process is satisfying, not just because of the final look but because of the journey. Painting furniture is a skill I’ve learned by doing, by making mistakes, and by figuring out what works and what doesn’t. The key is patience, the right tools, and a little bit of elbow grease. And the best part? You can do it all in a weekend, with just a few dollars in materials and no need for any special skills.[3]
If you're on a budget but want to upgrade your home decor, painting furniture is a great place to start. It's not just about making things look new—it's about creating something personal. I’ve painted everything from side tables to bookshelves, and each project has taught me something new. Whether you’re a complete beginner or an experienced DIYer, budget furniture flipping painting furniture before and after projects can be both fun and rewarding. Let’s walk through how to do it step by step, so you can bring your own vision to life without the price tag.[4]
Why You'll Love This Budget Furniture Flipping Project
- Transform thrift store finds into high-style pieces with minimal cost.
- Customize your space with paint colors that match your personal style.
- Save money instead of spending it on new furniture.
- Create a lasting project that you can be proud of.
Why Painting Furniture Is a Smart DIY Choice
As of November 2026, Painting furniture is one of the most cost-effective ways to upgrade your home’s decor. Instead of buying a brand new piece for hundreds of dollars, you can pick up a used one for a fraction of the cost and give it a new look with just a few cans of paint and some sanding. This isn’t just about aesthetics—it’s also about sustainability. By giving old furniture a second life, you’re reducing waste and keeping it out of landfills.[5]
I’ve found that the best furniture flips start with a solid piece. Look for items that are structurally sound, even if they're not in perfect condition. A slight chip in the paint or a wobbly leg can be fixed with a little effort. Just make sure the frame is sturdy and the joints are tight. A piece that’s too damaged might not be worth the time or money to restore.
The beauty of painting furniture is that it allows you to express your personality. Whether you go for a bold accent color or a neutral tone that blends with your existing decor, you can make a piece your own. I’ve painted everything from dining tables to coffee tables, and each time, the final result has been something I’m proud to display.
Use a paint specifically formulated for furniture or wood surfaces. These paints are more durable and less likely to chip or peel. I prefer using a water-based, low-VOC paint for my projects—it’s eco-friendly and has a smooth finish.
Part of our Furniture flipping painting furniture before after projects guide.
The Basic Tools You'll Need
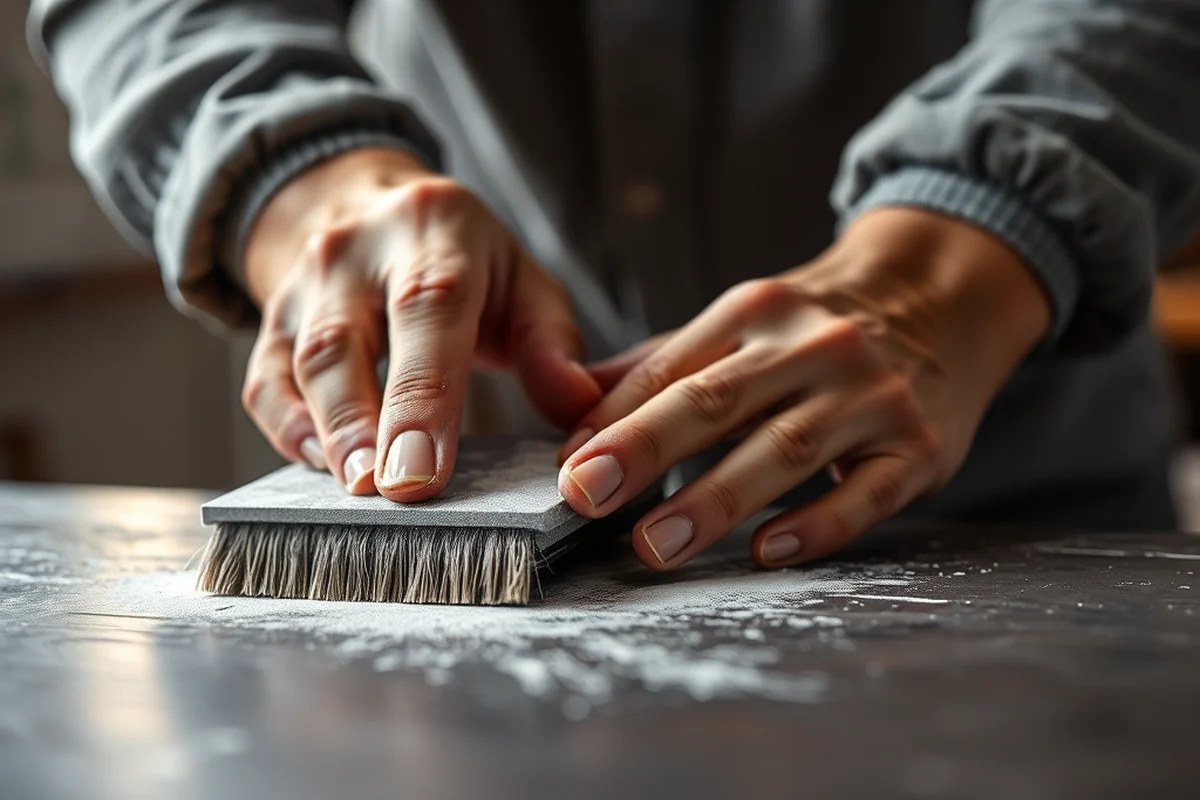
The key to a successful furniture painting project is having the right tools. I keep a small set of tools in my workshop, and for most of my projects, I only need three main ones: a brush, a sanding block, and a piece of painters’ tape. A brush with a thick bristle is great for applying paint evenly, especially on wood surfaces. I like using a 2-inch brush for larger areas and a smaller brush for details.
Sanding is an important step, especially if the furniture has any existing paint or finish. I always start by using a sanding block to smooth out any rough spots or old paint. It’s important to sand in the direction of the grain to avoid creating scratches. After sanding, I wipe the surface down with a damp cloth to remove any dust before applying paint.
Painters’ tape is useful for protecting areas you don’t want to paint, like edges or hardware. I’ve found that using tape helps keep the paint clean and sharp, especially around the edges of the furniture. It also makes the final product look more professional.
The right tools make all the difference in the final result.
Related: Best furniture flipping painting furniture before after projects
How to Prep Your Furniture for Painting
Before you even pick up a brush, it’s important to prepare your furniture properly. Start by cleaning the piece thoroughly. Use a mild detergent and warm water to remove any dirt or grime. I’ve found that using a degreaser or a furniture cleaner is especially helpful for removing old wax or polish that might prevent the paint from adhering properly.
After cleaning, sand the entire piece. This helps create a smooth surface and allows the paint to stick better. If there are any old finishes or paint, you may need to use a bit more force. I always make sure to sand in the direction of the wood grain to avoid leaving any marks.
Once the surface is smooth, wipe it down with a clean, damp cloth to remove any dust or debris. This is an important step because any dust or dirt left on the surface can cause the paint to look uneven or bumpy. I’ve learned from experience that skipping this step can lead to a less-than-perfect finish.
Even if the furniture looks clean, sanding helps the paint adhere better. I’ve found that skipping this step results in peeling paint over time, especially in high-traffic areas.
“I remember the first time I saw that scratched-up IKEA dresser in a thrift store, its legs wobbly and its paint chipped like old skin.”— Flipper Lane editors
Related: Furniture flipping painting furniture before that actually work
Choosing the Right Paint Color and Finish
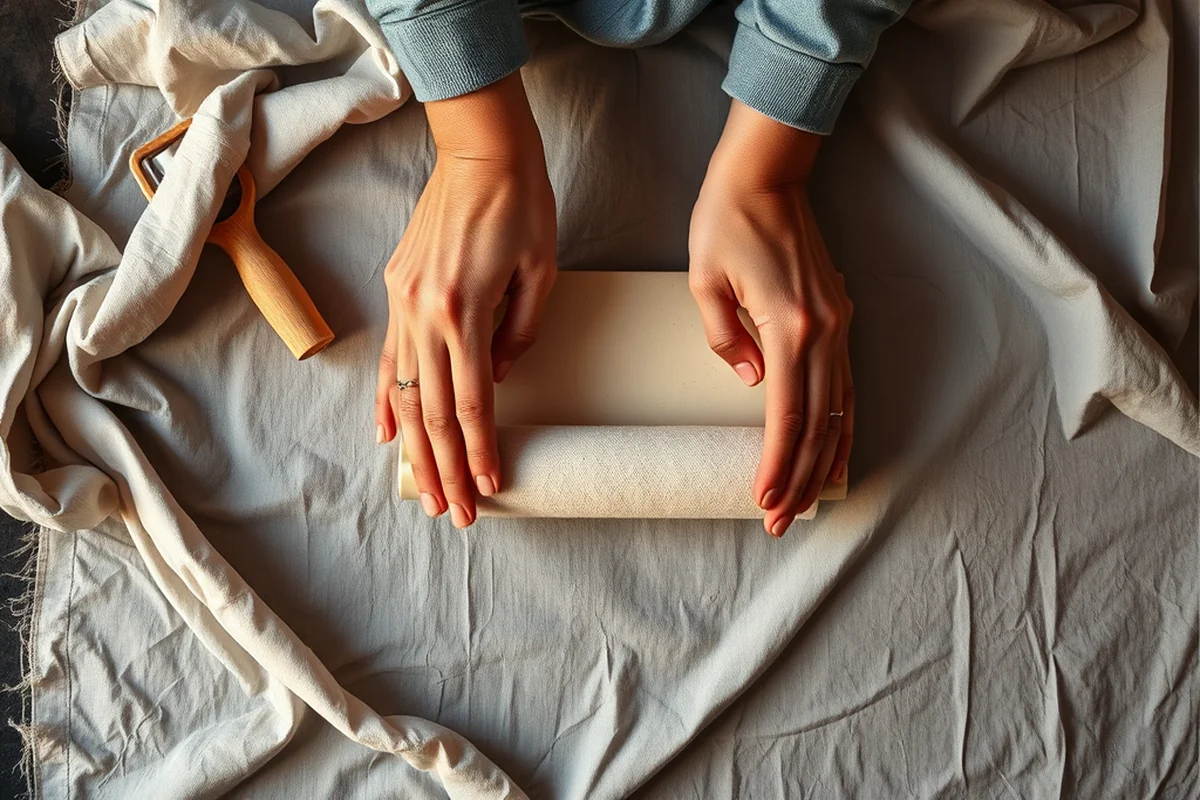
The paint color you choose will have a big impact on how the furniture looks in your space. I always consider the room’s existing decor and the color palette before making a choice. If you’re going for a bold look, a deep blue or rich red can add drama. For a more neutral tone, a soft gray or white can be a great option.
The finish of the paint is also important. A matte finish is great for hiding imperfections and gives a more modern look, while a gloss finish can make the furniture look more polished and elegant. I’ve found that a semi-gloss finish is a good all-around choice—it’s durable and easy to clean.
When in doubt, I go with a neutral color that will work well in most spaces. I’ve painted several pieces in white and have been thrilled with the results. It’s a versatile color that can match almost any decor and is easy to maintain.
Related: Furniture flipping painting furniture before after projects for small spaces
Applying the Paint for the Best Results
Once your furniture is clean and sanded, it’s time to start painting. I always apply the paint in thin, even coats. I’ve found that applying too much paint at once can lead to drips and uneven coverage. I like to use a brush with thick bristles to apply the paint smoothly, working in the direction of the wood grain.
After the first coat dries, I sand the surface again with a fine-grit sanding block. This helps create a smooth base for the next coat. I’ve learned from experience that skipping this step can result in a rough or bumpy finish. Once sanded, I wipe the surface down with a clean cloth to remove any dust.
I usually apply two to three coats of paint, depending on how opaque I want the color to be. Each coat should be allowed to dry completely before applying the next one. I’ve found that waiting at least 24 hours between coats ensures the paint is fully cured and won’t crack or peel.[2]
Related: Furniture flipping painting furniture before after projects for beginners
Finishing Touches for a Professional Look
Once the paint is fully dry, you can add some finishing touches to enhance the look of your furniture. I like to use a clear topcoat to protect the paint and give it a glossy or matte finish. This helps prevent the paint from chipping or peeling over time. I’ve found that using a water-based topcoat is a good option—it’s easy to apply and dries quickly.
Another great addition is a few decorative elements like hardware or a stencil design. I’ve used stencils to add a subtle pattern to the edges of my painted furniture. It’s a simple way to add some personality and make the piece look more unique. I’ve also experimented with adding a few metallic accents, like gold or silver, to create a more dramatic look.
After applying the topcoat, I always let it dry completely before using the furniture. This ensures the finish is fully cured and won’t chip or peel. I’ve learned from experience that rushing this step can lead to a less-than-perfect result. Taking the time to let everything dry properly is worth it in the end.
Finishing touches can make a huge difference in the final look.
Related: How to furniture flipping painting furniture before
Where to Display Your Finished Piece
Once your furniture is fully painted and finished, it’s time to find the perfect spot for it in your home. I’ve found that painted furniture works well in a variety of rooms, from living rooms and dining rooms to bedrooms and even bathrooms. A painted side table can be a great addition to a living room, while a painted dresser can add style to a bedroom.
When placing your painted furniture, consider the lighting in the room. I’ve found that placing a painted piece in a well-lit area can make it stand out more, especially if it has a bold color or a unique finish. On the other hand, a more neutral piece can work well in a room with dimmer lighting.
I’ve also found that painted furniture can be a great way to add some personality to a space. Whether you’re going for a modern, rustic, or eclectic look, there’s a painted piece that can fit your style. The key is to make sure the piece complements the rest of your decor and adds a touch of personality to the room.
🪑 Budget Build
Refurbish a thrifted chair with a basic paint job and minimal materials, perfect for first-time DIYers.
🛠️ Weekend Version
Complete a full furniture flip in a single weekend with a focus on speed and simplicity.
🎨 Upgraded Finish
Add a high-gloss topcoat and decorative hardware for an elevated, professional look.
🛋️ Small-Space Adaptation
Paint a small side table or shelf to maximize space and style in a tiny apartment or home office.
🚪 Rental-Safe Option
Use removable paint or temporary fixtures to refresh a piece without damaging it, perfect for renters.
| The mistake | Why it happens | The fix |
|---|---|---|
| Skipping the sanding step before painting | This can lead to a rough or uneven finish, as the paint won’t adhere properly to the surface. | Always sand the furniture before painting to create a smooth surface and ensure the paint sticks properly. |
| Applying too much paint in one coat | This can result in drips and a bumpy finish, especially if the paint isn’t allowed to dry properly. | Apply thin, even coats of paint and allow each coat to dry completely before applying the next one. |
| Not cleaning the furniture before painting | Dirt or grime can prevent the paint from adhering properly and can cause the finish to look uneven. | Always clean the furniture thoroughly before painting to ensure the paint adheres evenly and smoothly. |
| Using the wrong type of paint | Using a paint that’s not suitable for furniture can lead to peeling or chipping over time. | Use a paint specifically formulated for wood surfaces, and always read the label to make sure it’s appropriate for your project. |
Budget Furniture Flipping Painting Furniture Before After Projects
Common Questions
Can I paint over old paint without sanding?
What type of paint should I use on wood furniture?
How long should I wait between paint coats?
Can I paint furniture in a small space?
References
- Maggie Watson – [art]seen - Arts at Michigan (artsatmichigan.umich.edu)
- Seeing green: Billie Asmus '15, the Repaint Lady | Bethel University (bethel.edu)
- Before & After: A Flip Breakdown - Repeat Furniture (buzz.uni.edu)
- U.S. CONN LIBRARY RENOVATION PROJECT PROGRAM ... (ccpe.nebraska.gov)
- Sales and Use Tax Regulations - Article 3 - CDTFA (cdtfa.ca.gov)
Cite this guide
Flipper Lane (2026). Budget Furniture Flipping Painting Furniture Before After Projects. https://flipperlane.com/budget-furniture-flipping-painting-furniture-before-after-projects/
Feel free to cite or share this guide.