
Furniture Flipping & Painting Furniture Fixes For Beginners
📖 Table of Contents
- Getting Started: What You Need to Know
- Choosing the Right Paint for Your Project
- How to Paint a Piece of Furniture Step by Step
- Common Mistakes and How to Avoid Them
- Adding a Personal Touch: Stencils and Decals
- Finishing Touches: Sanding and Buffing
- Tips for Long-Lasting Results
- Make It Your Way
- Frequently Asked Questions
I still remember the first time I bought a broken dresser at a flea market for $15 and turned it into a stunning, custom-painted piece for my living room. It was a messy, paint-splattered weekend, but the result was worth every drop of sweat and every brushstroke. This is the power of furniture flipping and painting furniture fixes for beginners — it’s not just about making things look good; it’s about giving new life to discarded pieces and creating something uniquely yours.[1]
The idea of furniture flipping might sound intimidating, but in reality, it’s one of the most rewarding DIY projects you can take on. I’ve done everything from refinishing old tables to transforming a rickety chair into a statement piece. What I’ve learned is that the tools and materials needed are minimal, and the results are often far beyond what you might expect. You don’t need a degree in interior design — just a few basic supplies and a willingness to get your hands dirty.
If you’re new to furniture flipping and painting furniture fixes for beginners, the key is to start small and build confidence. I recommend beginning with a piece that’s not too valuable or complicated — like an old stool or a side table. Once you’ve mastered the basics, you can move on to more ambitious projects. The process is satisfying, affordable, and surprisingly easy to do even if you have no prior experience.[2]
Why You'll Love This Furniture Flipping & Painting Project
- Transform thrift store finds into personalized home decor with minimal cost.
- Enhance your living space without breaking the bank or hiring a professional.
- Spend quality time on a meaningful project that yields tangible results.
- Learn practical skills that can be applied to future DIY projects.
Getting Started: What You Need to Know
As of August 2026, to begin, you’ll need a few basic tools: sandpaper, a paintbrush, a roller, primer, and paint. I prefer using a 120-grit sandpaper for smoothing surfaces and a 2-inch brush for edges, which makes the job easier on my hands. It’s also important to have a drop cloth or newspaper to protect your floors and walls from paint splatters.[3]
Before you paint, it’s crucial to clean the furniture thoroughly. I use a mixture of water and dish soap to remove any dirt or grime. Once the surface is clean, I sand it lightly to create a smooth base for the paint. This step is essential because it helps the paint adhere better and last longer.
After sanding, I wipe down the surface with a damp cloth to remove any dust. Then, I apply a coat of primer. Primer is my favorite secret weapon — it helps the paint stick and covers any imperfections. I’ve found that using a primer saves me time and money in the long run because it reduces the number of coats of paint I need to apply.
A paint tray allows you to load your roller evenly and reduces drips, making the painting process more efficient. I’ve saved so much time by using one — it’s a small investment that pays off.
Part of our Furniture flipping painting furniture mistakes fixes guide.
Choosing the Right Paint for Your Project
I’ve tried everything from standard wall paint to chalk paint, and my favorite for furniture projects is chalk paint. It’s easy to apply, covers imperfections well, and doesn’t require sanding or priming — it’s a game-changer. I’ve used it on everything from dressers to chairs, and it’s always worked brilliantly.
If you’re working on a piece that’s going to be used frequently — like a table or a chair — I recommend using a paint that’s durable and moisture-resistant. I’ve had great success with water-based polyurethane, which adds a protective layer without making the furniture feel stiff or slippery.[4]
Another thing to consider is the color you choose. I love using light, neutral tones for furniture because they make a room feel more open and airy. But if you want to add a pop of color, go for it. I once painted a coffee table a deep navy blue, and it became the focal point of my living room.
The right paint can turn a tired old piece into a showstopper — it’s all in the details.
Related: Budget furniture flipping painting furniture fixes
Related: Easy furniture flipping painting furniture fixes
Related: Easy furniture flipping painting furniture mistakes fixes
Related: Best Furniture Flipping & Painting Furniture Style
Related: Furniture flipping painting furniture fixes checklist
Related: Furniture flipping painting furniture mistakes step by step
How to Paint a Piece of Furniture Step by Step
First, I always start by preparing the surface. That means cleaning, sanding, and priming. Once that’s done, I move on to painting. I apply the first coat of paint with a brush, making sure to cover all edges and corners. I let the paint dry completely before moving on to the next step.
After the first coat is dry, I apply a second coat, which gives the paint a more even and professional look. I’ve found that two coats are usually enough, but if the paint is very light or the surface is dark, you might need a third coat. I always allow each coat to dry fully before applying the next one.
Once the paint is dry, I apply a top coat of polyurethane to protect the surface. I’ve used both water-based and oil-based polyurethane, but I prefer water-based for its low odor and ease of use. It’s also easier to clean up afterward.
Natural light helps you see the true color of the paint and any imperfections on the furniture. I always paint in a well-lit room — it makes a huge difference in the final result.
“I still remember the first time I bought a broken dresser at a flea market for $15 and turned it into a stunning, custom-painted piece…”— Flipper Lane editors
Related: Simple furniture flipping painting furniture fixes
Related: Diy furniture flipping painting furniture mistakes
Related: How to furniture flipping painting furniture fixes
Common Mistakes and How to Avoid Them
One of the biggest mistakes I see is not preparing the surface properly. If you skip the cleaning, sanding, and priming steps, the paint may not adhere well and can chip or peel over time. I always take the time to do these steps — it’s worth it in the long run.
Another mistake is not allowing the paint to dry fully between coats. I’ve had a few instances where I applied a second coat too soon and ended up with a patchy, uneven finish. The solution is simple: be patient and wait for each coat to dry completely before moving on.
Finally, applying too much paint in one go can lead to drips and an unprofessional look. I recommend applying thin, even coats rather than trying to cover the surface with a single thick layer. This approach gives a smoother, more even finish.
Related: Furniture flipping painting furniture mistakes fixes ideas
Related: Furniture flipping painting furniture mistakes fixes printable
Adding a Personal Touch: Stencils and Decals
I love using stencils to add patterns or designs to furniture. They’re easy to use and can create a unique look. I’ve used stencils to add floral patterns to a coffee table and geometric shapes to a side table — both turned out beautifully.
If you’re not comfortable with stencils, you can use decals instead. They’re easy to apply and come in a wide variety of designs. I’ve used them on everything from cabinets to shelves — they’re a great option for people who want a quick, easy way to personalize their furniture.
When using stencils or decals, make sure the surface is clean and dry. I always use a small brush to apply a thin layer of paint over the stencil before lifting it — this helps the design transfer more evenly and cleanly.
Related: Furniture flipping painting furniture fixes tips
Related: Budget furniture flipping painting furniture mistakes fixes
Finishing Touches: Sanding and Buffing
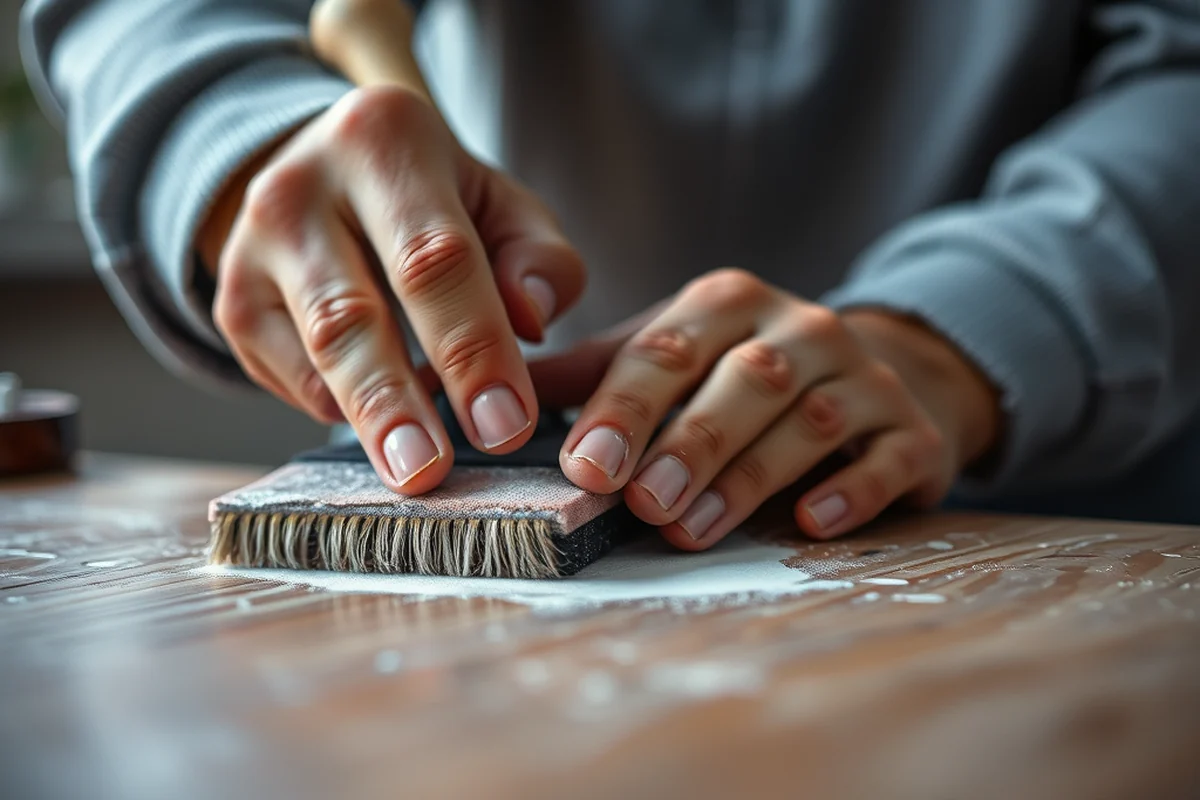
I always sand the painted surface lightly after the final coat of paint. This helps remove any imperfections and gives the furniture a smooth, even finish. I use a fine-grit sandpaper, like 220-grit, for this step.
Once the surface is smooth, I use a microfiber cloth to buff it. This helps bring out the shine and gives the furniture a polished look. I’ve found that buffing with a dry cloth works best — it’s simple and doesn’t require any additional products.
If you’re looking for a more durable finish, you can apply a top coat of wax or polyurethane. I’ve used both, and both work well. Just make sure to apply the product evenly and let it dry completely before using the furniture.
A little sanding and buffing can make all the difference in the final look of your furniture.
Related: Affordable furniture flipping painting furniture mistakes
Related: Furniture flipping painting furniture mistakes fixes guide
Tips for Long-Lasting Results
First, always use a high-quality paint and primer. I’ve found that using cheap products can lead to peeling and chipping over time. It’s worth investing in a good quality product to ensure your furniture looks great for years.
Second, make sure to apply the paint in thin, even coats. Thick coats can lead to drips and an uneven finish. I always apply two or three thin coats rather than one thick coat — it makes a big difference.
Finally, always allow the paint to dry completely before using the furniture. I’ve had a few instances where I used the furniture too soon and ended up with smudged or ruined paint. Patience is key with painting furniture.
💰 Budget Build
Use budget-friendly paints and repurpose existing items to create a stunning piece of furniture without breaking the bank.
⏰ Weekend Version
Complete a simple furniture painting project in just a few hours — perfect for a quick weekend DIY.
✨ Upgraded Finish
Add a professional look to your furniture with high-quality paint, primer, and a top coat of polyurethane.
🛋️ Small-Space Adaptation
Customize a piece of furniture to fit a small space, using compact designs and light colors to maximize the feel of the room.
🏠 Rental-Safe Option
Choose low-odor, easy-to-remove paints and finishes that are safe to use in rental properties.
| The mistake | Why it happens | The fix |
|---|---|---|
| Skipping the priming step. | Skipping the priming step can lead to poor paint adhesion and a patchy finish. | Always apply a coat of primer before painting, especially if the furniture is dark or has imperfections. |
| Using the wrong type of paint. | Using the wrong type of paint can result in a dull, uneven finish or peeling over time. | Choose a paint that’s suitable for furniture, like chalk paint or water-based paint. |
| Applying too much paint in one go. | Applying too much paint at once can lead to drips and an unprofessional look. | Apply thin, even coats rather than thick layers. Allow each coat to dry completely before applying the next. |
| Not allowing the paint to dry fully before using the furniture. | Using the furniture too soon can lead to smudged or ruined paint. | Always wait for the paint to dry completely before using the furniture. I recommend waiting at least 24 hours. |
Furniture Flipping & Painting Furniture Fixes For Beginners
Common Questions
What type of paint should I use for furniture?
Do I need to sand the furniture before painting?
How long should I wait between coats of paint?
Can I paint over old paint?
Cite this guide
Flipper Lane (2026). Furniture Flipping & Painting Furniture Fixes For Beginners. https://flipperlane.com/furniture-flipping-painting-furniture-fixes-for-beginners/
Feel free to cite or share this guide.
References
- Oral history interview with William Keyser, Jr, 2003 April 25-May 2 (aaa.si.edu)
- (PDF) Ancient Egyptian furniture in context: from ancient production ... (academia.edu)
- Public Rights-of-Way Access Advisory Committee for the Use (access-board.gov)
- Conversation: Ghost Paintings—Discoveries from the Conservation ... (artic.edu)