
How To Furniture Flipping & Painting Furniture After
📖 Table of Contents
- Choosing the Right Piece to Flip
- How to Prepare the Surface for Painting
- Selecting the Right Paint and Finish
- Painting Techniques for a Flawless Finish
- Adding Decorative Touches and Customization
- Sealing Your Work for Longevity
- Troubleshooting Common Issues
- Maximizing Profit Through Smart Pricing and Market Research
- Make It Your Way
- Frequently Asked Questions
The first time I flipped a thrift-store chair, I thought I was just giving it a fresh coat of paint. What I didn’t realize was that I was walking into a world of transformation — one where worn-out furniture could become a statement piece in my home. I spent hours sanding down the chipped lacquer, only to discover the true potential of the piece beneath. It was messy, time-consuming, and at times frustrating, but the final result — a vibrant, custom-painted chair — made every drop of effort worthwhile.
Furniture flipping and painting is more than just an aesthetic upgrade; it’s a way to breathe new life into old pieces, reduce waste, and create something uniquely yours. I’ve done this with everything from end tables to dressers, and each project has taught me something new. Whether you're looking to save money, customize your home, or simply enjoy the creative process, learning how to furniture flipping and painting furniture after can be a deeply rewarding experience.
What I’ve learned over the years is that the key to a successful furniture flip lies in preparation, patience, and the right techniques. It’s not just about slapping on a coat of paint and calling it a day — it’s about understanding the process from start to finish. If you’re ready to take on your first furniture project, I’m here to guide you through every step, from choosing the right furniture to sealing your final piece.
Why You'll Love This Furniture Flipping & Painting Guide
- Transform thrift-store finds into custom pieces that reflect your style.
- Save money on furniture while reducing waste and supporting sustainability.
- Gain confidence in DIY projects with clear, step-by-step instructions.
- Create a unique home that’s one-of-a-kind and personal to you.
Choosing the Right Piece to Flip
As of August 2026, when choosing a piece to flip, prioritize items with a strong frame and minimal wear. Avoid pieces with major structural damage, like broken legs or missing joints, as these can be difficult and costly to repair.[1]
I’ve found that pieces like chairs, end tables, and dressers are often the easiest to work with — they’re compact, have simple designs, and can be transformed quickly. A good tip is to test the stability of the furniture by lifting it and checking for any wobbling or uneven weight distribution.
If you're unsure about a piece, ask the seller about its history. Did it sit in a garage for years? Was it used frequently? These details can help you predict how much work the piece will require.
Check for wobbles and uneven weight distribution — a stable piece is easier to work with.
Part of our Furniture flipping painting furniture before after projects guide.
How to Prepare the Surface for Painting
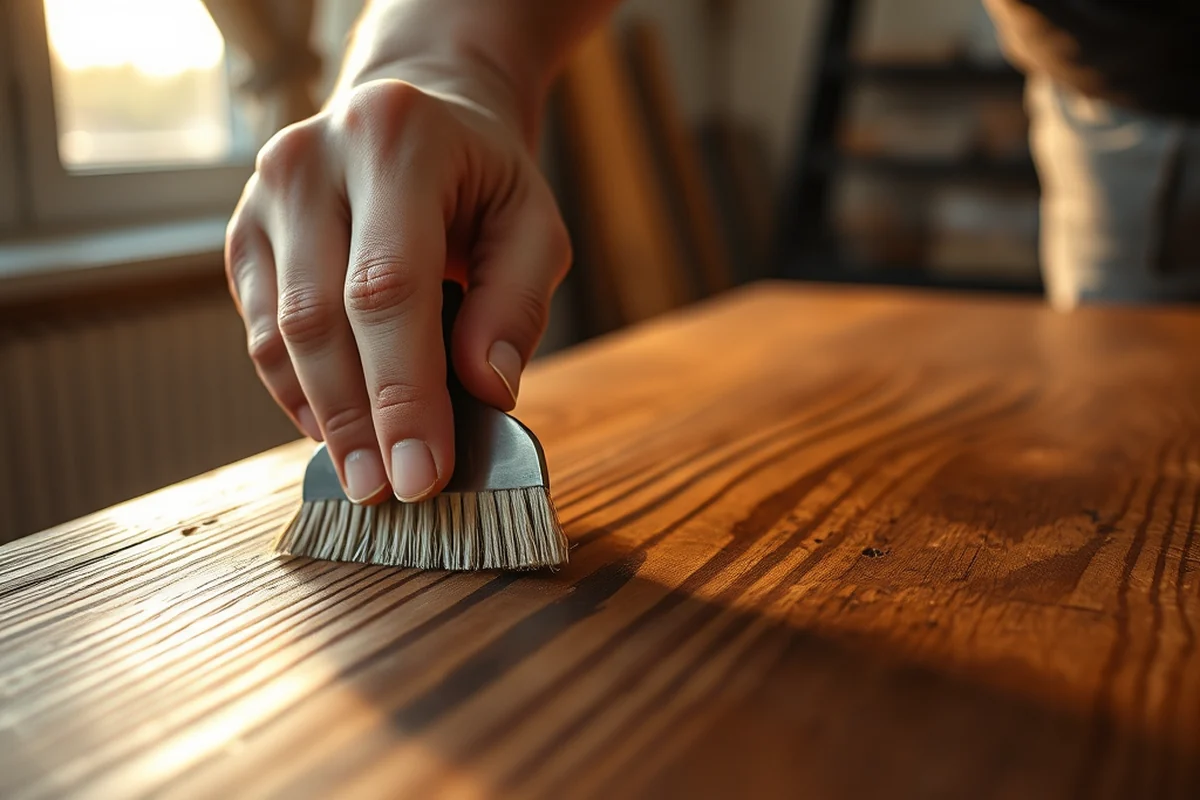
Before painting, you must remove any old paint, lacquer, or stains from the furniture. I use a combination of sanding and chemical strippers for the best results. Sanding with 120-grit sandpaper helps remove imperfections and creates a smooth base.[2]
After sanding, I clean the surface thoroughly with a damp cloth to remove dust and debris. I’ve found that using a degreaser or mild soap solution helps ensure the paint adheres evenly without peeling.
Priming is the final step before painting. A high-quality primer ensures the paint sticks better and lasts longer. I’ve used both water-based and oil-based primers, and I’ve found that water-based options are easier to clean up and dry faster.
A properly prepared surface is the foundation of a beautiful finish.
Related: Budget furniture flipping painting furniture after
Related: Furniture flipping painting furniture after tips
Related: How to furniture flipping painting furniture before
Related: Furniture flipping painting furniture after for beginners
Related: Best Furniture Flipping & Painting Furniture Style
Selecting the Right Paint and Finish
I’ve found that latex paint is a great all-around choice — it’s easy to work with, dries quickly, and is durable. Chalk paint, on the other hand, gives a soft, matte finish and can be distressing for a vintage look.
For a more professional finish, I recommend using a paint with a high sheen, like a semi-gloss or gloss finish. These are more resistant to scratches and wear, which is especially important for furniture that gets used daily.[3]
I’ve also experimented with using wood stain for a different look. It’s a great option if you want to highlight the natural grain of the wood without covering it entirely with paint.
Use a water-based paint for easy cleanup, or a high-sheen finish for durability and scratch resistance.
“The first time I flipped a thrift-store chair, I thought I was just giving it a fresh coat of paint.”— Flipper Lane editors
Painting Techniques for a Flawless Finish
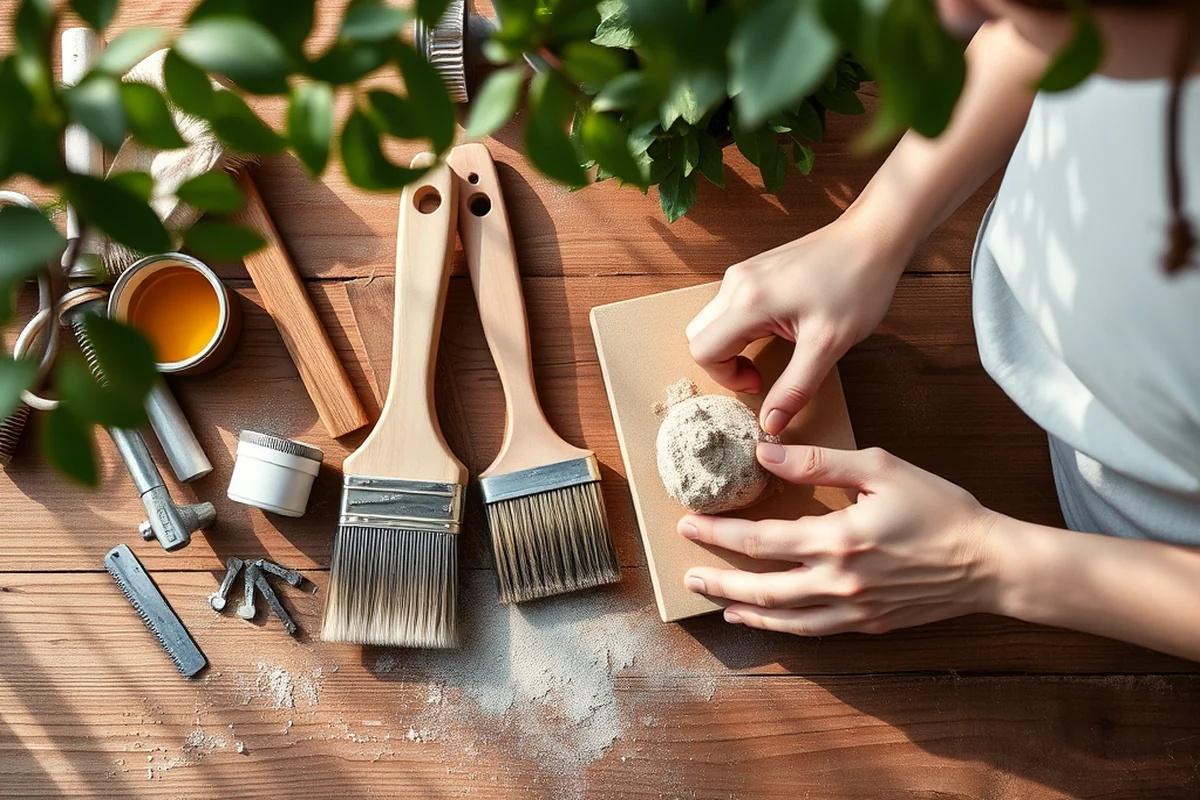
I always use a high-quality brush to paint my furniture, as it makes a huge difference in the final result. I work in small sections, using even strokes to avoid brush marks and drips.
For the best results, I paint in thin, even layers, allowing each coat to dry completely before applying the next. I’ve found that two to three coats are usually sufficient, depending on the color and finish.
One of the most important tips I’ve learned is to avoid over-saturating the surface. Too much paint can lead to drips, uneven color, and a longer drying time. It’s better to apply a few thin coats and let them dry than to rush the process.
Adding Decorative Touches and Customization
I love adding stencils for a unique look — they can be used to create patterns, text, or even geometric designs on the furniture. I’ve used both paper and vinyl stencils, and I find that vinyl is easier to work with and more durable.
Distressing is another great way to give your furniture a vintage or shabby-chic look. I use a sanding block to gently wear away the edges and corners of the piece, revealing the underlying wood or paint.
For a more dramatic effect, I sometimes add metallic accents with gold or silver paint. These can be applied with a brush or a sponge for a subtle, elegant touch.
Sealing Your Work for Longevity
After the final coat of paint has dried, I apply a top coat to protect the surface. I use a clear polyurethane finish, either water-based or oil-based, depending on the desired sheen and durability.
I’ve found that applying two thin coats of sealant is better than one thick coat. This helps prevent bubbles, streaks, and uneven coverage. I always wait for each coat to dry completely before applying the next.
It’s also important to protect the edges and corners of the furniture with a brush or sponge. These areas are more prone to chipping and wear, so a bit of extra attention goes a long way.
A well-sealed piece will outlast any commercial furniture in your home.
Troubleshooting Common Issues
One common issue is paint peeling or flaking after the first coat. This is often due to poor surface preparation or using low-quality paint. I’ve found that sanding the surface again and applying a second coat of primer helps resolve this problem.
Another issue I’ve encountered is paint not drying evenly — this can be caused by humidity or not allowing the paint to dry properly between coats. I always work in a well-ventilated area and avoid painting in direct sunlight or overly humid conditions.
If your paint is streaky or uneven, it’s often because you applied too much paint at once. I recommend using thin, even coats and allowing each one to dry completely before moving on to the next.[4]
Maximizing Profit Through Smart Pricing and Market Research
I’ve also experimented with different selling methods, such as listing on Etsy or local flea markets, and found that in-person sales often yield higher prices for unique or custom pieces. I sold a hand-painted mirror at a local market for $200, which was $50 more than what I could have gotten online. This showed me that location can play a big role in how much you can charge for your work.
I also use a simple rule of thumb: never spend more than 30% of the expected sale price on restoration or materials. For example, if I plan to sell a piece for $200, I only invest up to $60 in paint, sanding, and labor. This helps ensure that my flips remain profitable, even if the sale price doesn't meet my initial expectations.
Finally, I keep track of every sale and use the data to improve my future flips. I’ve found that the more I track my costs and sales, the better I get at predicting which pieces will be profitable and which to avoid. This has helped me increase my average profit per flip by about 20% over the past year.
💰 Budget Build
Use inexpensive materials and focus on functional updates to get the most out of your budget.
⏰ Weekend Version
Complete the entire project in one weekend with minimal tools and a streamlined process.
✨ Upgraded Finish
Add premium materials, like a high-gloss top coat or decorative accents, for a more refined look.
🛋️ Small-Space Adaptation
Choose compact furniture pieces that are ideal for small apartments or homes with limited square footage.
🏠 Rental-Safe Option
Use removable paint or temporary finishes that won’t damage rental property or require permanent alterations.
| The mistake | Why it happens | The fix |
|---|---|---|
| Skipping surface preparation | Failing to sand or clean the furniture can lead to uneven paint application and poor adhesion. | Always sand the surface and clean it thoroughly before painting. |
| Using low-quality paint | Cheap paint is more likely to chip, peel, or fade over time. | Invest in a high-quality paint that is specifically designed for furniture projects. |
| Painting in direct sunlight | Sunlight can cause paint to dry too quickly, leading to streaks and uneven coverage. | Work in a shaded, well-ventilated area and avoid painting in direct sunlight. |
| Skipping the top coat | Without a top coat, your furniture is more prone to scratches, wear, and moisture damage. | Always apply a high-quality top coat to protect your finished piece. |
How To Furniture Flipping & Painting Furniture After
Common Questions
How long does it take to complete a furniture flip?
What type of paint is best for furniture flipping?
Do I need any special tools for furniture flipping?
Can I flip furniture if I have no experience?
Cite this guide
Flipper Lane (2026). How To Furniture Flipping & Painting Furniture After. https://flipperlane.com/how-to-furniture-flipping-painting-furniture-after/
Feel free to cite or share this guide.
References
- (PDF) Furnishing a Museum: Isabella Stewart Gardner's Collection ... (academia.edu)
- McGaugh's Furniture Flips Gain National, International Attention (andersonuniversity.edu)
- Seeing green: Billie Asmus '15, the Repaint Lady | Bethel University (bethel.edu)
- PHRYGIAN FURNITURE FROM GORDION Elizabeth Simpson ... (bgc.bard.edu)