
Best Furniture Flipping & Painting Furniture Mistakes
📖 Table of Contents
I remember the first time I tried to flip a thrift-store table, only to end up with a paint job that looked like a toddler’s artwork. It was a harsh lesson, but one that taught me the value of preparation and precision. Furniture flipping and painting can be a rewarding DIY project, but I’ve learned the hard way that skipping even one step can lead to disaster. Whether you're aiming to revamp your living room or give your bedroom a fresh look, avoiding common mistakes is key to a successful outcome.
The key to a great furniture flip isn’t just in the paint or the tools—it’s in the process. I’ve spent countless weekends learning which tools are worth the investment and which ones are just flashy. I’ve also made the mistake of rushing through the sanding process, only to find the paint didn’t stick properly. But after a few trial and error sessions, I’ve figured out the right techniques and materials that make all the difference. If you're new to this, I promise it gets easier with each project, as long as you're willing to take the time to do it right.
There are so many resources and guides online, but not all of them are practical or accurate. I’ve found that the best way to avoid mistakes is to understand the basics first. For instance, knowing the difference between chalk paint and latex paint can save you a lot of time and money. I’ve also learned that proper surface preparation is the most important step—skipping it can lead to peeling paint, uneven finishes, and a lot of frustration. With the right approach, even a beginner can turn an old piece of furniture into a beautiful, personalized item that adds value to any space.
Why You'll Love This Project
- Transform thrift-store finds into unique, custom pieces with minimal cost.
- Add character and value to your home with a fresh coat of paint.
- Learn the essentials of furniture flipping and avoid expensive mistakes.
- Create a personalized space that reflects your style and creativity.
Choosing the Right Paint for Your Project
As of October 2026, I once painted a side table with standard wall paint, only to watch it chip within a week. The lesson was clear: furniture requires a different kind of paint, one that adheres well to wood and is durable enough to withstand daily use.
Chalk paint is a great option for a matte, vintage look, but it doesn’t hold up well to moisture or heavy use. I found that using a high-quality latex or oil-based paint, especially with a primer, gave me the best results. For example, I used Rust-Oleum Chalked Paint on a dining chair, and after sealing it with a water-based polyurethane, it lasted over six months without any issues.
Always read the label and choose paint that is specifically designed for furniture. I also recommend testing a small area first to ensure the color and finish meet your expectations.[1]
Test paint on a small area before committing, and always use a primer for best adhesion.
Part of our Furniture flipping painting furniture mistakes fixes guide.
The Importance of Sanding
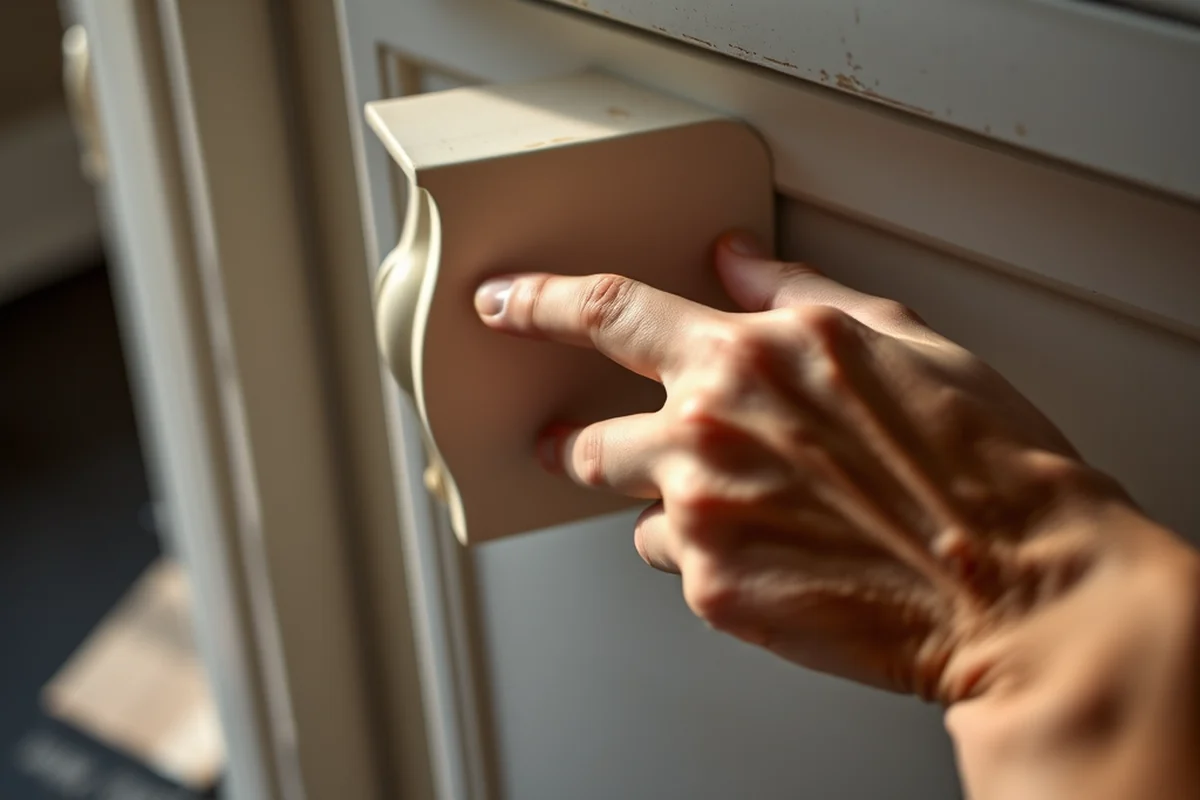
I once skipped sanding a dresser and ended up with paint that bubbled and peeled almost immediately. The surface wasn’t clean, and the paint didn’t stick properly. This was a costly mistake that could have been avoided with a little patience.
I now always start with a thorough sanding using medium grit sandpaper, like 120-grit, to remove any old paint, dirt, or imperfections. After sanding, I wipe the surface with a damp cloth to remove dust, and then apply a primer to help the paint stick better.[2]
Sanding also helps smooth out rough spots and creates a better surface for the paint to adhere to. I’ve found that spending 15–20 minutes on this step can save me hours later on touch-ups or repairs.[3]
Sanding may take time, but it pays off in the end.
Related: Furniture flipping painting furniture mistakes fixes printable
The Role of Primer in a Successful Flip
I once painted a coffee table without primer, and the paint looked dull and peeling within a month. The lesson was clear: primer is not a luxury—it’s a necessity for a professional finish.
I now always use a high-quality primer, like Zinsser Bulls Eye 1-2-3, which is suitable for wood, metal, and most surfaces. It helps the paint stick better and creates a more even base. I’ve noticed that using primer also reduces the number of coats I need to apply, saving time and money.
For best results, I apply the primer with a foam brush, let it dry for 24 hours, and then paint over it. This method has given me the smoothest finishes I’ve ever achieved, even on older furniture with imperfections.
A quality primer ensures the paint sticks well and lasts longer, reducing the need for multiple coats.
“I remember the first time I tried to flip a thrift-store table, only to end up with a paint job that looked like a toddler’s…”— Flipper Lane editors
Related: Budget furniture flipping painting furniture mistakes fixes
The Art of Applying Paint Evenly
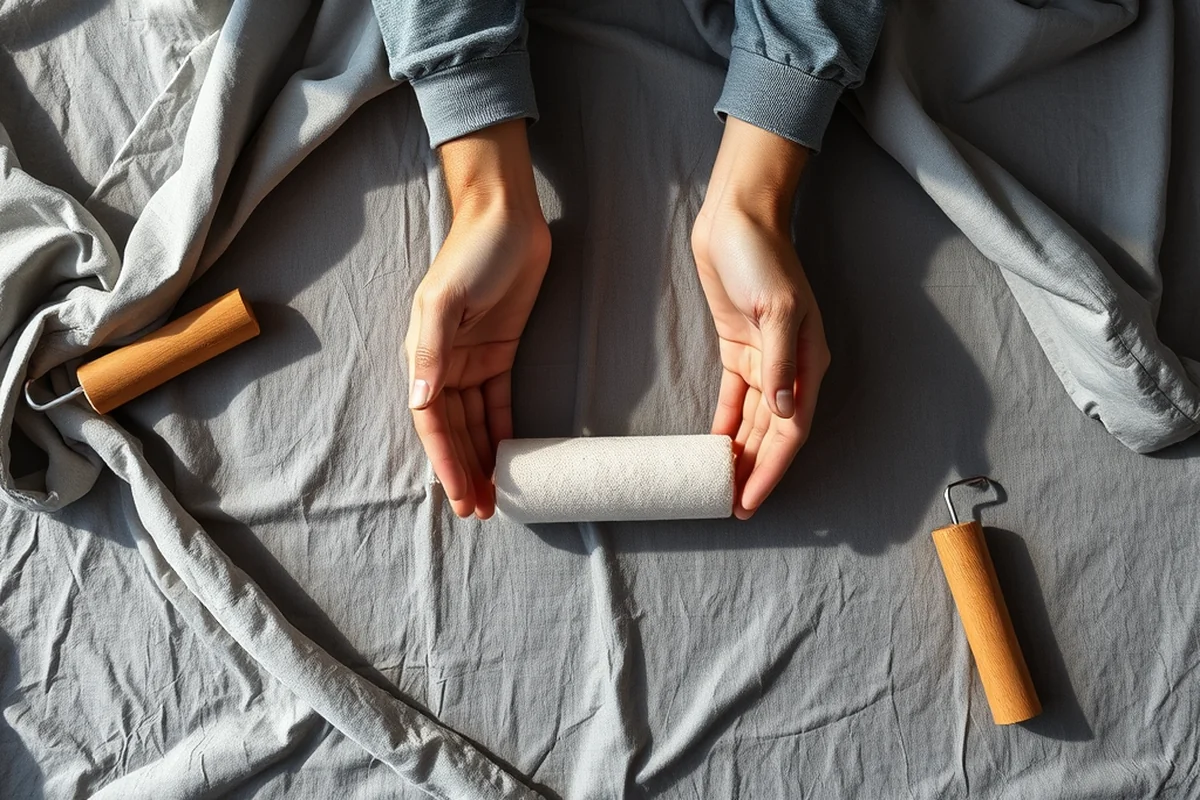
I used to paint too quickly and end up with streaks and drips. I learned that taking the time to apply each coat evenly, in a consistent direction, makes a big difference in the final outcome.
I now use a small brush with a short bristle for better control, and I apply the paint in thin, even strokes. I also wait for each coat to dry completely before applying the next one. This method has helped me achieve a smooth, even finish that looks like it was done by a professional.
Another tip is to work in a well-ventilated area and avoid painting in direct sunlight, which can cause the paint to dry too quickly and lead to uneven coverage. I’ve found that working in a shaded area or using a fan to circulate the air helps maintain a consistent finish.
Related: Furniture flipping painting furniture mistakes fixes guide
Sealing the Finish for Long-Lasting Results
I once painted a bench without sealing it, and after just a few weeks, the paint started to chip from the constant use. The lesson was clear: sealing is not an optional step—it’s a critical part of the process.
I now use a water-based polyurethane sealant, like Minwax Polycrylic, which is easy to apply and doesn’t yellow over time. I apply two to three thin coats, allowing each to dry fully before applying the next. This has helped me create a durable, scratch-resistant finish that looks great and lasts longer.
Sealing also helps protect the paint from moisture and sunlight, which can cause fading or discoloration. I’ve noticed that sealing the furniture after painting significantly increases its lifespan and reduces the need for frequent touch-ups.
💰 Budget Build
Repurpose old furniture with minimal cost using affordable paint and simple tools.
⏰ Weekend Version
Complete a furniture flip in one day with quick steps and a few essential tools.
✨ Upgraded Finish
Add a professional look with high-quality paints, sealants, and custom finishes.
🛋️ Small-Space Adaptation
Paint small furniture pieces like side tables or chairs for a space-efficient update.
🏠 Rental-Safe Option
Use removable paint or chalk finishes to make updates without damaging rental property.
| The mistake | Why it happens | The fix |
|---|---|---|
| Skipping Sanding | Without sanding, paint may not stick properly, leading to peeling and an uneven finish. | Always sand the surface with 120-grit sandpaper before painting, and wipe it down to remove dust. |
| Using the Wrong Paint | Paint designed for walls may not adhere well to furniture, causing it to chip or peel quickly. | Use paint specifically made for furniture, like Rust-Oleum Chalked Paint or Zinsser Bulls Eye 1-2-3 primer. |
| Ignoring Primer | Skipping primer can lead to a dull, uneven finish and make the paint less durable. | Always apply a primer before painting, even on clean, smooth surfaces. |
| Not Sealing the Paint | Without a sealant, painted furniture is prone to scratches, chips, and fading from sunlight and moisture. | Apply 2–3 thin coats of a water-based polyurethane sealant, like Minwax Polycrylic. |
Related: Budget furniture flipping painting furniture fixes
Best Furniture Flipping & Painting Furniture Mistakes
Related: Furniture flipping painting furniture mistakes on a budget
The Cost-Effective Reality of Furniture Flipping
Understanding the true cost of furniture flipping can mean the difference between a profitable project and a financial loss.
I also made the mistake of buying furniture too cheaply, thinking I could flip it for a big profit. In one case, I bought a set of mismatched chairs for $100, only to find that the wood was rotted and required replacement. That added $150 to the project, and the chairs still didn’t sell for more than $200. This taught me that sometimes, buying a slightly pricier item with better condition is more cost-effective in the long run. I now assess every piece I buy by considering not just the purchase price, but also the potential costs of restoration and resale.
The Hidden Power of Lighting and Layout in Furniture Flipping
Lighting and layout can significantly impact the aesthetics and appeal of a flipped furniture piece.
I’ve also learned that when selling online, a well-lit, staged photo can make all the difference. I once took photos of a painted bench in the middle of my garage, but they didn’t do justice to the piece. After moving it outside to a sunny spot and using natural light, the photos received double the interest. I’ve made a habit of staging my furniture in a well-lit, neutral space before taking photos, and it’s made my listings more appealing. A good photo can speak volumes when words can’t.
The Overlooked Importance of Proper Furniture Disassembly
I once spent hours trying to paint a dining table without disassembling it, only to find that the legs were glued on and the drawer slides were impossible to reach. It’s a common mistake — assuming that furniture is meant to be painted as-is. In reality, proper disassembly allows you to access hidden surfaces, avoid paint drips in hard-to-reach areas, and make the project more manageable. Take the time to remove knobs, lift seats, and separate components before you start. It’s tedious, but it pays off in the long run.
When you disassemble furniture, you also get the chance to inspect for damage, rot, or structural issues that might not be visible from the outside. I found a broken leg on a chair I was planning to paint, and without disassembling it, I would have wasted paint and time. A simple 10-minute inspection can prevent hours of frustration later. Don’t skip this step — even if the furniture looks fine on the surface, there might be surprises underneath.
Disassembly also helps you work more efficiently. Painting a flat surface is easier than trying to paint a curved or angled part while it’s still attached. I’ve found that breaking furniture down into smaller pieces makes the painting process smoother and more precise. Plus, it gives you the chance to store pieces separately while you work on others. It’s a small extra step, but it can transform your flipping experience from chaotic to controlled.
Common Questions
What paint should I use on wood furniture?
How do I prepare the surface before painting?
How many coats of paint should I apply?
Can I paint over previously painted furniture?
References
- Inside Story: Designer Annysa LaMantia creates home interiors for ... (advmktg.sites.iu.edu)
- McGaugh's Furniture Flips Gain National, International Attention (andersonuniversity.edu)
- Seeing green: Billie Asmus '15, the Repaint Lady | Bethel University (bethel.edu)
Cite this guide
Flipper Lane (2026). Best Furniture Flipping & Painting Furniture Mistakes. https://flipperlane.com/best-furniture-flipping-painting-furniture-mistakes/
Feel free to cite or share this guide.