
Furniture Flipping & Painting Furniture Mistakes On A Budget
📖 Table of Contents
I bought a beat-up pine coffee table at a garage sale for $15, thinking I'd give it a fresh coat of paint and call it a day. What I didn't know was that I was about to spend the next three days learning the hard way about furniture flipping and painting furniture mistakes on a budget. By the time I'd finished, I'd used up two cans of paint, ruined a pair of brushes. Ended up with a table that looked more like a child's craft project than a finished piece. But here's the thing: I learned more in those three days than I ever had from watching YouTube tutorials or reading DIY guides. That table now sits in my living room, and I know exactly which mistakes to avoid next time.[1]
Furniture flipping can be a game-changer for anyone looking to refresh their space without breaking the bank. But if you're not careful, you can end up with a project that's more frustrating than fulfilling. I've spent the past five years flipping furniture, from thrift store finds to IKEA rejects, and I've made every mistake in the book. I've used the wrong type of paint, skipped sanding, and even painted over a surface that wasn't properly cleaned. Each of these mistakes taught me something valuable, and now I want to share that knowledge with you. Whether you're a complete beginner or just looking for a few tips, this guide will help you avoid the most common painting furniture mistakes on a budget.
The beauty of furniture flipping is that it's not about perfection—it's about transformation. You don't need a professional paint sprayer or a perfectly smooth surface to make a piece of furniture look amazing. In fact, I've found that the best results come from understanding the basics, knowing which mistakes to avoid, and being willing to adapt as you go. I've painted everything from dressers to bookshelves, and each project has taught me something new. The key is to be patient, stay within your budget, and don't be afraid to experiment. With the right tools and a little know-how, you can turn a tired, worn-out piece into a statement-making addition to your home.
Why You'll Love This Furniture Flipping Guide
- Avoid costly mistakes by learning from real DIY experiences.
- Get step-by-step guidance tailored to budget-friendly projects.
- Transform thrift store finds into personalized home decor.
- Save money by repurposing old furniture instead of buying new.
Why Sanding Is Non-Negotiable
As of October 2026, Sanding is the most crucial step in furniture flipping, and I can't emphasize it enough. I once painted a dining table without sanding, thinking the paint would stick to the old finish. By the time the paint had dried, I had a table that looked like it had been hit by a car. The paint had lifted in patches, and the surface was rough and uneven. I ended up having to sand it all over again, which took me two full days. The lesson? No matter how smooth the surface looks, you must sand it to ensure proper adhesion.
I've used different types of sandpaper, and I've found that 120-grit is the best for most furniture projects. It's coarse enough to remove old finishes and rough spots but not so coarse that it leaves deep scratches. If you're working on a piece that's already been painted, like a thrift store find, you may need to go up to 150-grit. After sanding, I always wipe the surface down with a damp cloth to remove any dust. This step is important because dust can cause paint to look cloudy or uneven.[2]
I've also learned that sanding is easier if you work in a well-ventilated area. I once tried sanding in my garage, and the dust was so thick that I ended up coughing for hours. Now, I always sand outside or in a room with an open window. This simple precaution has made a huge difference in the quality of my work and my overall comfort while painting.
Always sand with 120-grit paper before painting. Wipe the surface clean with a damp cloth afterward to avoid dust build-up.[3]
Part of our Furniture flipping painting furniture mistakes fixes guide.
Choosing the Right Paint
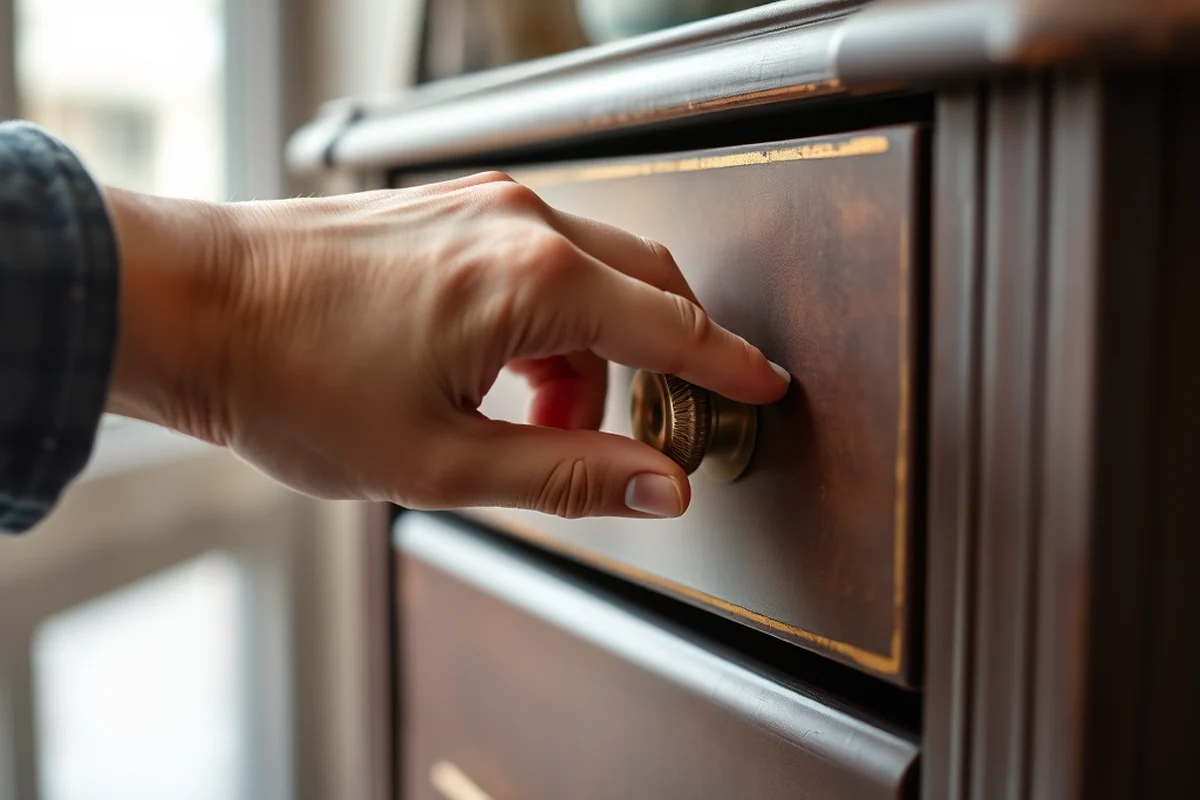
I once used regular wall paint to paint a wooden chair, thinking it would work just fine. It looked great at first, but within a few weeks, the paint started peeling in large patches. The paint had no adhesion to the wood, and it was a disaster. I had to sand the chair down again and start over with the right type of paint. Now, I always use either chalk paint or latex paint with a bonding primer. Both of these types of paint are designed for wood surfaces and provide a much better finish.
I've tried using different brands, and I've found that Behr and Rust-Oleum are both excellent options for furniture painting. They're affordable, easy to work with, and provide a durable finish. If you're looking for something with a more vintage look, chalk paint is a great choice. It has a matte finish and can be distressed easily. I've used chalk paint on several projects, and I've been really happy with the results.
Another thing I've learned is that using a primer is essential. I once painted a piece of furniture without a primer, and the paint didn't stick properly. It looked patchy and uneven. Now, I always use a bonding primer before painting, and I've noticed a huge difference in the quality of my work. The primer helps the paint adhere better and also provides a smoother finish.
Using the right type of paint and primer can make all the difference in your finished project.
Related: Diy furniture flipping painting furniture mistakes
Don't Skip the Primer
I've made the mistake of skipping the primer on a few projects, and every time, it came back to haunt me. One time, I painted a kitchen table without using a primer, and within a few weeks, the paint had started peeling and flaking. It looked terrible, and I had to go back and do it all over again. Now, I always use a bonding primer, and it's made a huge difference in the quality of my work.
I've tried a few different brands of primer, and I've found that Behr and Kilz are both excellent options. They're affordable and easy to use. When I apply the primer, I always use a brush to get into the corners and edges, and I use a roller for the larger flat surfaces. I've found that using a brush gives me more control and helps me avoid getting paint on the floor or other areas where I don't want it.
I've also learned that applying two coats of primer is better than one. The first coat helps the paint adhere better, and the second coat gives me a more even finish. I've noticed that using two coats of primer makes the paint last longer and look better overall. It's a small step, but it can make a big difference in the final result.
Apply two coats of bonding primer to ensure proper adhesion and a smooth finish. Use a brush for corners and a roller for flat surfaces.
“I bought a beat-up pine coffee table at a garage sale for $15, thinking I'd give it a fresh coat of paint and call it…”— Flipper Lane editors
Related: Furniture flipping painting furniture mistakes fixes printable
Painting Techniques That Work
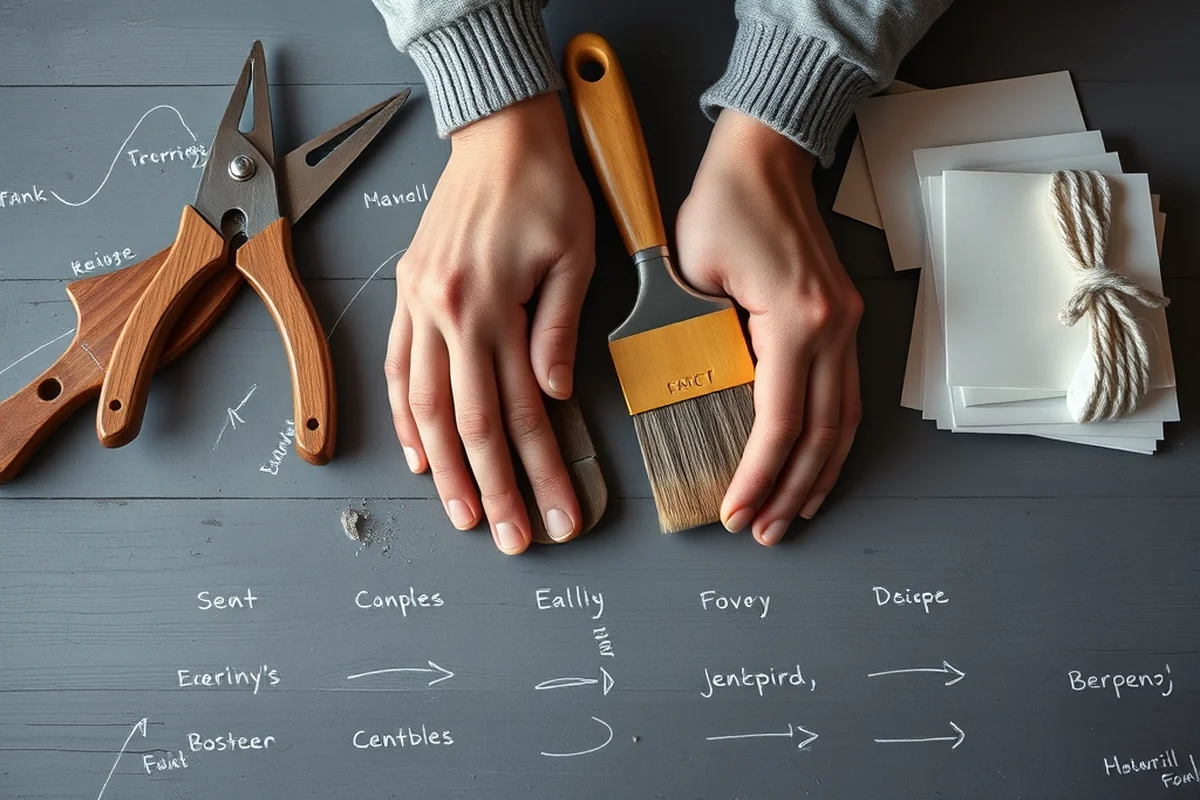
I've learned that the way you apply paint can make a huge difference in how your furniture looks. I used to paint in long, sweeping strokes, thinking that would give me an even finish. But what I didn't realize was that this technique led to streaks and uneven coverage. Now, I always paint in short, even strokes, and I've noticed a big improvement in the quality of my work.
I've also found that using a brush is better for small areas and edges, and a roller is better for larger flat surfaces. I've tried using different types of brushes, and I've found that using a high-quality brush with natural bristles gives me the best results. The brush doesn't leave streaks or bubbles, and it's easier to control.
Another thing I've learned is that it's important to paint in thin, even coats. I used to apply too much paint at once, which led to drips and a messy finish. Now, I apply two or three thin coats, and I've found that this gives me a much better result. Each coat dries faster, and I can see the color developing more evenly.
Related: Budget furniture flipping painting furniture mistakes fixes
The Importance of Letting Paint Dry
I used to think that I could just paint a piece of furniture and be done with it in a day. But I learned the hard way that rushing the drying process leads to a poor finish and a lot of wasted time. One time, I painted a dresser and tried to move on to the next step before the paint was fully dry. The result was a mess—paint had smudged all over the surface, and I had to start over.
Now, I always make sure to let the paint dry completely before moving on to the next step. I've found that it's best to wait at least 24 hours before applying the second coat. This gives the paint time to cure and ensures that it doesn't smudge or smear. I've also learned that it's important to work in a well-ventilated area to help the paint dry faster.[4]
Another thing I've learned is that using a fan can help speed up the drying process. I've used a small desk fan to blow air over my furniture, and I've noticed that it helps the paint dry faster and more evenly. This simple tip has saved me a lot of time and frustration over the years.
Related: Furniture flipping painting furniture mistakes fixes guide
Avoiding Common Painting Pitfalls
I've made a lot of mistakes over the years, but I've learned from each one. One of the biggest mistakes I made was not cleaning the surface properly before painting. I painted a table that had a lot of dirt and grime on it, and the paint didn't stick properly. The finish was patchy and uneven. Now, I always make sure to clean the surface thoroughly before painting, using a mild detergent and water to remove any dirt or grime.
Another mistake I made was using the wrong type of brush. I used a brush that was too large for the piece I was painting, and it left a lot of streaks and bubbles in the paint. Now, I always use a brush that's the right size for the surface I'm painting. This has made a big difference in the quality of my work.
I've also learned that it's important to work in a well-lit area. I used to paint in a room with low lighting, and I found that I couldn't see the details properly. Now, I always work in a well-lit area, and I've noticed a big improvement in the quality of my work.
Avoiding common mistakes can make all the difference in your furniture flipping success.
Related: Budget furniture flipping painting furniture fixes
Finishing Touches and Maintenance
I've learned that the right finish can make all the difference in how your furniture looks and lasts. I used to skip the top coat, thinking it wasn't necessary. But I quickly learned that without a top coat, the paint would wear off quickly and look dull. Now, I always use a clear top coat to protect the paint and give it a nice finish.
I've tried using different types of top coats, and I've found that polyurethane is the best option for most furniture projects. It's durable, and it gives the furniture a nice shine. I've also found that using a matte finish is better for furniture that's used a lot, like a table or a chair. It's less likely to show scratches and wear.
I've also learned that taking care of your furniture after you're done painting is important. I used to move furniture around immediately after painting, and the paint would smudge and get dirty. Now, I always wait at least 24 hours before moving the furniture, and I've noticed that the finish lasts longer and looks better.[5]
💰 Budget Build
Paint a thrift store find with just a few basic tools and affordable materials.
⏰ Weekend Version
Complete a furniture painting project in one day with minimal prep and cleanup.
✨ Upgraded Finish
Add a professional-looking finish with a clear top coat and higher-quality paint.
🏠 Small-Space Adaptation
Paint a small piece of furniture in a compact area with limited tools and space.
🔒 Rental-Safe Option
Use removable paint and materials that are safe for rental properties and won't damage the surface.
| The mistake | Why it happens | The fix |
|---|---|---|
| Skipping the sanding step | Skipping the sanding step can lead to peeling paint and a lumpy finish. | Always sand the surface with 120-grit paper before painting. Wipe the surface clean with a damp cloth afterward to avoid dust build-up. |
| Using the wrong type of paint | Using the wrong type of paint can lead to peeling, cracking, or a finish that doesn't last. | Use either chalk paint or latex paint with a bonding primer. Both of these types of paint are designed for wood surfaces and provide a durable finish. |
| Skipping the primer | Skipping the primer can lead to poor adhesion and a patchy finish. | Apply two coats of bonding primer to ensure proper adhesion and a smooth finish. Use a brush for corners and a roller for flat surfaces. |
| Rushing the drying process | Rushing the drying process can lead to a poor finish and a lot of wasted time. | Wait at least 24 hours before applying the second coat. Work in a well-ventilated area and use a fan to help speed up the drying process. |
Furniture Flipping & Painting Furniture Mistakes On A Budget
Common Questions
What is the best type of paint for furniture flipping?
How long should I wait before applying the second coat of paint?
What should I do if the paint starts peeling after I finish painting?
Can I paint over a previously painted piece of furniture?
References
- Oral history interview with Matt Mullican, 2019 July 1-9 (aaa.si.edu)
- Conversation: Ghost Paintings—Discoveries from the Conservation ... (artic.edu)
- 45.2 Feature: Dickinson kept a Carlo by My Tran | BWR (bwr.ua.edu)
- Not a Piece of Furniture - Bryant Digital Repository (digitalcommons.bryant.edu)
- Decorating Your Dorm Room on a Budget (enmu.edu)
Cite this guide
Flipper Lane (2026). Furniture Flipping & Painting Furniture Mistakes On A Budget. https://flipperlane.com/furniture-flipping-painting-furniture-mistakes-on-a-budget/
Feel free to cite or share this guide.