
Simple Furniture Flipping & Painting Furniture Fixes
📖 Table of Contents
- Why Furniture Flipping is a Game-Changer
- The Power of a Fresh Paint Job
- How to Prepare Your Furniture for Painting
- Choosing the Right Paint for Your Project
- Finishing Touches: Sealing Your Work
- The Joy of DIY Furniture Projects
- Tips for a Successful Furniture Flipping Project
- Make It Your Way
- Frequently Asked Questions
I remember the first time I picked up a paintbrush to flip a thrift-store table. It was a worn-out oak piece with a chipped leg and a stained surface. After a few hours of sanding, priming, and painting, it became a sleek, modern addition to my living room. That moment taught me that furniture flipping doesn’t have to be complicated. With the right tools, techniques, and mindset, even the most dilapidated piece can be transformed into something functional and beautiful. That’s what this article is about: simple furniture flipping & painting furniture fixes.
I’ve spent the last few years diving deep into DIY furniture projects, from refinishing old cabinets to giving secondhand chairs a fresh coat of paint. What I’ve discovered is that the key to success lies in the details — the right sandpaper grit, the proper primer, and the patience to let each layer cure properly. It’s not about being an expert; it’s about knowing the right steps and tools for the job. Simple furniture flipping & painting furniture fixes can breathe new life into your home without breaking the bank or your back.[1]
Whether you’re looking to refresh your living room, give your bedroom a new look, or tackle a big furniture flipping project on a weekend, this guide will walk you through the essentials. You don’t need years of experience — just a few basic tools, some paint, and a willingness to roll up your sleeves. Let me show you how to take that tired, old furniture and turn it into a piece you’ll be proud to display.
Why You'll Love This Simple Furniture Flipping & Painting Furniture Fixes Guide
- You can transform even the most worn-out furniture with minimal effort and cost.
- This guide provides step-by-step instructions that are easy to follow, even for beginners.
- You’ll save money by giving old furniture a new life instead of buying new pieces.
- The results are instant and impactful — your home will look instantly refreshed.
Why Furniture Flipping is a Game-Changer
As of August 2026, Furniture flipping is more than just a trend — it’s a practical, sustainable way to refresh your home. By repurposing old furniture, you avoid buying new pieces and reduce the environmental impact of manufacturing. I’ve saved hundreds of dollars by giving old tables, chairs, and cabinets a new look instead of buying brand-new ones. It’s not only cost-effective, but it also gives you a sense of accomplishment as you see the transformation happen before your eyes.[2]
One of the best parts of furniture flipping is the level of customization it allows. Whether you want a rustic look or a modern finish, the choice is yours. I’ve painted everything from dining tables to nightstands, and each project has given me the chance to experiment with different colors and techniques. The key is to start with the right tools and follow a few simple steps.
The satisfaction of seeing an old, tired piece of furniture become something new and useful is unmatched. When I finished my first furniture flipping project, I felt like I had completed a small but meaningful home improvement task. It’s that kind of satisfaction that keeps me coming back to this craft.
Invest in a good set of sandpaper, a high-quality brush, and a few different grits for sanding. These are the cornerstones of any furniture flipping project.
Part of our Furniture flipping painting furniture mistakes fixes guide.
The Power of a Fresh Paint Job
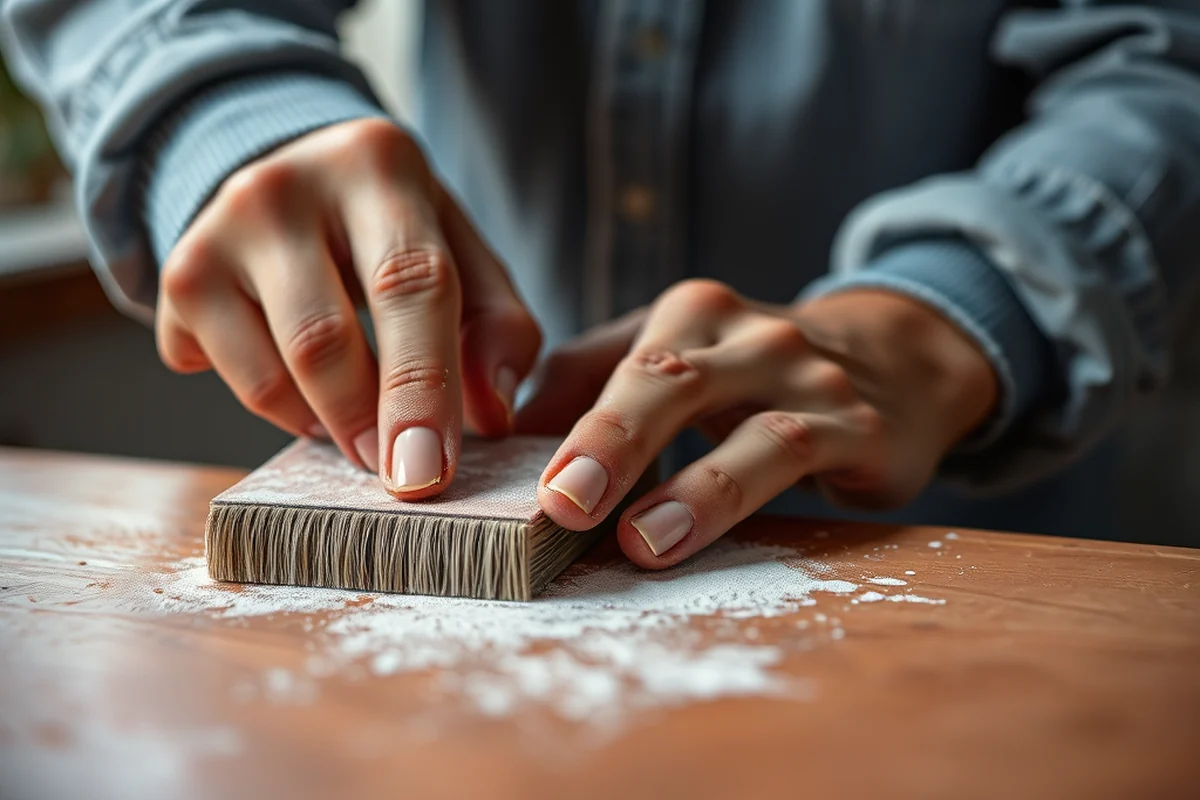
Paint is one of the simplest and most effective ways to give old furniture a new life. I’ve used everything from white to deep navy, and each color has dramatically changed the look of the room. When I painted my old oak coffee table with a glossy white finish, it became the focal point of my living room — something I never would have expected from a secondhand piece.
The key is to choose the right type of paint for the job. I’ve found that latex paint works well on wood surfaces, while chalk paint is perfect for a more rustic look. Whatever you choose, make sure to use a primer first — it helps the paint adhere better and lasts longer.
Once you’ve painted, the transformation is almost instant. I’ve seen pieces go from dull and worn to bright and vibrant in just a few hours. It’s that kind of magic that makes furniture flipping so rewarding.
A coat of paint can turn the most tired piece into a showstopper.
Related: Furniture flipping painting furniture fixes tips
Related: Furniture flipping painting furniture mistakes fixes printable
Related: Furniture flipping painting furniture fixes for beginners
Related: Simple Furniture Flipping & Painting Furniture Color
Related: Furniture flipping painting furniture fixes checklist
Related: Furniture flipping painting furniture mistakes step by step
How to Prepare Your Furniture for Painting
Before you even pick up a paintbrush, you need to make sure your furniture is ready. I always start by cleaning the surface thoroughly to remove any dirt, dust, or old finishes. I’ve learned the hard way that skipping this step can lead to peeling paint and a messy outcome.
Next, I use sandpaper to smooth out the surface. I’ve found that using 120-grit sandpaper works best for most wood surfaces. It’s coarse enough to remove old paint or varnish, but not so rough that it damages the wood. After sanding, I wipe the surface down with a damp cloth to remove any dust.[3]
Once the surface is clean and smooth, I apply a primer. This step is crucial because it helps the paint stick better and lasts longer. I’ve noticed that using a primer can make a huge difference in the final result — the paint looks more even and lasts much longer.
A good primer creates a perfect base for your paint and ensures a longer-lasting finish. Always apply it before painting.
“I remember the first time I picked up a paintbrush to flip a thrift-store table.”— Flipper Lane editors
Related: Affordable furniture flipping painting furniture mistakes
Related: Budget furniture flipping painting furniture mistakes fixes
Related: Simple Budget Furniture Flipping Painting Furniture
Related: How to furniture flipping painting furniture fixes
Choosing the Right Paint for Your Project
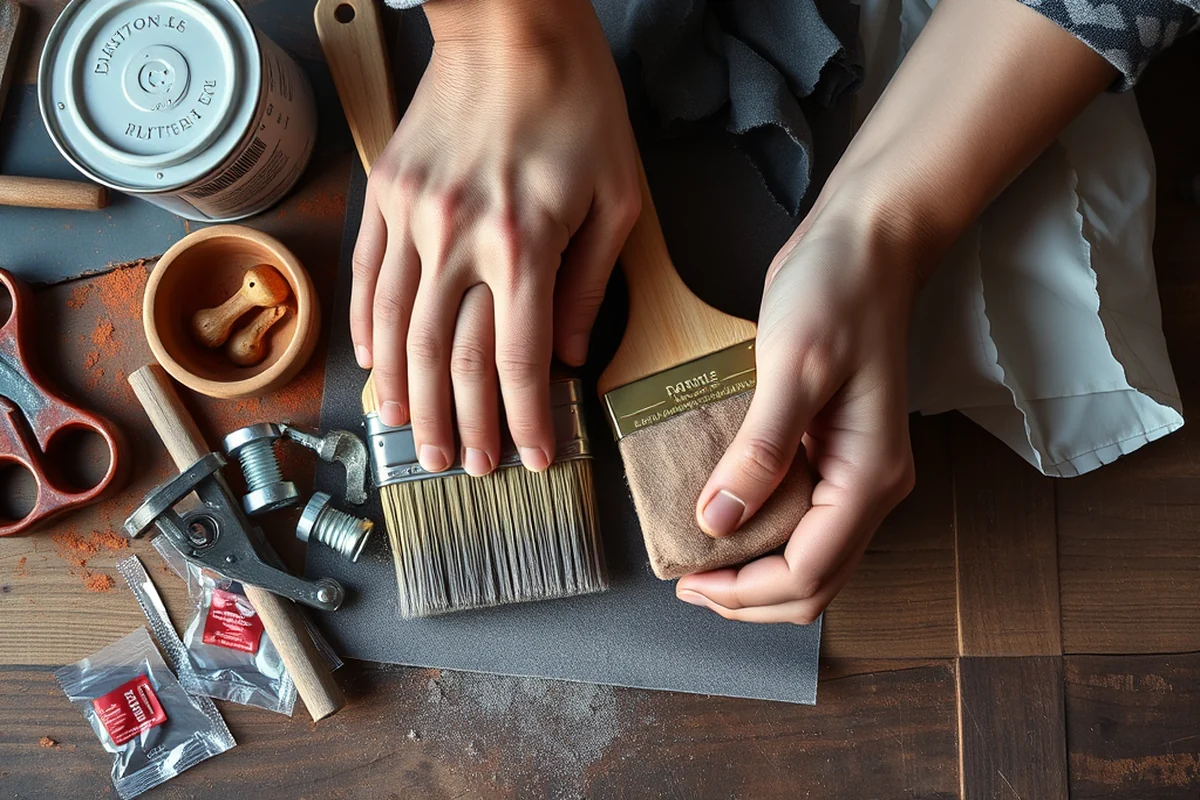
Choosing the right paint is one of the most important steps in any furniture flipping project. I’ve used a variety of paints over the years, and each has its own benefits. For a glossy finish, I’ve used latex paint, while for a more rustic look, I’ve turned to chalk paint. The key is to choose a paint that matches the surface you’re working with and the look you want to achieve.
I’ve found that using a high-quality paint can make a world of difference in the final result. Cheaper paints often chip or fade more quickly, while higher-end paints are more durable and resistant to wear. I’ve noticed that my furniture painted with higher-quality paint has lasted much longer than those with cheaper options.
Another consideration is the finish you want. I’ve used everything from matte to glossy, and each has its own benefits. A glossy finish is great for high-traffic areas, while a matte finish is better for a more subdued look. The choice is up to you — just make sure to pick a finish that works well for the piece you’re working on.
Related: Easy furniture flipping painting furniture mistakes fixes
Related: Furniture flipping painting furniture mistakes fixes guide
Finishing Touches: Sealing Your Work
After you’ve painted your furniture, the final step is sealing it with a good quality finish. I’ve used both polyurethane and wax, and both have their own benefits. Polyurethane is more durable and better for high-traffic areas, while wax gives a softer, more natural look.
I’ve found that using a clear sealant is essential for protecting your paint job. Without it, the paint is more likely to chip or fade over time. I’ve had pieces that I painted without sealing, and they didn’t last nearly as long as those I sealed properly.
When I applied a clear sealant to my painted table, I noticed a big difference in how it looked and felt. The finish was smoother, and the paint lasted much longer. It’s that kind of detail that makes all the difference in a furniture flipping project.
Related: Easy furniture flipping painting furniture fixes
Related: Budget furniture flipping painting furniture fixes
The Joy of DIY Furniture Projects
There’s something deeply satisfying about completing a furniture flipping project from start to finish. I’ve found that the process of transforming an old, worn-out piece into something new is incredibly rewarding. It’s not just about the result — it’s about the journey and the skills you learn along the way.
I’ve learned so much over the years, from how to properly sand a surface to how to choose the right paint for the job. Each project has taught me something new, and I’m always excited to try something different. Whether it’s painting a chair or refinishing a table, the process is always fulfilling.
The best part is seeing the finished product in action — knowing that you created something beautiful and functional with your own hands. There’s no feeling quite like that, and it’s what keeps me coming back to this craft.
There’s no feeling quite like creating something with your own hands.
Related: Diy furniture flipping painting furniture mistakes
Related: Furniture flipping painting furniture mistakes fixes ideas
Tips for a Successful Furniture Flipping Project
One of the most important things you can do is plan your project ahead of time. I’ve learned that having a clear idea of what you want to achieve makes a huge difference in the final outcome. Whether you’re painting a table or refinishing a chair, having a plan helps you stay on track and avoid mistakes.
I always recommend working in a well-ventilated area — it makes the process much easier and safer. I’ve found that painting in a garage or on a balcony is ideal, especially when working with paint or sealants. It also helps to cover the surrounding area with drop cloths to protect your floors and walls.[4]
Finally, take your time. I’ve made the mistake of rushing through a project and ended up with a less-than-ideal result. The best results come from patience and attention to detail. Take your time with each step, and you’ll be amazed at how much better the final product looks.
💰 Budget Build
Transform old furniture with minimal cost — focus on basic painting and sealing techniques.
⏰ Weekend Version
Complete a furniture flipping project in a single weekend — ideal for quick updates.
✨ Upgraded Finish
Add a professional-looking finish with high-quality paint and sealant for a premium result.
🛋️ Small-Space Adaptation
Tailor your furniture flipping project to fit smaller spaces with compact or multi-functional pieces.
🏠 Rental-Safe Option
Create a temporary furniture flip that won’t damage your rental — perfect for those who can’t make permanent changes.
| The mistake | Why it happens | The fix |
|---|---|---|
| Skipping the primer step | Paint may not adhere properly and may peel or fade more quickly. | Always use a primer before painting — it creates a smooth base and helps the paint last longer. |
| Using the wrong type of paint | Using the wrong paint can lead to an uneven finish or paint that doesn’t last. | Choose the right paint for the surface you’re working with, and always test it on a small area first. |
| Not sanding the surface properly | Paint may not stick well to a rough or dirty surface, leading to a poor finish. | Sand the surface thoroughly and wipe it down with a damp cloth before painting. |
| Applying too much paint at once | This can lead to drips, streaks, and an uneven finish. | Apply thin, even coats of paint and allow each coat to dry completely before applying the next. |
Simple Furniture Flipping & Painting Furniture Fixes
Common Questions
What kind of paint should I use for furniture flipping?
How long should I wait before applying a sealant?
Can I flip furniture if it has a lot of damage?
What tools do I need for a furniture flipping project?
Cite this guide
Flipper Lane (2026). Simple Furniture Flipping & Painting Furniture Fixes. https://flipperlane.com/simple-furniture-flipping-painting-furniture-fixes/[5]
Feel free to cite or share this guide.
References
- Oral history interview with William Keyser, Jr, 2003 April 25-May 2 (aaa.si.edu)
- (PDF) Ancient Egyptian furniture in context: from ancient production ... (academia.edu)
- Public Rights-of-Way Access Advisory Committee for the Use (access-board.gov)
- Conversation: Ghost Paintings—Discoveries from the Conservation ... (artic.edu)
- 2017 ATUS Activity Lexicon with examples (bls.gov)