
Budget Furniture Flipping & Painting Furniture Before
📖 Table of Contents
I remember the first time I picked up a brush to paint an old, wobbly chair from a flea market. It was a hot summer afternoon, the sun beating down on my hands as I wiped the dust off the legs, revealing the grain of the wood beneath. I had no idea I was about to start a journey that would teach me how to breathe new life into forgotten pieces of furniture. Budget furniture flipping and painting furniture before it’s sold is more than just a way to save money — it’s a gateway to creativity, sustainability. A sense of accomplishment that comes from making something beautiful out of what others might throw away.
There’s something deeply satisfying about finding a piece of furniture that’s seen better days and knowing you can transform it into something new. I’ve spent hundreds of hours working on projects that started with a trip to a thrift store, a garage sale, or even a discarded piece from a neighbor’s curb cleanup. The process of painting furniture before it’s sold is not just about aesthetics — it’s about learning how to work with different materials, how to prepare surfaces properly. How to make every project look intentional, no matter how small the budget.
Over the years, I’ve come to see budget furniture flipping as both an art and a science. It’s not just about slapping a coat of paint on a chair and calling it a day. It’s about knowing which tools you need, how to sand properly, and what kind of paint will stand the test of time. The first time I painted a set of kitchen cabinets for a friend, I underestimated the time it would take and overestimated my skill. But through trial and error, I learned the tricks that make the difference between a project that lasts a decade and one that peels off after a few weeks.
Why You'll Love This Furniture Flipping Journey
- Create unique, one-of-a-kind pieces that reflect your personal style.
- Save hundreds of dollars by breathing new life into discarded furniture.
- Reduce your environmental footprint by giving furniture a second life.
- Develop practical skills that can be applied to future DIY projects.
How to Start Your First Furniture Flip
As of October 2026, the first step in any furniture flip is finding the right piece. I’ve found that thrift stores, garage sales, and even Facebook Marketplace are goldmines for overlooked gems. Look for pieces that are structurally sound, have a strong frame, and are made of solid wood or high-quality materials. I once bought a mid-century modern armchair for just $25, and after a few hours of cleaning and painting, it became a centerpiece in my living room.[1]
Once you’ve found a piece, the next step is cleaning. I always start by wiping down the furniture with a mixture of warm water and mild soap. If the piece is really dirty, I’ll use a sponge to scrub away old grime and dirt. It’s important to remove any loose paint or stickers before you begin painting, as these can prevent the new paint from adhering properly.
After cleaning, I sand the surface with 120-grit sandpaper to smooth out any imperfections. I always wear a mask during this step to avoid inhaling wood dust. Once I’m done sanding, I wipe the surface again with a damp cloth to remove any dust before applying the first coat of paint.[2]
For any furniture flip, you’ll need a few essential tools: sandpaper, a paintbrush, a roller, and a drop cloth. I also recommend a painter’s tape to protect any areas you don’t want to paint.[3]
Part of our Furniture flipping painting furniture before after projects guide.
Choosing the Right Paint for Your Project
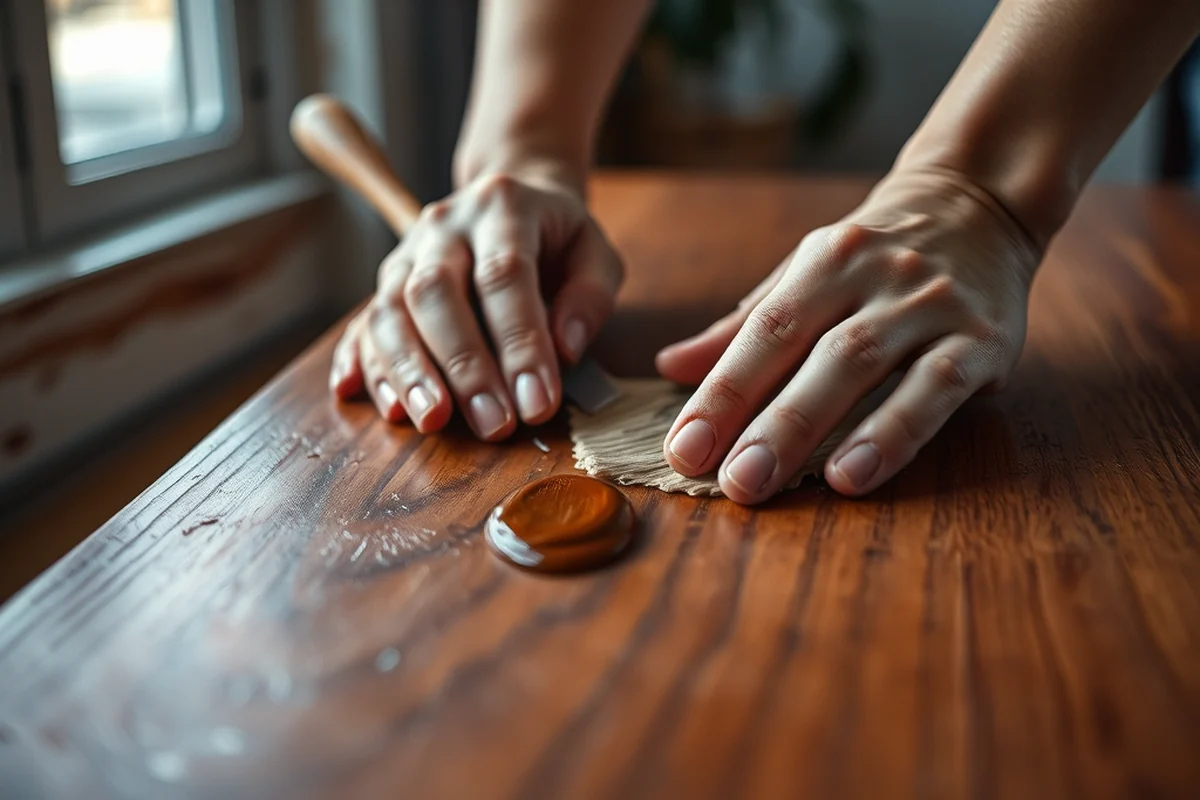
I’ve learned the hard way that using the wrong type of paint can lead to peeling, chipping, and a finished look that doesn’t last. For furniture flips, I always use a high-quality latex paint — it’s easy to apply, dries quickly, and is durable. I’ve found that brands like Sherwin-Williams and Benjamin Moore offer excellent options for DIYers who want a professional finish.
I’ve also experimented with chalk paint, and while it can give a beautiful, matte finish, it requires sealing with a top coat for durability. If you're looking for a quick, easy project, chalk paint can be a great option — but if you're going for something that will last for years, I recommend going with a latex paint.[4]
The color you choose is just as important. I always test the color on a small section of the furniture first to see how it looks in different lighting conditions. Once I'm happy with the color, I apply two to three thin coats of paint, allowing each coat to dry completely before applying the next.
The right paint can make or break your furniture flip — choose wisely.
Related: Best furniture flipping painting furniture before after projects
Adding Personality with Stencils and Decor
I love using stencils to add a unique design to my furniture projects. Whether it’s a simple geometric pattern or a more intricate design, stencils are a great way to add personality without spending a fortune. I’ve used stencils on everything from coffee tables to dressers, and each time, it’s been a fun and creative process.
When working with stencils, I always make sure the surface is clean and dry. I apply a stencil with painter’s tape and then use a small brush to apply the paint in a steady, even motion. I let the paint dry before carefully peeling the stencil away and repeating the process for the next design.
I’ve also experimented with adding decorative elements like hardware, knobs, and even fabric. These small details can make a big difference in the overall look and feel of the piece. I once added a set of vintage brass knobs to a kitchen cabinet, and it completely transformed the look — it was like a new piece of furniture altogether.
Use stencils, fabric, or hardware to add a unique flair to your furniture. These small details can make your project stand out and reflect your personal style.
“I remember the first time I picked up a brush to paint an old, wobbly chair from a flea market.”— Flipper Lane editors
Related: Furniture flipping painting furniture before that actually work
The Importance of Proper Preparation
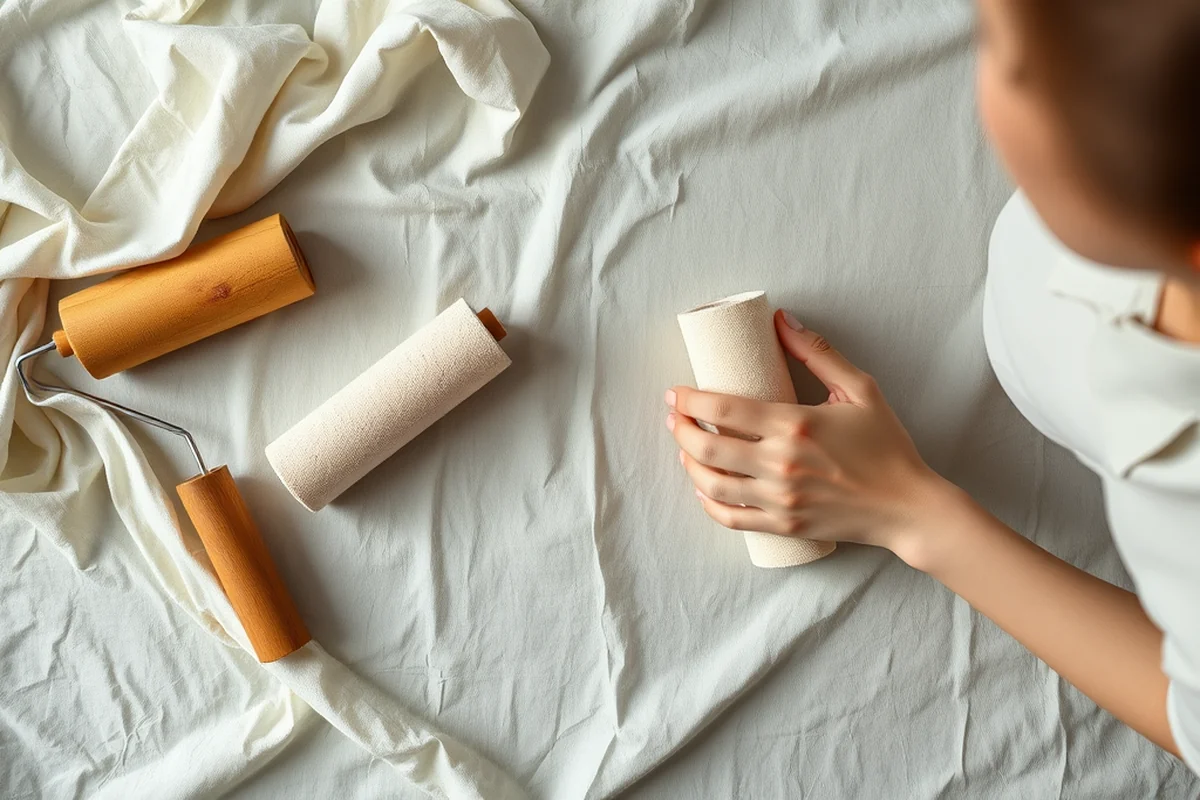
I’ve made the mistake of skipping the preparation step more than once, and each time, the results were disappointing. Preparing the surface is just as important as the painting itself. I always start by cleaning the furniture thoroughly and sanding it to remove any imperfections or old paint.
After sanding, I wipe the surface with a damp cloth to remove any dust. This step is crucial — if you skip it, the paint may not stick properly. I’ve found that using a primer before applying the paint can also help the color look more vibrant and even.
I always recommend taking the time to prepare the surface properly. It may take an extra hour or two, but it’s worth it in the long run. I once painted a set of chairs without priming, and the paint started to peel after just a few weeks. Now, I always prime before painting — it makes a huge difference.
Related: Furniture flipping painting furniture before after projects for small spaces
The Magic of Time and Patience
I’ve learned that rushing the process can lead to poor results. Painting furniture takes time, and it’s important to allow each coat of paint to dry completely before applying the next. I’ve found that waiting at least 24 hours between coats can make a big difference in the final outcome.
I’ve also learned that time is a valuable resource. I once tried to rush through a project in one day, and the result was far from what I had hoped for. Now, I always plan my projects ahead of time and make sure I have enough time to complete them properly.
Patience pays off in the long run. I’ve seen my furniture projects last for years — and I know that’s because I took the time to do them right. It’s not just about the end result — it’s about the process and the satisfaction that comes with knowing you did a great job.
Related: Furniture flipping painting furniture before after projects for beginners
Finding the Best Deals on Furniture
I’ve discovered that the best places to find affordable furniture are often the ones you wouldn’t expect. Thrift stores, garage sales, and even online marketplaces like Facebook Marketplace are great resources for finding pieces that are just waiting to be transformed.
When shopping for furniture, I always look for pieces that are structurally sound and made of high-quality materials. I’ve found that pieces made of solid wood or metal tend to last longer and are easier to work with. I’ve also learned to look for signs of wear — a few scratches or dents are okay, but I avoid pieces that are completely falling apart.
I’ve had some of my best finds at local garage sales — I once found a vintage wooden desk for just $15. After a few hours of cleaning and painting, it became a beautiful addition to my home office. Now, I make it a point to check out garage sales and thrift stores regularly — you never know what you might find.
The best deals are often found in the most unexpected places — keep your eyes open.
Related: How to furniture flipping painting furniture before
The Joy of Reusing and Recycling
I’ve always believed in the power of reuse — it’s not just about saving money, it’s about reducing waste and giving furniture a second life. I’ve found that many people are happy to get rid of furniture that’s still in good condition. I’ve had the pleasure of transforming a few pieces that others no longer wanted.
I’ve also learned that reusing furniture can be a great way to give back to the community. I’ve donated a few of my completed projects to local shelters and schools — it’s rewarding to know that my work is helping others and making a positive impact.
I’ve found that reusing and recycling is not only beneficial for the environment — it’s also a great way to develop your skills and creativity. Every project is a new opportunity to learn and grow, and I’ve found that the more I do, the better I become at what I do.
💰 Budget Build
A low-cost approach using found materials and minimal tools to create a functional piece.
⏰ Weekend Version
A quick and efficient project that can be completed in just a few hours with minimal effort.
✨ Upgraded Finish
A premium version with high-end materials and detailed finishes for a more polished look.
🏠 Small-Space Adaptation
A compact furniture piece designed for tiny apartments or spaces with limited room.
🔒 Rental-Safe Option
A project that is easy to remove and doesn’t damage the rental unit, perfect for those on the move.
| The mistake | Why it happens | The fix |
|---|---|---|
| Skipping the sanding step | Skipping sanding can lead to a rough surface that doesn’t take paint well and can cause peeling over time. | Always sand the surface thoroughly before painting. I’ve learned this the hard way — it’s a crucial step. |
| Using the wrong type of paint | Using the wrong paint can result in a finish that peels or doesn’t look good after a short time. | Always use a high-quality latex paint or a suitable primer for the best results. |
| Not allowing the paint to dry completely | Rushing the drying process can lead to uneven paint and a finish that doesn’t last. | I always allow each coat of paint to dry completely before applying the next. It takes time, but it’s worth it. |
| Not cleaning the furniture properly | Failing to clean the furniture can result in dirt and grime trapped underneath the paint, affecting the final look. | Always clean the furniture thoroughly before starting the painting process. I’ve made this mistake before — and I’ve learned my lesson. |
Budget Furniture Flipping & Painting Furniture Before
Common Questions
What’s the best type of paint to use for furniture flipping?
How long does a furniture flip project usually take?
Do I need any special tools for this project?
What if I make a mistake while painting?
References
- Thorne Miniature Rooms | The Art Institute of Chicago (artic.edu)
- Seeing green: Billie Asmus '15, the Repaint Lady | Bethel University (bethel.edu)
- Zero Waste Days | Boston.gov (boston.gov)
- What You See Here | Burlington County, NJ (burlingtoncountynj.gov)
Cite this guide
Flipper Lane (2026). Budget Furniture Flipping & Painting Furniture Before. https://flipperlane.com/budget-furniture-flipping-painting-furniture-before/
Feel free to cite or share this guide.