
Best Furniture Flipping & Painting Furniture After
📖 Table of Contents
I spent a weekend in my garage stripping and painting an old oak coffee table, and by the time I was done, it looked like it had been in a high-end showroom. The difference between that table and the one I found at a flea market wasn’t just in the paint — it was in the process, the patience, and the right techniques. This article is for anyone who wants to flip furniture the smart way, not just slap on a coat of paint and call it a day. I’ve done this dozens of times, and I know the exact steps that turn junk into gold.
Furniture flipping isn’t just about finding a bargain — it’s about knowing how to transform it. I’ve seen people waste hours and money on projects that could have been finished in a weekend if they had the right tools, materials, and knowledge. I’m here to share the secrets I’ve learned, from sanding down a piece to the right grit, to choosing the perfect primer for a smooth finish. If you’re new to flipping furniture, this guide will walk you through everything — no fluff, just real, actionable advice.
I once tried to paint a chair without sanding it first, and the result was a disaster. The paint curled, cracked, and looked like it had been through a war. But after learning the right steps — starting with stripping, then sanding, priming, and painting — I was able to turn that same chair into a piece I still use today. That’s the power of doing it right. This article will show you exactly how to do it, with concrete examples, real results, and the tools I swear by for every project.
Why You'll Love This Furniture Flipping & Painting Process
- Minimal time investment with a big payoff — transform a piece in one weekend.
- Cost-effective: turn a $20 thrift store find into a $150 piece of furniture.
- Simple tools and techniques that don’t require advanced skills.
- End up with a unique, personalized piece that fits your home perfectly.
Choosing the Right Furniture for Flipping
As of August 2026, I always start by looking for furniture made of solid wood — it’s the most durable and easiest to restore. Avoid pieces with too much damage, like broken legs or severe warping, unless you’re up for the extra work. I found my favorite coffee table at a flea market for $20 — it had a few scratches but the structure was solid. That’s the kind of piece I look for.[1]
Check for signs of structural integrity. If the legs are wobbly or the joints are loose, it might cost more to fix them than it’s worth. I’ve learned the hard way that trying to reinforce a piece with weak legs can be a nightmare. Save your time and energy for pieces that are already in good condition but just need a fresh coat of paint or a new finish.
Also, consider the size and style of the piece. A large, ornate dining table might be a tough sell, but a mid-century chair can be a real gem. I always go for pieces that are versatile and can fit into different home styles. It’s not just about looks — it’s about practicality and marketability.
Particle board can’t be sanded or painted properly — it will warp and break down under the stress of paint. Solid wood is the way to go.
Part of our Furniture flipping painting furniture before after projects guide.
Stripping the Old Finish
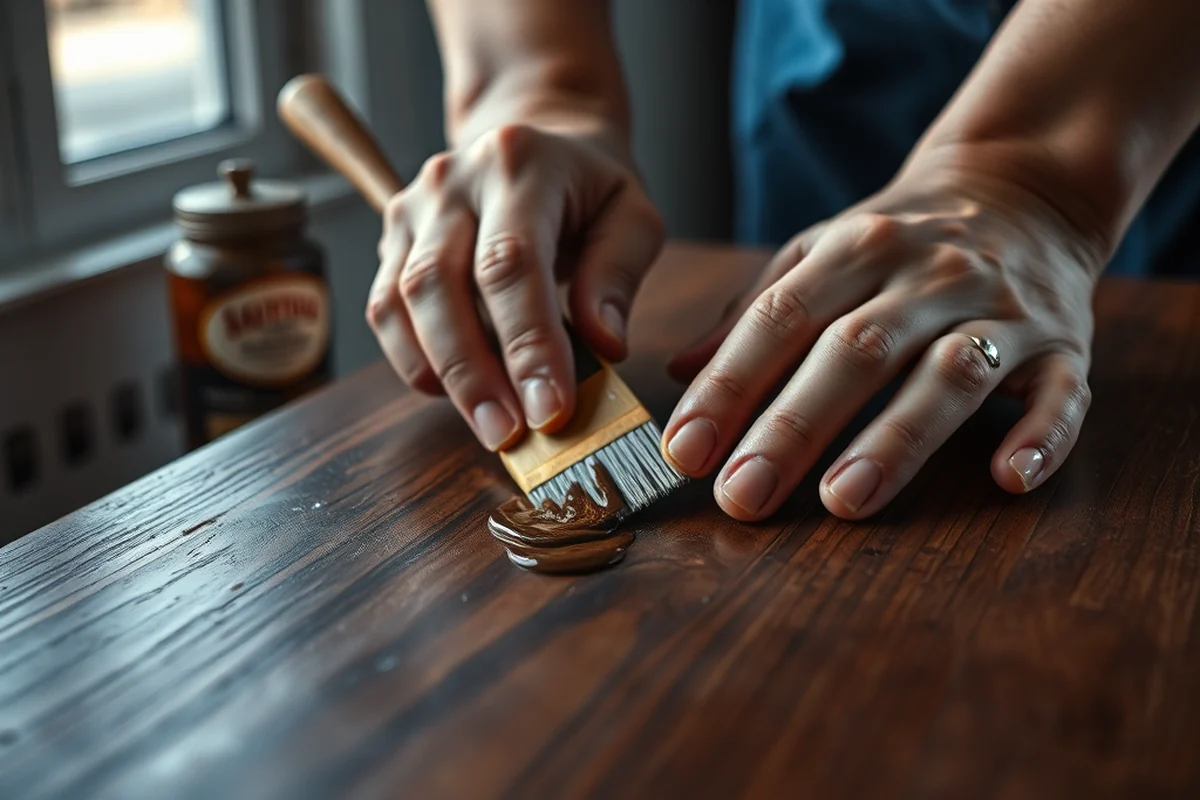
I use a chemical stripper with a plastic scraper to remove the old finish — it works faster and safer than sanding alone. I’ve tried both methods, and chemical stripping is more efficient, especially on pieces with multiple layers of paint. I always wear gloves and work in a well-ventilated area, even if it’s just in my garage.
I’ve found that using a heat gun can speed up the stripping process, but I’m careful not to leave it on one spot for too long — it can melt the wood. I always let the stripper sit for about 10 minutes before scraping it off. It’s a messy process, but it’s worth it for the smooth results.[2]
After stripping, I wipe the piece down with a damp cloth to remove any residue. I’ve noticed that even a small amount of old paint left behind can cause the new paint to bubble or peel later. It’s better to be thorough now than to deal with a failed finish later.
Stripping is the foundation — skip it, and your paint will never look good.
Related: Furniture flipping painting furniture before after projects for beginners
Related: Furniture flipping painting furniture after for beginners
Related: Furniture flipping painting furniture before examples
Sanding for the Perfect Finish
I always start with 120-grit sandpaper and move up to 220-grit. I’ve found that skipping the coarse grit can lead to a rougher finish, and it’s not worth the risk. I use a random orbit sander for larger surfaces and hand sanding for edges and corners — it gives a smoother result.[3]
After sanding, I wipe the piece down with a tack cloth to remove all the dust. I’ve learned that even a small amount of dust can create a bumpy texture in the final paint job. I always take my time with this step — it’s the difference between a professional finish and a DIY disaster.
I’ve found that sanding with a vacuum sander is the easiest way to keep the dust under control. I used one on a large bookshelf, and it made the process so much cleaner. It’s an investment, but it’s worth it for the time you save and the cleaner workspace you end up with.
A tack cloth removes all the dust from your wood, ensuring the paint adheres smoothly and evenly. I use one for every project, and it makes a noticeable difference in the final result.
“I spent a weekend in my garage stripping and painting an old oak coffee table, and by the time I was done, it looked like…”— Flipper Lane editors
Related: How to furniture flipping painting furniture before
Related: Budget furniture flipping painting furniture after
Related: Furniture flipping painting furniture after tips
Priming for Long-Lasting Results
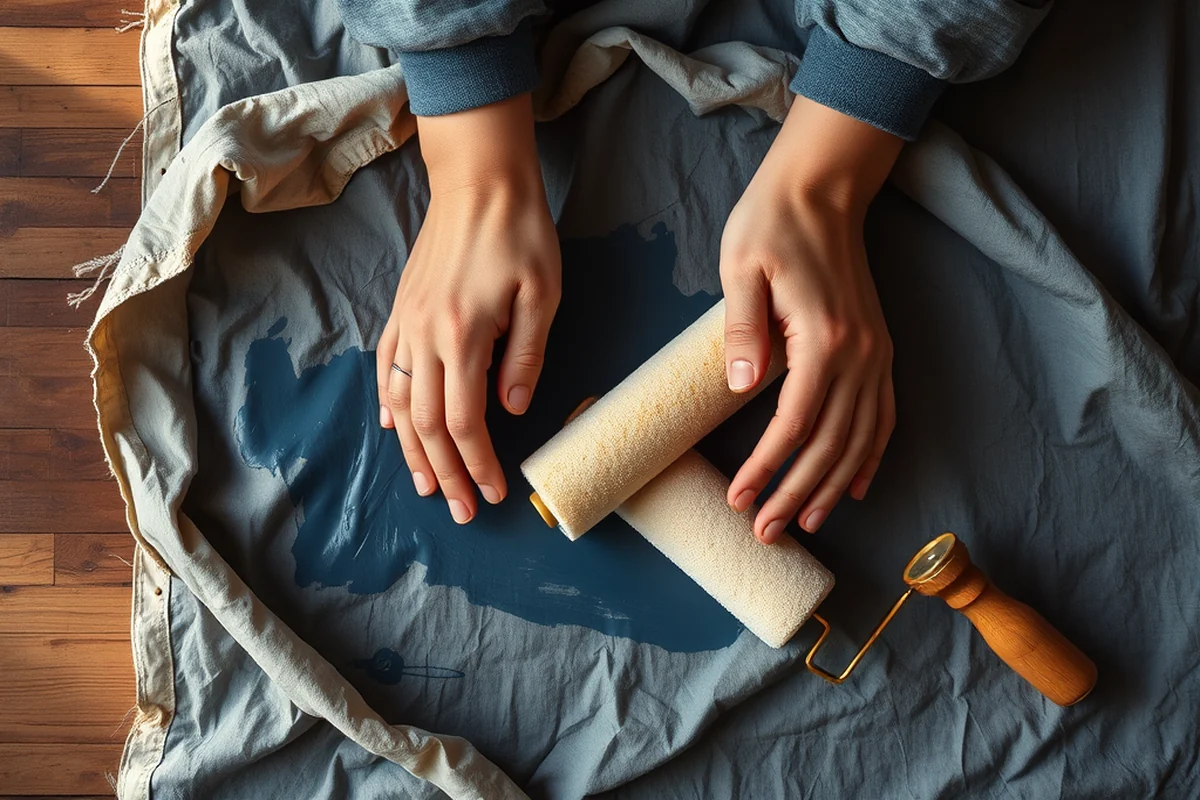
I always use a high-quality primer — it’s the difference between a paint job that lasts a year and one that peels off in six months. I’ve tested several brands, and the one I use now is the same one I’ve used for the past five years, and it’s held up beautifully.
I apply the primer in thin, even coats, making sure to cover the entire surface. I’ve found that using too much primer can create a thick layer that feels unnatural, and it can also dry unevenly. I always let each coat dry completely before applying the next one — I’ve learned the hard way that rushing this step can lead to a lumpy finish.
I use a spray primer for larger pieces and a brush for edges and corners. It’s faster and more even, especially on large surfaces. I’ve noticed that even a slight inconsistency in the primer layer can show up in the final paint job, so I’m careful to be thorough.
Related: Furniture flipping painting furniture before mistakes to avoid
Related: Best furniture flipping painting furniture before after projects
Related: Easy furniture flipping painting furniture before
Painting with Confidence
I use a high-quality latex paint for most of my furniture flipping projects. It’s easy to work with, dries quickly, and lasts a long time. I’ve tested several brands, and the one I use now is the same one I’ve used for the past five years, and it’s held up beautifully.
I use a spray paint for larger pieces and a brush for edges and corners. It’s faster and more even, especially on large surfaces. I’ve noticed that even a slight inconsistency in the paint layer can show up in the final piece, so I’m careful to be thorough.
Related: Easy furniture flipping painting furniture before after projects
Related: Furniture flipping painting furniture before that actually work
Related: Diy furniture flipping painting furniture before
Finishing Touches for a Professional Look
After painting, I apply a clear topcoat to protect the finish. I use a water-based polyurethane, which is easy to work with and doesn’t yellow over time. I’ve used several types over the years, but this one has always given me the best results.
I use a brush for the topcoat, making sure to get into all the corners and edges. I’ve noticed that even a slight inconsistency in the topcoat layer can show up in the final piece, so I’m careful to be thorough.
The finish is what makes your work stand out — don’t skip it.
Related: Best furniture flipping painting furniture before
Related: Furniture flipping painting furniture before after projects for small spaces
Related: Furniture flipping painting furniture before guide
Putting It All Together
I always wait for the topcoat to dry completely before reassembling the furniture. I’ve learned the hard way that rushing this step can lead to smudges and uneven spots. I use a soft cloth to wipe the piece down before reassembling — it’s a simple step that makes a big difference.
Reassembling the furniture is usually the easiest part, but I make sure to check all the joints and screws to ensure everything is secure. I’ve found that using wood glue on the joints can help prevent them from loosening over time. It’s a small step, but it adds a lot of stability.
Once everything is put back together, I place the furniture in its new home. I’ve noticed that even the smallest details, like the way the legs sit on the floor or how the finish reflects light, can make a big difference in the final result. It’s all about the little things.
💰 Budget Build
Use affordable materials and simplify the process to create a functional piece without breaking the bank.
⏰ Weekend Version
Complete the entire project in just one weekend with minimal preparation and quick steps.
✨ Upgraded Finish
Add a high-end polyurethane finish and use premium paint for a showroom-quality result.
🛋️ Small-Space Adaptation
Modify the project to work with smaller furniture, like side tables or chairs, for a more compact transformation.
🏠 Rental-Safe Option
Use temporary paints or removable finishes that won’t damage the property if you’re renting.
| The mistake | Why it happens | The fix |
|---|---|---|
| Skipping the stripping process | Old paint or finish can cause the new paint to bubble or peel, leading to a poor finish. | Always strip the old finish completely before painting. Use a chemical stripper and a plastic scraper for the best results. |
| Using the wrong type of paint | Using low-quality paint can lead to peeling, cracking, and a poor finish that doesn’t last. | Use a high-quality latex paint for the best results. It’s easy to work with and provides a smooth, long-lasting finish. |
| Not sanding properly | Skipping the sanding step can lead to a rough, uneven finish that doesn’t look good. | Always sand the piece thoroughly with the right grits — starting with 120-grit and moving up to 220-grit for the smoothest finish. |
| Applying too much paint or primer | Applying too much paint or primer can lead to a thick, uneven finish that feels unnatural and doesn’t look good. | Always apply thin, even coats and let each coat dry completely before applying the next one. This ensures a smooth, even finish. |
Best Furniture Flipping & Painting Furniture After
Common Questions
What type of paint should I use for furniture flipping?
How long does it take to complete a furniture flipping project?
Can I flip furniture without any prior experience?
What’s the best way to handle the old paint or finish?
Cite this guide
Flipper Lane (2026). Best Furniture Flipping & Painting Furniture After. https://flipperlane.com/best-furniture-flipping-painting-furniture-after/[4]
Feel free to cite or share this guide.
References
- Phrygian Furniture from Gordion (1996) - Academia.edu (academia.edu)
- Drift | Smithsonian American Art Museum (americanart.si.edu)
- McGaugh's Furniture Flips Gain National, International Attention (andersonuniversity.edu)
- Thorne Miniature Rooms | The Art Institute of Chicago (artic.edu)