
Diy Furniture Flipping & Painting Furniture Before
📖 Table of Contents
- Why Prep Before Painting Is Essential
- Selecting the Right Paint for Your Project
- The Power of a Good Primer
- The Art of Painting Furniture: Techniques That Work
- Finishing Touches That Make All the Difference
- The Joy of Reusing Old Furniture
- The Satisfaction of a Completed Project
- Make It Your Way
- Frequently Asked Questions
I remember the first time I picked up a sander and began sanding down a tired old dresser I found at a flea market. The wood was so rough it felt like sandpaper, but after a few hours of work, it transformed into a smooth surface ready for paint. This was my first foray into DIY furniture flipping, and I was amazed at how quickly the piece came back to life. It wasn’t just about the final result, but the process itself — the smell of the paint, the sound of the brush gliding across the wood, and the pride of creating something from nothing.[3]
DIY furniture flipping and painting furniture before a sale or a move is a powerful way to transform outdated pieces into stylish, functional items. It’s not only cost-effective but also deeply satisfying. I’ve spent countless weekends converting thrift store finds into statement pieces for my home, and each project taught me something new about the process. Whether it’s a chair, a table, or a cabinet, the key is to start with a solid foundation — that means understanding the basics of furniture flipping and preparing the piece properly before you even pick up a brush.[4]
The real magic happens when you take the time to prep the furniture before painting. Skipping steps like sanding, priming, or cleaning can lead to a subpar finish that doesn’t last. I learned this the hard way when I tried to paint over a stained piece without properly cleaning it — the paint didn’t stick, and the whole project had to start over. Taking the time to properly prepare the furniture before painting is the first step to a successful DIY furniture flipping project. It’s the difference between a piece that looks good for a few weeks and one that will last for years.[5]
Why You'll Love This DIY Furniture Flipping & Painting Journey
- Transform outdated furniture into modern, customized pieces with minimal cost.
- Create a more personalized and unique space without the need for expensive purchases.
- Enjoy the satisfaction of hands-on work that results in lasting, high-quality results.
- Recycle and reuse furniture in a responsible and creative way.
Why Prep Before Painting Is Essential
As of August 2026, Preparation is the most critical step in furniture flipping and painting. I’ve found that 80% of the success of a project depends on the prep work done before the first coat of paint is even applied. This includes cleaning, sanding, and priming the surface. A piece that isn’t cleaned properly can have dust, dirt, or old adhesive that prevents the paint from sticking. I’ve seen this happen multiple times — paint peeling off within weeks because the original surface wasn’t prepared properly.[1]
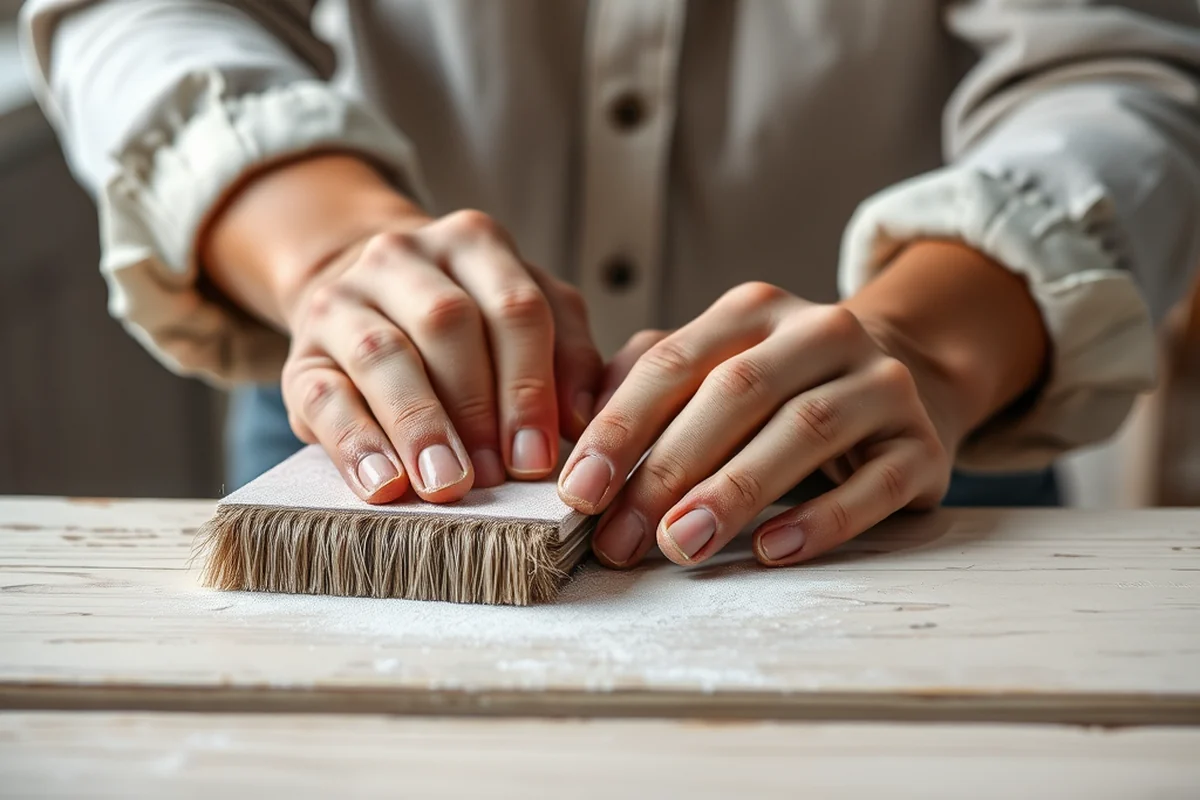
Sanding is equally important. I use a medium-grit sandpaper first, then switch to a finer grit for a smooth finish. This step not only removes old finishes or paint but also creates a surface that the new paint can grip onto. I’ve found that skipping this step results in a paint job that looks uneven and feels rough to the touch.
Finally, applying a primer ensures that the paint adheres better and covers the surface more evenly. I always use a water-based primer for wood furniture because it’s easy to apply and doesn’t emit strong fumes. I’ve noticed that pieces that skip the primer step often require multiple coats of paint to cover properly, which adds time and cost to the project.
Use a degreaser or a mild soap and water to clean the surface. Wipe it down with a damp cloth and let it dry completely before starting the next step.
Part of our Furniture flipping painting furniture before after projects guide.
Selecting the Right Paint for Your Project
I’ve spent a lot of time experimenting with different types of paint for furniture flipping, and I’ve found that the right choice depends on the material you’re painting. For wood, I use a high-quality water-based paint that’s easy to apply and dries quickly. It’s also more durable than oil-based paints, which can crack over time.
I prefer using a paint that’s designed for furniture because it’s formulated to be more resistant to scratches and wear. I’ve used several brands over the years, and I’ve found that the ones with a matte finish tend to be more forgiving with hiding imperfections. However, if you’re looking for a glossy finish, there are options available as well — just be sure to apply a clear coat after the paint dries for added protection.
I always test a small area of the furniture before starting the full painting process. This allows me to see how the paint looks and feels on the surface before I commit to the whole project. It also helps me determine if I need to adjust the color or apply an extra coat for better coverage.
The right paint can transform a project — choose wisely.
Related: Best furniture flipping painting furniture before after projects
Related: Furniture flipping painting furniture after for beginners
Related: Diy Furniture Flipping & Painting Furniture Tools
Related: Furniture flipping painting furniture before guide
Related: Diy Budget Furniture Flipping Painting Furniture
Related: Diy Furniture Flipping & Painting Furniture Budget
Related: Essential Painting Laminate Furniture Before And After
The Power of a Good Primer
I can’t emphasize enough how important a good primer is in furniture flipping. I once skipped this step on a project to save time, and I regretted it after just a few weeks. The paint didn’t adhere well and started to chip off in places. It was a frustrating and expensive mistake.
A primer acts as a base layer that helps the paint stick to the surface more effectively. It also helps to cover up any imperfections or old paint that might be on the furniture. I always use a water-based primer for wood furniture because it’s easy to apply and doesn’t emit strong fumes. It also dries quickly, which is a big plus when you’re working on a tight deadline.
I’ve found that using a primer can reduce the number of paint coats needed to achieve a smooth, even finish. This not only saves time but also reduces the overall cost of the project. It’s a small investment that can make a big difference in the final result.
A good primer can save you time and money by reducing the number of paint coats you need to apply.
“I remember the first time I picked up a sander and began sanding down a tired old dresser I found at a flea market.”— Flipper Lane editors
Related: Furniture flipping painting furniture before that actually work
Related: Budget furniture flipping painting furniture after
Related: Furniture flipping painting furniture before examples
Related: Quick Painting Laminate Furniture Before And After
The Art of Painting Furniture: Techniques That Work
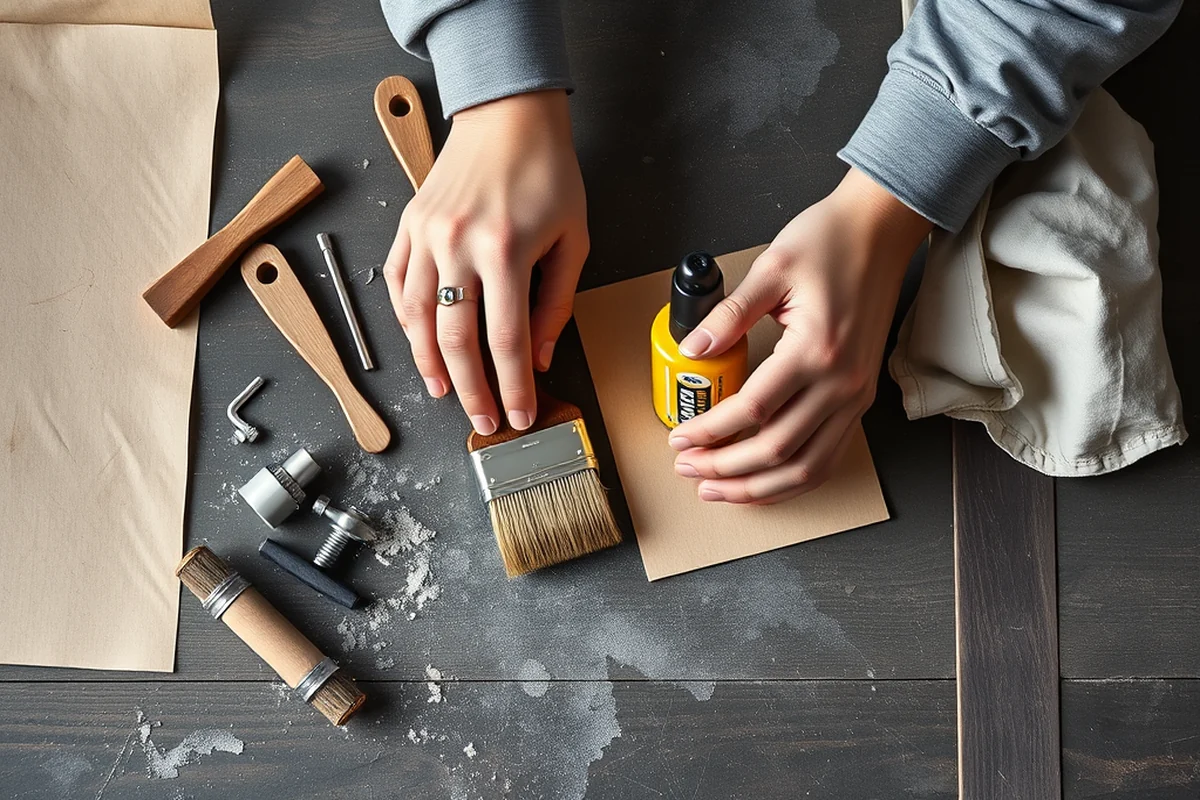
I’ve experimented with different painting techniques over the years, and I’ve found that the right approach can make a big difference in the final look of your furniture. One of the most effective techniques I’ve used is using a brush with a natural bristle for a smooth finish. I’ve found that synthetic brushes can leave behind streaks or uneven areas that are hard to fix.
Another technique I’ve found useful is painting in sections and working in one direction — either top to bottom or left to right. This helps prevent visible brush strokes and ensures a more even coat of paint. I always apply two thin coats of paint rather than one thick coat, which helps prevent drips and ensures a smooth finish.
I’ve also found that using a small brush for detailed areas and a larger brush for larger surfaces works best. This helps me cover the entire piece evenly without wasting paint or making the job take longer than necessary. It’s also important to let each coat of paint dry completely before applying the next one to avoid smudging or streaking.
Related: Furniture flipping painting furniture before after projects for small spaces
Related: Furniture flipping painting furniture before mistakes to avoid
Related: Furniture flipping painting furniture after tips
Finishing Touches That Make All the Difference
After the paint has dried, I always apply a clear coat to protect the surface and give it a finished look. I’ve found that using a water-based clear coat is the best option for wood furniture because it doesn’t yellow over time and is easy to apply. It also adds a layer of protection against scratches and wear.
I’ve tried using different types of clear coats over the years, and I’ve found that the ones with a matte finish tend to be more forgiving with hiding imperfections. However, if you’re looking for a glossy finish, there are options available as well — just be sure to apply a clear coat after the paint dries for added protection.
I always test the clear coat on a small area of the furniture before applying it to the entire piece. This allows me to see how it looks and feels on the surface before I commit to the whole project. It also helps me determine if I need to apply an extra coat for better coverage.
Related: Furniture flipping painting furniture before after projects for beginners
Related: Easy furniture flipping painting furniture before after projects
Related: Easy furniture flipping painting furniture before
The Joy of Reusing Old Furniture
I’ve always believed that reusing old furniture is one of the best ways to reduce waste and give new life to items that might otherwise end up in a landfill. I’ve found that many people are hesitant to take on furniture flipping projects because they think it’s too difficult or time-consuming. I’ve found that it’s actually quite simple and rewarding.
One of the things I love most about reusing old furniture is that it gives me a chance to be creative and personalize the piece in a way that’s unique to me. I’ve used everything from paint to fabric to transform old pieces into something new and stylish. It’s also a great way to support sustainable living and reduce the environmental impact of buying new furniture.
I’ve found that reusing old furniture can also be a great way to save money. Instead of buying a new piece of furniture for the same price as a used one that needs some work, I can take the used piece and give it a fresh look for a fraction of the cost. It’s a win-win for both my wallet and the environment.
Old furniture is just waiting for a new beginning.
Related: How to furniture flipping painting furniture before
Related: Best furniture flipping painting furniture before
The Satisfaction of a Completed Project
I’ve spent countless hours working on furniture flipping projects, and I’ve found that the satisfaction of completing a project from start to finish is unmatched. There’s something deeply rewarding about taking a piece that was once considered outdated or broken and transforming it into something beautiful and functional.
I’ve found that the process of furniture flipping is not just about the final result but also about the journey of learning and growing as a DIYer. Each project teaches me something new, whether it’s about the right techniques to use or the best ways to approach a particular task. I’ve also learned the importance of patience and attention to detail, which are essential for achieving professional-looking results.
I’ve found that the most satisfying part of a completed project is seeing the finished piece in its new home. It’s a reminder of the hard work and dedication that went into the project, and it’s a source of pride that I carry with me. I’ve also found that the pieces I’ve created through furniture flipping are often the ones that get the most compliments and are the most treasured in my home.
💰 Budget Build
Use affordable materials and simple techniques to give old furniture a fresh look without breaking the bank.
⏰ Weekend Version
A quick and easy project that can be completed in a single day with minimal effort.
✨ Upgraded Finish
Add a professional finish with clear coat and high-quality paint for a show-stopping result.
🛋️ Small-Space Adaptation
Modify and repurpose furniture to fit in tight spaces with clever design choices.
🏠 Rental-Safe Option
Use removable paint and temporary fixes that won’t damage the furniture or leave behind any marks.
| The mistake | Why it happens | The fix |
|---|---|---|
| Skipping the sanding step | I’ve found that skipping the sanding step can lead to an uneven finish and paint that doesn’t adhere properly. | Always sand the surface before painting to ensure a smooth, even finish. |
| Using the wrong type of paint | Using the wrong type of paint can lead to a subpar finish that doesn’t last as long as expected. | Choose a high-quality water-based paint that’s designed for furniture to ensure a durable, professional-looking finish. |
| Not cleaning the surface before painting | I’ve found that failing to clean the surface before painting can lead to a paint job that doesn’t adhere properly and may not last. | Always clean the surface with a degreaser or mild soap and water before painting to ensure the paint sticks properly. |
| Skipping the primer step | I’ve made this mistake before, and it resulted in a paint job that didn’t last and required multiple coats to achieve a smooth finish. | Always use a primer before painting to ensure the paint adheres properly and lasts longer. |
Diy Furniture Flipping & Painting Furniture Before
Common Questions
What kind of paint should I use for furniture flipping?
Do I need to use a primer before painting?
How long does a furniture flipping project usually take?
What tools do I need for furniture flipping?
Cite this guide
Flipper Lane (2026). Diy Furniture Flipping & Painting Furniture Before. https://flipperlane.com/diy-furniture-flipping-painting-furniture-before/[2]
Feel free to cite or share this guide.
References
- Seeing green: Billie Asmus '15, the Repaint Lady | Bethel University (bethel.edu)
- Tag: Furniture - Unbound (blog.library.si.edu)
- 2017 ATUS Activity Lexicon with examples (bls.gov)
- McGaugh's Furniture Flips Gain National, International Attention (andersonuniversity.edu)
- Storyboard: Kevin Heidkamp - ArtCenter College of Design (artcenter.edu)