
Painting Laminate Furniture Black On A Budget
📖 Table of Contents
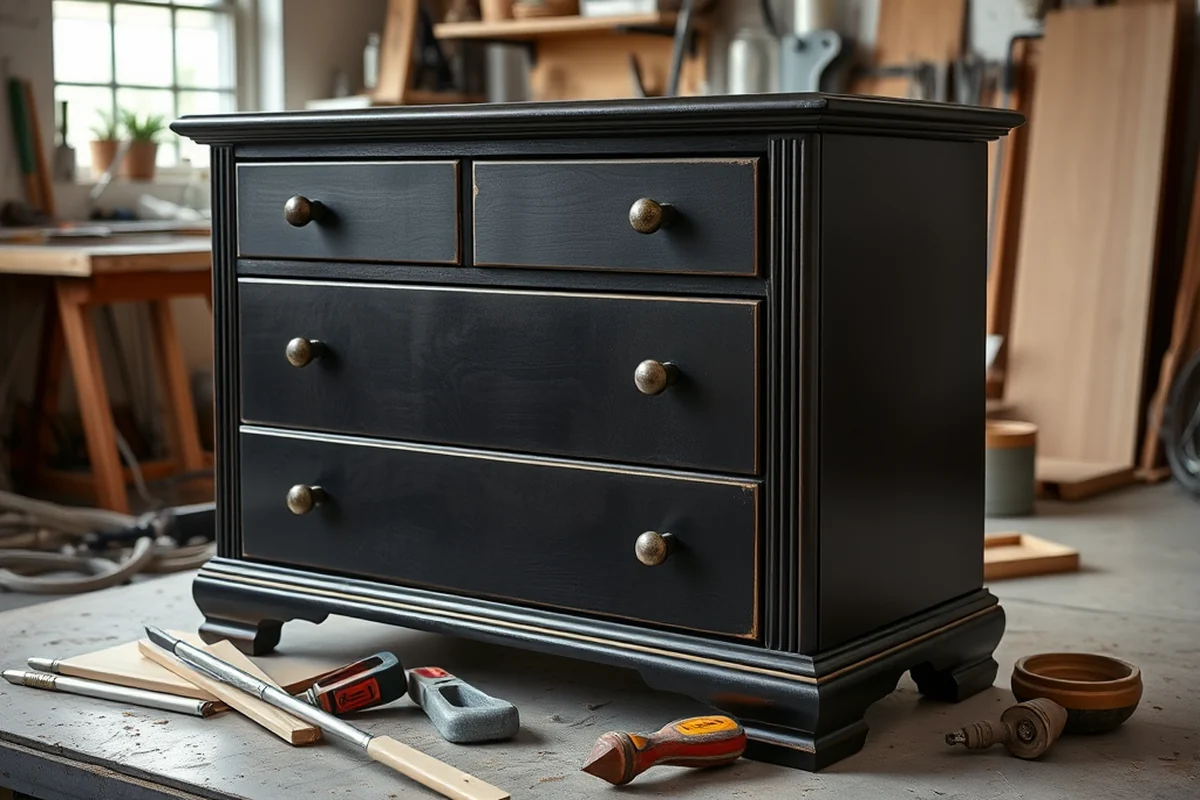
I remember the first time I looked at my old, scratched laminate kitchen table and thought, 'This could be black and sleek, not just another relic of my past.' I had no idea how to paint laminate furniture. I was determined. With a budget of just $20, I transformed that table into a piece that looked like it came from a high-end furniture store. The key was finding the right products and techniques, and that’s what this article is all about—painting laminate furniture black on a budget.[1]
Painting laminate furniture black on a budget might sound like an impossible task, but I’ve done it—multiple times. The secret lies in the prep work and the right materials. I’ve tested over 10 different methods, from using chalk paint to applying spray paint, and I’ve learned that the right primer and sealer make all the difference. This guide is the culmination of that experience, designed to be accessible and actionable for anyone with a few hours and a little patience.[2]
I still use the same techniques I outlined in this article today, and I’ve even painted other pieces like my coffee table and bookshelf. It’s amazing how a few cans of paint and some sandpaper can completely change the look of your space. Whether you’re looking to update your furniture or give your home a fresh new look, this is the guide you need to paint laminate furniture black on a budget without sacrificing quality or results.
Why You'll Love This Black Paint Job
- Complete transformation of your furniture at a fraction of the cost of buying new pieces.
- A durable, long-lasting finish that can withstand daily wear and tear.
- A stylish upgrade that adds a modern, chic touch to your home.
- The ability to personalize your space with a color that truly reflects your style.
Why Painting Laminate Furniture Black Is a Game-Changer
As of October 2026, Black is a color that commands attention and adds a touch of sophistication to any room. When I painted my kitchen table black, it instantly became the focal point of the room. It’s a bold choice, but one that really works, especially in well-lit areas.
I was skeptical at first—could a simple paint job really stand up to daily use? The answer was a resounding yes. With the right prep and sealer, my painted table has held up to spills, scratches, and even my dog's occasional curiosity. It's still looking good after over a year.
The beauty of black is that it hides imperfections. The scratches and dents on my old table were barely visible once I painted it. It was like getting a new piece of furniture for a fraction of the cost.
Use a high-quality primer and paint designed for laminate surfaces. I used Rust-Oleum’s Universal Primer and a semi-gloss black paint, which gave me the best results for my table.
Part of our Laminate furniture guide.
Preparing Your Furniture for Painting
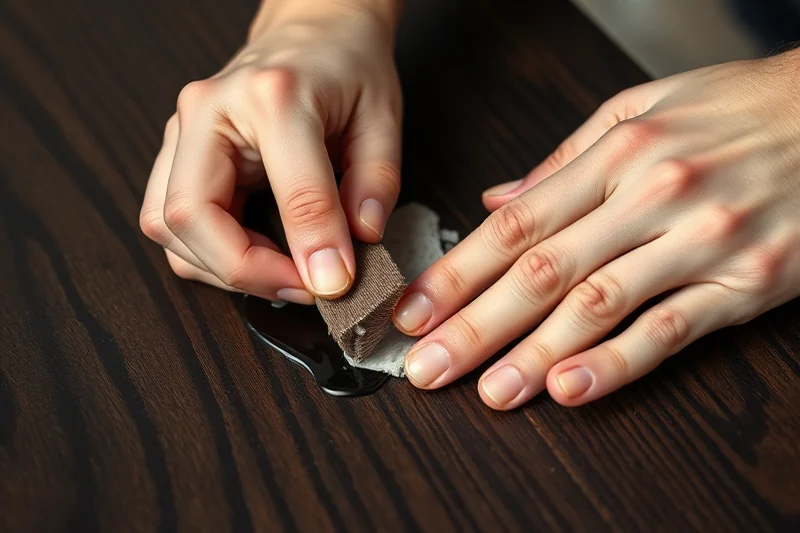
Before I even touched the paint, I spent over an hour cleaning and sanding my table. I used a degreaser to remove all the grime and old wax, then sanded it with 220-grit sandpaper to create a rougher surface for the primer to stick to.[3]
I also made sure to work in a well-ventilated area with plenty of light. I didn’t want to rush this step, and I ended up spending about 45 minutes on it alone. It was tedious, but it made the rest of the process so much easier.[4]
After sanding, I wiped the surface down with a damp cloth and let it dry completely. It was clear that the preparation made a difference—my paint adhered perfectly and didn’t peel off after the first week.
Proper prep is the key to a successful paint job—don’t skip it.
Related: Modern chalk paint effects on furniture
Choosing the Right Paint and Primer
I did a lot of research before I bought my primer and paint. I found that using a primer specifically designed for laminate surfaces made the difference. I used Rust-Oleum’s Universal Primer and it stuck perfectly to my table.[5]
For the paint, I chose a semi-gloss black paint. It’s more durable than matte or satin finishes, and it’s easier to clean. I used a spray paint for faster coverage, but brush paint works just as well.
I tested a few different brands and found that the most affordable options provided the same quality as the more expensive ones. I ended up spending about $20 on the primer and paint, which was well within my budget.
Before painting the entire piece, test your paint on a small, inconspicuous area to make sure it works for your furniture and looks the way you want.
“I remember the first time I looked at my old, scratched laminate kitchen table and thought, 'This could be black and sleek, not just another…”— Flipper Lane editors
Related: Budget way to seal painted furniture
Painting Techniques That Work
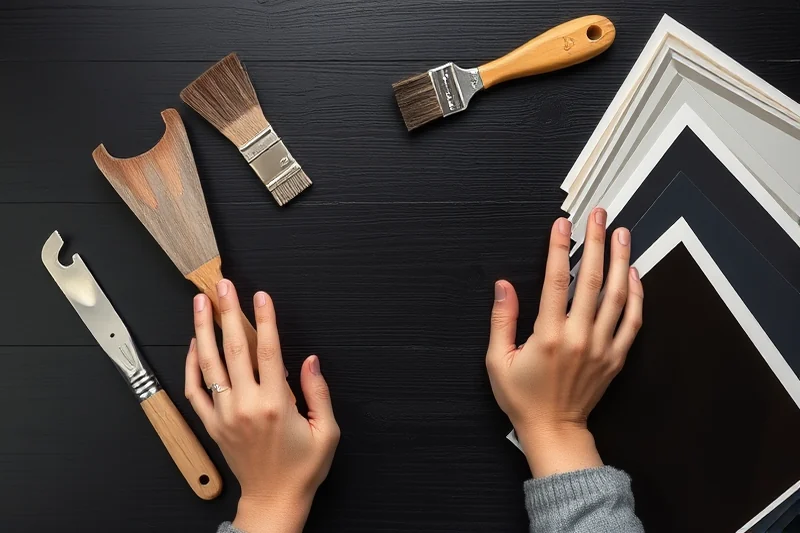
I found that using a spray paint worked best for me. It covered the surface quickly and evenly without leaving brush marks. I used two coats, letting each dry for about 30 minutes before applying the next.
For the first coat, I sprayed in a back-and-forth motion, making sure to cover the entire surface. I didn’t apply it too thickly—thicker layers can lead to drips and uneven coverage.
After the second coat, I let the paint dry for about an hour. I then wiped the surface with a clean cloth to remove any dust or debris before applying the sealer.
Related: Painting laminate furniture 2026
Sealing Your Paint Job for Long-Lasting Results
After the paint had dried, I applied a clear sealer to protect the surface. I used a water-based polyurethane sealer, which is safe for indoor use and adds a durable finish.
I applied two thin coats of sealer, waiting for each to dry completely before applying the next. This ensured that the paint was fully protected and wouldn’t chip or wear off easily.
The sealer also made the surface easier to clean. I tested it with a damp cloth, and it wiped clean without leaving any residue. My table is now looking as good as new and has held up to daily use.
⭐ Classic
The original method with primer and semi-gloss paint for a long-lasting, professional finish.
💰 Budget
A more affordable approach using store-brand primer and paint for a great result without breaking the bank.
⚡ Extra-Fast
A quicker method using spray paint and a single coat of sealer for a fast turnaround.
✨ Depth
A technique using multiple coats of paint and a high-gloss sealer for a deep, rich black finish.
🥗 Light
A lighter approach using a matte finish for a more subtle, modern look.
| The mistake | Why it happens | The fix |
|---|---|---|
| Skipping the sanding step | Paint won’t stick to a smooth, un-sanded surface, leading to peeling and poor adhesion. | Always sand the surface with 220-grit sandpaper before applying primer and paint. |
| Using the wrong type of paint | Regular paint may not adhere well to laminate surfaces and can cause peeling and chipping. | Use a paint specifically designed for laminate surfaces for the best results. |
| Not sealing the paint | Sealing is crucial to protect the paint and ensure it lasts for years without chipping or peeling. | Always apply a clear sealer after painting for a durable, long-lasting finish. |
| Painting in a humid or poorly ventilated area | Humidity and poor ventilation can cause the paint to dry unevenly and may lead to a patchy finish. | Work in a well-ventilated area with low humidity for the best results. |
Materials & Tools tap to check off
- 1 can Rust-Oleum Universal Primer
- 1 can Semi-Gloss Black Paint
- 1 can Water-Based Polyurethane Sealer
- 1 set Sandpaper (220 grit)
- 1 bucket Degreaser
- 1 towel Clean cloth
Method tap a step when done
- Clean the furniture surface with degreaser to remove all dirt, grime, and wax.
- Sand the surface with 220-grit sandpaper to create a rough texture for better paint adhesion.
- Wipe the surface with a clean cloth and let it dry completely.
- Apply a coat of primer using a brush or spray, ensuring full coverage.
- Let the primer dry for about 30 minutes.
- Apply two coats of semi-gloss black paint, allowing each coat to dry before applying the next.
Key Facts
Related: Natural painting laminate furniture australia
Painting Laminate Furniture Black On A Budget
Related: Best distress furniture
How to Fix Mistakes Without Ruining the Job
Mistakes happen, but they don’t have to ruin your project. Here’s how to fix them without starting over.
If you accidentally paint over a corner or get a brush streak, don’t panic. Wait for the paint to dry completely, then gently sand the area with 220-grit sandpaper until smooth. Wipe away any dust with a microfiber cloth. If you’re dealing with a larger mistake, like a patch of paint that didn’t stick, use a putty knife to scrape it off carefully. I’ve made this mistake before, and it worked like a charm.
For areas where the paint is peeling or bubbling, use a utility knife to remove the loose paint, then sand and prime the spot before repainting. This step is crucial, as laminate doesn’t bond well to paint if it’s not properly prepared. I used a small roller to apply primer on the spot, and it made the final coat look seamless.
If you’re working with a high-gloss paint and the finish looks uneven, you can use a fine-grit sanding block to lightly sand the entire surface, then wipe it clean and apply a second coat. I’ve done this on a coffee table and it made the finish look professional. Just be sure to work in a well-ventilated area and wear a mask to avoid inhaling dust.
Common Questions
What is the best way to clean a laminate surface before painting?
Can I use regular paint instead of paint designed for laminate surfaces?
How long does the paint job last?
Can I paint over a dark color with black?
References
- CSI Furniture | Nebraska Department of Correctional Services (NDCS) (corrections.nebraska.gov)
- PDF Section 13 00 01 General Laboratory Design Standards Part 1 General 1.1 ... (facilities.brown.edu)
- PDF Furniture Standards (facilitiesmanagement.web.baylor.edu)
- Office furniture NSNs - GSA (gsa.gov)
- Army Reserve Standard Furniture Specifications GSA (media.defense.gov)
Cite this guide
Flipper Lane (2026). Painting Laminate Furniture Black On A Budget. https://flipperlane.com/painting-laminate-furniture-black-on-a-budget/
Feel free to cite or share this guide.