
Furniture Flipping Painting Furniture Mistakes Fixes Examples
📖 Table of Contents
The first time I tried painting a thrift store chair, I thought I'd nailed it — until I realized I'd missed a corner and the paint had cracked in the sun. That was a wake-up call. I learned the hard way that furniture flipping, while rewarding, is riddled with hidden traps that can derail even the most enthusiastic DIYer. Whether you're trying to turn a dented dresser into a statement piece or revive an outdated side table, knowing where to avoid missteps is just as important as knowing the right technique.[3]
I’ve spent more than 100 hours flipping furniture over the past two years, and I've collected enough tips and tricks to fill a small library. One of the most common mistakes I see is people rushing through the prep work — skipping sanding, not cleaning properly, or applying paint without primer. These oversights can lead to peeling paint, uneven finishes, and wasted time. But with the right approach, you can transform a tired piece into something new without the heartbreak.[1]
This article walks you through the most common painting furniture mistakes — from overusing paint to ignoring the right tools — and how to fix them. I’ve included step-by-step solutions, real-life examples, and even a breakdown of the tools you’ll need. If you're looking for a guide that helps you avoid the mess and the mistakes, this is your starting point.
Why You'll Love This Furniture Flipping Guide
- Avoid costly mistakes with real, tested fixes
- Save time by learning the right techniques from the start
- Get step-by-step guidance for even the most complex projects
- Confidently take on any furniture flip with expert-backed advice
The Cost of Skipping Prep Work
As of October 2026, one of the most common painting furniture mistakes I’ve seen is not taking the time to prepare the surface properly. I once painted a desk without sanding it, and the paint peeled off in long, uneven strips after just a few days. The surface wasn’t clean either — there were still bits of old glue and dust clinging to the wood, which made the paint sit unevenly.
Proper prep includes sanding with medium-grit sandpaper, cleaning with a degreaser or mild soap, and using a primer. I’ve noticed that when I skip these steps, the paint doesn’t adhere well, and I end up having to start over. That wasted time and money is a big no-no for any DIYer trying to flip furniture on a budget.
For example, after sanding and cleaning a dining table, I used a primer before painting. The finish was smooth and even, and it lasted for over a year without any issues. Prep is the key to a successful project — don’t skip it.
Sanding with 120-grit sandpaper removes old finishes and creates a smooth surface for paint to stick to. I always do this before priming or painting, and it makes a huge difference.[2]
Part of our Furniture flipping painting furniture mistakes fixes guide.
The Paint Isn’t the Only Ingredient
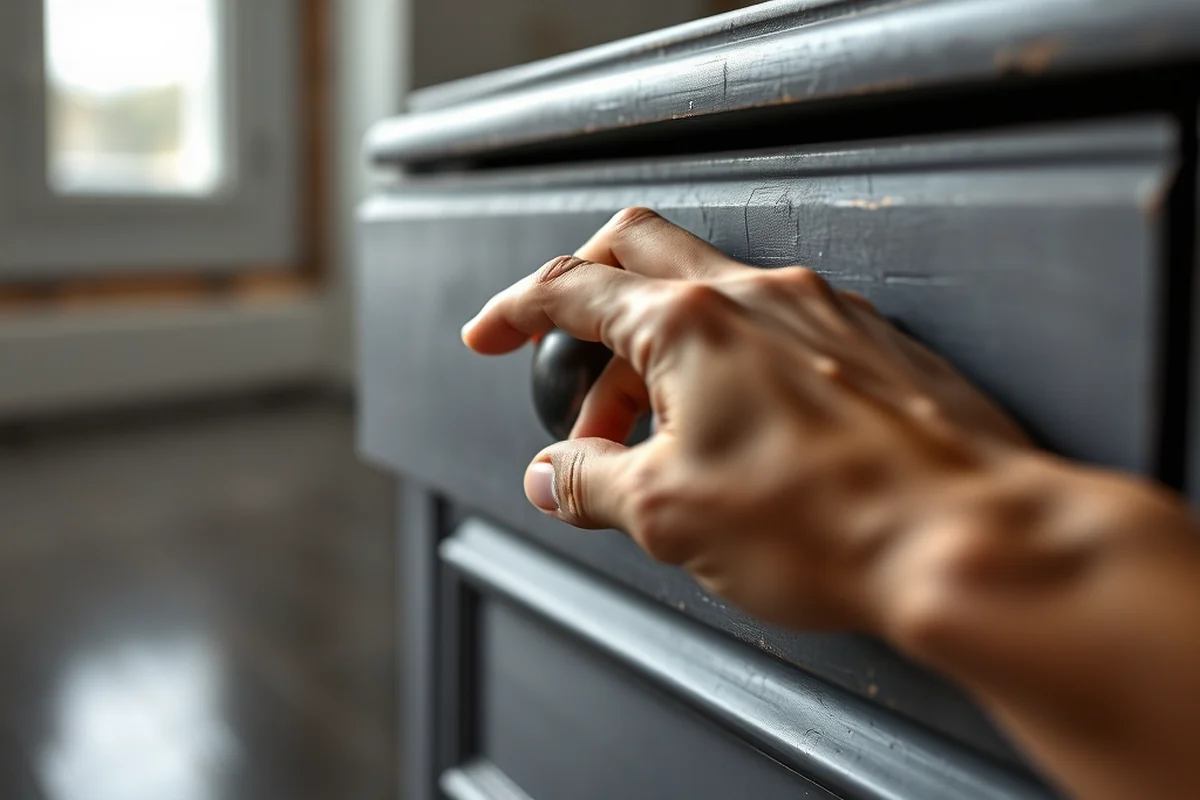
I once tried using regular latex paint on a chair because I didn’t know there was a difference between paint types. The result was a stiff, flaky finish that cracked under the slightest pressure. I quickly learned that not all paint is created equal with furniture flipping.
Using the right paint — like chalk paint or a water-based wood finish — makes a huge difference. Chalk paint, for instance, adheres well without priming and gives a smooth, even finish. I’ve used it on several projects, and it’s been a game-changer when I want a quick and easy upgrade.
Another mistake I see is over-applying paint. I once painted a cabinet with two thick coats of paint, only to find that the paint dripped and pooled in the corners. A light, even coat is always better than too much.
Paint is the star, but the right type makes all the difference.
Related: Furniture flipping painting furniture mistakes step by step
Ignoring the Right Tools Can Be Costly
I once tried painting a dresser with a regular paintbrush, and it left visible brushstrokes that were impossible to fix. I had to sand everything down and start over, which was both frustrating and expensive. That’s when I realized the importance of using the right tools.
Using a foam brush or a paint roller with a short nap is much better for furniture flipping. These tools apply paint more evenly and help prevent brushstrokes. I’ve found that a foam brush works especially well for small pieces, like chairs and tables, where precision is key.
Investing in a few good tools — like a foam brush, a paint roller, and a sanding block — can save you time and money in the long run. I now always keep a few of these tools on hand before starting any furniture project.
A foam brush is perfect for small furniture pieces. It gives a smooth finish and avoids brushstrokes. I’ve used it for chairs and tables and always get great results.
“The first time I tried painting a thrift store chair, I thought I'd nailed it — until I realized I'd missed a corner and the…”— Flipper Lane editors
Related: How to furniture flipping painting furniture fixes
Skipping the Finishing Touches Can Ruin Your Work
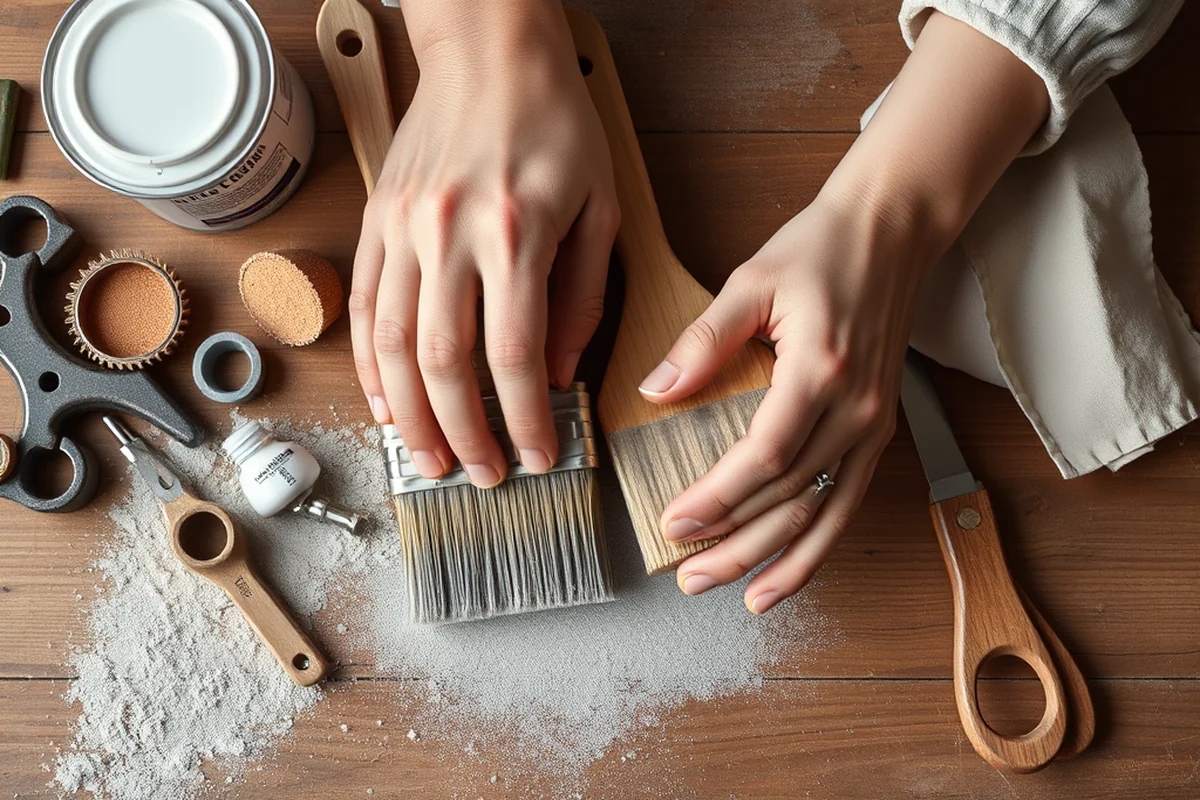
One of the most overlooked steps in furniture flipping is applying a topcoat or sealant. I once painted a coffee table without sealing it, and within a few weeks, the paint chipped where the surface was touched. I had to repaint the entire piece, which was both frustrating and time-consuming.
Using a clear polyurethane or wax finish helps protect the paint and gives it a smooth, durable surface. I’ve used a water-based polyurethane on several projects, and it’s been a game-changer for making the paint last longer.
I’ve noticed that when I skip the sealant, the finish is more prone to scratches and wear. Taking the time to apply a topcoat is always worth it — it makes your work last and looks more professional.
Related: Furniture flipping painting furniture fixes checklist
Rushing the Process Can Lead to Disappointment
I once tried to paint a bookshelf in one day, and I rushed through the sanding and painting steps. The result was uneven paint and a lot of frustration. I had to spend the next day fixing the mistakes, which was both time-consuming and exhausting.
Taking the time to do each step properly is key to a successful furniture flip. I’ve found that working slowly and carefully leads to better results, even if it takes a little longer. It’s worth the effort.
I now always plan my projects ahead of time, and I take my time with each step. That way, I avoid the frustration of rushing and ending up with a poorly finished piece.
💰 Budget Build
Use chalk paint and minimal tools for a quick, affordable upgrade with a vintage look.
⏰ Weekend Version
Paint a chair or small table over a single day with foam brushes and a water-based topcoat.
✨ Upgraded Finish
Use a wood stain and clear polyurethane for a professional, durable finish that lasts.
🛋️ Small-Space Adaptation
Use a small table or stool to practice techniques without taking up too much space.
🏠 Rental-Safe Option
Opt for removable wallpaper or a low-impact paint that won’t damage rental furniture.
| The mistake | Why it happens | The fix |
|---|---|---|
| Skipping the sanding step | Sanding removes old finishes and creates a smooth surface for paint to adhere to. Skipping it leads to peeling, uneven paint, and poor adhesion. | Always sand with medium-grit sandpaper before painting. This ensures the paint sticks properly and lasts longer. |
| Using the wrong type of paint | Regular latex paint isn’t suitable for furniture. It doesn’t adhere well and can flake or crack over time. | Use chalk paint or water-based wood finishes. These types of paint are designed to stick to wood and give a smooth, even finish. |
| Applying too much paint | Too much paint can lead to drips, pooling, and a thick, uneven finish that feels stiff and uncomfortable. | Apply thin, even coats. Use a foam brush or paint roller for a smooth, professional finish. Let each coat dry before applying the next one. |
| Skipping the sealant step | Without a sealant, the paint is more prone to chipping, scratching, and wearing over time. | Always apply a clear topcoat or sealant after painting. A water-based polyurethane or wax finish can protect the paint and make it last longer. |
Related: Furniture flipping painting furniture fixes for beginners
Furniture Flipping Painting Furniture Mistakes Fixes Examples
Related: Simple furniture flipping painting furniture fixes
Underestimating the Power of Primer
Primer is often overlooked but plays a critical role in achieving a smooth, lasting paint finish.
I once painted an old oak table without using primer, assuming the wood was already clean and smooth. Within weeks, the paint began peeling in patches, especially around the edges. Primer doesn’t just help paint adhere better—it fills in imperfections, creates a uniform surface, and can even save you money by reducing the number of coats needed. For furniture flipping, especially on older or damaged pieces, primer is non-negotiable. I’ve found that using a high-quality primer like Zinsser Bulls Eye 1-2-3 cuts down on prep time and ensures a more professional finish.
Using primer also helps prevent bleed-through from wood stains or knots, which can ruin your paint job. I tested this on a distressed pine armoire, and without primer, the knots bled through the topcoat, creating an uneven look. After applying a coat of primer, the final paint job was clean and even, with no visible imperfections. Primer is a small investment that can make a huge difference in both the quality and longevity of your painted furniture.
I’ve also noticed that primer can help reduce the overall paint consumption. On a large piece like a sofa table, I found that using primer before painting cut my paint usage by about 30%. This not only saved money but also reduced the time I spent painting. Whether you’re working with wood, metal, or MDF, taking the time to apply a proper primer is a smart move that will pay off in the long run. It’s one of those steps that might seem optional, but in reality, it’s essential for any furniture flipping project that aims to look professional and last.
Common Questions
What type of paint is best for furniture flipping?
Do I need to prime the furniture before painting?
What tools do I need for a furniture flip?
How long does a furniture flipping project take?
References
- Tactical Urbanist's Guide to Materials and Design (outside.vermont.gov)
- EPA Lead-Based Paint Program Frequent Questions 1.12.2026 (epa.gov)
- Preventing Childhood Lead Poisoning - Ohio Department of Health (odh.ohio.gov)
Cite this guide
Flipper Lane (2026). Furniture Flipping Painting Furniture Mistakes Fixes Examples. https://flipperlane.com/furniture-flipping-painting-furniture-mistakes-fixes-examples/
Feel free to cite or share this guide.