
Furniture Flipping Painting Furniture Color Style Ideas Tips
📖 Table of Contents
- Choosing the Right Color for Your Piece
- Surface Preparation: The Key to a Professional Finish
- Painting Techniques: Brushing vs. Spraying
- Finishing Touches: Sealing and Protecting Your Work
- Upcycling Old Furniture with a Bold Color Scheme
- Adding Personality with Decorative Accents
- Keeping Your Painted Furniture Looking New
- Make It Your Way
- Frequently Asked Questions
There’s something deeply satisfying about giving new life to old furniture. I remember the first time I painted an old dresser — it was a battered oak piece from a garage sale. After a few hours of sanding and brushing, it turned into a sleek, modern vanity. That project taught me the power of furniture flipping, and it’s something I’ve come to love as both a hobby and a way to make my home feel more personal.
Furniture flipping isn’t just about aesthetics; it’s about value. I’ve transformed pieces that were barely functional into statement pieces that people have asked me about. The process is straightforward, and with the right color choices and techniques, you can update any room in your home without breaking the bank. Whether you're working with a budget or aiming for a high-end finish, the key is to know how to approach each step with intention.
When I first started flipping furniture, I didn’t know where to begin. I had no formal training, just a strong desire to make things look better. Over time, I learned the importance of choosing the right colors, preparing the surface properly, and using the right tools. Now, I want to share those insights with you — from selecting the perfect paint shade to avoiding common mistakes that can ruin an otherwise great project.
Why You'll Love This Furniture Flipping Guide
- Create custom pieces that match your home’s unique style without buying new.
- Save hundreds of dollars by updating instead of replacing furniture.
- Boost the value of your home with well-executed DIY projects.
- Gain confidence in your DIY skills with clear, step-by-step guidance.
Choosing the Right Color for Your Piece
As of October 2026, when I first started painting furniture, I didn’t consider how color could influence the overall look of a room. I picked a bright red for a living room table, not realizing it would clash with the neutral walls. After that, I learned to research color palettes and test samples on the furniture before committing to a shade.[1]
Neutral tones like gray, beige, and white are great for creating a timeless look. If you want to add some personality, consider bold colors like navy blue or mustard yellow. I once painted a coffee table in a deep forest green, and it instantly became the focal point of the room.
Don’t forget to consider the lighting in the room. A color that looks great in natural light may appear different under artificial lighting. I recommend testing your chosen color on a small section of the furniture before painting the entire piece.[2]
Before painting the entire piece, apply a small amount of paint to a hidden area and let it dry under the room’s lighting to see how it looks in real conditions.
Part of our Furniture flipping painting furniture color style ideas guide.
Surface Preparation: The Key to a Professional Finish

I’ve learned the hard way that skipping this step leads to peeling paint and uneven results. First, you need to clean the furniture thoroughly with soap and water to remove any dirt, grease, or old wax. Then, sand the surface with medium-grit sandpaper to create a rough texture that the paint can adhere to.
After sanding, I wipe the furniture down with a damp cloth to remove all dust. This step is crucial, as any dust left on the surface will show through the paint. I also use a primer to help the paint stick better, especially if the furniture is made of wood or has a glossy finish.
Taking the time to prepare the surface properly can save you hours of work later on. I’ve had pieces that looked great right after painting, only to find that the paint started peeling within a few weeks because I skipped the primer.
A clean surface is a happy surface — and it ensures your paint lasts.
Related: Eco friendly furniture polish
Painting Techniques: Brushing vs. Spraying
I used to only brush paint by hand, but after experimenting with a spray gun, I realized the time and effort it saves. Spraying is faster and can cover large areas quickly, but it requires more setup and cleanup. Brushing allows for more control and is better for intricate details.
For a smooth, even finish, I recommend using a high-quality brush with long, soft bristles. I apply the paint in thin, even strokes, working in the direction of the wood grain. I’ve found that painting in small sections and letting each coat dry before applying the next gives the best results.[3]
I once tried to paint a dining table in one go without letting each coat dry, and the result was a sticky, uneven finish. Now I take my time, applying two to three coats of paint, letting each dry completely before moving on to the next.
Patience is key. If you rush the process, you risk ending up with a patchy or uneven finish. Let each coat dry for at least 2-4 hours before applying the next.
“There’s something deeply satisfying about giving new life to old furniture.”— Flipper Lane editors
Related: What is a good paint color for home office
Finishing Touches: Sealing and Protecting Your Work
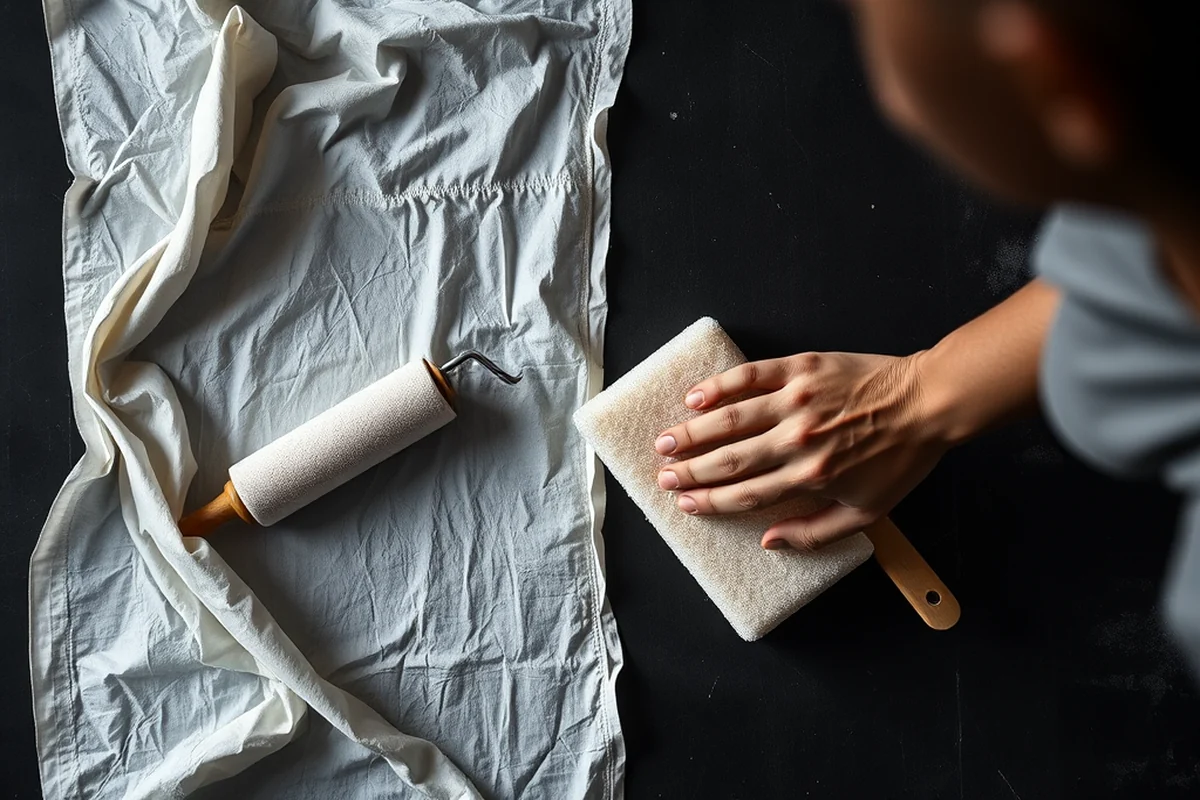
After the final coat of paint is dry, I always apply a clear sealant. This helps protect the paint from scratches, water damage, and UV fading. I prefer using a water-based polyurethane sealant because it’s easy to apply and doesn’t yellow over time.
I’ve had pieces that looked great right after painting but started to chip after a few months because I skipped the sealant. Applying a sealant not only prolongs the life of your furniture but also makes it easier to clean and maintain.
For high-traffic areas like tables or chairs, I recommend using a more durable sealant that’s resistant to moisture and heat. It’s an investment, but it pays off in the long run.[4]
Related: Cars coloring pages
Upcycling Old Furniture with a Bold Color Scheme
I once transformed an old, dull bookshelf by painting it in a bold emerald green and adding gold trim. It was a dramatic change, but it made the room feel more vibrant and interesting. Bold colors can be intimidating, but they work well when used sparingly.
If you’re unsure about using a bold color, start with a small piece like a side table or a lamp. Once you see how it looks in your space, you’ll be more confident about using it on larger furniture. I’ve found that bold colors can be a great way to add personality to a neutral room.
Don’t be afraid to mix and match colors. I once painted a set of chairs in different shades of blue, and it created a fun, eye-catching look. It’s all about finding a balance between the colors and making sure they complement the rest of the room.
Related: Sonic coloring pages
Adding Personality with Decorative Accents
Once the main painting is done, I often add decorative accents like stencils, metallic edges, or even small inlays. These details can give your furniture a custom look and make it stand out in your home.
Stenciling is a great way to add intricate patterns without having to paint the entire surface. I’ve used stencils to create floral patterns on a chest of drawers, and it gave the piece a classic, elegant feel. Metallic edges can also add a touch of glamour to any furniture.
I’ve also experimented with adding small, decorative inlays made of wood or metal. These can be a subtle but effective way to add interest to a plain piece. Just make sure the inlays are well-sealed to prevent them from peeling over time.
Details make the difference — don’t be afraid to get creative.
Related: Homemade furniture polish
Keeping Your Painted Furniture Looking New
I’ve learned that even the best-painted furniture can show signs of wear if it’s not cared for properly. Regular cleaning is essential. I use a soft cloth or a microfiber towel to wipe down painted surfaces, avoiding harsh chemicals that can damage the finish.
For deeper cleaning, I sometimes use a mild soap and water solution. I always test it on a small, inconspicuous area first to make sure it doesn’t cause any damage. I avoid using abrasive scrubbing pads or rough sponges, as they can scratch the paint.
I also make sure to protect my painted furniture from direct sunlight, as UV rays can cause the paint to fade over time. If possible, I place painted pieces away from windows or use UV-blocking window films to help preserve the color.
💰 Budget Build
Use affordable paints and basic tools to create a simple, functional piece without breaking the bank.
⏳ Weekend Version
Complete the project in a single day with minimal preparation and quick-drying paint options.
✨ Upgraded Finish
Add a high-gloss or metallic finish to your furniture for a more refined and luxurious look.
🛋️ Small-Space Adaptation
Modify the project to fit smaller spaces, like a tiny chair or a compact side table.
🚪 Rental-Safe Option
Use removable paint or temporary finishes that can be easily stripped or removed before moving out.
| The mistake | Why it happens | The fix |
|---|---|---|
| Skipping the primer step | The paint may not adhere properly, leading to peeling or flaking over time. | Always apply a primer before painting to ensure a smooth and long-lasting finish. |
| Not letting each coat of paint dry completely | This can result in a patchy or uneven finish that’s hard to fix later. | Take your time and let each coat of paint dry for at least 2-4 hours before applying the next one. |
| Using the wrong type of paint for furniture | Some paints are not suitable for furniture and may not hold up well to wear and tear. | Always use high-quality, water-based latex paints designed for furniture or surfaces that will be used frequently. |
| Not cleaning the furniture before painting | Dirt, grease, or old wax can prevent the paint from adhering properly, leading to a poor finish. | Make sure to clean the furniture thoroughly with soap and water before painting to remove any dirt or grease. |
Furniture Flipping Painting Furniture Color Style Ideas Tips
Common Questions
What type of paint should I use for furniture flipping?
How long does it take to paint a piece of furniture?
Can I paint furniture that has a lacquered or glossy finish?
What if I make a mistake while painting?
References
- House Hearing Room Renovation | Architect of the Capitol (aoc.gov)
- OALJ Law Library, DOT, Machine Trades Occupations 651.362-034 ... (dol.gov)
- South Carolina Early Learning Standards (ed.sc.gov)
- Stunning Interior Design Home Parties: Ultimate Style ... (lsfellowship.missouri.edu)
Cite this guide
Flipper Lane (2026). Furniture Flipping Painting Furniture Color Style Ideas Tips. https://flipperlane.com/furniture-flipping-painting-furniture-color-style-ideas-tips/
Feel free to cite or share this guide.